Christine de Beer - effortless floral craftsman
A Reflex Rose Rose Hip… Rose
- 2 November 2022

Fill a large shallow container with water.
Tape a grid over the container with clear tape.
This is one of our foundation techniques. If you want to learn more about tape grids that support flowers see the detailed Tutorial below.
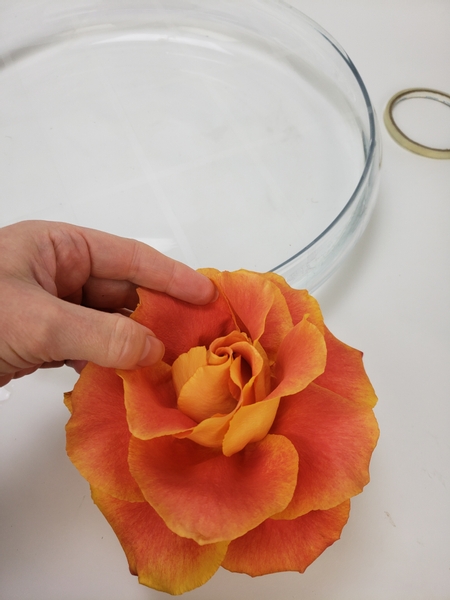
Carefully reflex or pop the outer petals of a rose over to open it more.
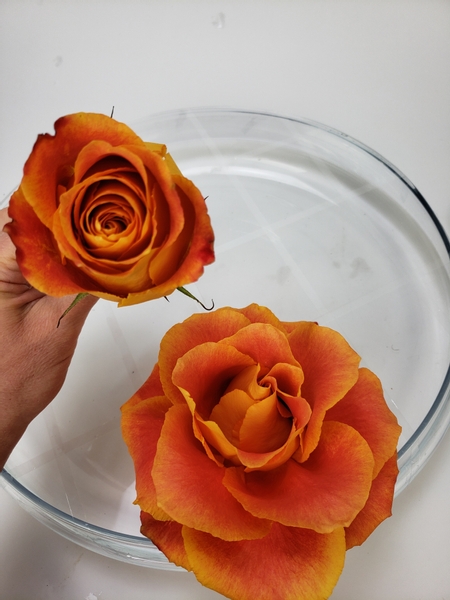
This technique works best with more mature flowers...
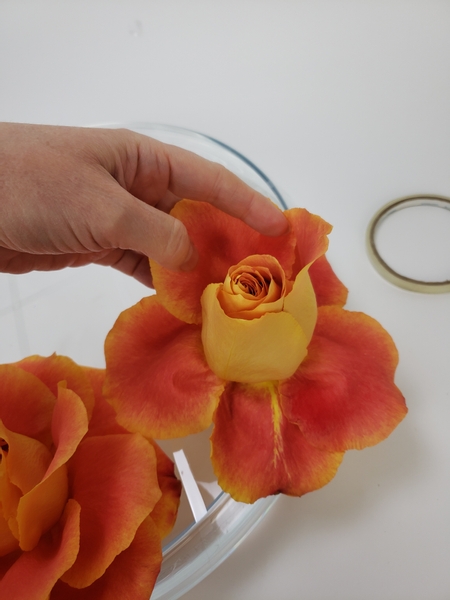
Make sure the flowers are at room temperature. Then start at the base of the flower and "pop" the petals inside out to "reflex" them into a fuller, more open flower. The technique will in no way change the vase life of the flowers.
Arrange the flowers so that the flower heads are supported on the taped grid and the stems are in the water below so that the flowers remain hydrated.
See the Tutorial below for more detailed instructions on how to reflex flowers.
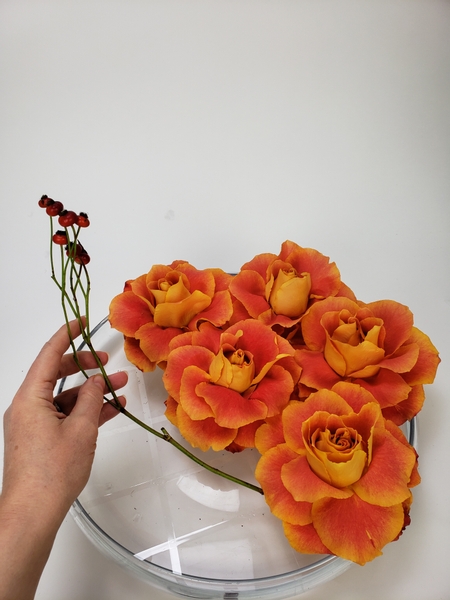
Slip a long rosehip stem into the vase at an angle...
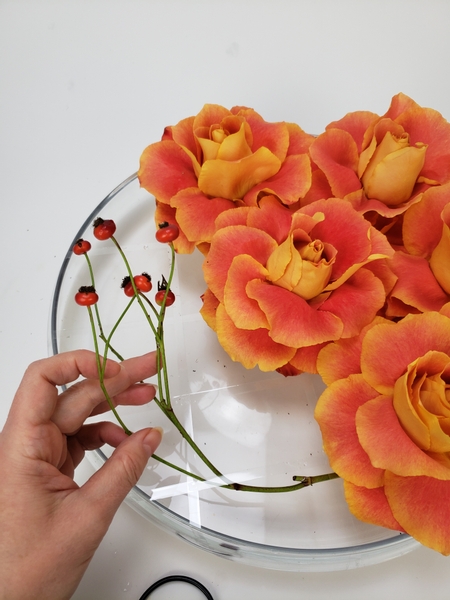
And curve the stem to weave around that side of the container.
The idea is to mimic the shape of the roses by placing the rosehips to form petals. I explain more in this week's email how I added every detail to enhance the rosy-ness of the roses. You can sign up for the email below this post. I send out only one email a week, on Wednesday morning (Vancouver time) to let you know when the new design is ready... and to explain one tiny detail or tip so that we can start a conversation. Feel free to reply to the email to say hi, comment or ask questions.
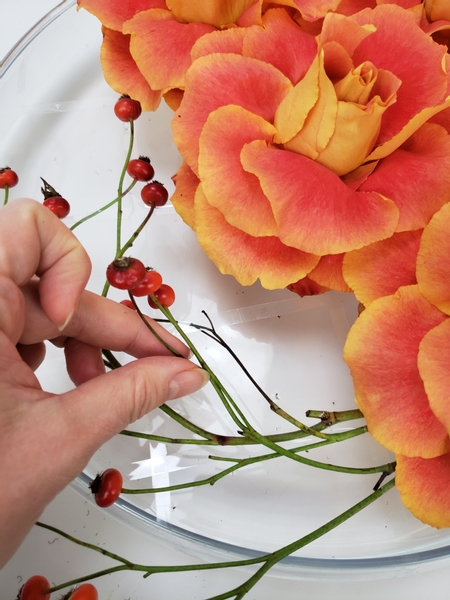
Add in the next stem and start to weave the hips to keep them in place.
... this is a bit harder to do than just simply weaving. You have to be mindful of creating "petals" with the stems. I combined manipulating the stems with interweaving. Book readers turn to page 284 for more detailed How-To's.
For more information about my book: The Effortless Floral Craftsman
... but to get you started I have also linked a few Tutorials below to explain a bit more about weaving... and interweaving.

Reach into the container and lift out and rearrange the hips so that they do not droop sadly into the container. Use other stems or the tape to support the heavy hips.

Keep adding hips but arrange them in the same direction so that they move your eyes from roses... to roses... around and around the design.
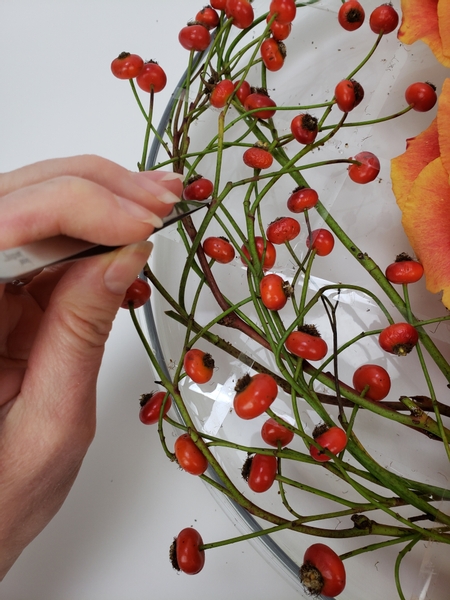
Once all the stems are arranged to spiral around the half of the container reach in with tweezers to lift out any lost hips.
This part is so important. Any stuck rosehips pointing downwards give the impression that the design is drooping or wilting. By lifting the hips out the design remains looking alive and vibrant as long as possible.
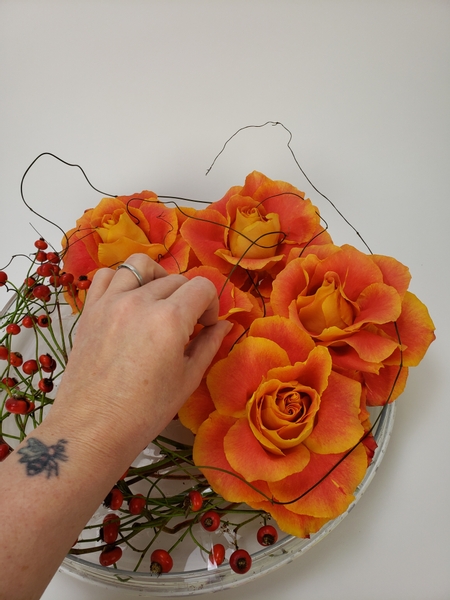
Add in a few dried vines to complete the spiral all around the design...
And finish the design with a few dew drop crystals by placing them on the clear taped grid.
Sign up for my weekly newsletter
Every week I add a new design with related tutorials. Be sure to subscribe to receive an email notification with design inspiration.


