Christine de Beer - effortless floral craftsman
Snowy twig band armature for a ever changing winter display
- 18 January 2023
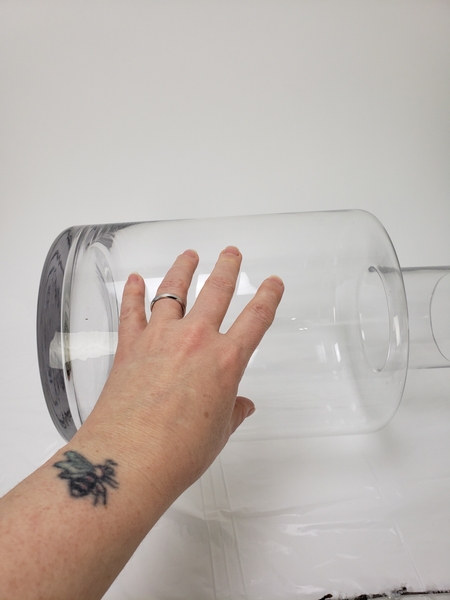
Place a round container on its side on your design surface
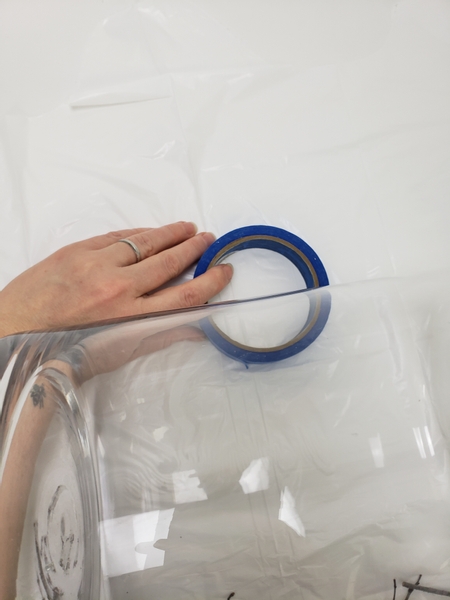
Place something (anything, really. I used painters tape) behind the container to keep it from rolling.
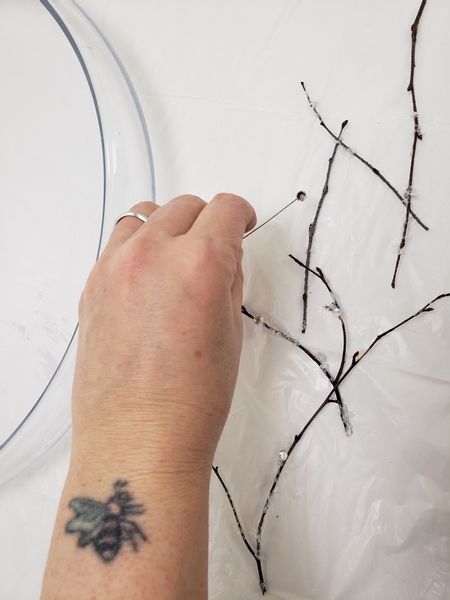
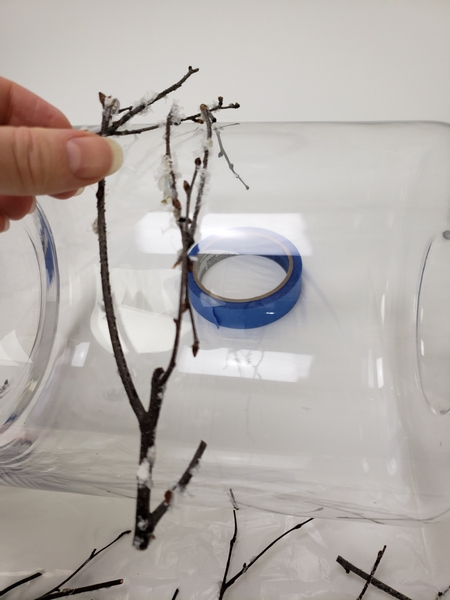
Prepare a generous bunch of winter twigs for the armature.
For my design I added artificial snow (see the Tutorial below for detailed instructions) and a few oversized dew drop crystals (again, see the Tutorial below for detailed instructions on how I do that) to the delicate twigs.
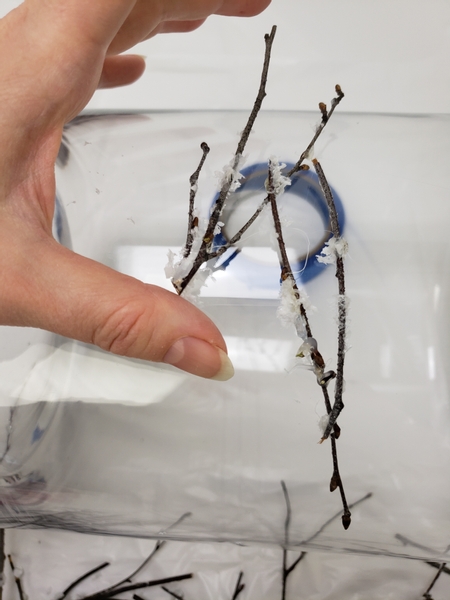
Glue a second twig to the first. Be mindful of the shape of the container. You want to craft a band of twigs so follow the shape as closely as possible.
Follow the round curve down the side of the container and glue in twigs.
Take care to glue the twigs to the twigs... and not to the container. Move the twigs every so often to make sure they are still easy to remove. If you have any doubt rather cover the container with plastic wrap (I have a few design examples below so that you can see how I do that) to make it easier to remove. The armature is quite robust once done but can easily be damaged if stuck to the container in this early stages.
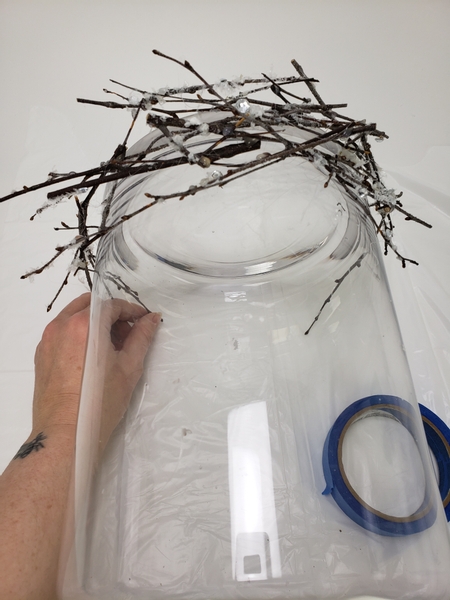
When you reach the table on both sides tilt the container upright...
And glue in a few more twigs so that the band almost touch from both sides.
Design note: To create a really stable armature make sure you glue each twig, at three points, to another twig.
Book readers turn to page 322 for another example of this design and page 25 for a tip for removing the glue stands.
For more information about my book: The Effortless Floral Craftsman
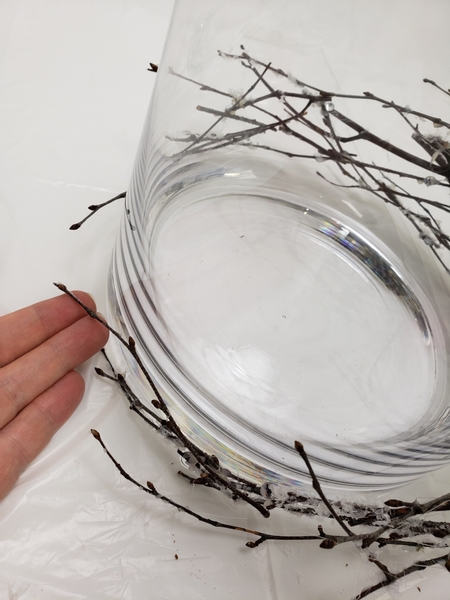
Carefully lift the armature from the container.

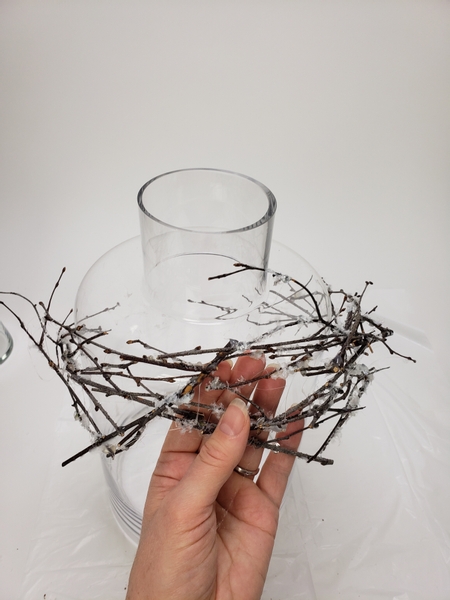
Fill a tall vase with water.
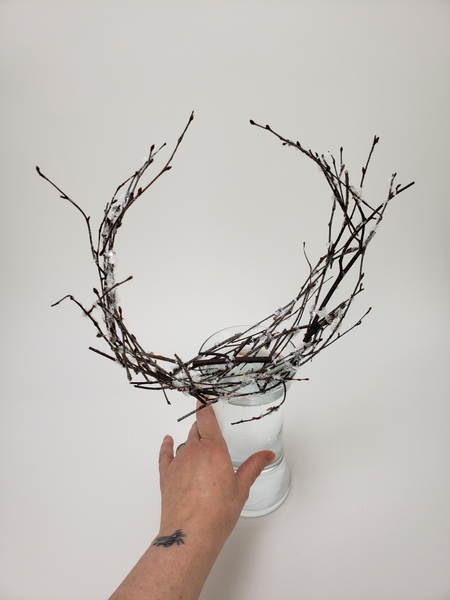
Place the twig band armature to rest on the vase.
I explain more of how to do this moment here… in my email this week.
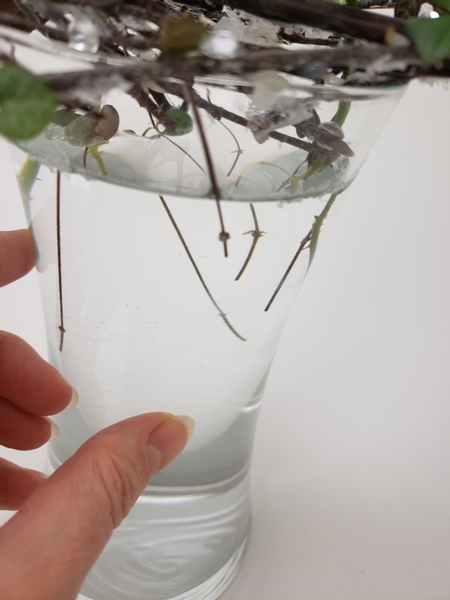
I have a tip for you on how to measure out the rose stems so that they support itself effortlessly. You are welcome to reply to the email if you have comments or questions. If you are not yet receiving your free email every Wednesday morning, the moment the new design is ready for you to view sign up below this post.
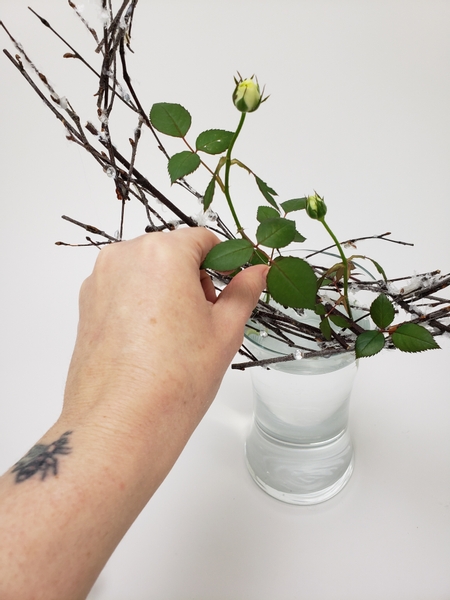
Set the flowers to stand upright in the armature with the stem end in the water.

Weave in a few vines to curve around the band.
Design note: Rosary vine (see below for more information) is a succulent and you will not need to place it in water so that it remains beautiful. Why do I then? Well...
I always cut my Ceropegia woodii vines just below a node and remove the last two leaves so that I can set it in water.
This way I root them while they are in my display. The moment I see the roots develop and new growth on the tips I remove that vine, pot it up and set a new vine into the display. It works every time!
And I have been cutting from "the same" vine plant to design with for every single design here on the My Creative Workbook website. I also root the vines I use in my demonstration designs to share so maybe you also have a cutting?
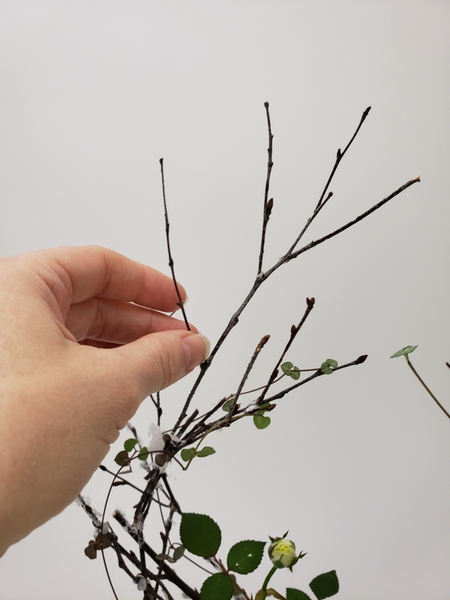
Glue in a few more twigs if you want to add height to the design.
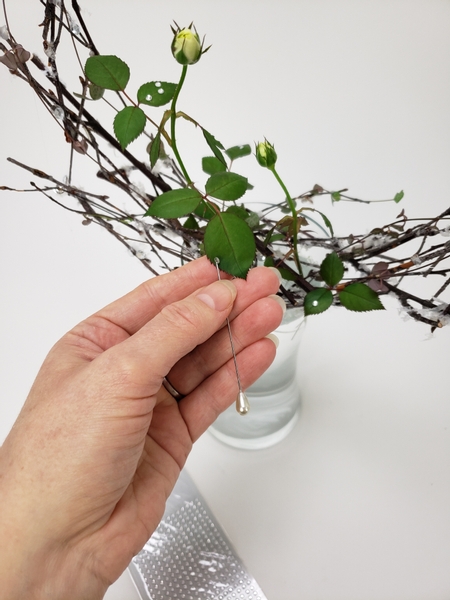
Finish the design with a few more dew drop crystals.
See the Tutorial below for how I add crystals to the most delicate plant material without damaging it.
Sign up for my weekly newsletter
Every week I add a new design with related tutorials. Be sure to subscribe to receive an email notification with design inspiration.


