Christine de Beer - effortless floral craftsman
Blossom craving solutions: Forcing and Coaxing and crafting flowering branches
- 8 March 2023
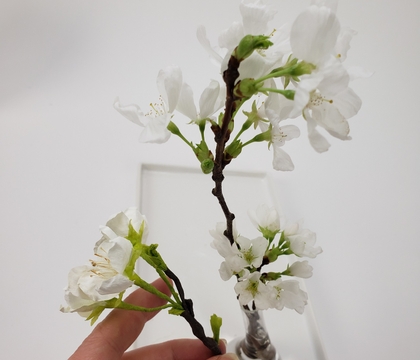
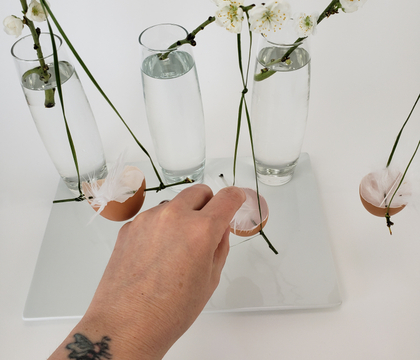
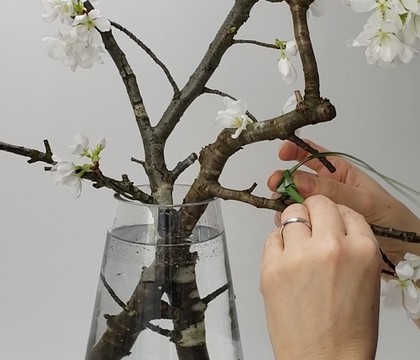
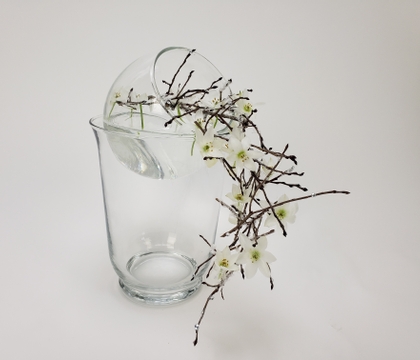
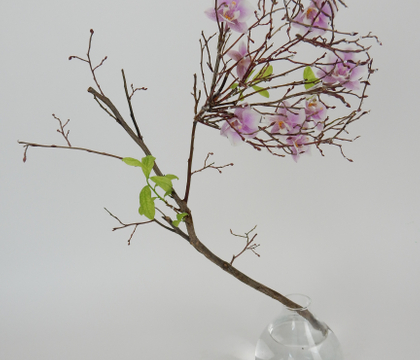
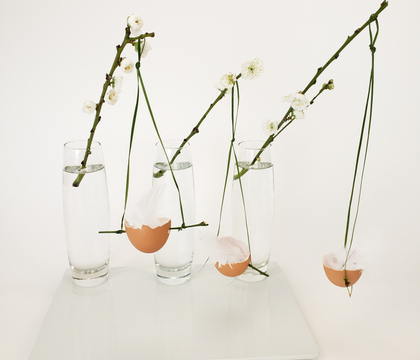
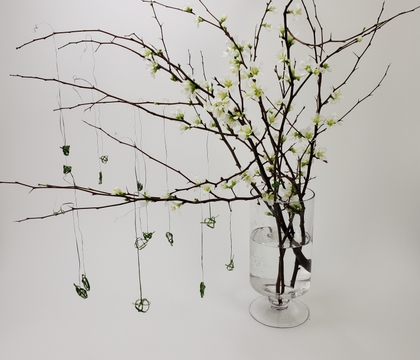
Two step blossom making: Both of the blossom stems in this week’s design required some floral magic.
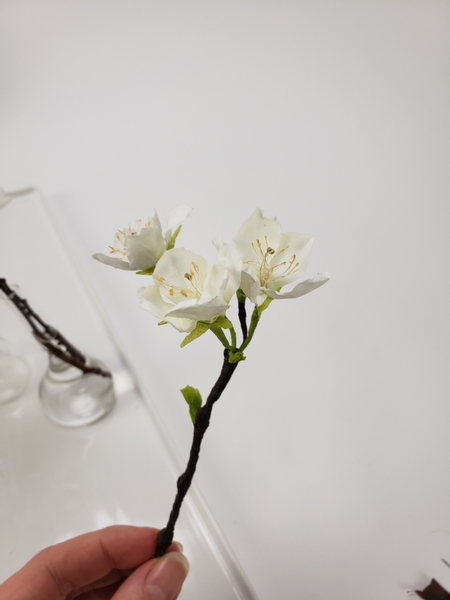
First the upside down stem in the design…
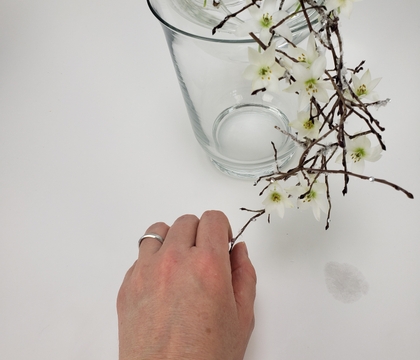
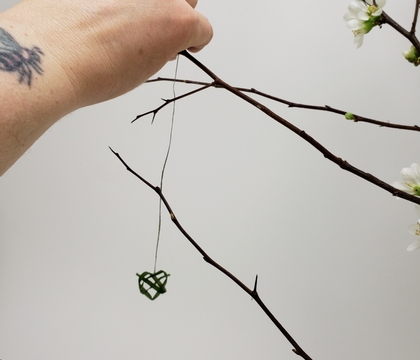
Now this one required a bit more floral magic to keep the upside down blossoms from dropping their petals without a water source. A whole lot…
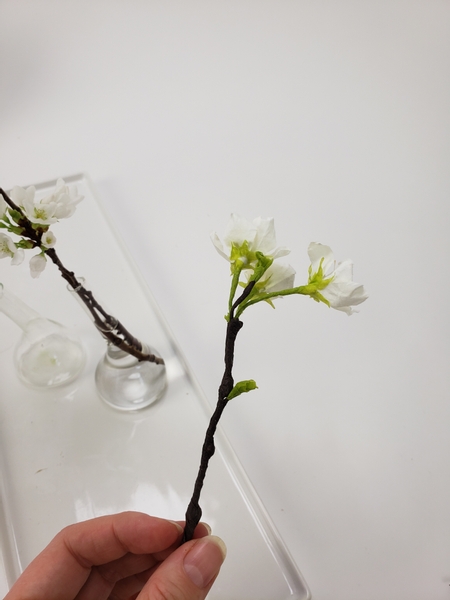
I made those from coffee filter paper and florist tape.
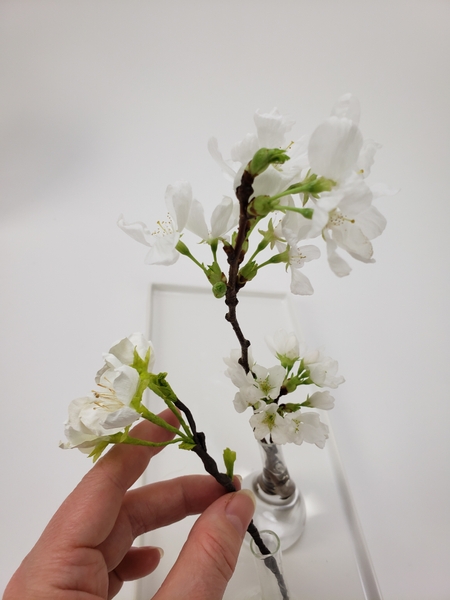
I wanted to take a bit more time on this one so I decided to add the result (a video) to the easier Paper Flowers Tutorials I made a few years ago.
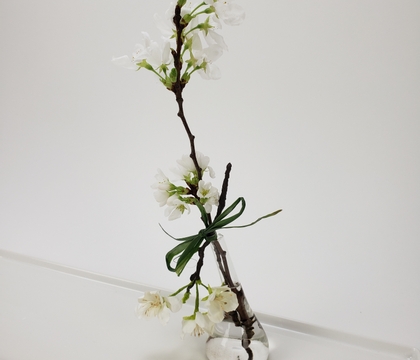
But the design really is all about the delicate upright blossoming stem though.
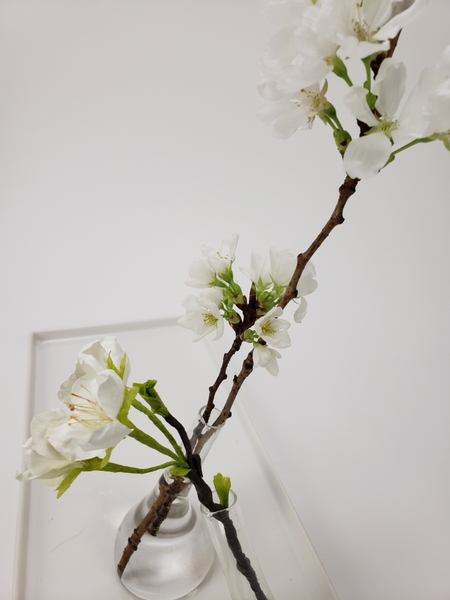
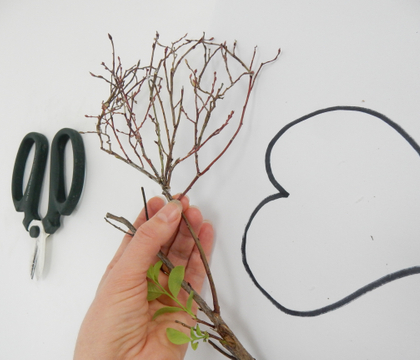
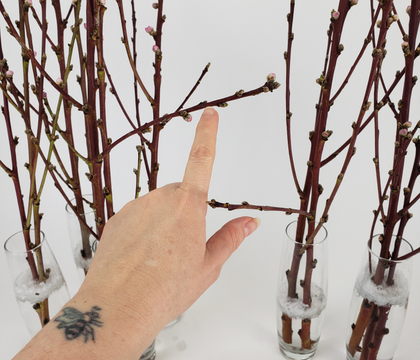
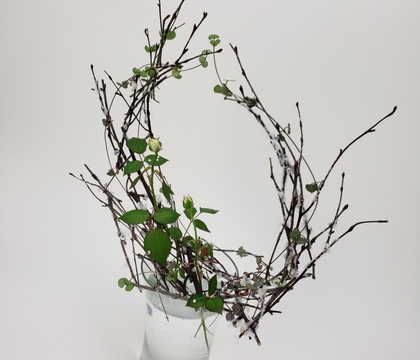
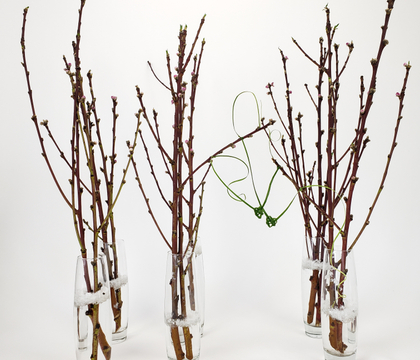
These need much less floral magic. Simply bring some of those non-essential branches pruned from blossoming trees inside to encourage them to blossom early.
We have a meditation garden as part of our apartment building gardens and I always keep an eye out for when they are pruning (usually after about 6 weeks of really cold weather) so that I can go ask for a few (a lot!) of branches to bring inside. I am surprised that there are not more people who collect a few branches to “force”. Probably because “force” sounds so awful, don’t you think? It needs a rebrand. What can we call it instead of “forcing”?
Whatever we call it, here’s what I do:
Always, always, except… no… always ask for permission to collect anything in nature. Even when foraging. If it does not belong to you it belongs to someone/something else. If you do not have permission you do not have permission.
Then before heading out, fill a large container (that won't tip over when you add heavy branches) with water. Set it aside so that chlorine can evaporate and it can get to room temperature. Sterilize your cutters.
Once cut from the tree, pick out your branches to bring inside. You should already see tiny buds on the stems.
Designers used to crush the stems with a hammer to condition. Unfortunately this also crushes the cells that transport the water up the vascular system of the branches. Instead preserve the stem cells by giving each branch a clean cut, at an angle, with a sharp cutter and place them in your prepared water container. And to make sure the blossoms last as long as possible give each branch a regular cut to remove the calluses that the branch form to prevent evaporation so that the branch can continue to take up water and replace the water regularly to stop the bacteria forming from anything dissolved in the water and any debris falling into the water from clogging the cells and causing the branch to rot.
Book readers turn to page 69 for more first aid for plants experiencing trauma after being cut… from the plant’s perspective. For more information about my book: The Effortless Floral Craftsman
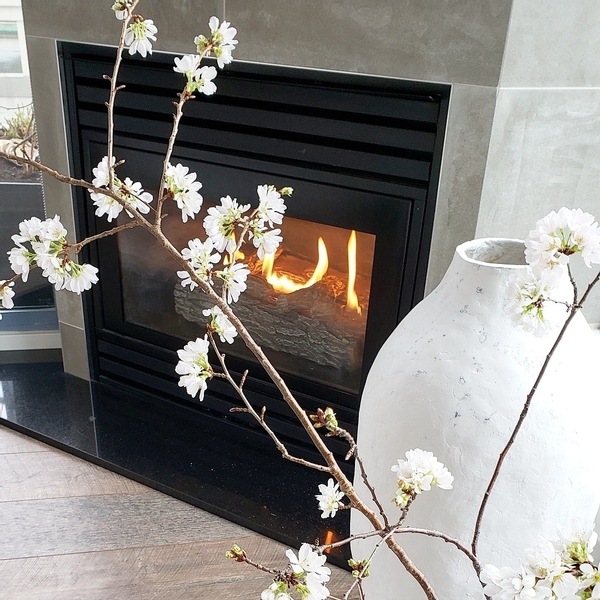
As the blossoms appear, place the container somewhere for you to enjoy. I like to divide mine to enjoy all around the apartment. A few stems closer to the fireplace- they blossom really fast and I can enjoy them first although for a shorter period. And a few around the apartment away from heat and out of direct sun so that they blossom at different times.
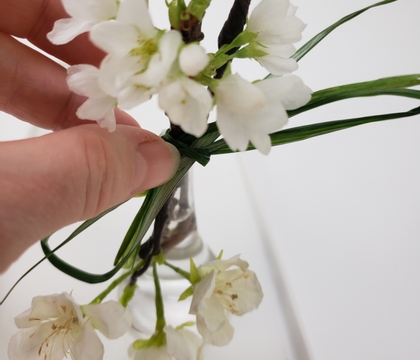
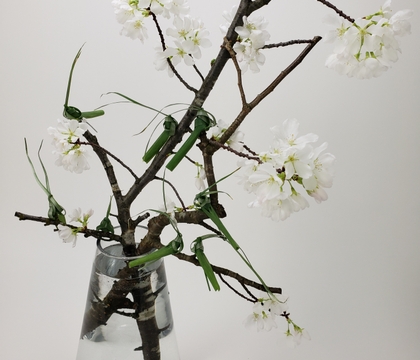
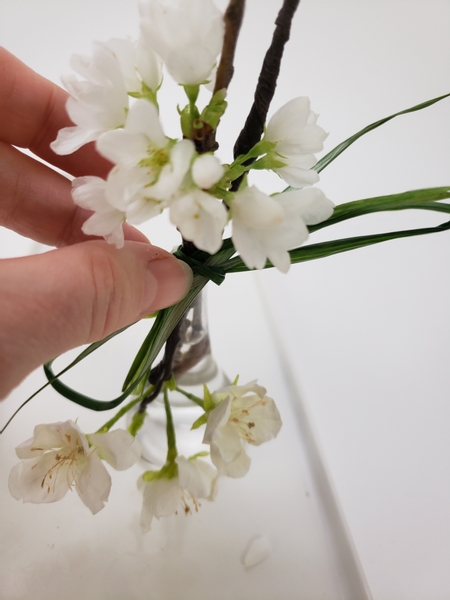
Like this week’s design, simply tied with an oversized bow of ripped grass. The large bow not only add a bit more fresh plant material to the design but also divide the contrasting paper blossoms and the fresh blossoms like a reflection, one pointing up and the other pointing down.
Let me know if you have more tips by replying to this week’s tip and notification email…I would love to hear what you do. You can sign up to the email below this post.
Sign up for my weekly newsletter
Every week I add a new design with related tutorials. Be sure to subscribe to receive an email notification with design inspiration.
