Christine de Beer - effortless floral craftsman
Catch Blossom Petals in a Pussy Willow tray basket
- 2 March 2021
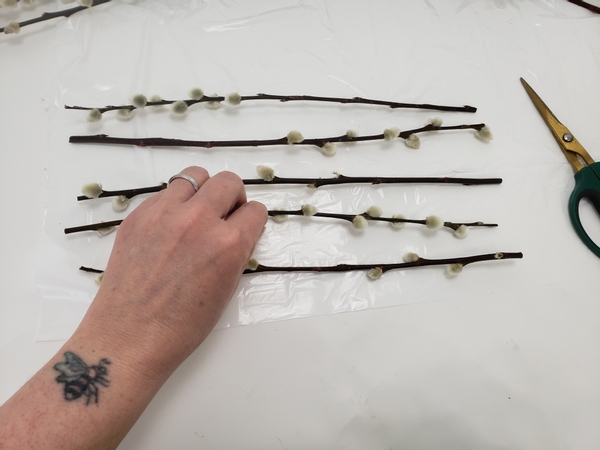
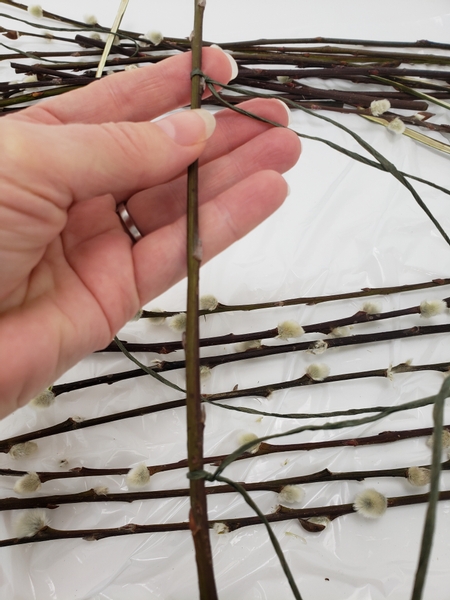
Place pussy willow stems on a flat working surface.
Every week I highlight something more to learn and discuss it in our weekly notification email. This week I am telling you how to craft the basket so that you have catkins all over the basket design rather than it be concentrated only where they have opened on the stem. You can sign up for the free weekly email and you are welcome to reply to the email if you have a comment to share or a question to ask. The subscribe button is below the post.
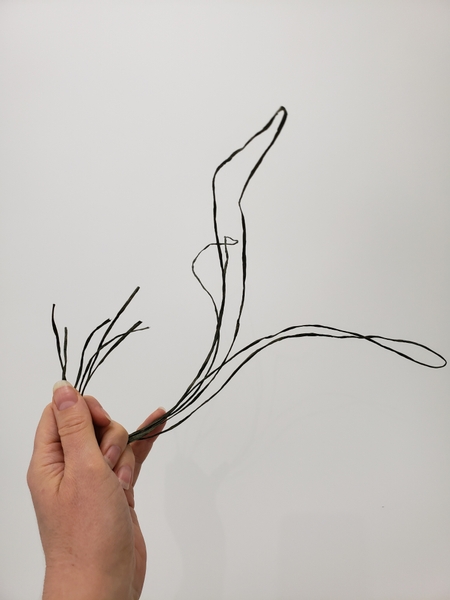
Cut three wires and bend them in half.
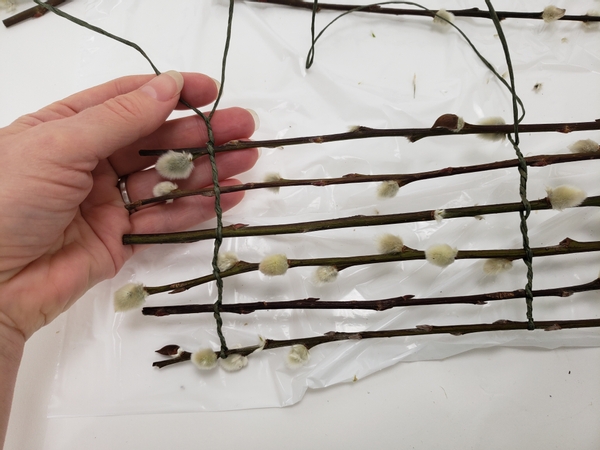
Hook the wire around the first pussy willow stem...
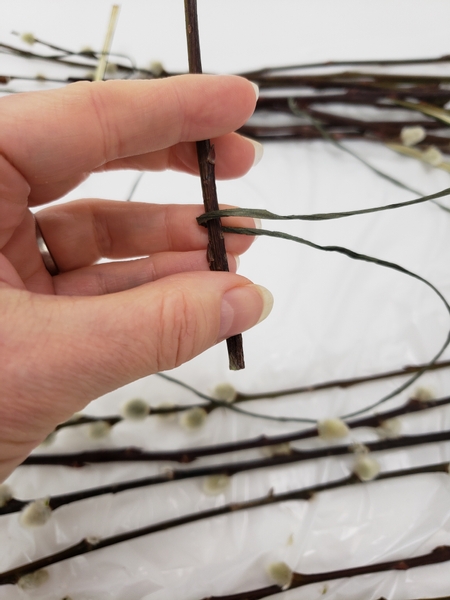
Give the wire a firm twist.
Move up to the other end and hook and twist the wire to secure.

Hook and twist all three wires over the twig.
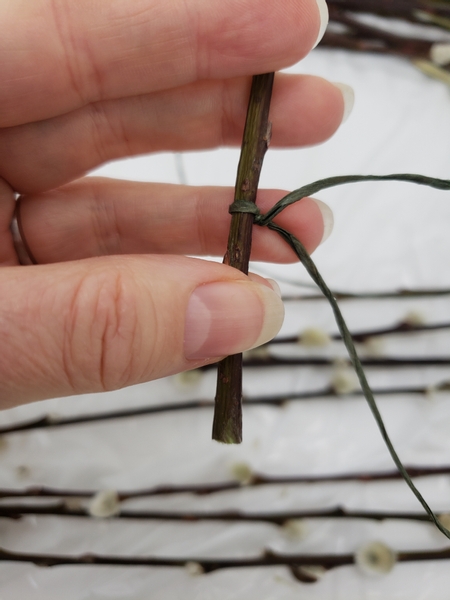
Give the wires a twist to create a spacer.
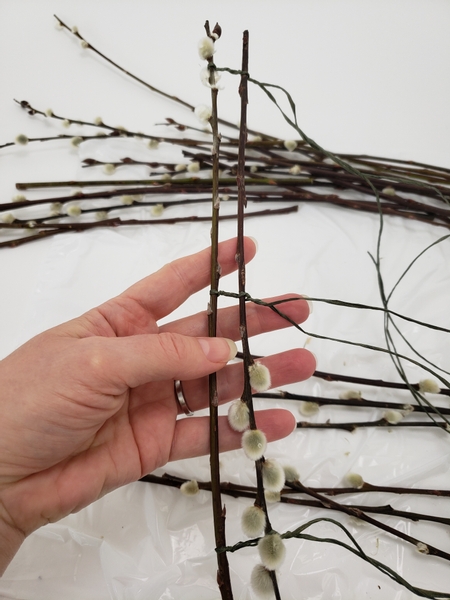
And hook and twist in the next twig.
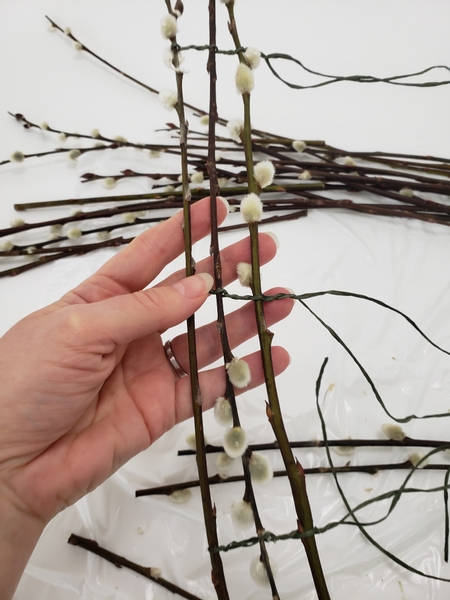
Hook and twist in the third twig... and the next... and the next...
Design note: the quickest way to add the twigs is to bend open the wires wide...

Slip the twig between the wires...
And twist the wires to secure.
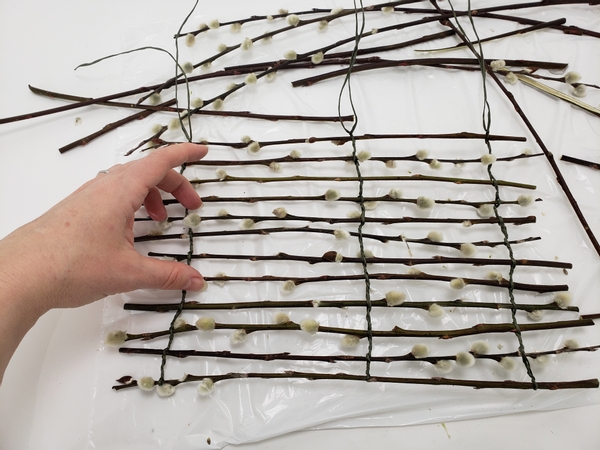
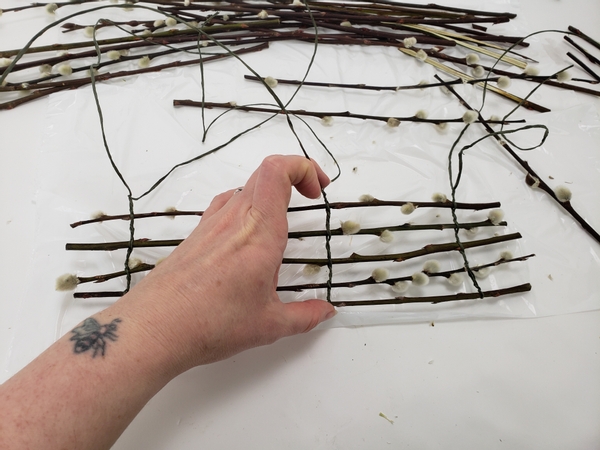
Build up a large enough tray of twigs to be shaped into the size basket you require.

Bend the wires to curve into the shape of the basket.
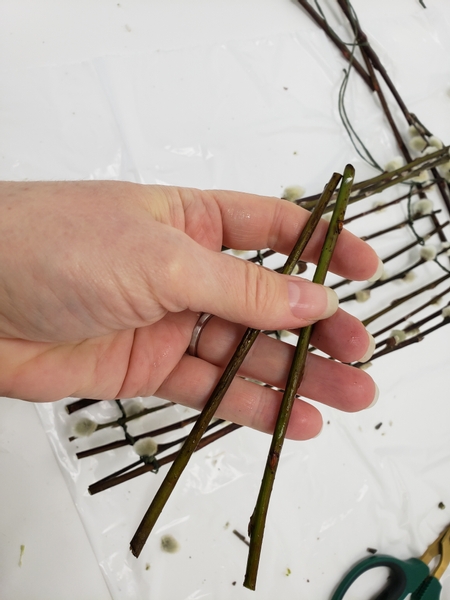
Cut two pussy willow twigs...
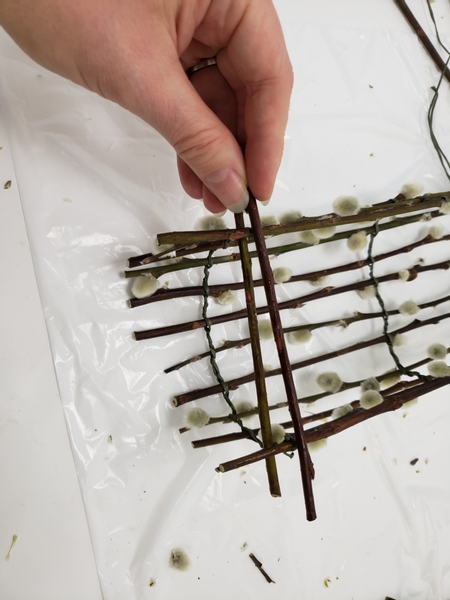
And place them one above and one below the top twigs on one side.
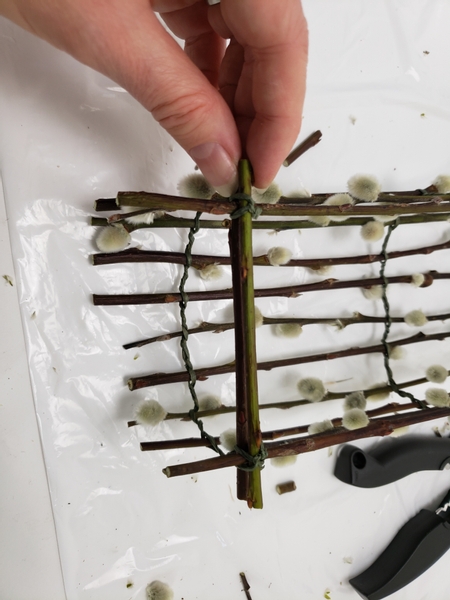
Secure the twigs with bind wire.
Book readers turn to page 36, where I talk about wires you might want in your tool box. I show you how to make your own bind wire in any colour to perfectly match the design.
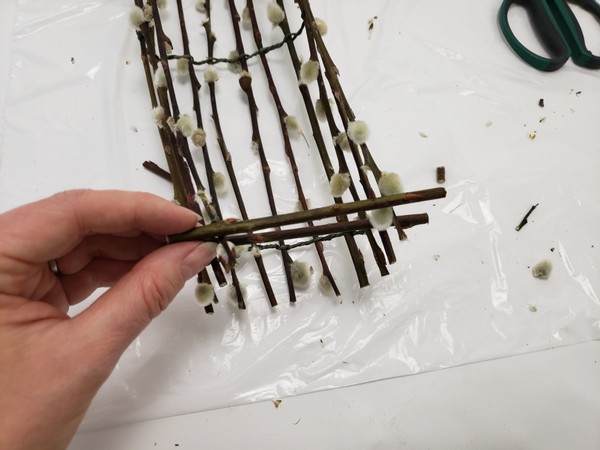
Turn the basket and secure the other side with two twigs so that the basket keeps its shape while you work on it.
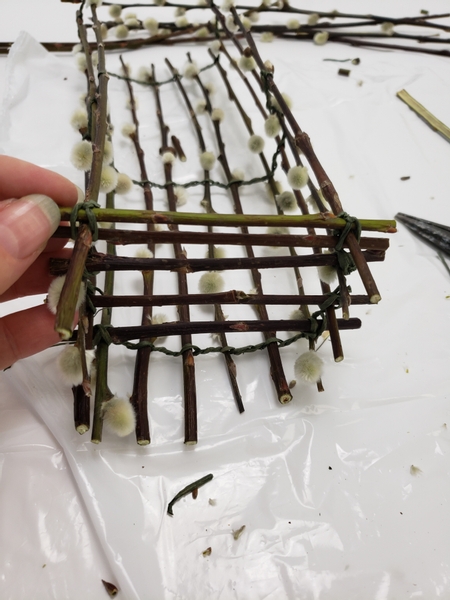
Wire in a ladder of twigs to close up the sides of the basket.
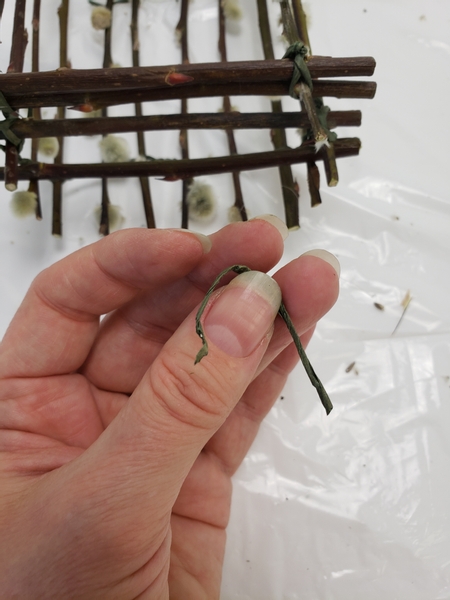
Bend the wire into a hairpin...
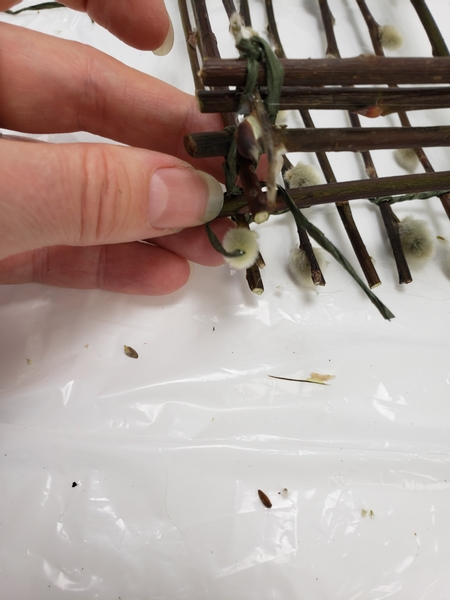
Hook the wire to cross over both the twigs and secure it with a figure eight twisting it at the back.
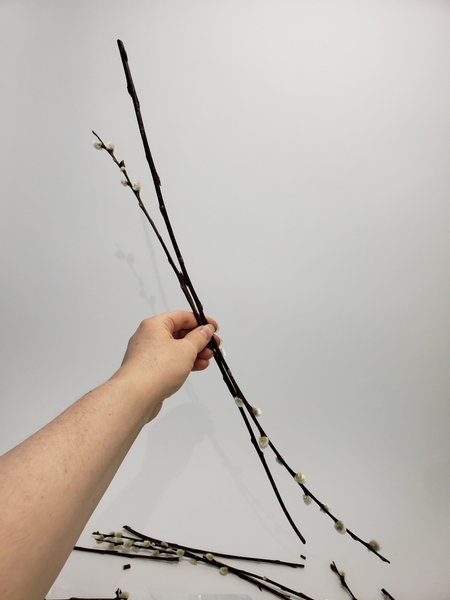
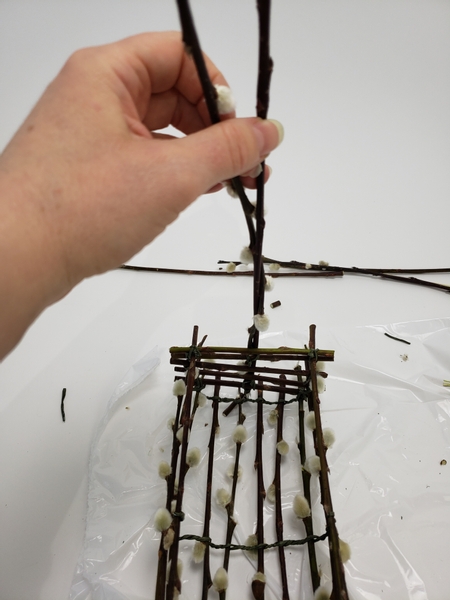
Match two long pussy willow stems...
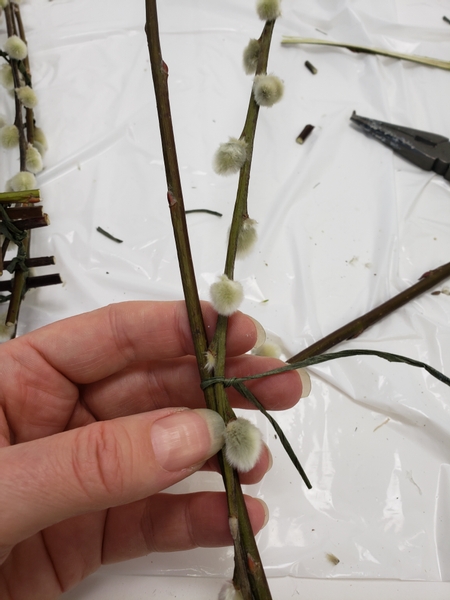
Twist a wire around both stems...
And secure the twigs to the side of the basket with a figure eight wire.
Carefully wind the stems. Make sure not to break any of the catkins off of the pussy willow twigs. Gently curve the twigs to bend over the basket towards the other end.
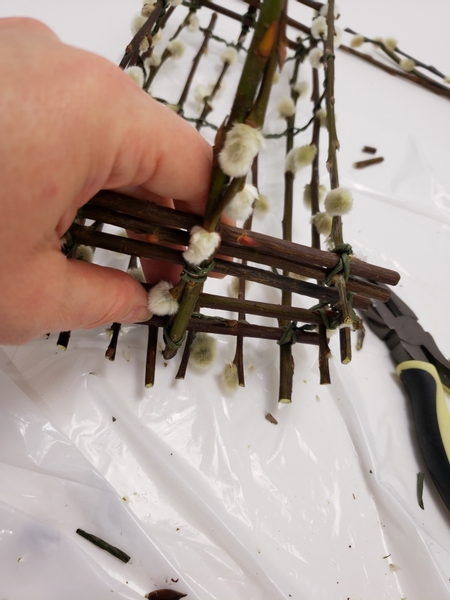
Secure the longer pussy willow twigs to the other side of the basket with wire.
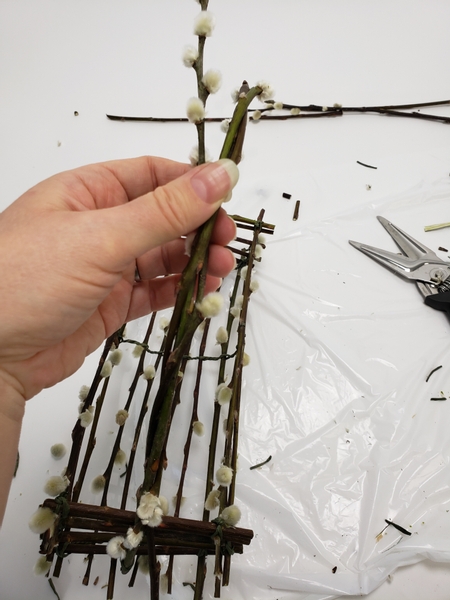
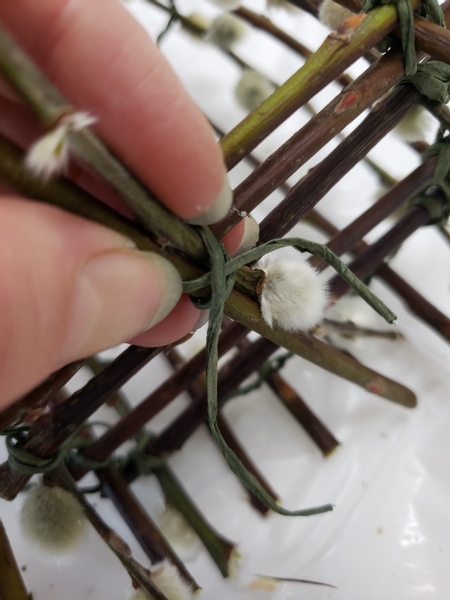
Weave in a few more pussy willow twigs to create a more substantial handle for the basket.
Tucking the ends into the twigs to secure.
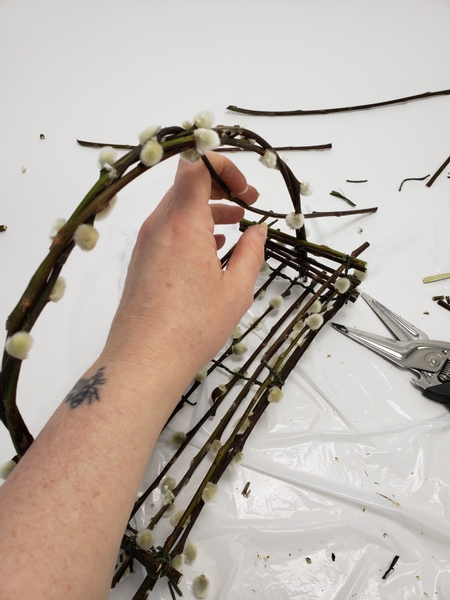
If you are unsure of how to do this see the Tutorial below where I show you how to weave a wreath with twigs.
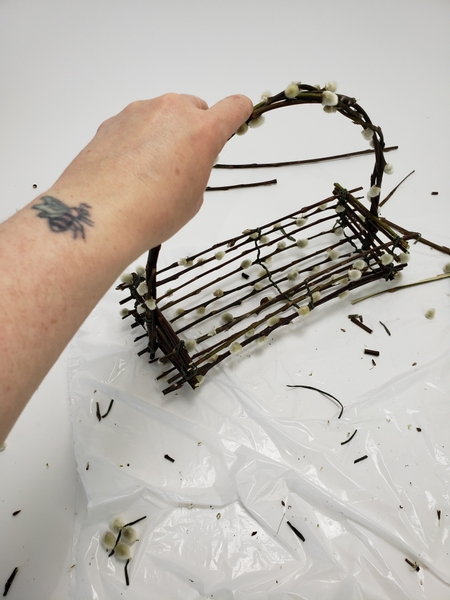
Set the basket aside for the twigs to dry out.

The pussy willow basket is now ready to design with.
To use the basket as an armature to keep the blossoms in place:
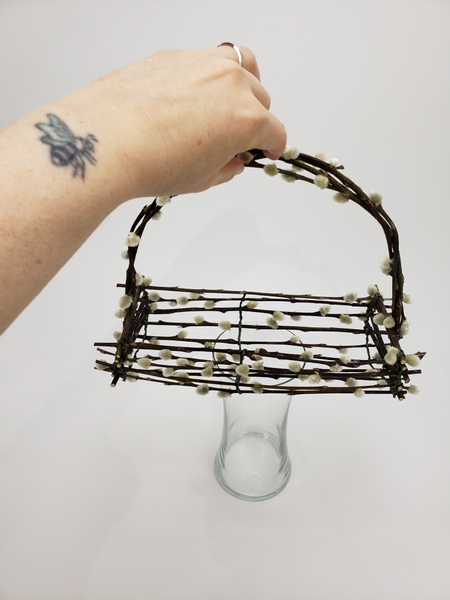
Place the basket on top of a vase...
Fill the vase with water.
Now for my design I wanted to capture the magic moment when the blossom petals are blowing everywhere... my favourite mess of all messes...

Shake some petals from the blossoms... keep it aside.
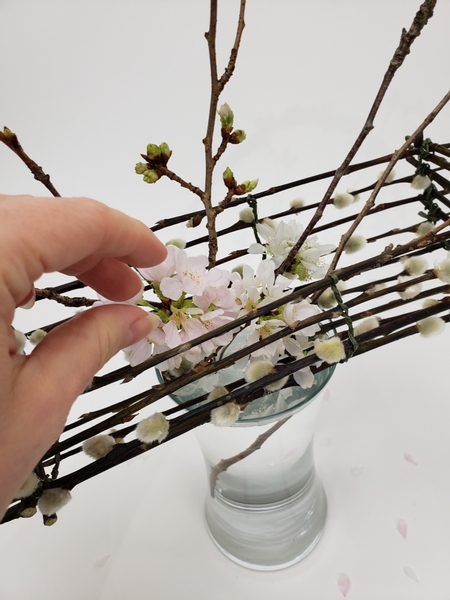
Place a few blossoming stems into the basket with their stem ends in the water so that they remain hydrated.
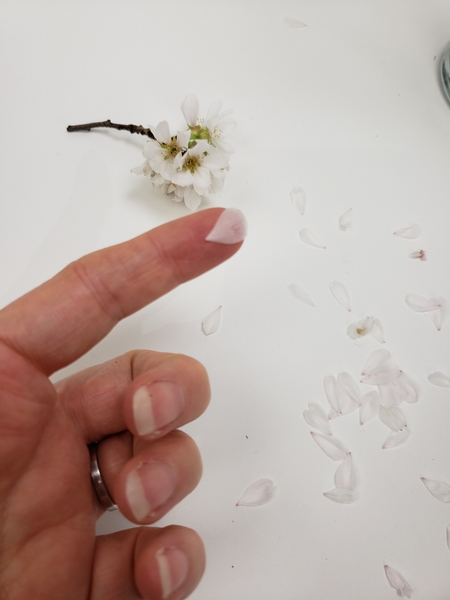
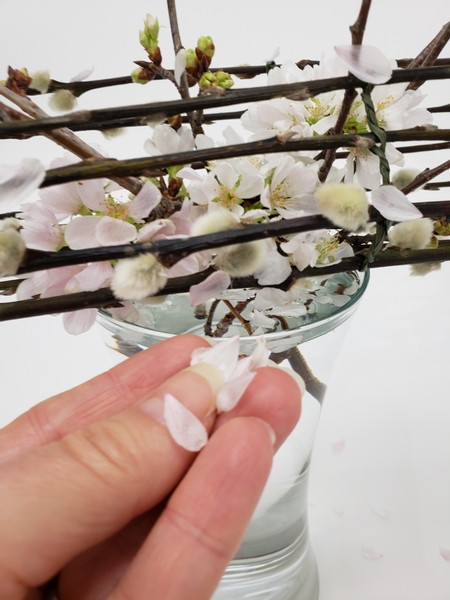
Carefully pick up a petal...
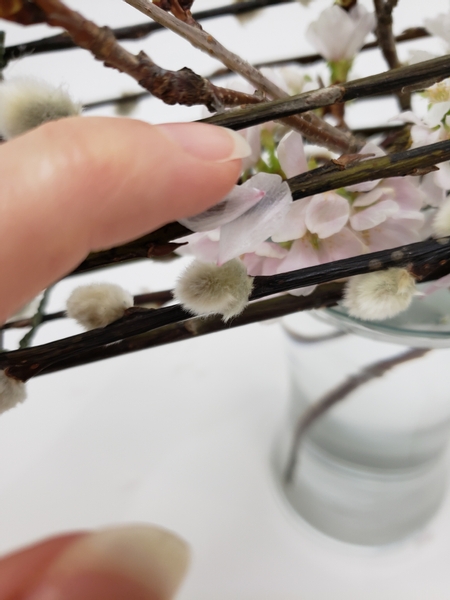
And use floral glue to glue it into the design so that it dries in place.
Float a few petals on the surface of the water...
Remember: floating plant material in water will spoil quicker. But it looks so pretty and it is fairly easy to replace the water without disturbing the design. But it fits the look I was going for more than a pristinely clean vase... so.
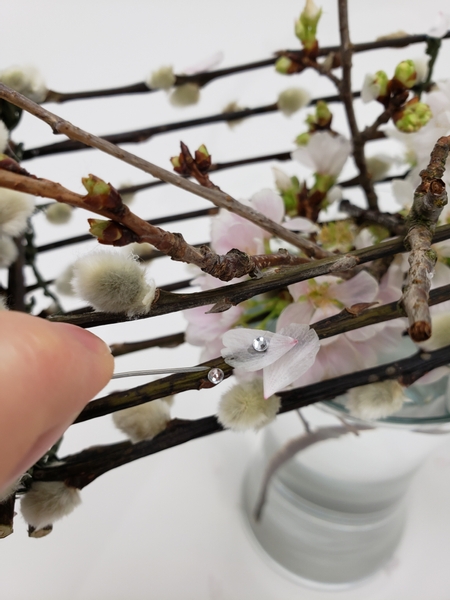
And add a few dew drop crystals to finish the design.
See the Tutorial below for more detailed instructions on how I add the crystals.
Sign up for my weekly newsletter
Every week I add a new design with related tutorials. Be sure to subscribe to receive an email notification with design inspiration.


