Christine de Beer - effortless floral craftsman
Glue an early Spring basket from leftover cherry blossom twigs
- 1 March 2023
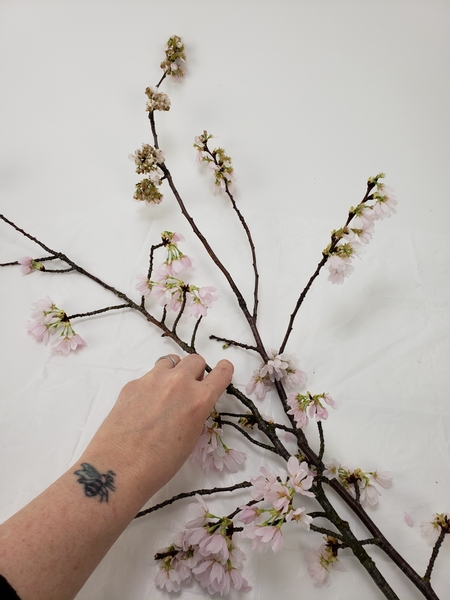
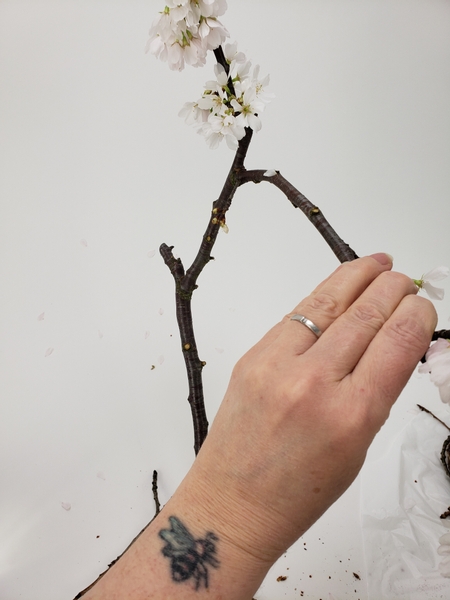
It is so wonderful to bring in a few branches for some indoor blossoms. And once the petals drop and the blossoms start to fade you can use the branches to craft a basket.
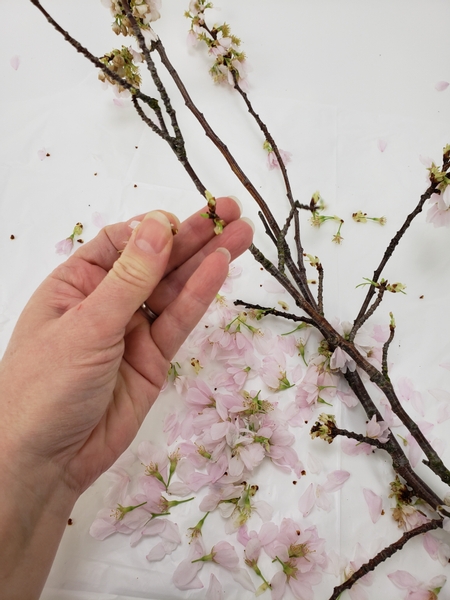
Remove the faded blossoms...
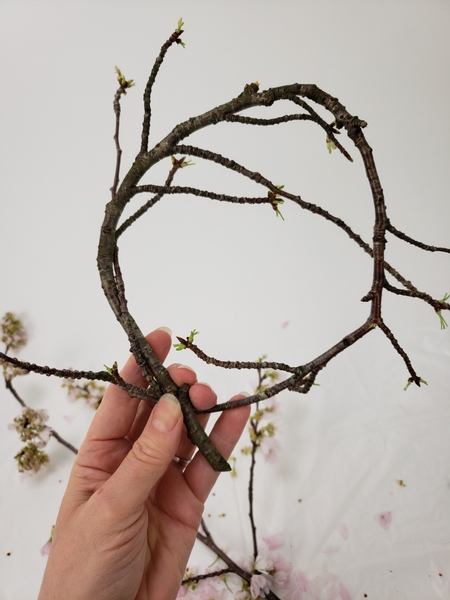
Cut the longest most flexible branches to craft into two wreaths by first curling a twig into a circle.
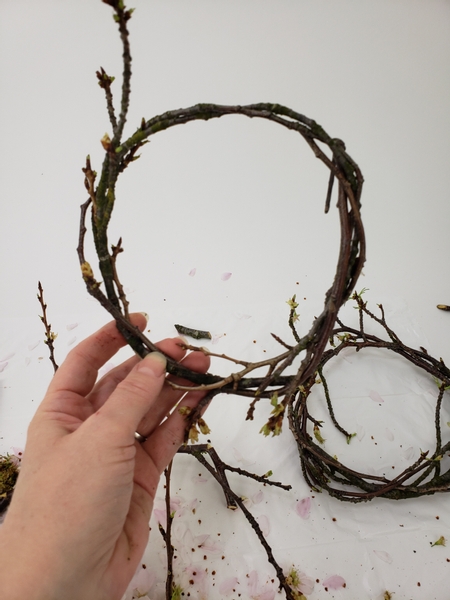
Add a few more twigs and weave them into a wreath.
For more information on weaving a wreath see the Tutorial below.

I want my basket to look natural, a little wild and most importantly... handmade so I left a few pieces unwoven. Adjust your basket to suit your style.

Gently start to curve a sturdy branch for the handle.
Book readers turn to page 284 where I discuss Crafting an illusion and give you tips on how to manipulate branches.
For more information about my book: The Effortless Floral Craftsman
Be very gentle and curve the branch into a long legged u shape...
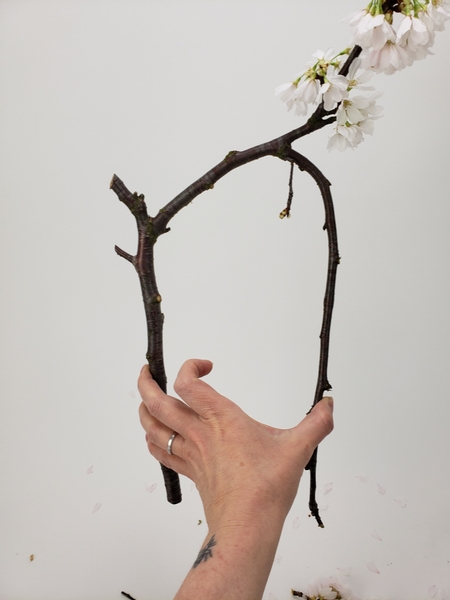
... That extends from the one side up and over and down the other.
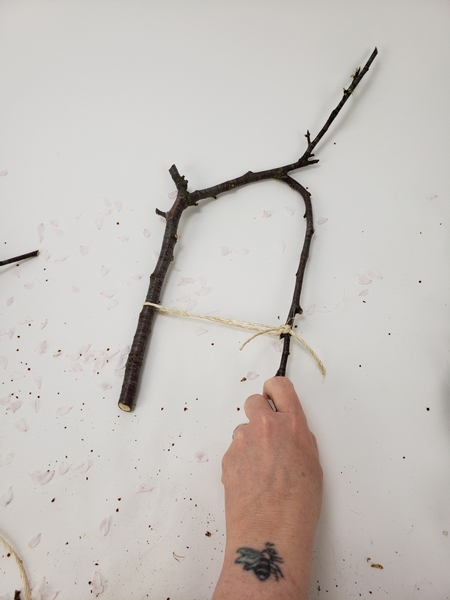
Tie the branch temporarily to keep the shape.
Again, this is where we add our own style to the basket. Cut away any pieces of the branch that you do not want. I loved the pointy up twig that is somewhere up over there... it gave the handle personality so I am leaving it on. Work with what you have.
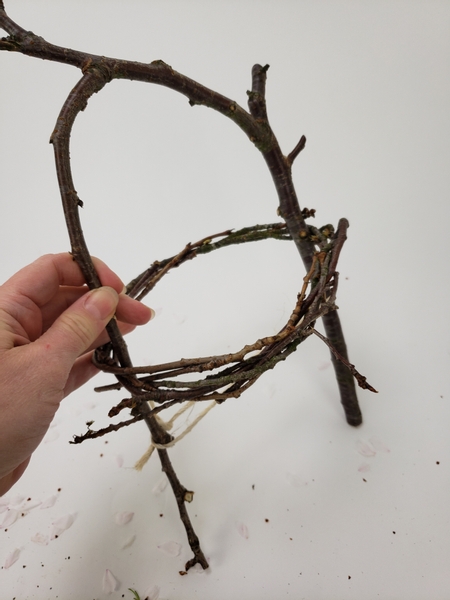
Slip the first wreath over the twig handle.
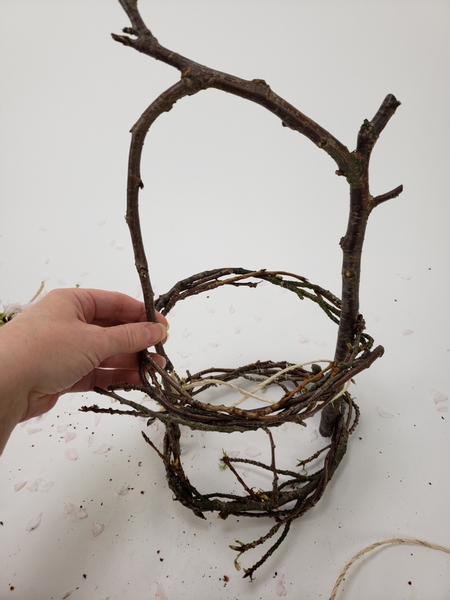
Slip the second wreath over the handle to sit below the first wreath.
Space out the wreaths. These will be the top and the bottom of your basket.
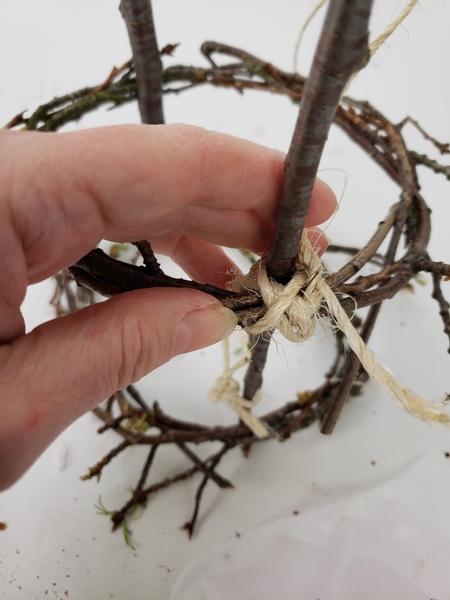
Temporarily secure the wreaths to the handle with a knot.
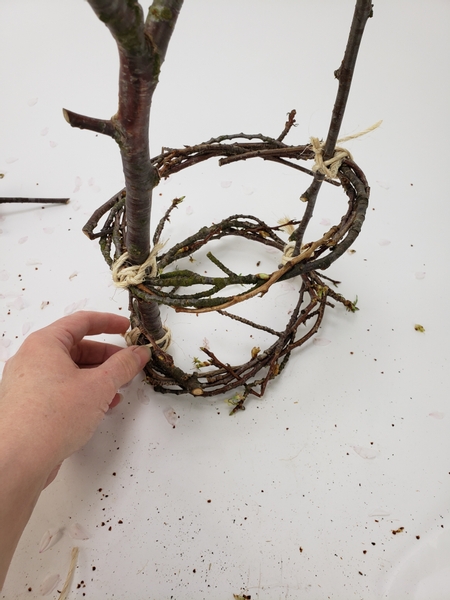
Position the bottom wreath so that the basket shape can stand upright. Cut away any twigs that makes it difficult for the basket to balance.
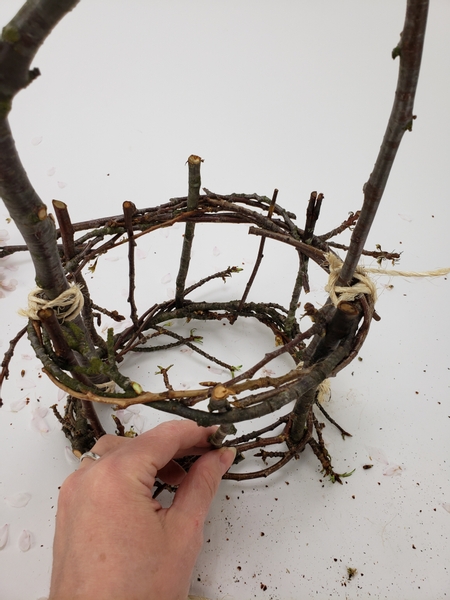
Weave in twigs through the top wreath down to the bottom wreath to start filling in the sides of the basket.
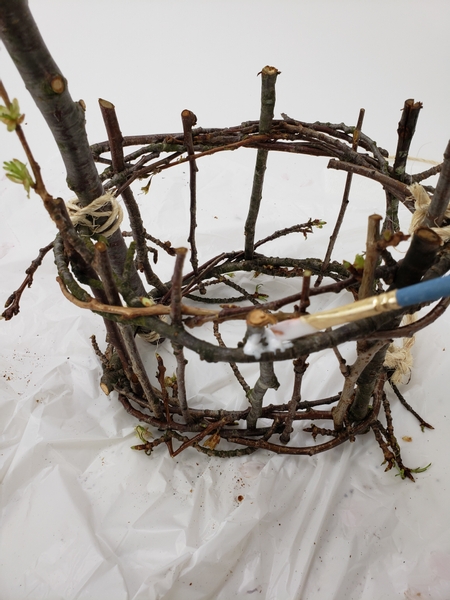
I wanted to see if I can glue the basket in place. If your basket is going to get wet it would be better to wire the twigs in place. I have added wired basket Tutorials below for you to use as inspiration. But for mine I used loads of wood glue...
Loads and loads of wood glue. Soak every connection piece with glue. The glue dries mostly clear and the runs that might be visible looks like water drops... so it's not too bad for a spring design. You can also sprinkle artificial snow on the glue to conceal that if you prefer. I have added Tutorials for that below to show you what I mean. But for my design... I wanted just the glue.
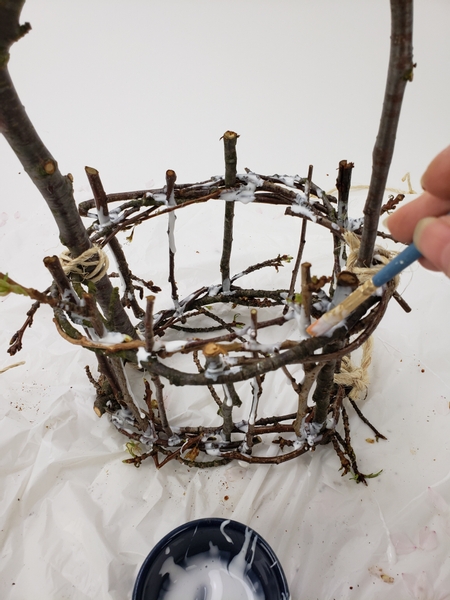
Add a few more twigs with a few more drops of glue all the way around the basket.
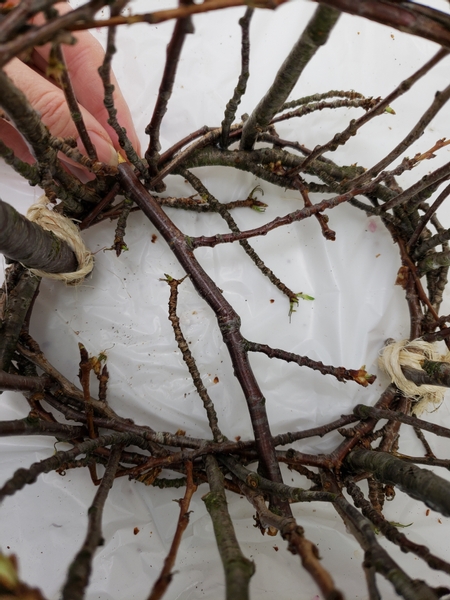
Place a sturdy twig that forks to extend over the bottom of the basket. The more side branches extend over the bottom of the basket the easier it will be for you to fill in the gaps.
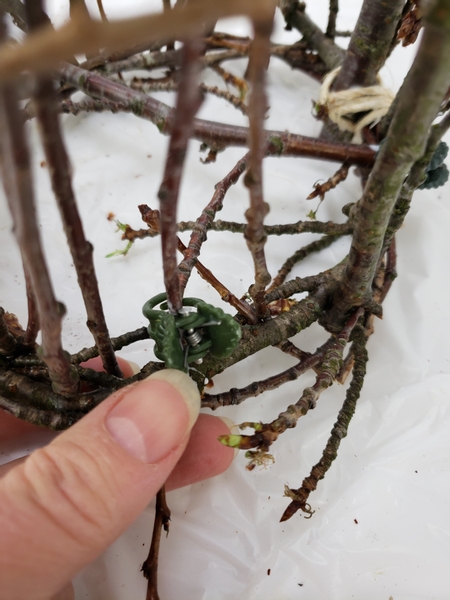
Create a flat bottom for the basket by bending the twigs into place. Add glue and secure the twigs into position with butterfly clips so that the glue dries in position.
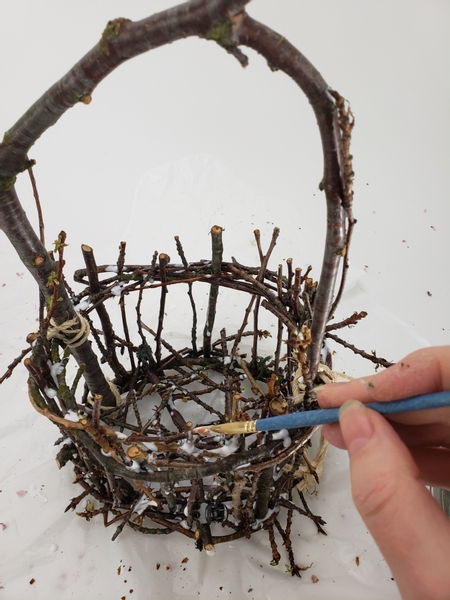
Once all the twigs are in position go over the basket and paint in another layer of glue.
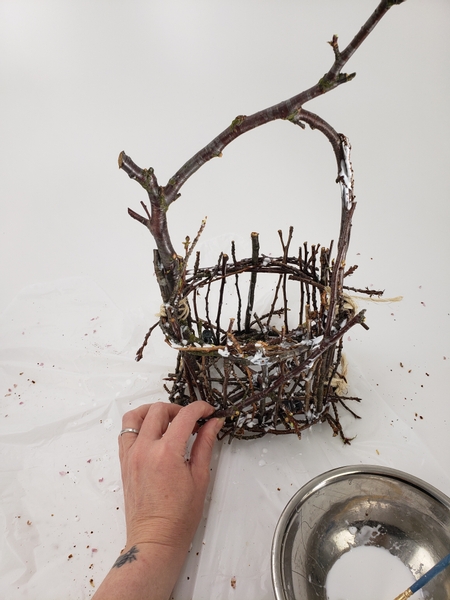
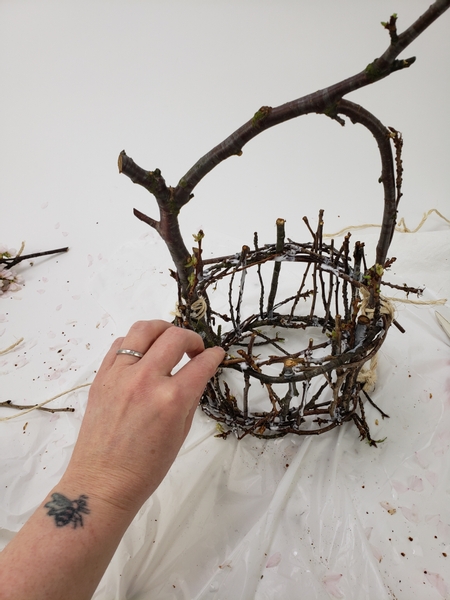
Add a few twigs into the basket to start the design and break up the formal pattern created by the wreath and twigs.
This is your moment to add the personality of your basket. What would you like your basket to say?
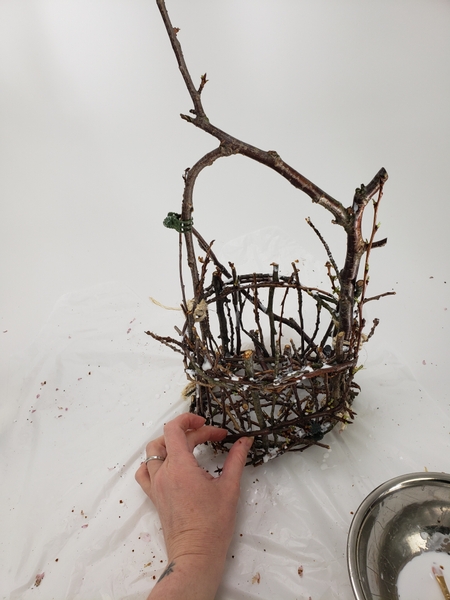
Set the basket aside for the glue to dry completely.
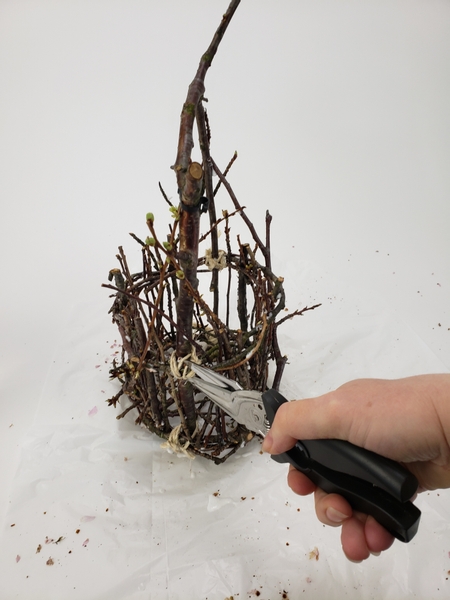
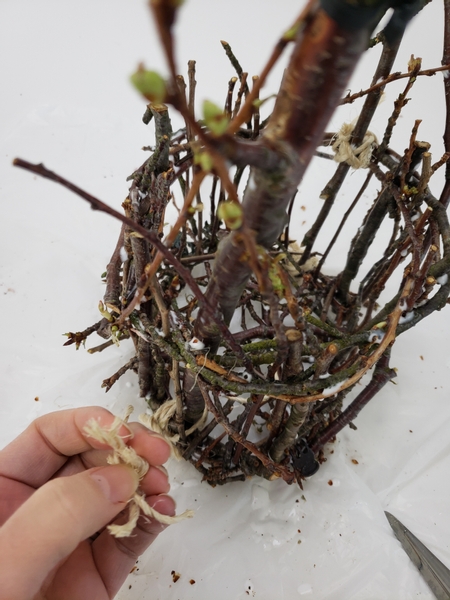
Once dry cut the support string...
And remove the string.
Test the basket to see if it is secure. If anything still feels wobbly add a bit more glue and keep it in place with the butterfly clips.
Remove all the butterfly clips
I wanted to show you how I get these delicate vines to stay in the water tubes without slipping out. You can read about it in our email this week. You can sign up to receive your weekly tip... and ask me questions or comments or say hi by replying to the email. I would love to hear from you. The sign up is below this post.
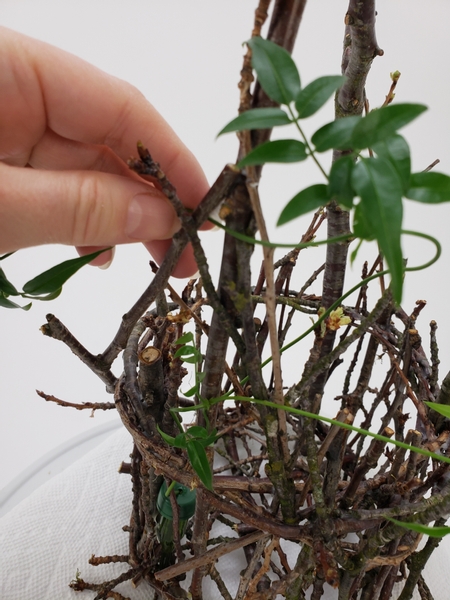
Glue the water tube into the basket and weave the vine through and up to the handle.
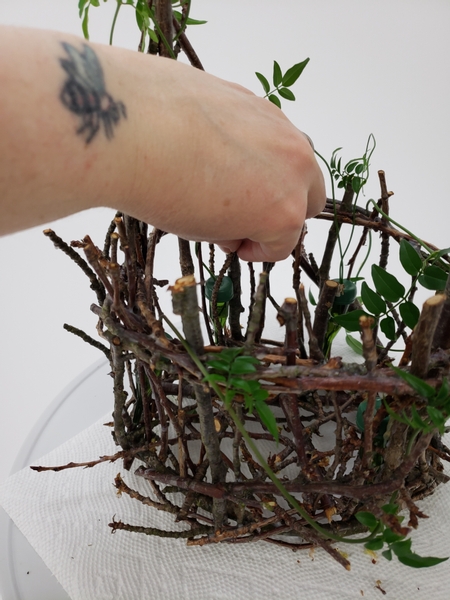
Glue a few twigs over the water tube to cage it in and conceal it.
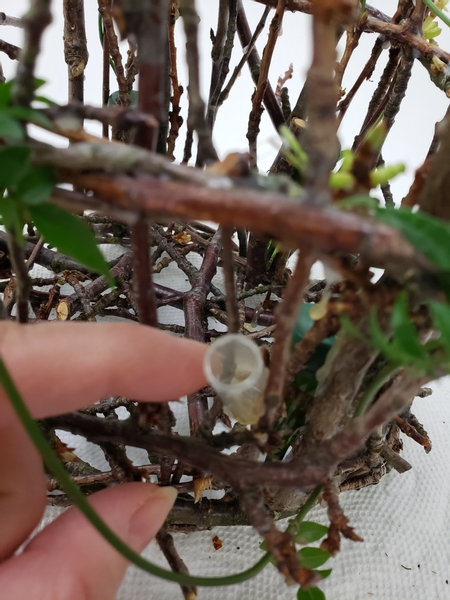
Glue in a few small water tubes for the flowers. If it is a display basket , like mine, you can add open water tubes so that it is easy to refill and replace the flowers. I make these tiny water tubes from drinking straws or pipe. See the Tutorial below for more detailed instructions.
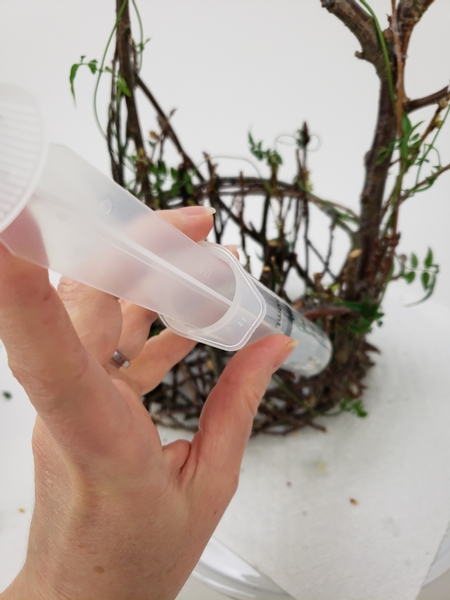
Fill the tubes with water.
See the Tutorial below for more detailed instructions on how I adjust a syringe to fill my water tubes.
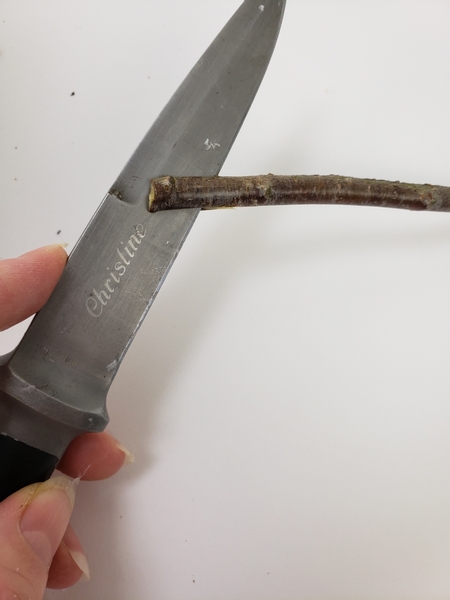
Split a few twigs with a sharp knife...
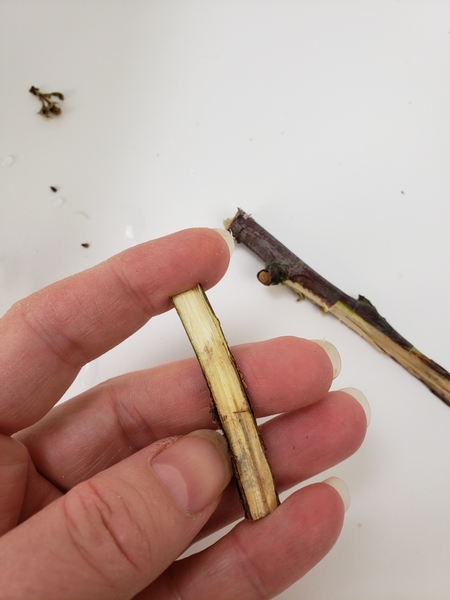
to create a flat surface...
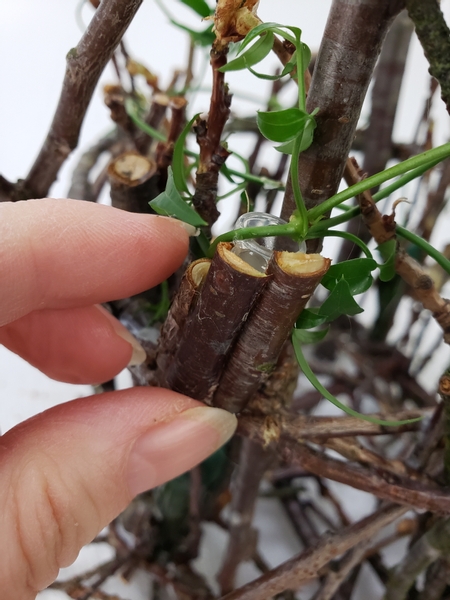
so that you can conceal the water tubes if you prefer.
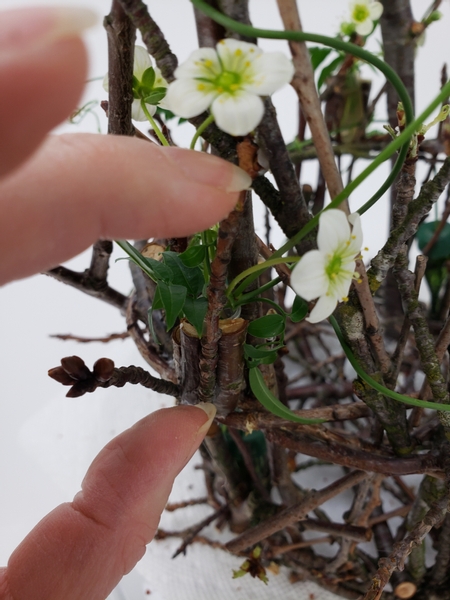
Add in your flowers so that they are kept in position by the twigs.
Isn't these Lime Saxifrage flowers gorgeous? They are in full bloom on our balcony garden at the moment.
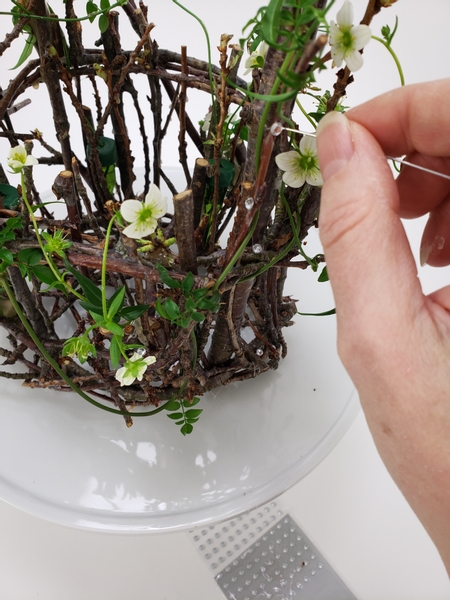
Finish the design with a few dew drop crystals.
See the Tutorial below for more detailed instructions on how I place these crystals in my designs.
Sign up for my weekly newsletter
Every week I add a new design with related tutorials. Be sure to subscribe to receive an email notification with design inspiration.


