Christine de Beer - effortless floral craftsman
All dried Autumn hemisphere design that will outlast even the falling leaves outside
- 23 September 2020
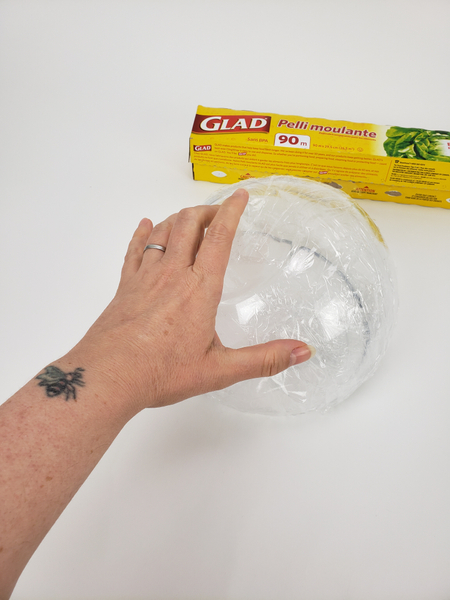
Cover a bowl with cling wrap...
This step makes it possible to remove the reads and makes clean up so easy. Keep the wrap once done. You can use it many, many times.
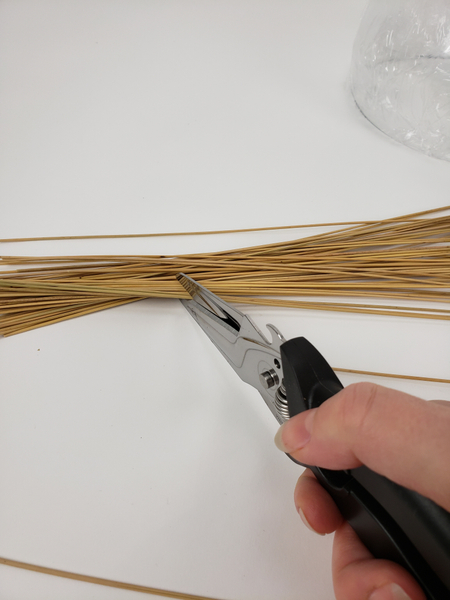
Snip a reed bundle into sections.
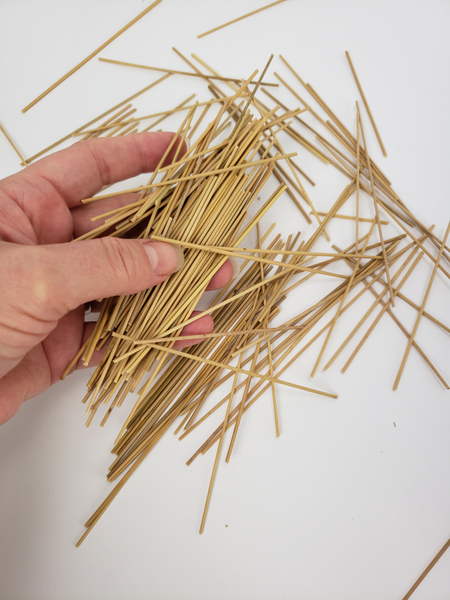
You will need a generous handful.
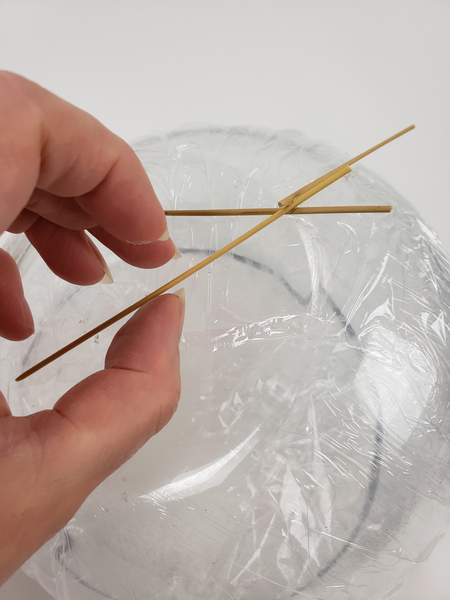
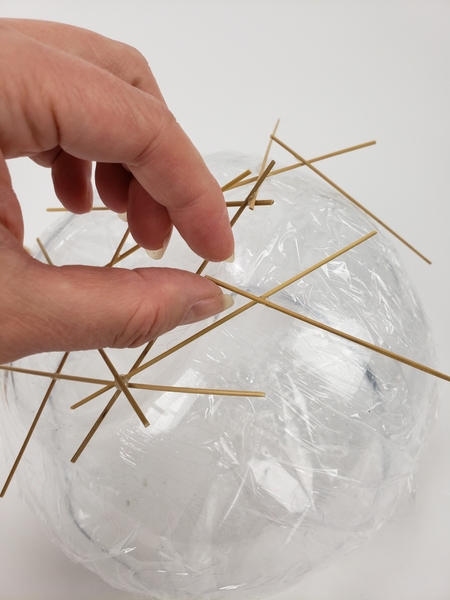
Glue the first reeds to the bowl shape... create a bit of an angle so that these first reeds hook over the edge to make it easier for you to design.
Design note: glue the reeds to the reeds and not to the cling wrap.
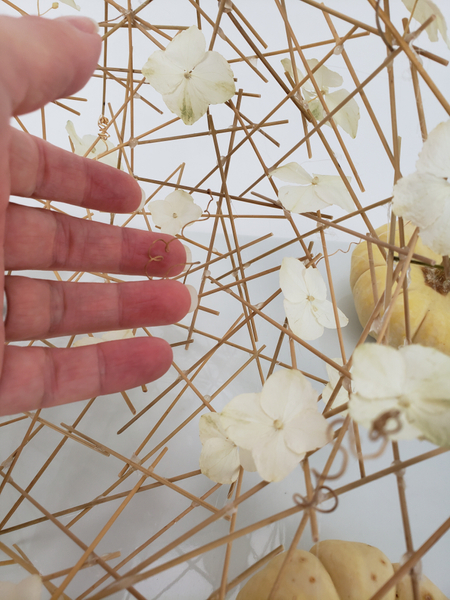
Build up the shape by gluing in new reeds to loosely follow the shape.
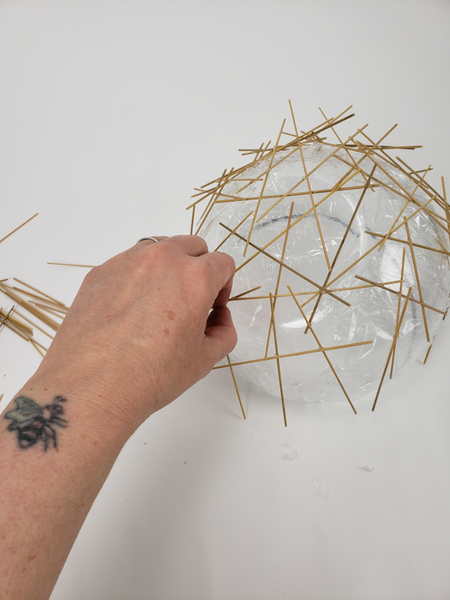
Design tip: Make sure each reed is connected to another reed at, at least three places so that you craft a really strong armature.
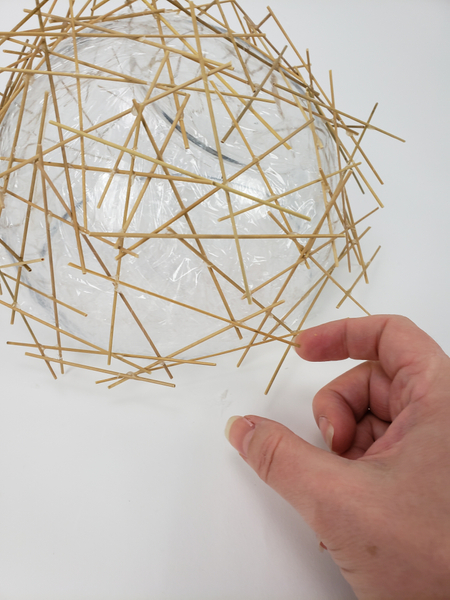
Turn the bowl shape and cover the edge all the way around.

Wiggle the reed bits to make sure they are all secure.
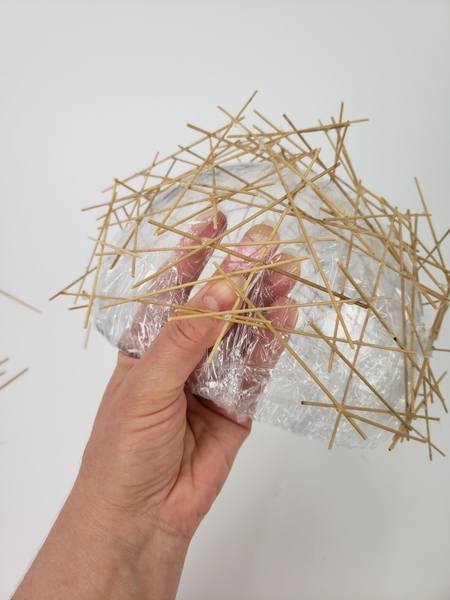
Slip your hand between the film and the reeds to make sure it is not stuck anywhere.
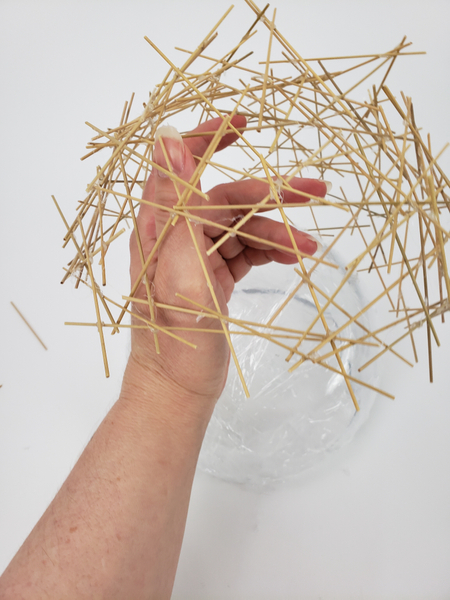
Lift the armature away from the bowl.
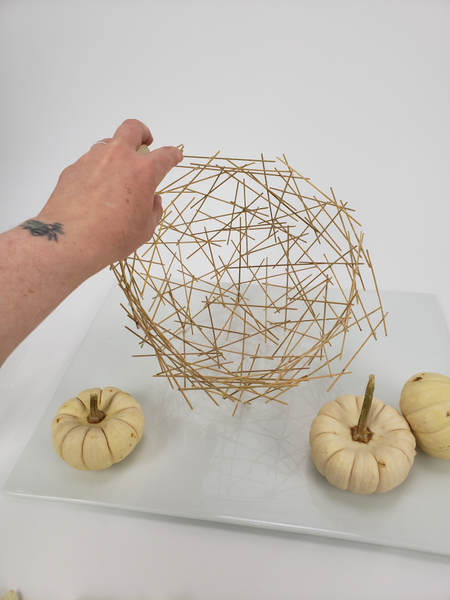
Set the armature at an angle on a display container. Arrange a few pumpkins around the armature... and you are ready to design.
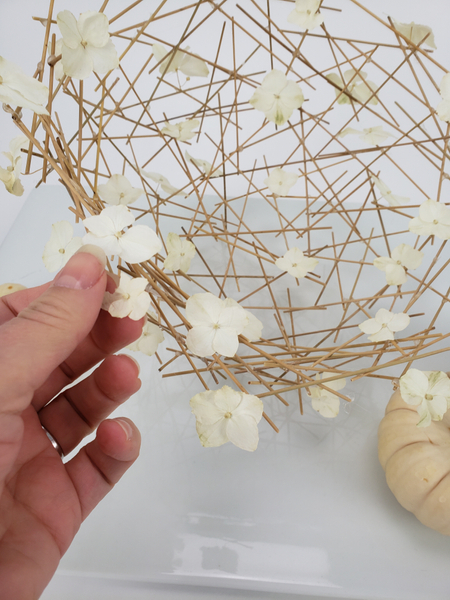
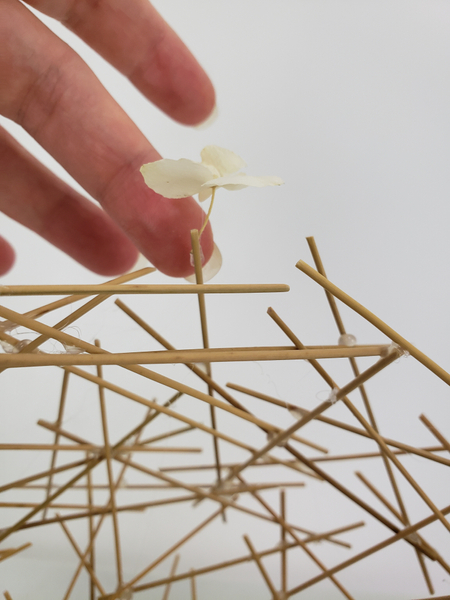
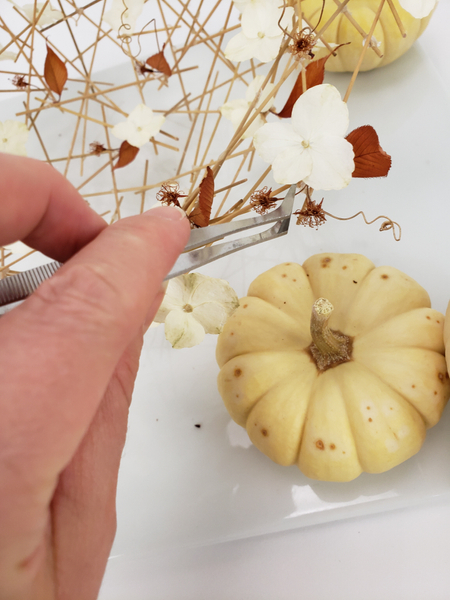
Glue in a few dried hydrangea florets...
Design note: I always divide the flowers and foliage I dry into batches so that I dry them using different methods.
Each method gives a slightly different result. For instance pressing flowers are flat and great for covering surfaces bit not so great for a light and airy design like this. For this design I needed a long stem on each floret so that it hovers over the reeds rather than be compact. So letting them dry naturally is a better option... but naturally drying shrivels the flowers a bit. So my solution in drying the flowers in a microwave. See below for a step by step picture Tutorial on how to do that.
Book readers: turn to page 110 for how to select flowers suitable for drying, listening to hear when it's dry... and a whole lot more.
Glue in a few dried tendrils...
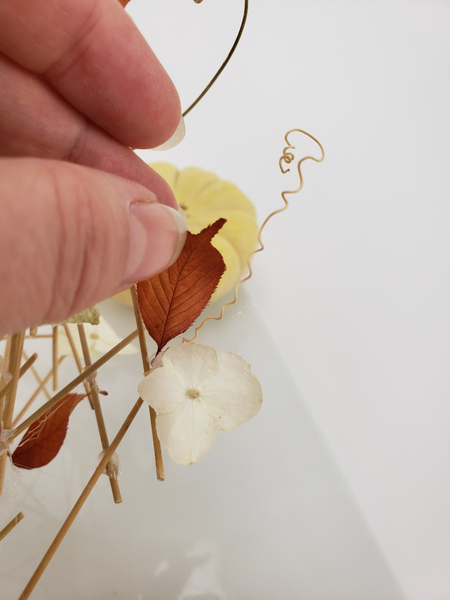
Reshape and glue in a few autumn leaves
In my newsletter this week I tell you my secrets for how I reshape semi or dried and brittle plant material. Make sure you are signed up to receive my one email a week, always on a Wednesday morning, always close to eight notification newsletter. I always include an exclusive tip for you so that, if it's something you are particularly interested in and you want to learn more (or share a tip with me) you can just press "reply" and we can chat about it.
I finished the design with a few dried cherry blossom stamens... so impossibly fine that I had to use tweezers!
Sign up for my weekly newsletter
Every week I add a new design with related tutorials. Be sure to subscribe to receive an email notification with design inspiration.


")


