Christine de Beer - effortless floral craftsman
Standing flower stems upright In Perlite
- 3 May 2023
- and more
I use perlite to root my cuttings... and to support flower stems in an upright position in designs. I tell you a bit more about it in our email for this week. Make sure you receive your email from me every Wednesday morning (Vancouver time) by signing up below this post. Every week I show you a small detail from the design that particularly caught my interest. If you have comments or questions... or want to say Hi and tell me what is happening in your floral world you can reply to the email.
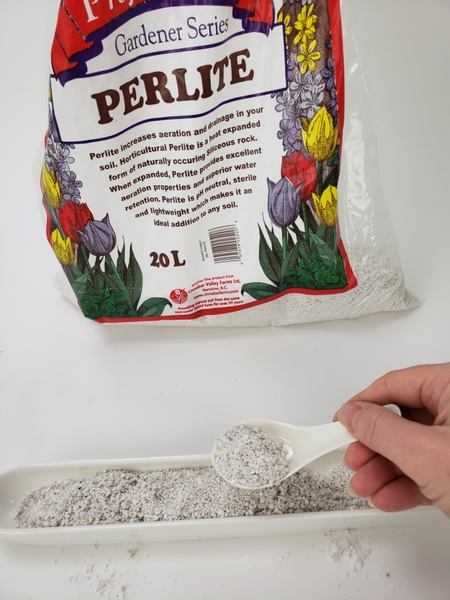
Scoop Perlite into your container...
Design note: Work with the perlite damp. You can use a spray bottle to moisten the surface before scooping as much as you need to fill your container. See our email for more details.
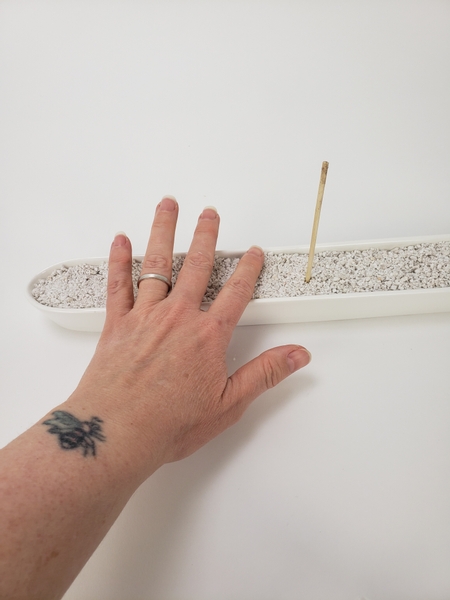
Make sure you have enough Perlite in the container by poking a stick into it to see if it remains upright. For taller and heavier stems you will need a deeper container filled with Perlite to support it in an upright position.
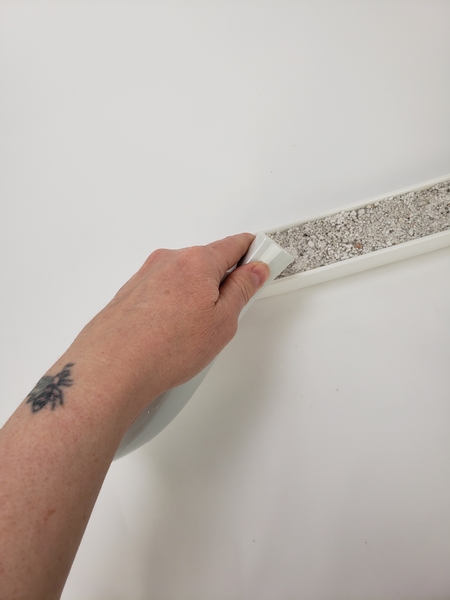
Add water to soak the Perlite.
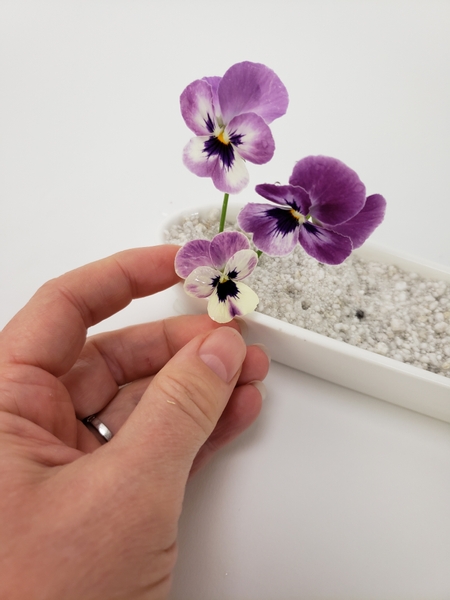
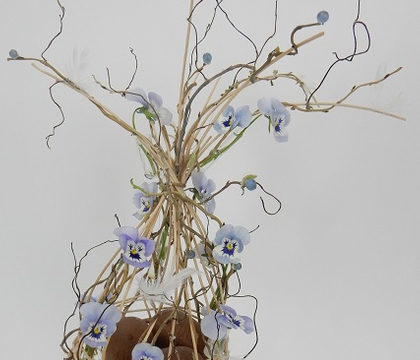
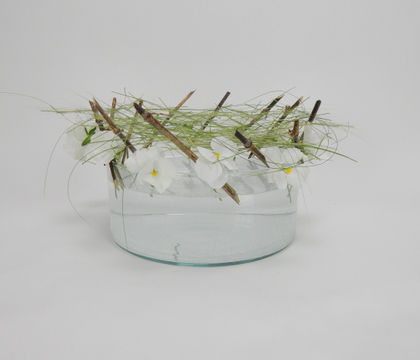
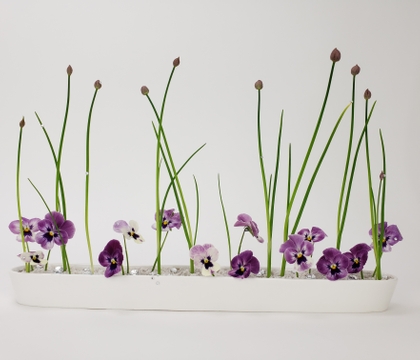
Place the violas into the Perlite to stand upright.
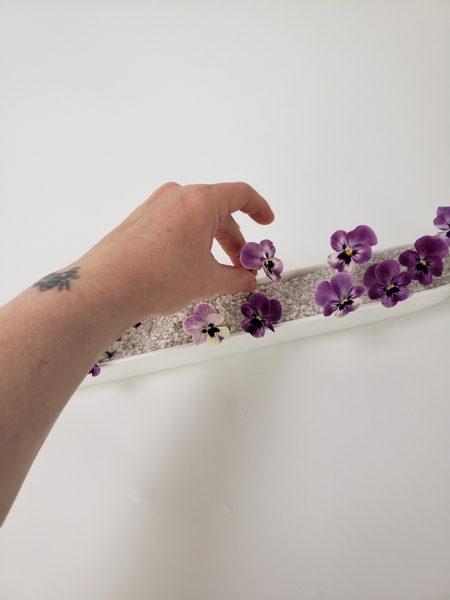
Simply turn and reposition the flowers to create your design
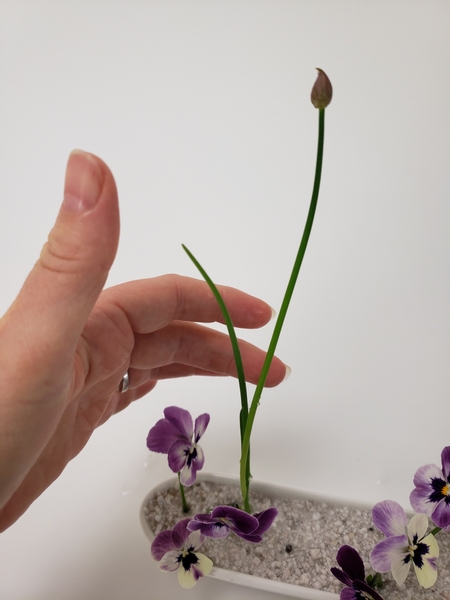
Add in the chives scapes...
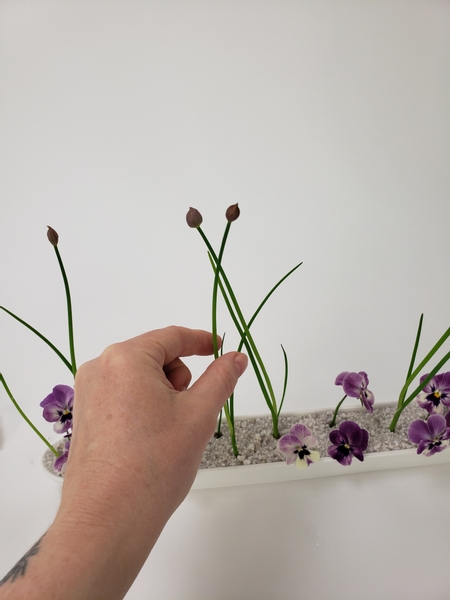
To stand upright in the Perlite.
Book readers, if you are wondering about the positioning of the flowers... yes! It is definitely planned. I believe that your floral designs should tell a story. I wanted mine to make you feel happy and included. The easiest way to do this is to position the flowers to look happy and included. They are slightly turned so that they look like they are having a conversation, have you noticed that?
For more information about these tiny details... and how to add emotions to your designs turn to page 355 where I discuss Saying It In Flowers.
For more information about my book: The Effortless Floral Craftsman
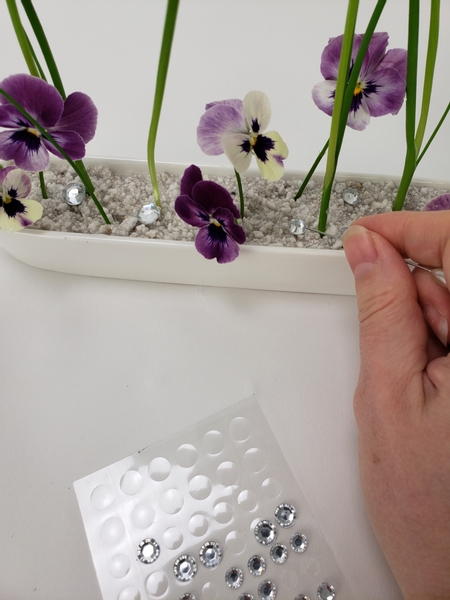
Finish the design with a few large glittering dew drop crystals...
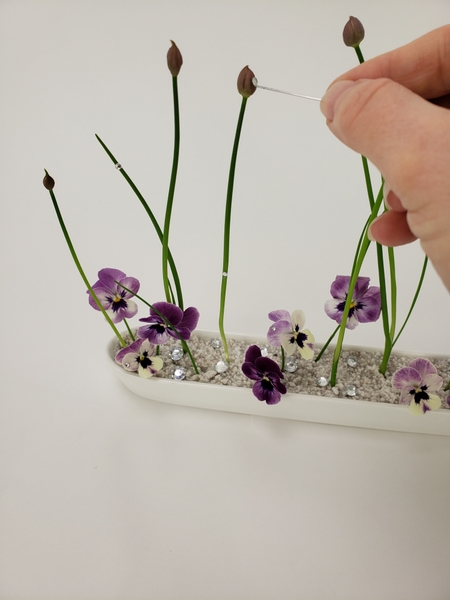
And a few smaller dew drop crystals on the rest of the design. See the Tutorial below for more detailed instructions for how I place these crystals on the delicate stems.
Oh! and before I forget... if you use flowers from the Allium family and want to avoid the onion smell turn to page 100 of my book. Works every time!
Sign up for my weekly newsletter
Every week I add a new design with related tutorials. Be sure to subscribe to receive an email notification with design inspiration.

