Christine de Beer - effortless floral craftsman
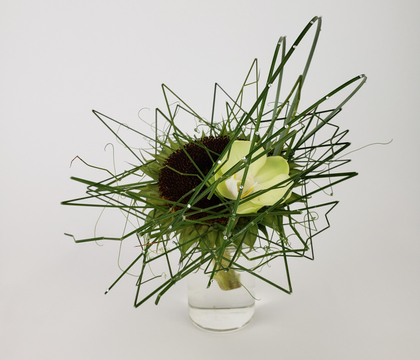
Palm twirl with a hidden double knot grid support that hold even heavier flowers in place
- 11 September 2024
- and more
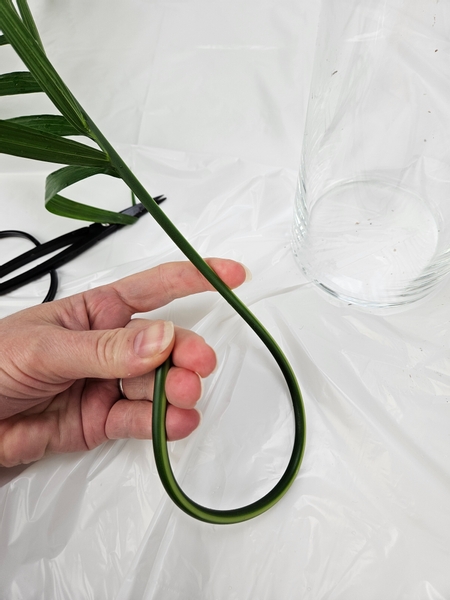
Ever so carefully start to roll a palm leaf from the petiole to the blade.
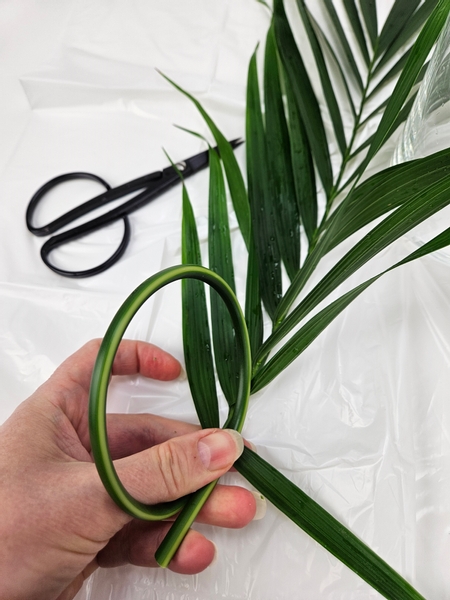
Continue to roll it up into the blade open the leaflets so that you separate the two sides. And unroll it again.
This week in our email lesson I show you a trick for rolling the leaf and also discuss why I do this little bit of preparation work before inserting the palm leaf into the display container. I send out an email every Wednesday morning (Vancouver time) with a bonus lesson with a bit of "inside information" so that you can take note, and benefit even more with the weekly design inspiration. The sign up is below this post... join in.
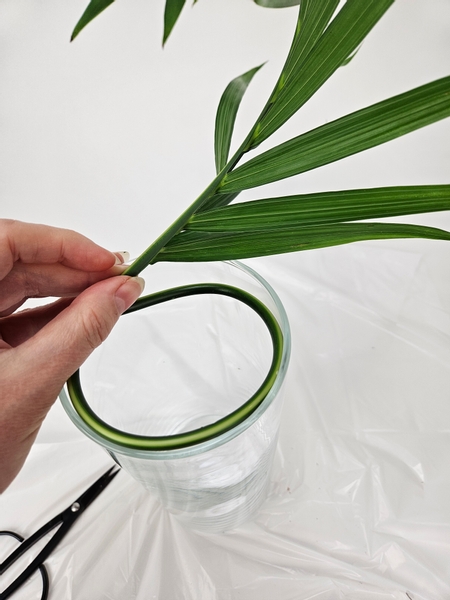
Roll the palm leaf again inside your display container...
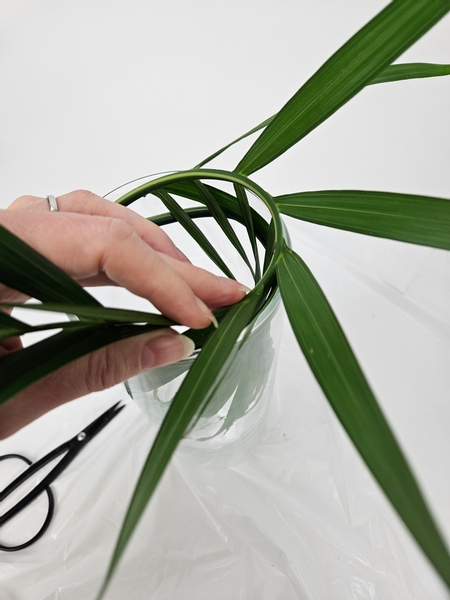
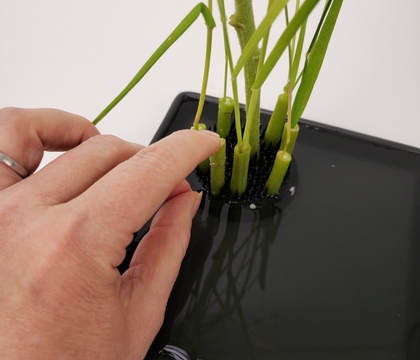
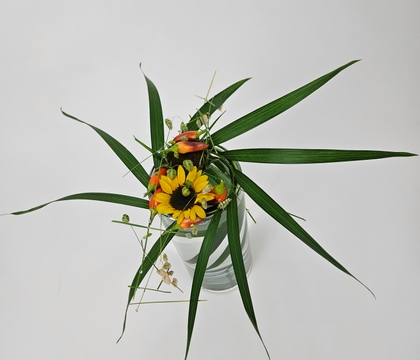
Concentrate on spacing out the leaflets both inside the container and those that fall above the container to radiate out neatly and evenly spaced... while preventing the palm leave from popping out of the container.
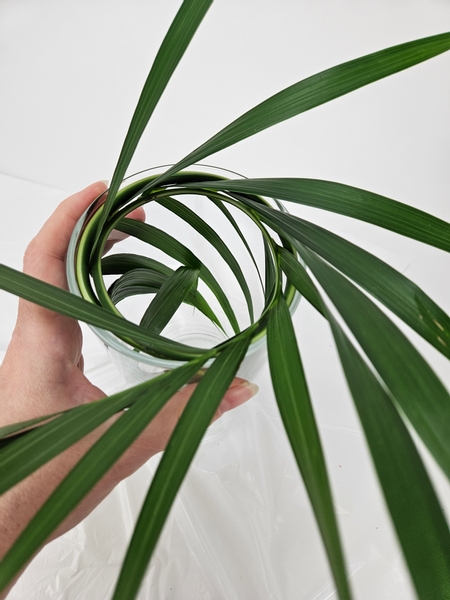
When the palm leaf is neatly rolled inside the container look at it from above...
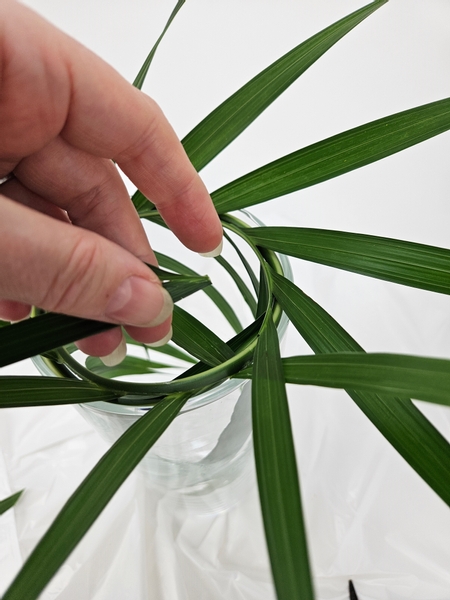
Neaten up the leaf by cutting out the terminal leaflets at the tip of the palm.
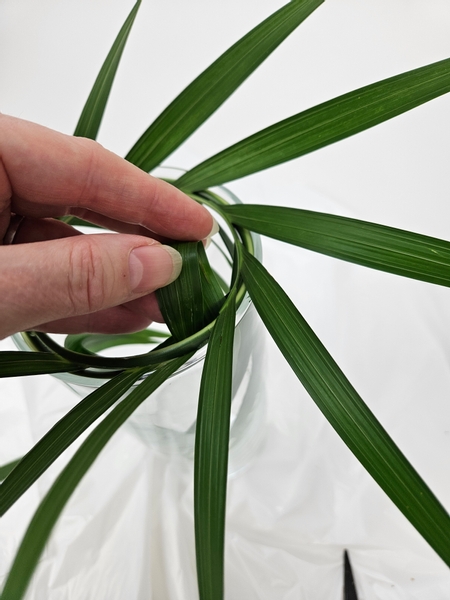
There where the leaf overlap the first leaflets thread the leaflet through the palm roll so that you have one leaflet pointing up and one down... and this one ..
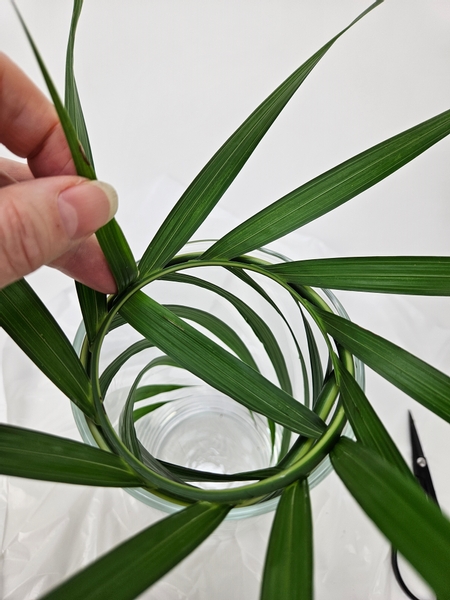
Extended it to the other side. Again thread it through the top of the palm leaf roll...
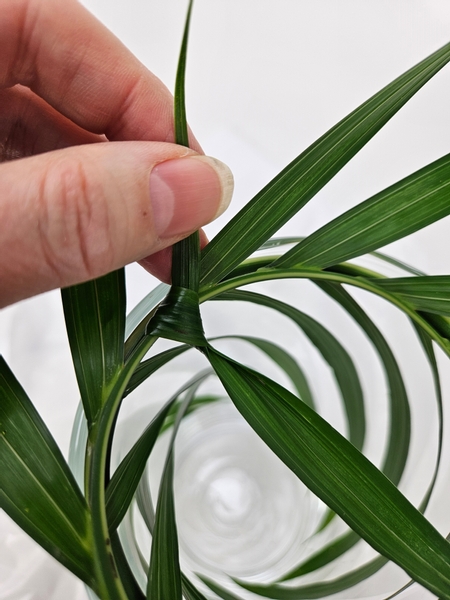
And knot the palm leaf.
Book readers turn to page 49 where you will find a whole lot of information about knotting foliage. For more information about my book: The Effortless Floral Craftsman
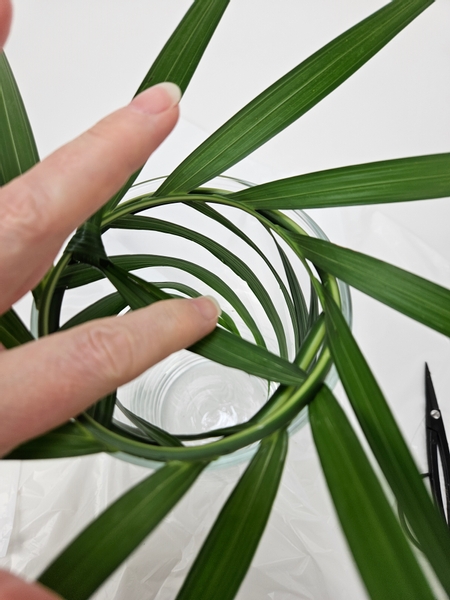
Now you have a neat little platform for even the heavier flowers and berries to rest on inside the vase.
If you only have this one leaflet that overlaps, that is more than enough to design on. You can also take a pin and cut this leaflet in two if you want to or pierce one hole and slip a flower stem through that.
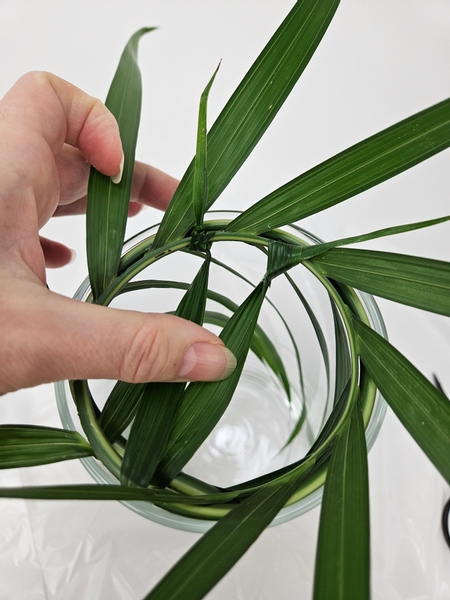
I had two leaflets overlapping so I added a second support.
Design tip: rather than making a double knot in the palm, use the tiniest bit of floral glue if you are concerned about the weight the leaflets will carry. One knot is tricky without ripping it... two knots is just tempting fate!
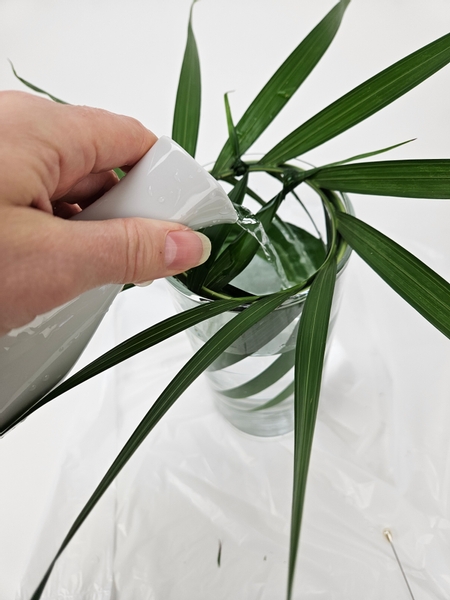
Add water into the container up to just below the support.

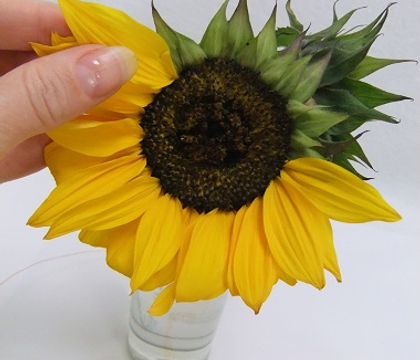
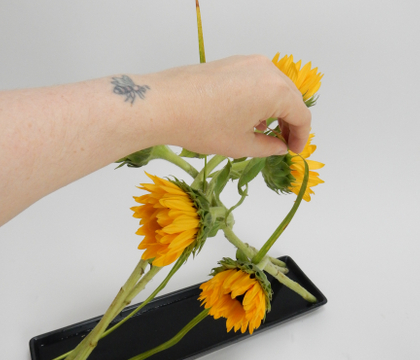
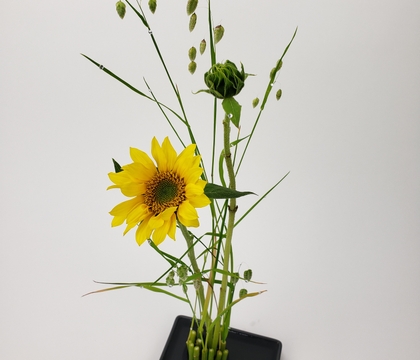
For the sunflower platform I am removing the petals from a more mature sunflower.
See the sunflower disk floret Tutorial below for more detailed instructions.
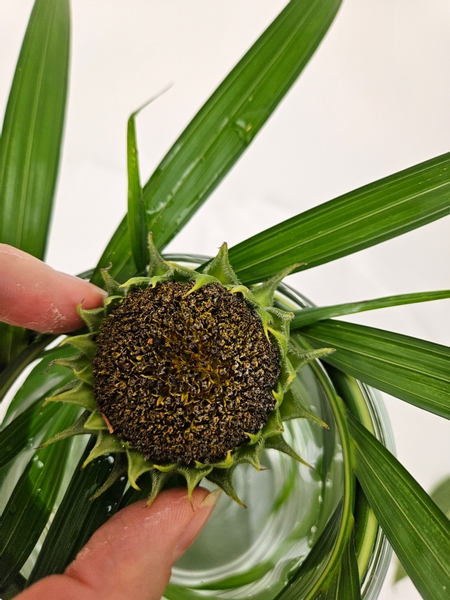
Rest the flower head in the palm support.
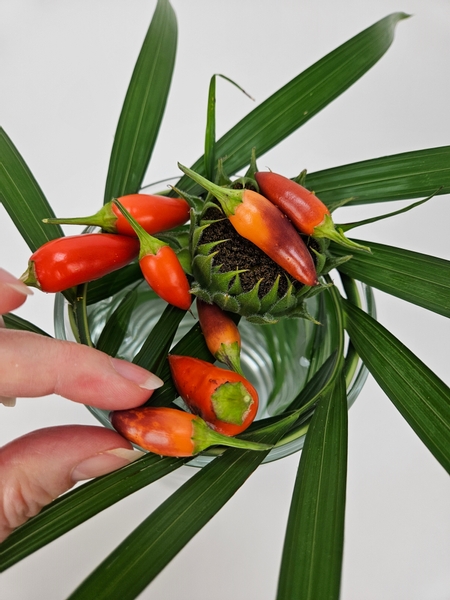
Glue in a few chillies to rest on and around the support and flower head.
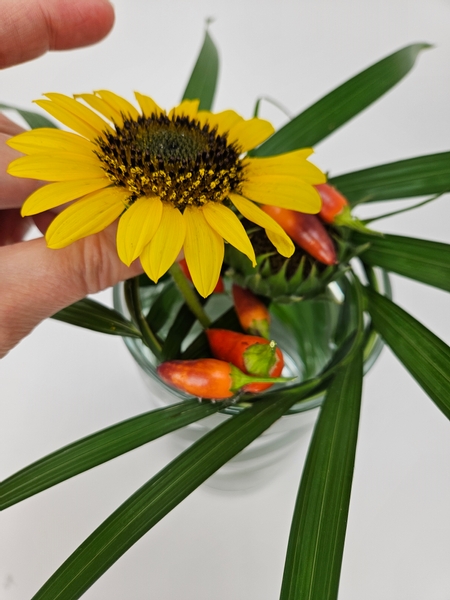
Slip in a sunflower to rest on the palm support with the stem in the water below to continue to hydrate.
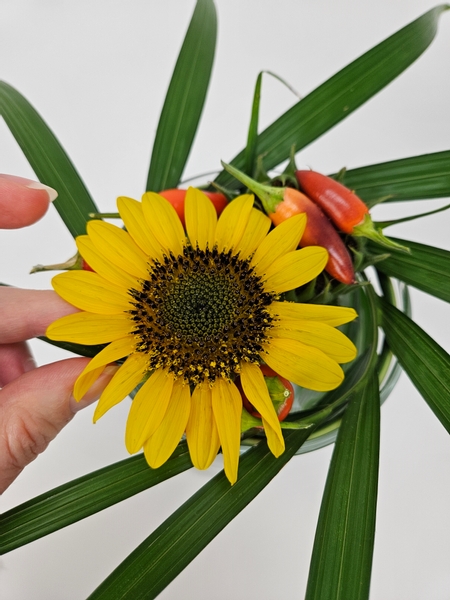
To nestle between the chillies.
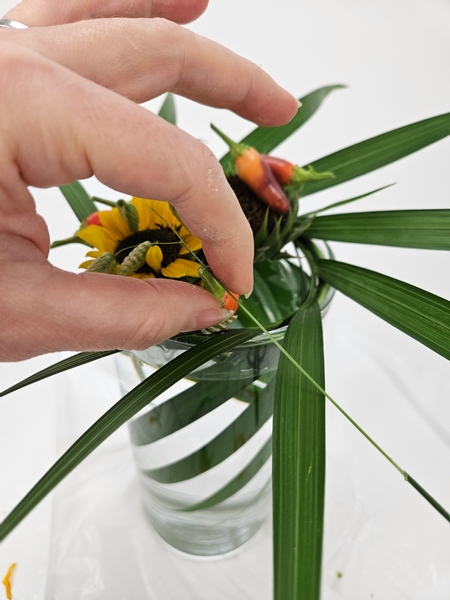
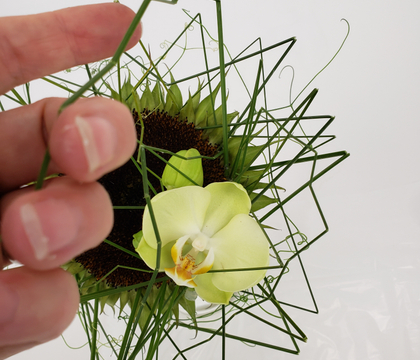
Add in a few quaking grass stems to create a light and airy veil over the heavier floral details. The grass seed heads get glued in first to create the lines in the design, in whatever direction you want it. For me I wanted to explore the horizontal of this design (adding width rather than height) so my scattered grass extends over and out to the sides to create a slight curve over and slightly outwards.
Design note: The secret is to barely there grasses that seem to magically float over a design is to build it up in layers, This longer grass is layer one. Next we connect the sturdiest part of the grass to give it support and structure. This is the cut end of the grass where it is always the firmest.
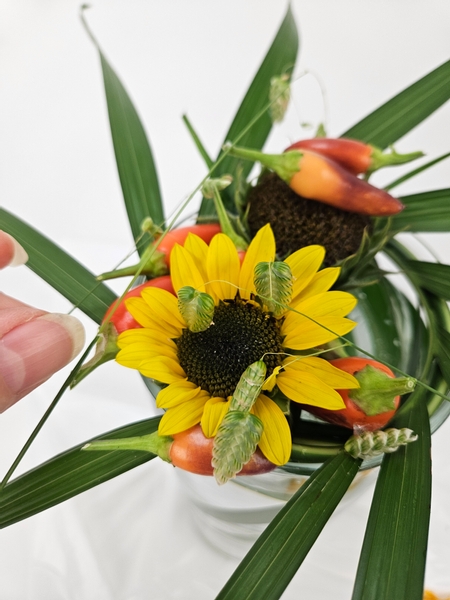
Once you have your line established, glue in the next firmest part of the grass to extend from something “solid” (like the stem of the chilli) in such a way that it can carry the weight of the grass seed heads to support and lift them up to further create the line. I usually aim to glue the load bearing sections at three places to give them maximum support and give the structure stability.
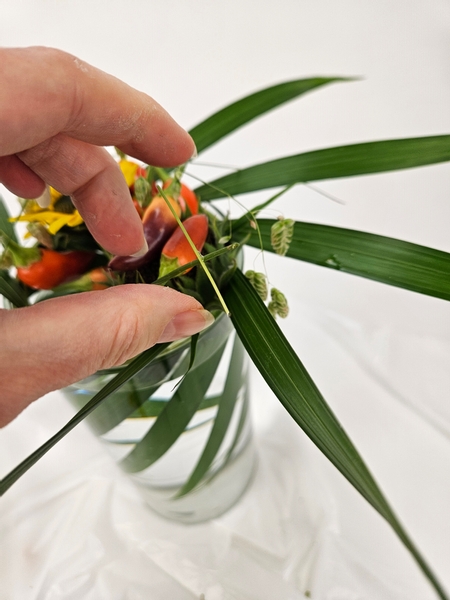
And then I finish it off with the tinniest snippets of grass glued it to look like it was scattered.
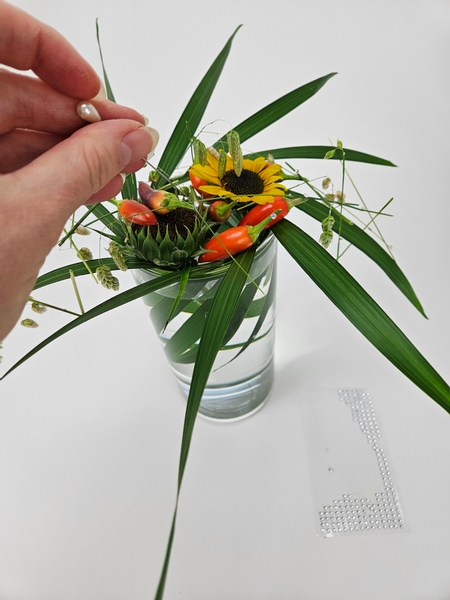
... before adding a few dew drop crystals to settle on the scattered grass.
See the Tutorial below for more details on how I add the crystal... and why I add it with a pin.
Sign up for my weekly newsletter
Every week I add a new design with related tutorials. Be sure to subscribe to receive an email notification with design inspiration.
