Christine de Beer - effortless floral craftsman
A grand kale to spark that almost end of summer colour
- 6 August 2025

Choose a maturing ornamental kale to use as the mechanic for this design...
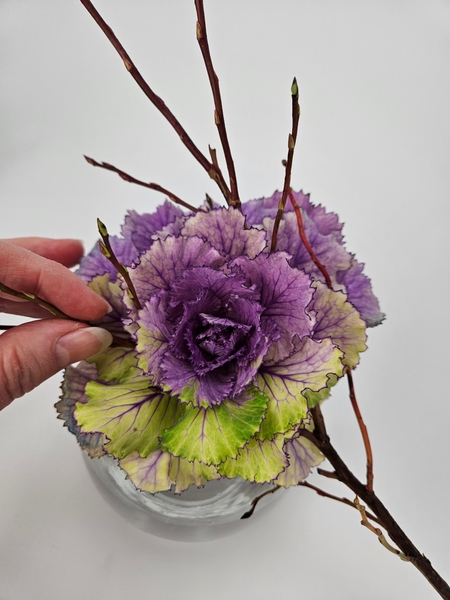
Slip a twig (with a fork in its stem) to rest through the kale leaves.
This week in our email I show you how to do this in more detail to make sure you do not constrict the stem nor distort any of the leaves. It should look free, natural and not in the least bit distorted. I send out an email every Wednesday morning (Vancouver time) the moment the latest design is ready for you to view with a tip to spark your creativity so that you can make the most of each week's inspiration. The sign up is below this post.
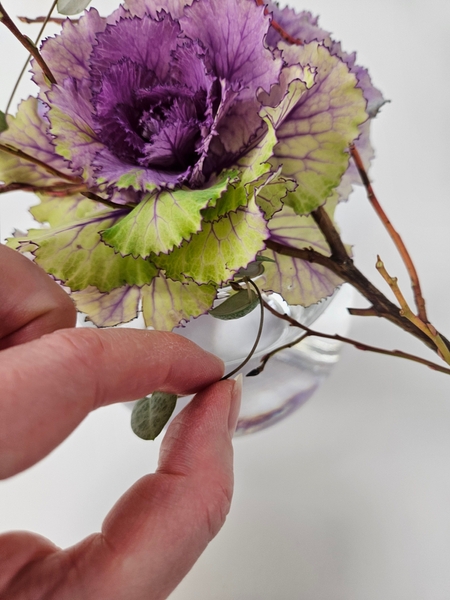
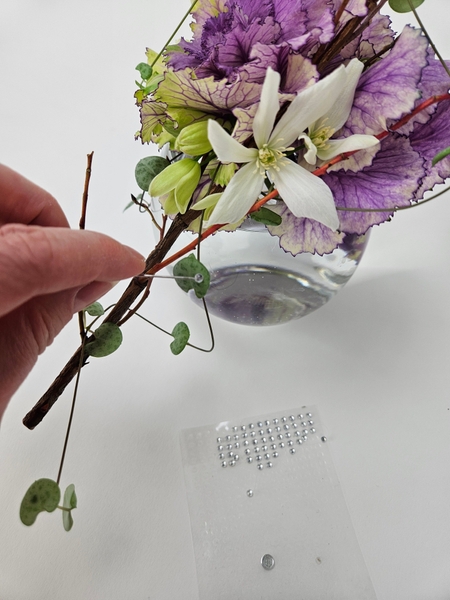
Add in a few rosary vines to drape over the twig. The vines are succulents so technically you do not need them to rest in the water. But if you have stems long enough to reach the water it is a great way to root the stems while you enjoy the design. See the Favourite Flowers below for more detailed instructions.
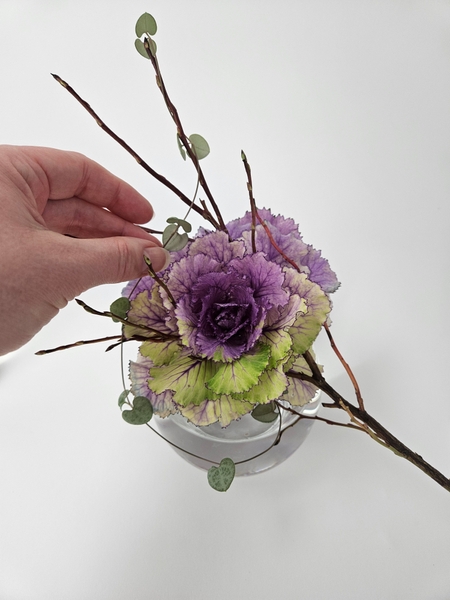
Make sure the vines do not drag down the twig. The idea is that it should be light as air... like the tail of a kite simply just draped over the twig and the heavier base of the ornamental kale.
Book readers for more inspiration turn to page 204. I used the exact same technique to add light as air floating twigs around Brussel sprouts for a Christmas design. For more information about my book: The Effortless Floral Craftsman
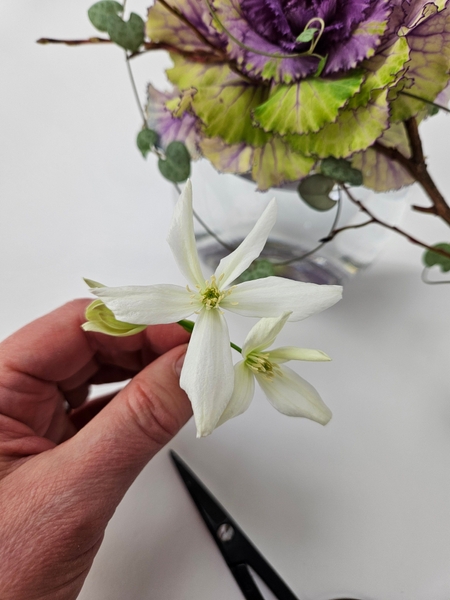
Cut a few short stemmed flowers to insert between the kale leaves. For my design I am using the last few Clematis Armandii blooms from the vine I am growing in my balcony garden.

The buds are a perfect, perfect match for the paler kale leaves, don't you think? They even have the purple vein thing going on!
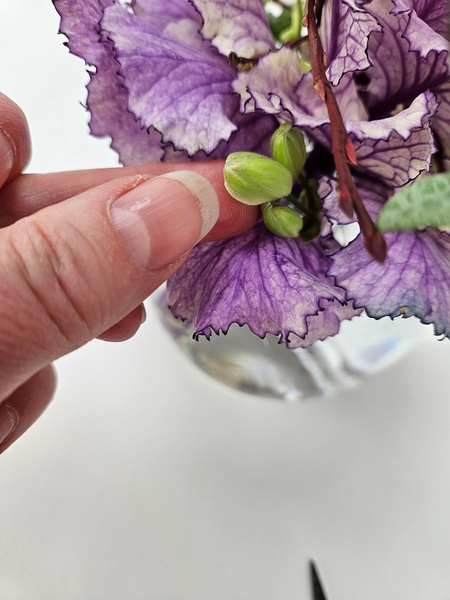
Soooo cute! Slip a few more closed buds into the leaves making sure you can see that special purple tinge from the angle you are viewing the design.
And as always I am finishing my design off by adding a few dew drop crystals to add precious sparkle. See the Tutorial section below for more detailed instructions for how (and maybe even more important... why...) I add the crystals with a pin into my design.
Sign up for my weekly newsletter
Every week I add a new design with related tutorials. Be sure to subscribe to receive an email notification with design inspiration.


 lily flower wand")


 water source")


