Christine de Beer - effortless floral craftsman
A green plaited willow way-over for small flower details
- 2 October 2024
Here it is: the first of my first autumn harvest of willow from my willow coppice I am growing in my balcony garden. It is working spectacularly well!
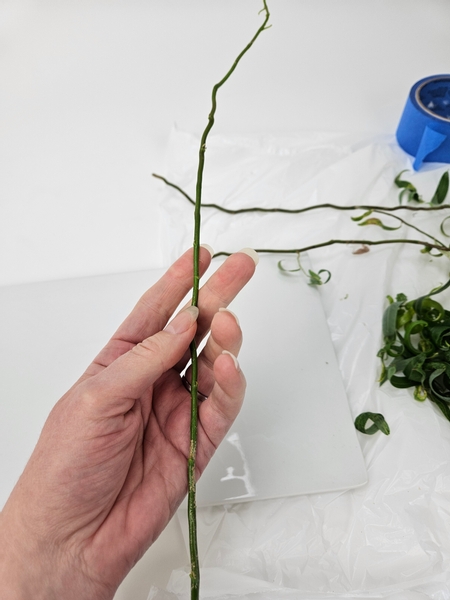
Strip the foliage from the weaving stems
See the Tutorial below for detailed instructions.
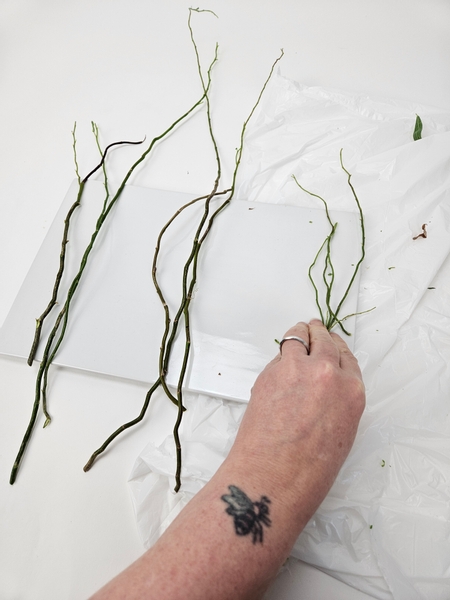
You will need three long stems (per plaiting section... I am making two) and shorter stems to knot them to secure.
I am using green rods for this design… they do not need to be soaked to rehydrate. But more about this when I make the knot.
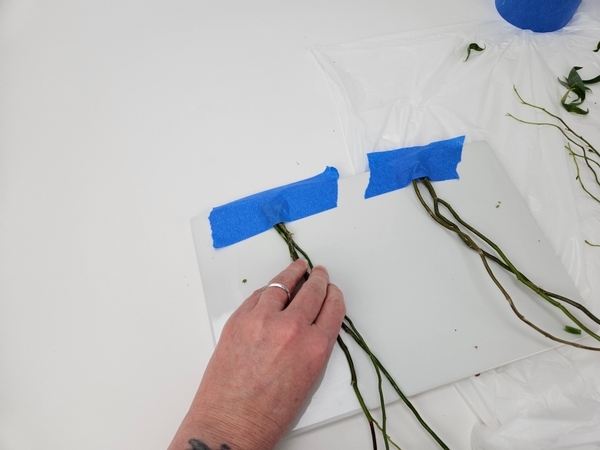
To make it easier to plait or braid the stems simply tape one end to a tray or tile with painters tape.
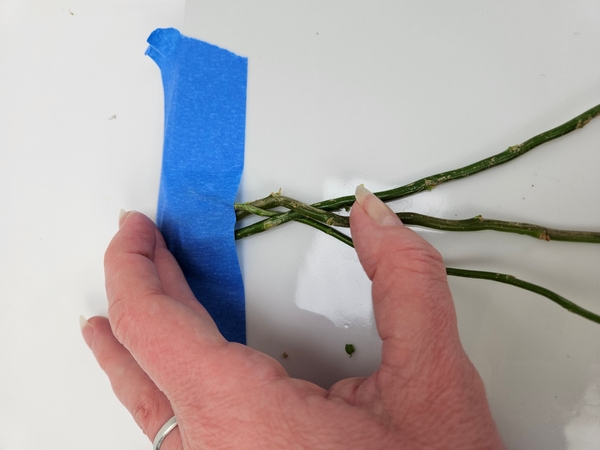
Braid the stems. Do not be bothered by the natural wobbles and curves in the stems... these are ideal for slipping the flowers in. Simply loosely (without applying tension) braid it.
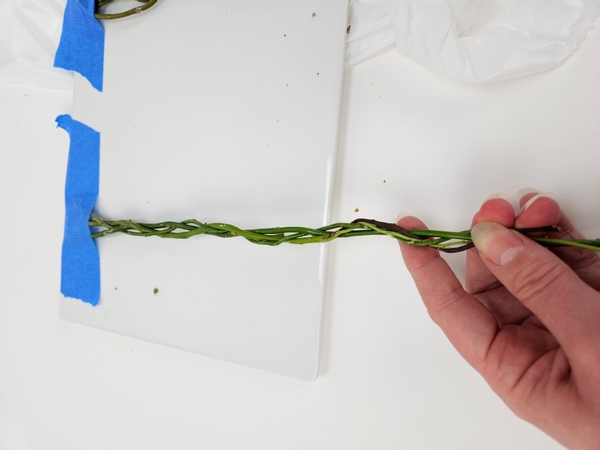
Plait the stems all the way down to the end.
Book readers turn to page 246 to read all about the difference between plaiting and braiding... and if you want to level up on this design try the four strand braid for even more gaps for flowers. For more information about my book: The Effortless Floral Craftsman
but to get you started I have a link to a basic 3 strand braid Tutorial for you below.
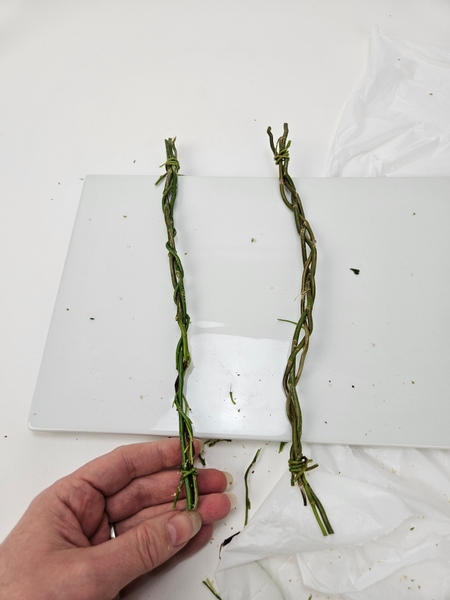
Tie a knot in the stems to secure the braid.
This week in our email I tell you the trick about tying a knot with willow stems. And a bit more about processing stems to make it easier to plait. I send out a notification email every Wednesday morning (Vancouver time) the moment the new design is ready for you to view... with a design tip that explains something special about the design in greater detail so that you can pay attention when you view the Tutorial. The sign up is below this post.
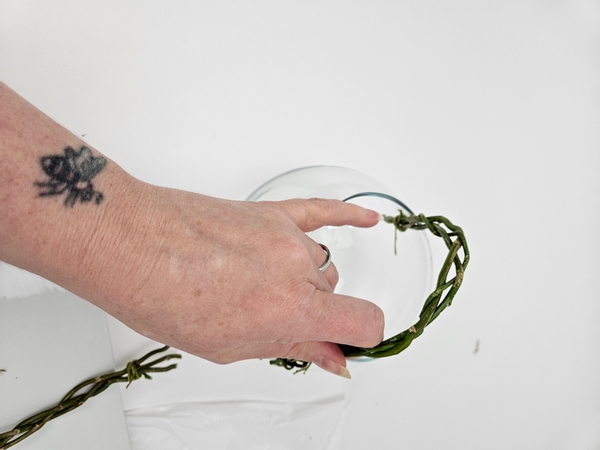
Curve the willow plait and slip it into a fishbowl container.
So that it fits snugly in the vase and only slightly above the surface.
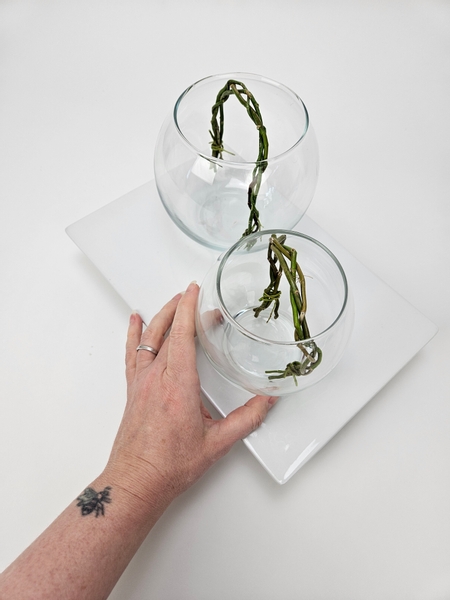
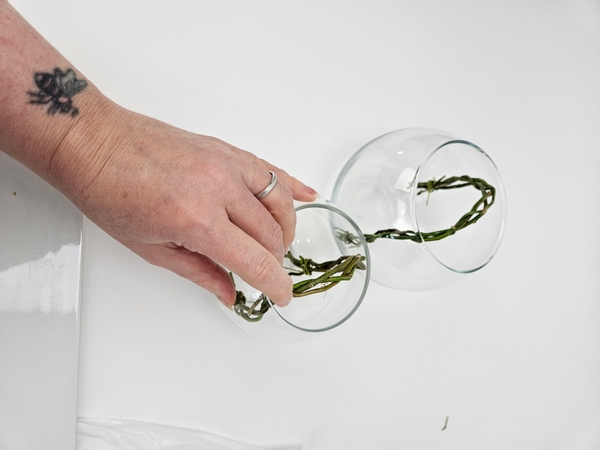
Place your fishbowl vases on a display tray to create a unit.
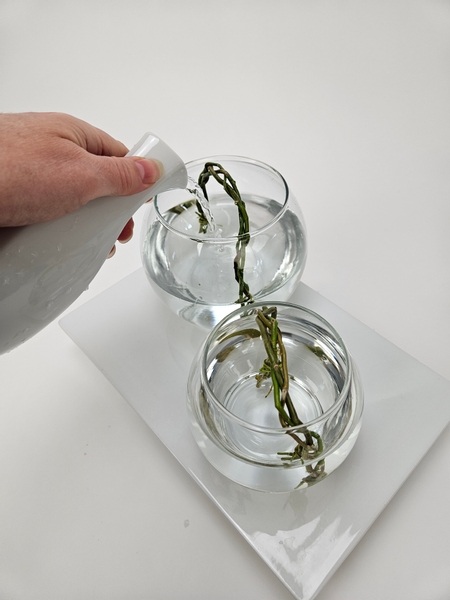
Fill both of the bowls with water.

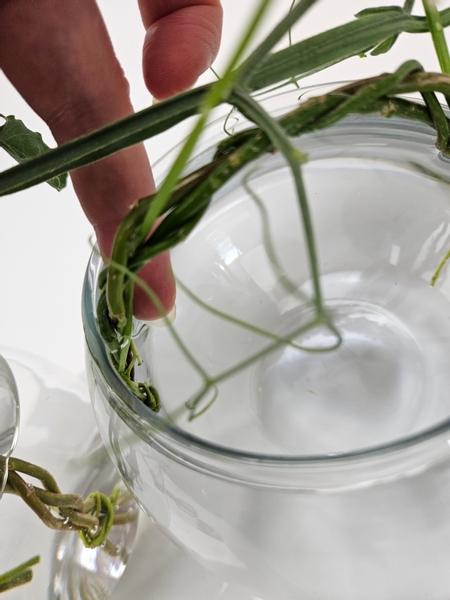
Slip a vine through the braid on one side and drape it over both bowls
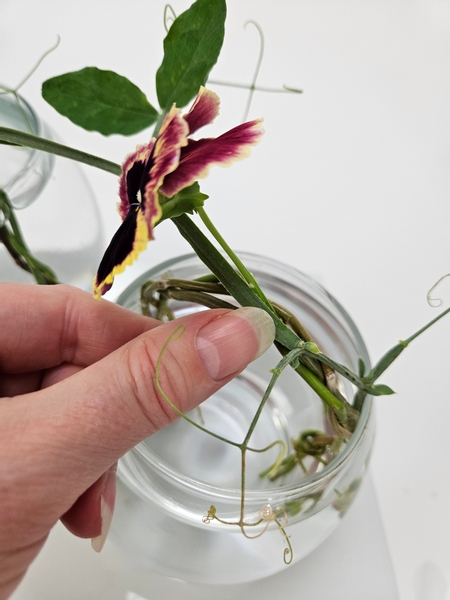
Slip a flower stem through the braid so that the stem end can be hydrated in the water.
And where possible, hook the pansy stems behind the braid to minimize clutter in the vase.
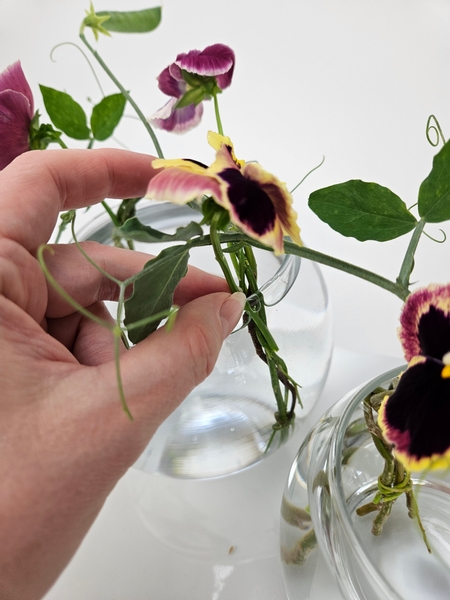
Slip in the stems behind or through the braid so that they remain perfectly suspended upright but also incorporated in the design below water.

Simply slip the pansy through the willow plait...
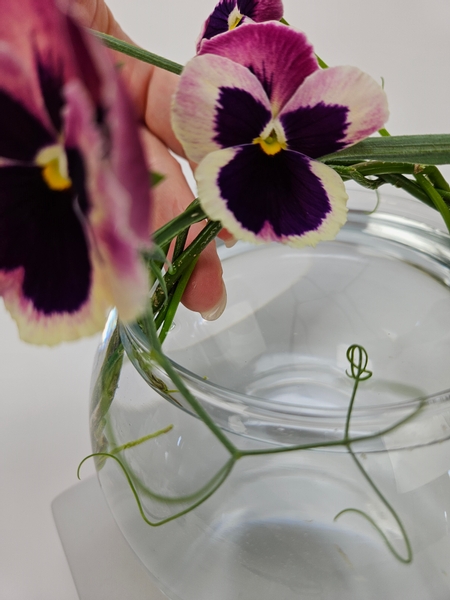
And gently manipulate the stem to hook behind the willow (but still below water) to conceal the stem.
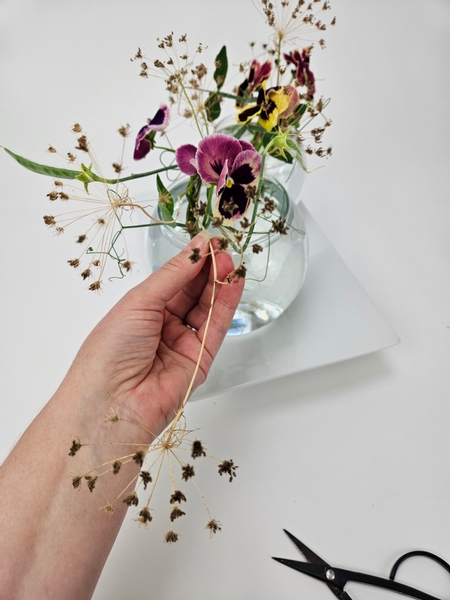
Glue in a few Ammi majus (False Queen Anne's Lace) seed heads to float over the design.
Design note: keep the dried stems above the waterline so that they do not rot.
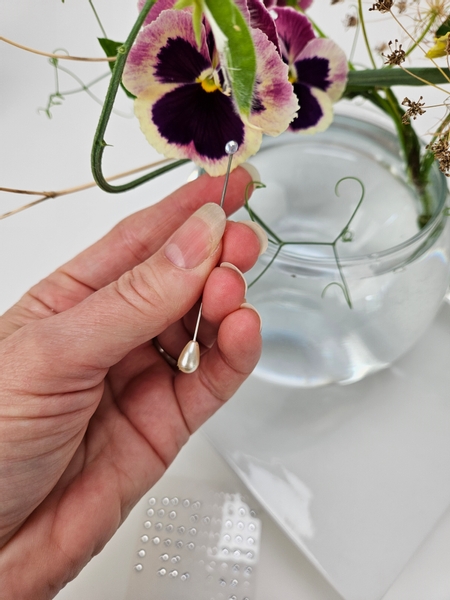
Finish the design with a few dew drop crystals for added sparkle.
See the Tutorial below for detailed instructions on how to add the crystals.
Sign up for my weekly newsletter
Every week I add a new design with related tutorials. Be sure to subscribe to receive an email notification with design inspiration.


