Christine de Beer - effortless floral craftsman
Thread your wreaths in a row to show off your "it could (almost) be mistaken for Spring sprouts"
- 26 February 2025
This design is going to take a bit of time to make. For one thing, I am using a combination of dried and fresh wreaths. But you can make it with just fresh wreaths if you prefer. But what can not be rushed is the lovely fresh new growth that will sprout on the one wreath.
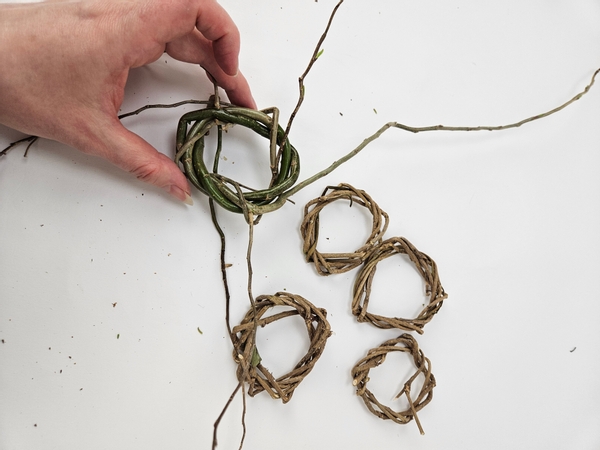
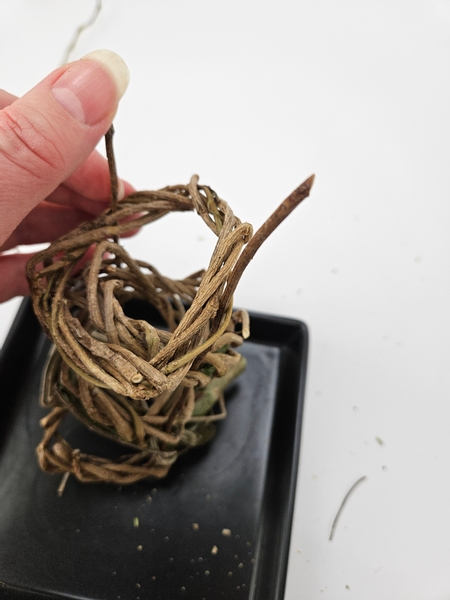
For my design I am using four dried ivy wreaths out of my design pantry and I am weaving one fresh willow wreath, about the same size...
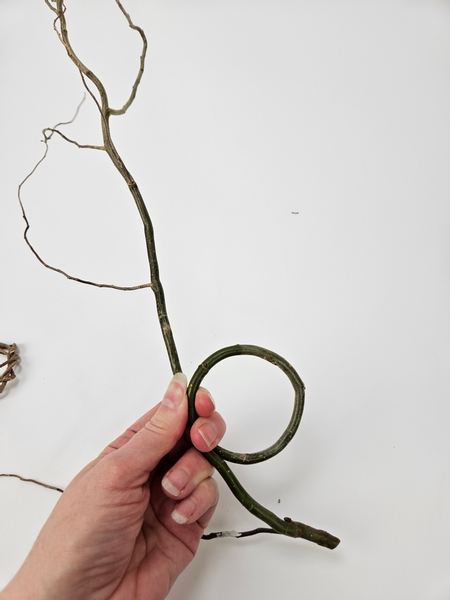
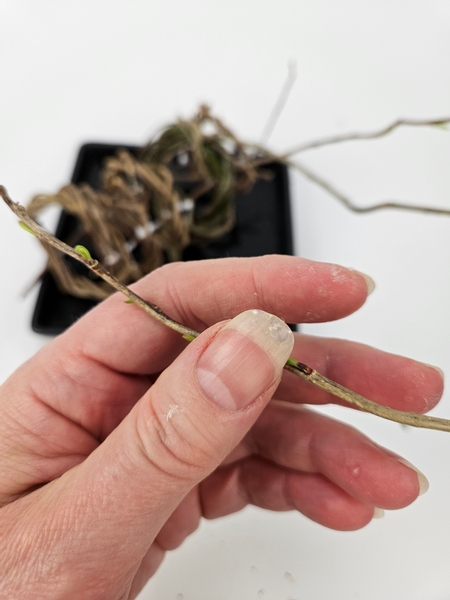
Design note: Make sure to choose a fresh willow branch with many side branches like this one to weave the tiny wreath from.
If you are unsure of how to weave a wreath see the Tutorial below.

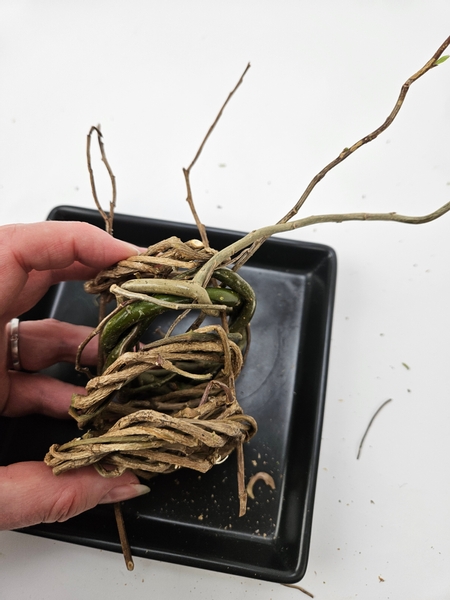
The cut stem side of the branch in the willow wreath should also extend out of the woven wreath so that you can balance the design on it.
This week in our email I tell you more about this sturdy cut end of the willow branch. The entire design "hangs" from it! I send out an email every Wednesday morning (Vancouver time) the moment the new design is ready for you to view. This email is also our way to connect. I add a bonus tip so that you can make the most out of each week's inspiration design... and you can reply to the email if you have comments or questions. The sign up is below this post if you want to join in.
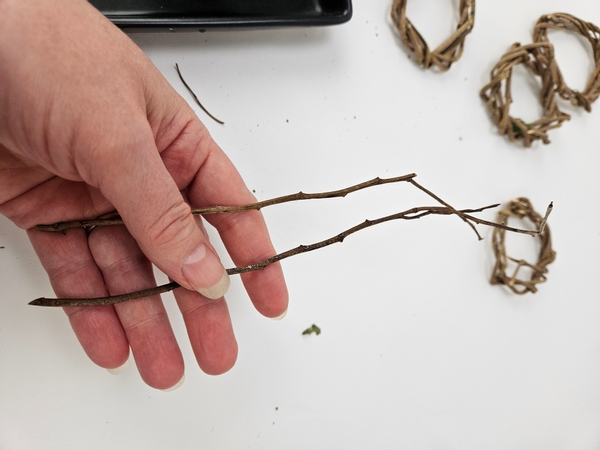
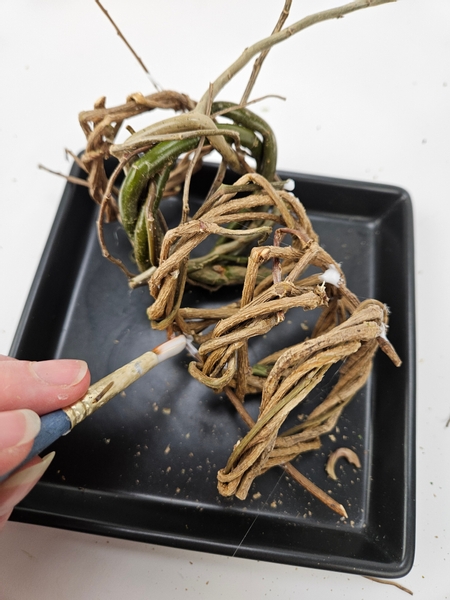
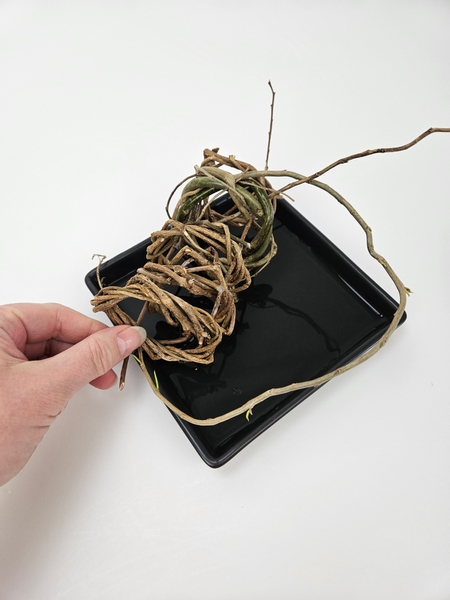
Use two thin dried twigs to connect the wreaths...

Push the dried twigs through a dried wreath. one on either side.
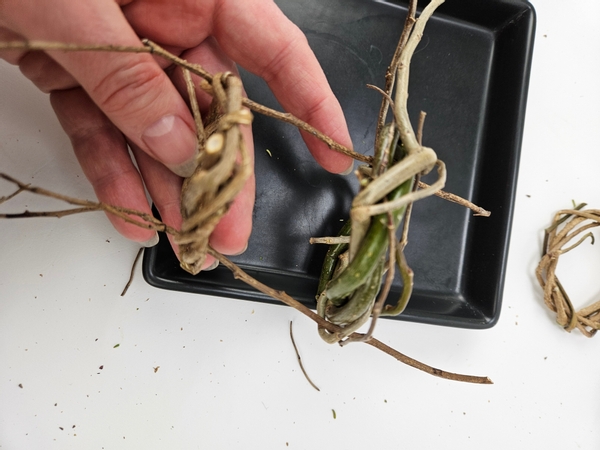
Skewer in the fresh willow wreath behind the dried wreath.
Skewer in the rest of the tiny dried wreaths to fill up the twigs.
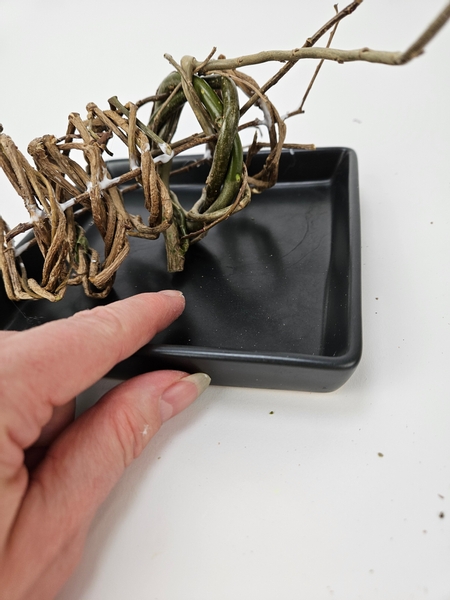
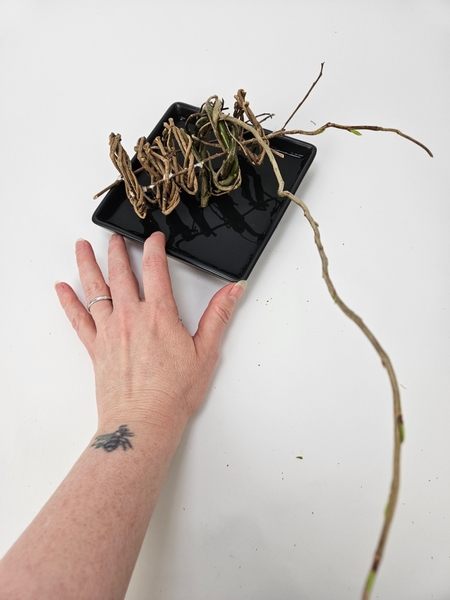
Space out the wreaths so that it fills up a shallow container from the one end to the other.
I like my wreaths to look obviously handmade and imperfectly rustic. Then as a contrast to the wildness of the wreaths I space my wreaths perfectly upright... and I secure the dried wreaths carefully in position with a few drops of glue. You can either use hot glue or wood glue. Or a combination of the two.
Book readers turn to page 351 for a sphere shaped version of this design. For more information about my book: The Effortless Floral Craftsman
Make sure the cut end of the fresh willow stem is standing in the shallow container.
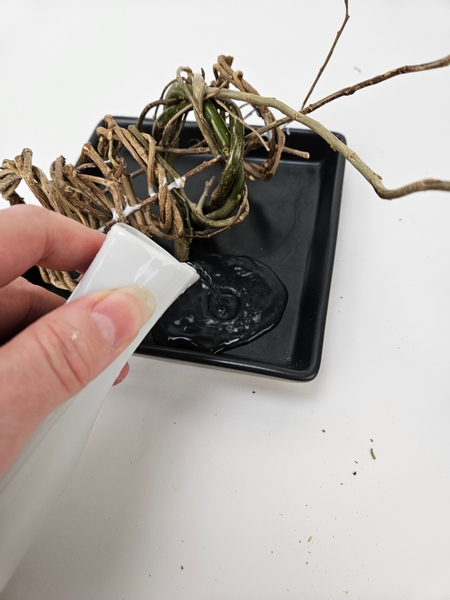
Pour water into the shallow container to hydrate the fresh willow wreath.
Set the wreath design aside for a few days...
... and soon you will start to see pretty new growth on the side branches.

Top up the water every now and again to make sure the willow remains hydrated.
When you are ready to design curve some of the willow twigs in and through the wreath design.
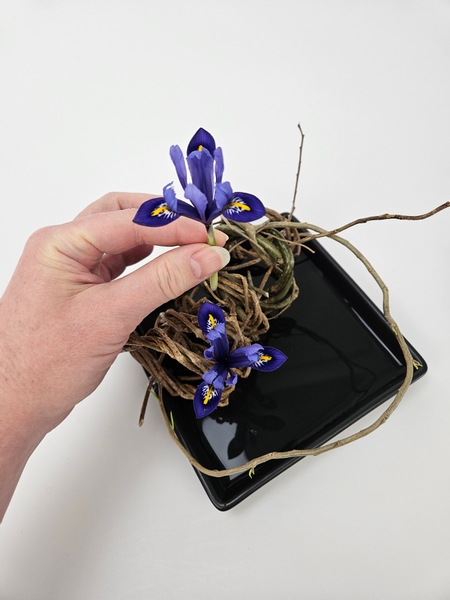
Slip in the pretty iris flowers between the wreaths...
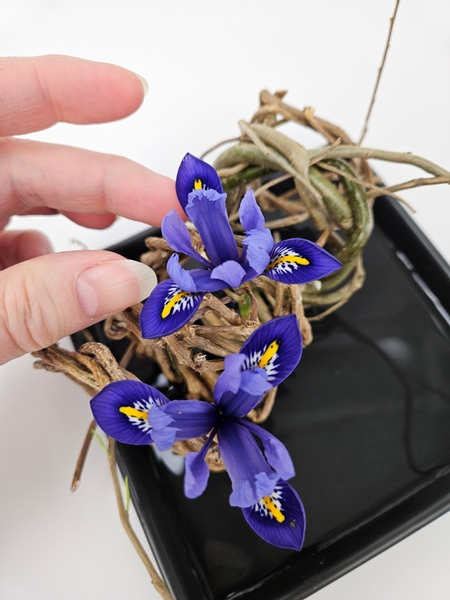
How stunning are these irises? It is the first year that they flower. I grow them in the sunniest, succulent part of my balcony garden.
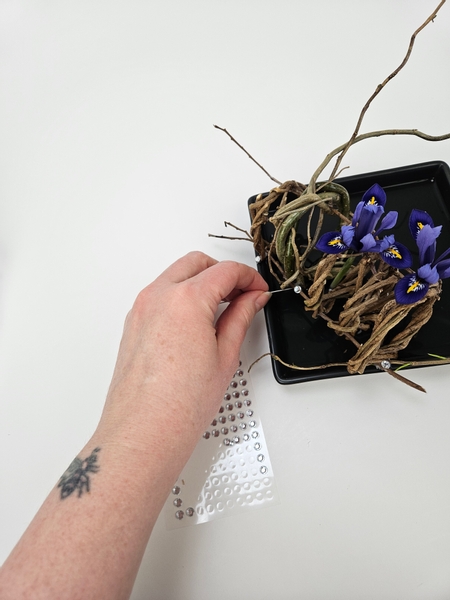
Add in a few dew drop crystals to add sparkle to the dried wreaths...
See the Tutorial below for more detailed instructions on how I add the crystals (and why) with a pin.
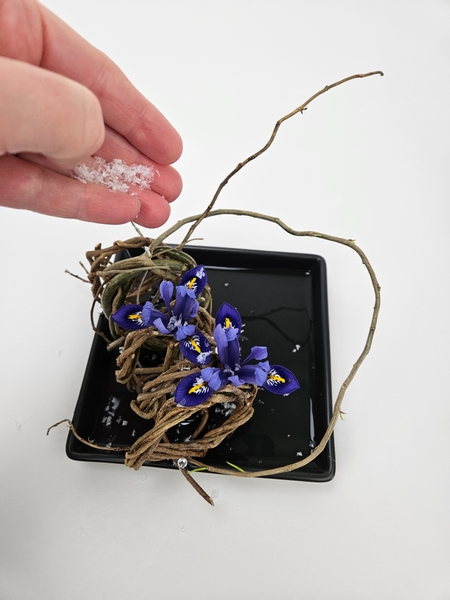
Sprinkle on a few bits of artificial snow... as a reminder that it is not quite Spring yet.
See the Tutorial below for more detailed instructions on how I add the snow into my designs.
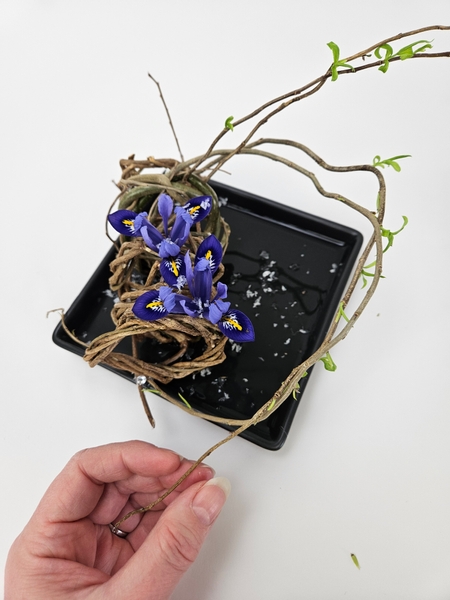
Arrange the remaining sprouting willow side branches (and add in a few more, if you want) to finish off the design.
Sign up for my weekly newsletter
Every week I add a new design with related tutorials. Be sure to subscribe to receive an email notification with design inspiration.


