Christine de Beer - effortless floral craftsman
Building up a wreath panel
- 24 June 2020
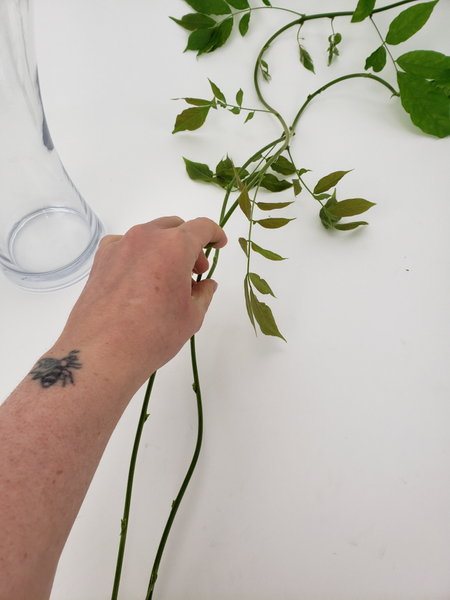
Strip the foliage from a few weaving stems.
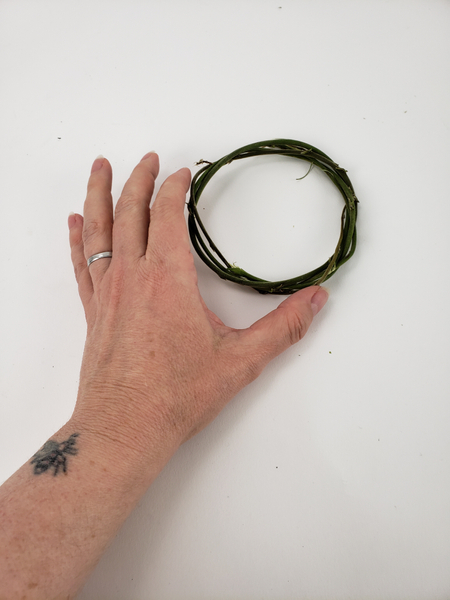
Weave the stems into a wreath.
See the Tutorial below for more detailed instructions on how to weave a wreath.
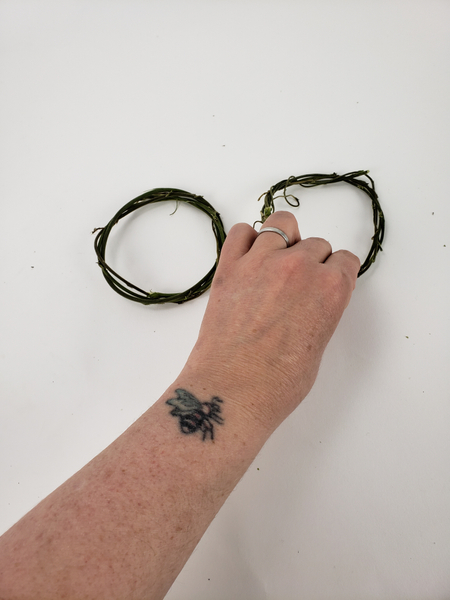
Weave another wreath and place it next to the first one...
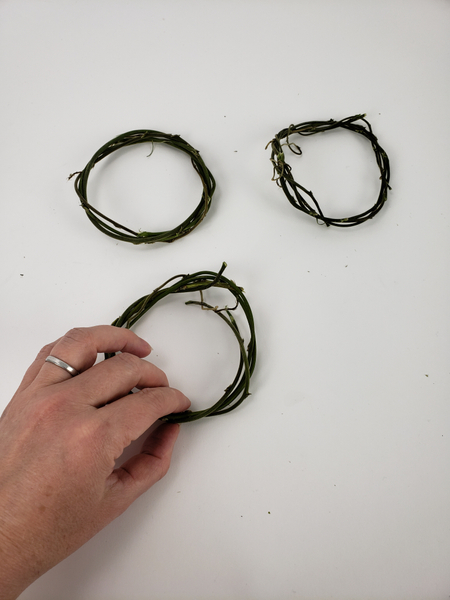
Weave a third wreath exactly the same size as the two before and place it in a second row...

Weave and place wreath four...
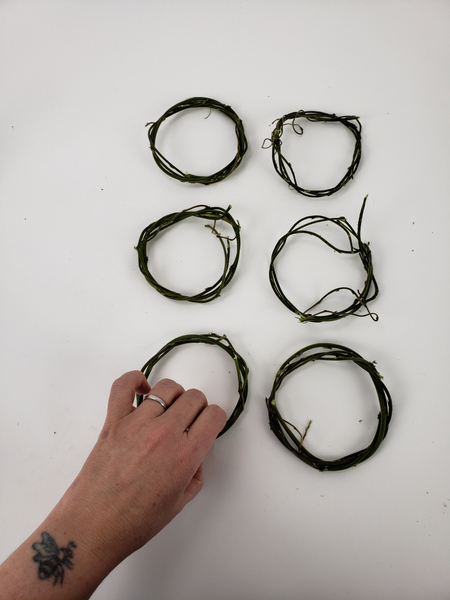
Weave and place wreath five and six below that...
Design note: Once the wreath is securely woven go back and very loosely weave in one more stem. Keep it a bit more messy so that it breaks up the neat and tidy pattern to look more wild and natural.
I have another tip for you (this time for when you place the orchids) so that it looks more natural in my newsletter. Make sure you are signed up so that you not only receive the weekly tips but can also join in the conversation about the design or tell me what is happening in your flower world. The sign up is below the post.
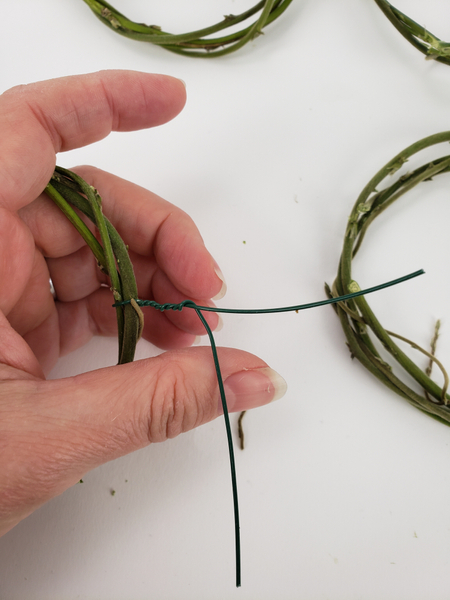
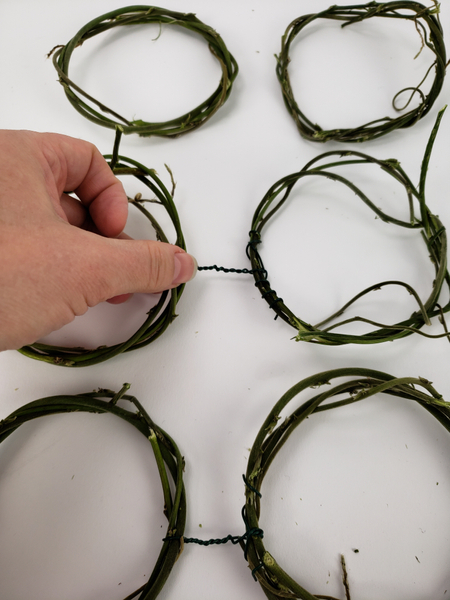
Work on a flat surface so that it's easier to keep the panel flat when you connect the wreaths. Twist a wire around the first wreath....
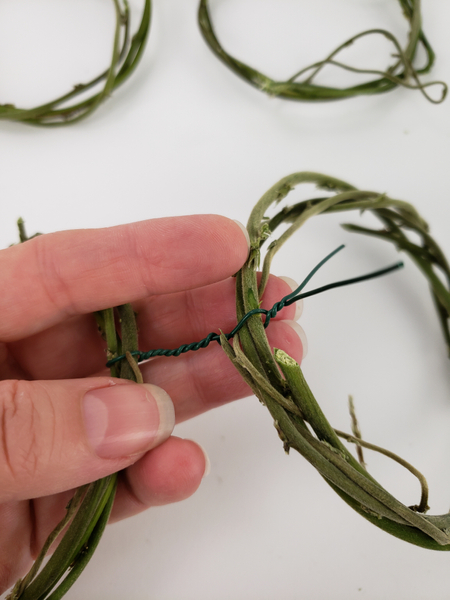
Extend the wire twist to the second wreath and twist the wire around the wreath to secure.
Fold the wire ends in and around the wreath so that it can't catch on anything.
Connect the next set of wreaths...
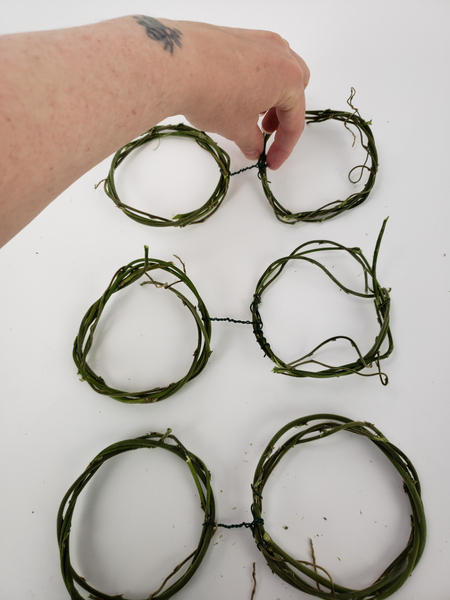
Connect the last pair of wreaths.
Of course you don't have to stop at six wreaths! You can craft an entire floral wall or window panel with these little wreaths.
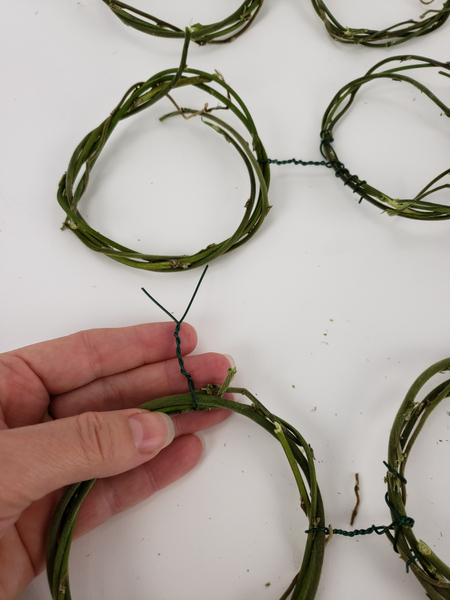
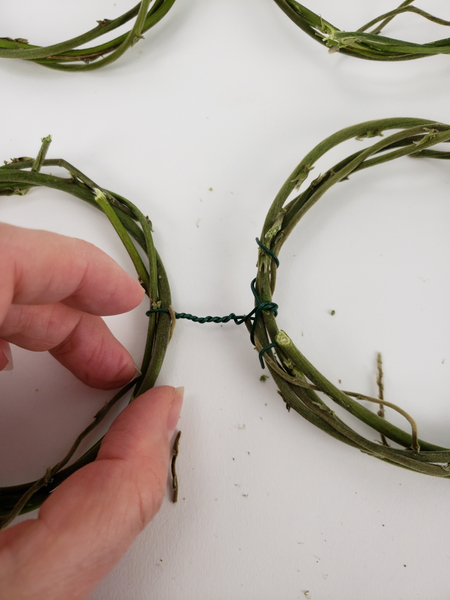
The next step is to connect the pairs of wreaths. Again twist the wire around the wreath this time extending up to the next wreath.
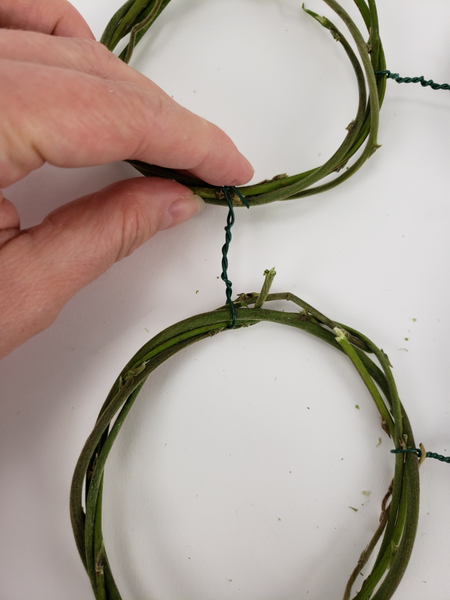
Twist the wire around the partner wreath and fold in the ends.

Once all the wreaths are connected gently manipulate the wire so that the panel is flat on the surface before picking it up.
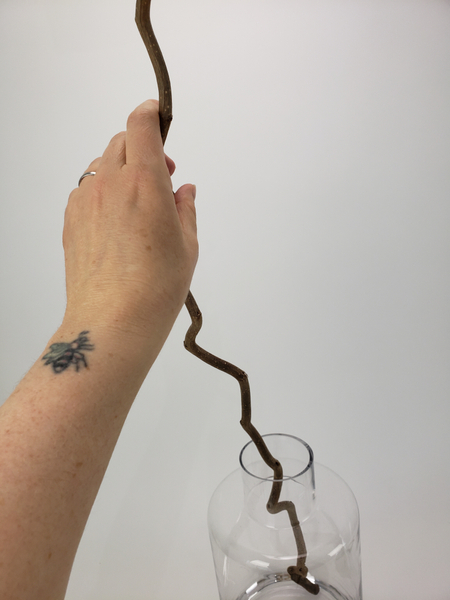
Place a pretty twig in a heavy container.
Design note: the twig needs a fork or side branch for you to hang the panel. It can be almost not even there... like in my design or you can go for something more dramatic and thread the branch through the design for a "look how this grew" kind of look. For more information on designing like this making your work look magically natural you can page through my book.
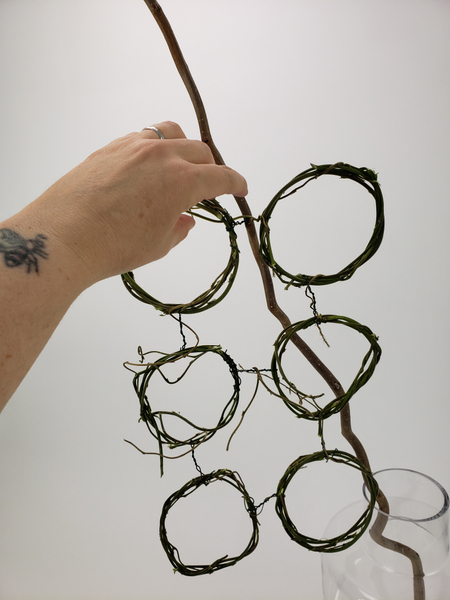
Hang the panel from the side twig or fork and weave in a few more weaving stems to look like they grew up and around the wires.
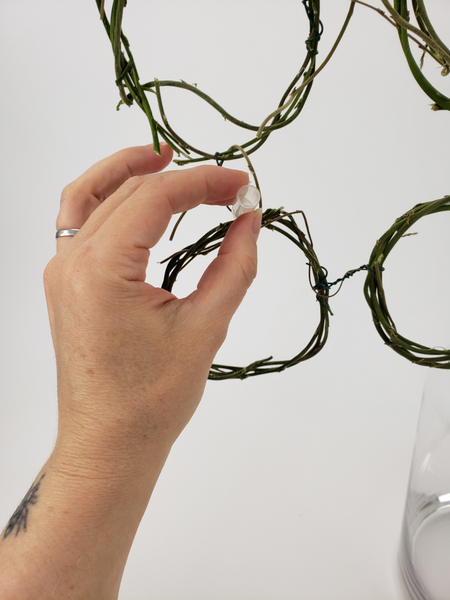
Glue in the water tubes to keep your flowers hydrated... see my tip this week in the newsletter for a fun way to add a bit of an interesting angle to the orchids when you position them. The signup is below this post.
See the Tutorial below for how I make my own tiny water tubes from drinking straws.

Fill the water tubes (see the Tutorial below) and add the orchids...
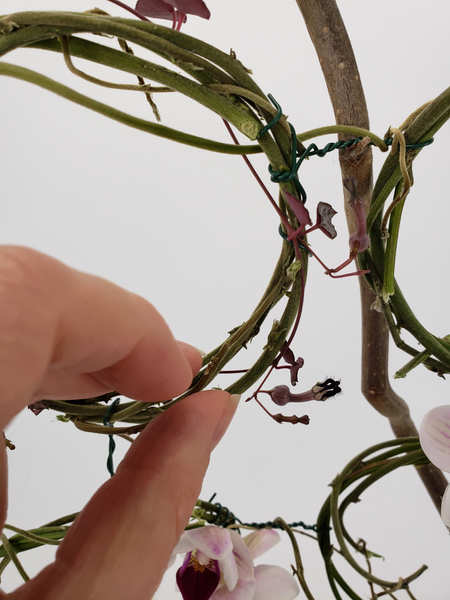
Weave and drape a few rosary vines around the wreaths.
Rosary vines are succulents so strictly speaking they do not need to be in water... but... I always place my stems in water because I remove them from the design afterwards to root the amazing little vines. They make such great gifts! I love having a few rooted stems to hand out. They last forever in water and can happily grow hydroponically.
Book readers turn to page: 286 for a flower wand if you are looking for more ways to use this design technique. Exactly the same... weaving, twisting the vine... adding flowers in tubes... but completely different results. It's a fun design and I think a flower girl would be absolutely enchanted to receive something like that!

Finish off the design with more tendrils and a few crystals.
Again... I have a Tutorial for you on an easy way to place the crystals... it is so delicate that it can so easily damage the design so you need a bit of help.
Sign up for my weekly newsletter
Every week I add a new design with related tutorials. Be sure to subscribe to receive an email notification with design inspiration.


 be mistaken for Spring sprouts\"")


