Christine de Beer - effortless floral craftsman
A radiating, gradient carnation design in a shallow container
- 12 May 2021
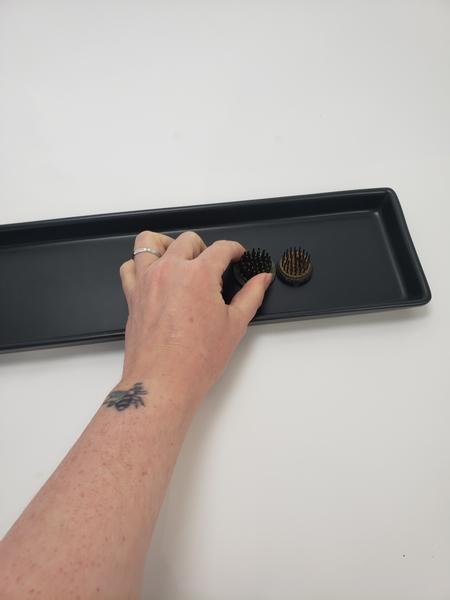
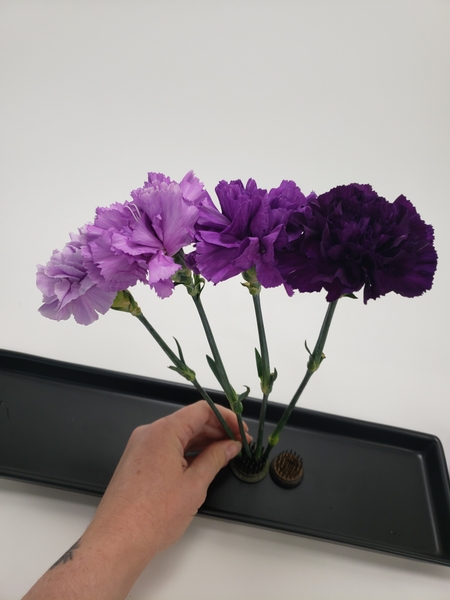
Place two kenzans in a shallow container.
Roll a bit of floral putty to secure them... if you are unsure of how to do that I have a Tutorial below to get you started- and a whole lot more in my book.
Book readers page to page 160-165 for all things Kenzan related.
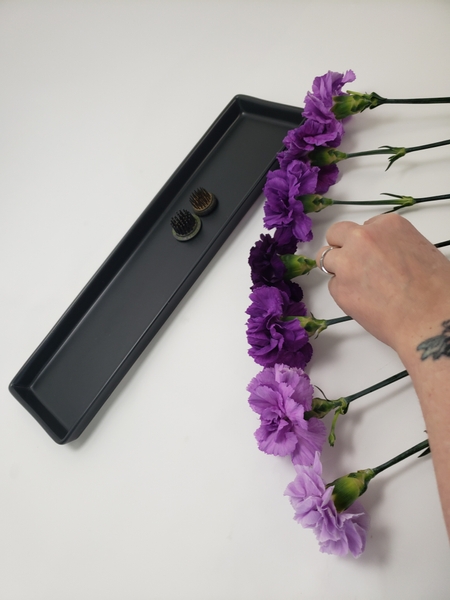
Place the carnations on a flat working surface to measure and cut the stems.
There are a few floral design tricks to where to cut the stems that I wanted to share with you in greater detail in this week's email. If you are not yet signed up to receive our once a week email you can sign up below this Tutorial.
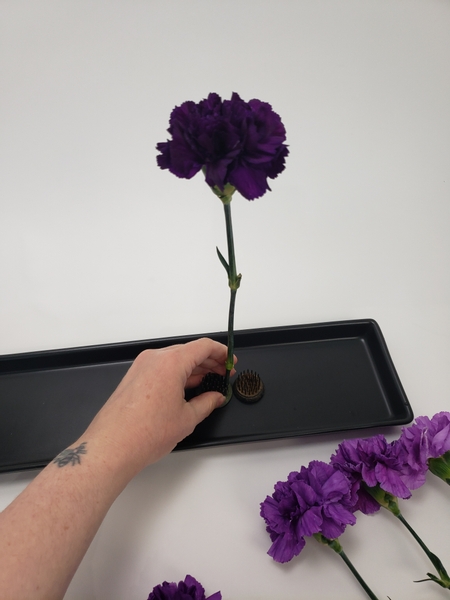
Determine the height placement of the carnation and give the stem a cut. Insert the stem to stand upright between the Kenzan teeth.
Have a look at our email tip if you are unsure of how to cut a stem for a shallow container design.
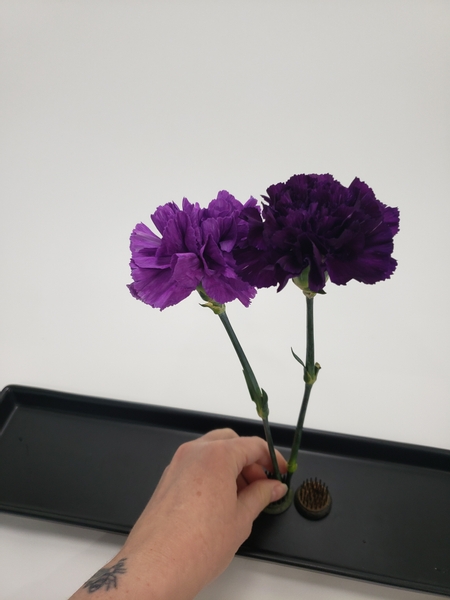
Place a slightly lighter, slightly shorter carnation next to that
Continue the design radiating the carnations out from the middle point.
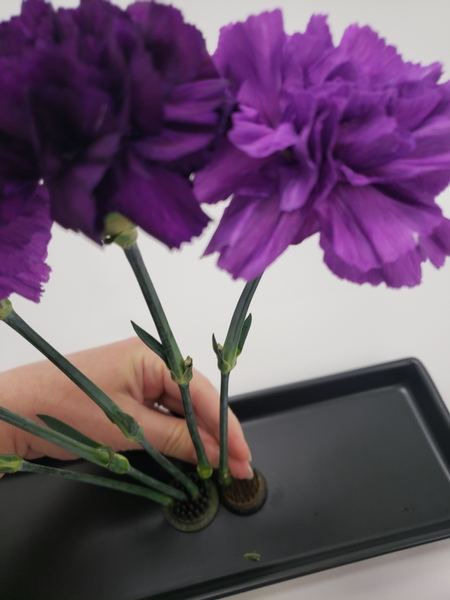
Move over to the other side and add a slightly lighter, slightly shorter carnation next to the darkest one.
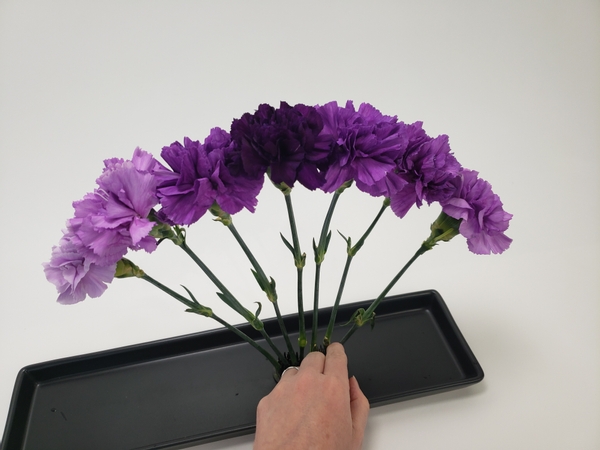
Add all the carnations to radiate out.
For an easy way to measure a radial see the How-To on page 26 and 27 of my book. You will also find a never seen before dried flower armature to craft something similar to this.
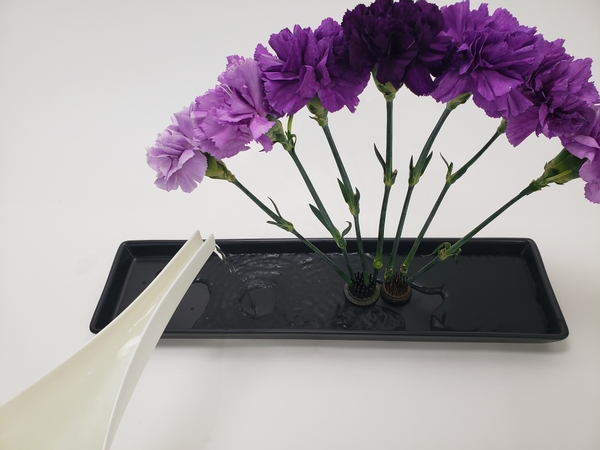
Fill the shallow container with water.
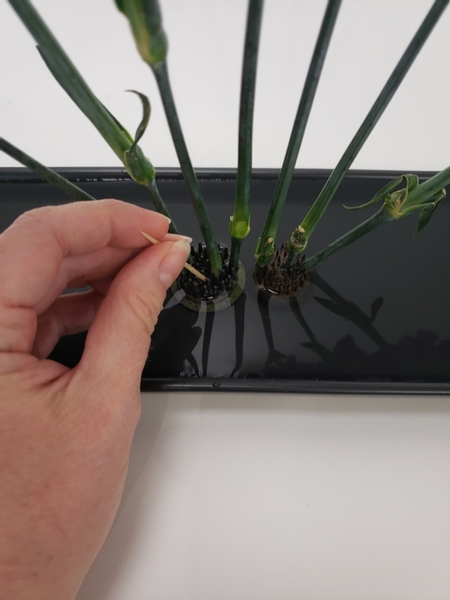
Use a pin or bamboo skewer to break up any trapped air bubbles.
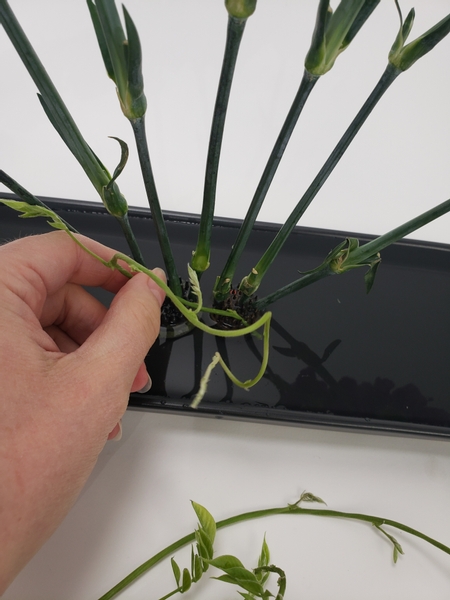
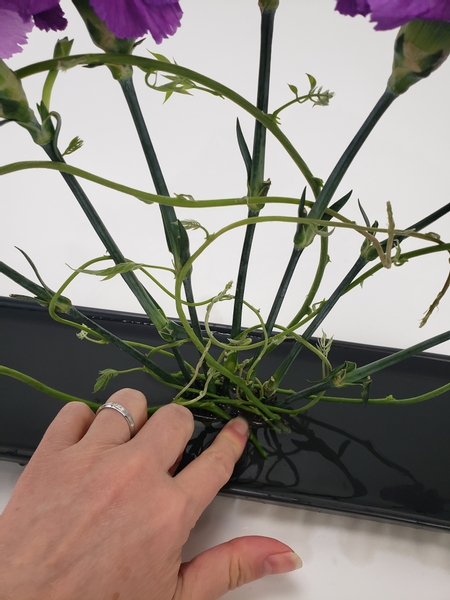
Press a Wisteria vine between the metal teeth.
Weave the vine through the carnation stems.
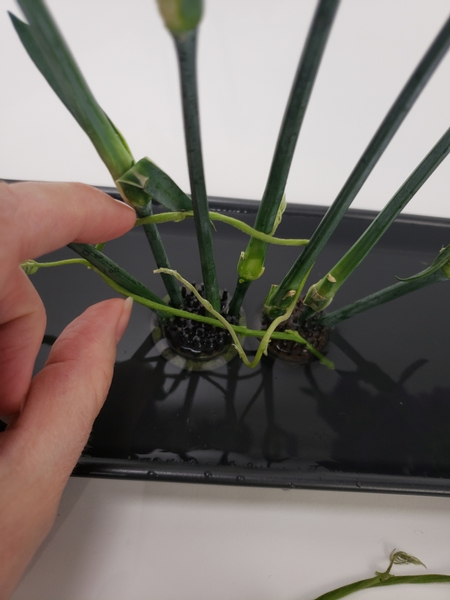
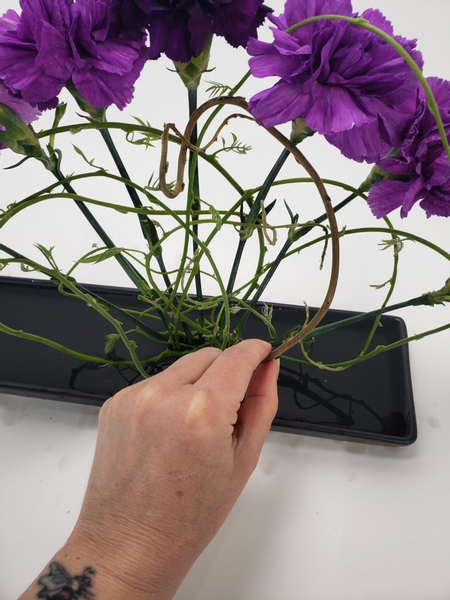
Add the next vine to extend to the other side and weave it through the carnation stems.
Continue weaving vines making sure the ends are well below the water line.
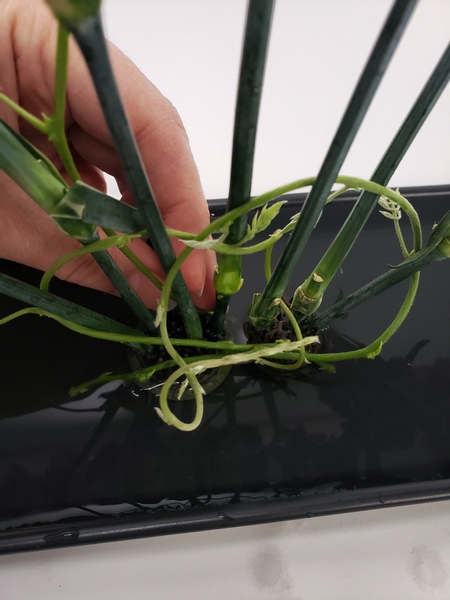
Oh yes, new growth. It is so tricky to design with because it will wilt if you don't grow it for the purpose. In this case it is because the stems are so pliable that we can weave it in this way but the tips will not hydrate and will simply collapse.
So here is a sneaky work-around for that...
Add a few sturdy vines to offer support to the new growth.
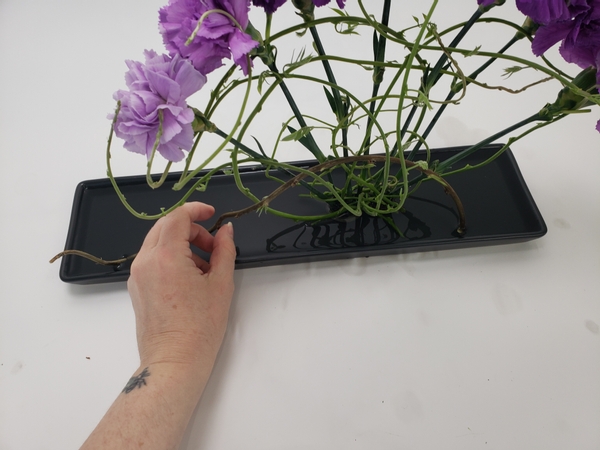
And add the tinniest drop of floral glue to tip of the new growth and secure it so something that will keep it from drooping. This guides the vines to dry out and can then be released to remain in the exact position you want it.
Important note: make sure all the design elements dry in a fresh looking upright position to prevent the design from looking sad and wilting. Use this trick sparingly- it is always better to use design elements that will remain looking fresh and pretty for as long as possible.
If you want to put in a bit more effort you can also wire the tips to dry in a specific way (great for tendril looking details) like I did in my Spring design. I will include the link below for you to look at.
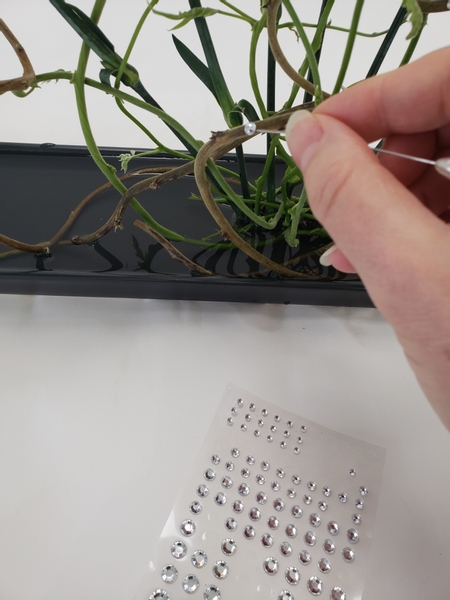
Add a few dew drop crystals to finish the design.
See the Tutorial below for more detailed instructions on how I add crystals to delicate designs.
Sign up for my weekly newsletter
Every week I add a new design with related tutorials. Be sure to subscribe to receive an email notification with design inspiration.


