Christine de Beer - effortless floral craftsman
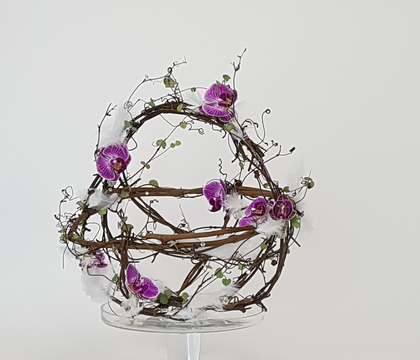
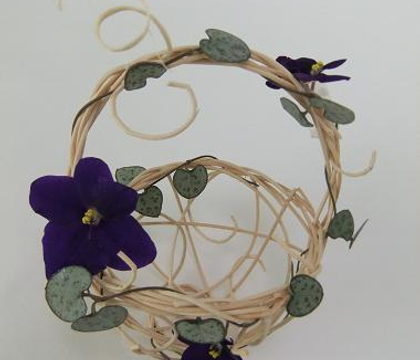
Tiny Rattan Basket
- 29 May 2013
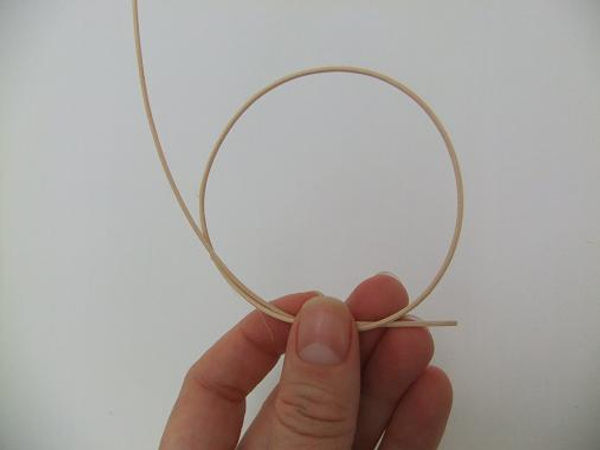
Loosely knot the thin rattan to create a loop
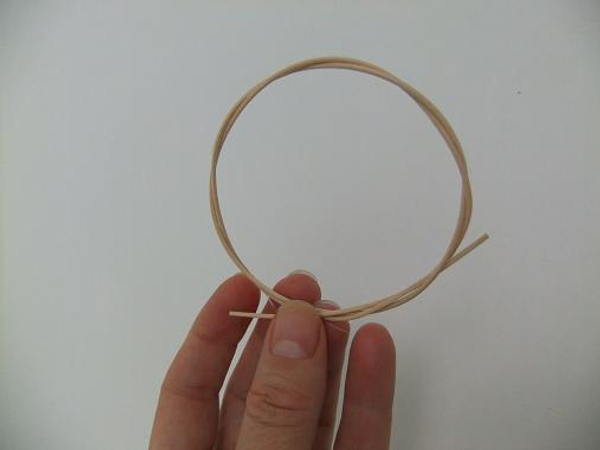
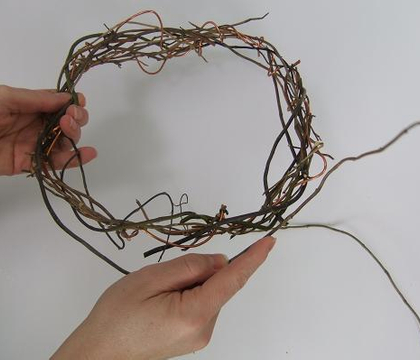
Continue to weave the end pieces to create a wreath
See Tutorial below for detail images on how to weave a wreath
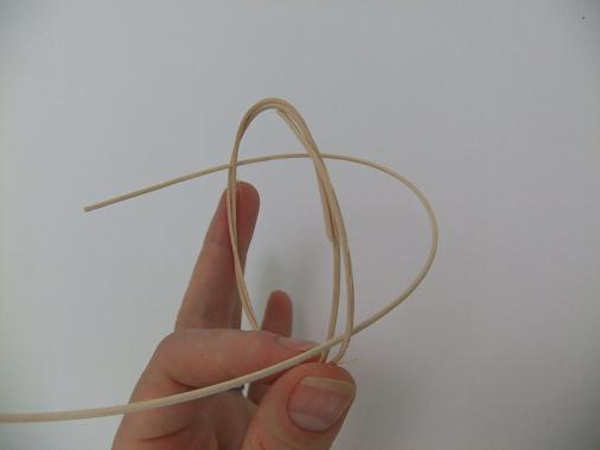
Press a long piece of rattan through the wreath at opposite sides
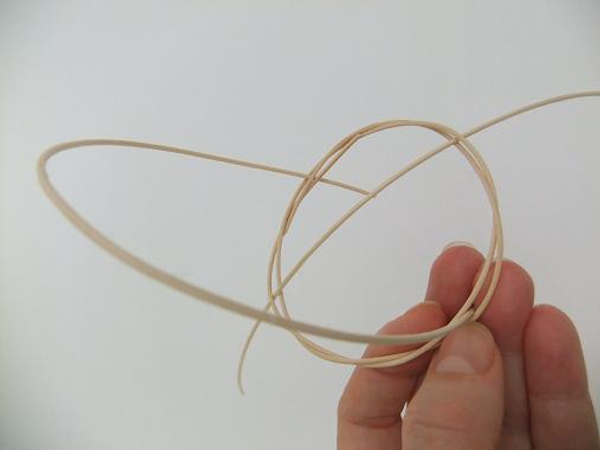
Add another piece of rattan
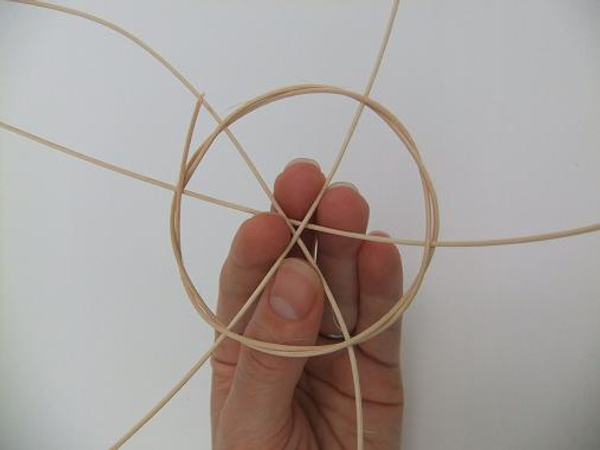
Add a third piece of rattan and weave it through the previous pieces
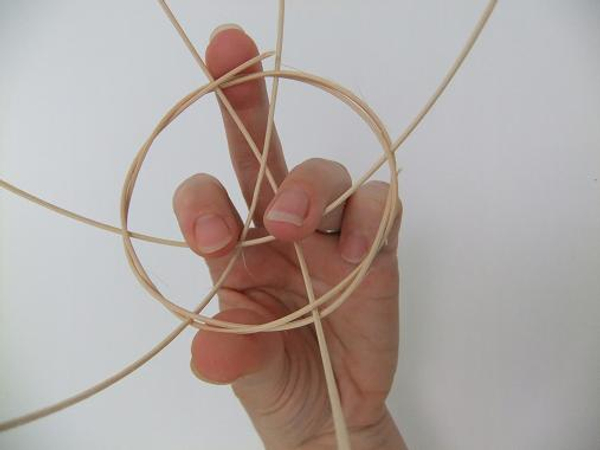
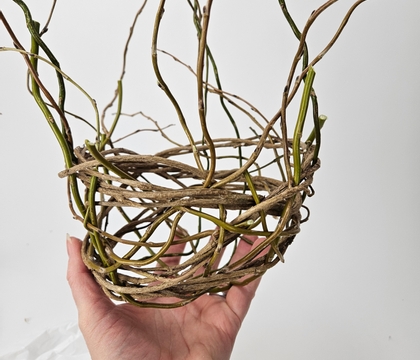
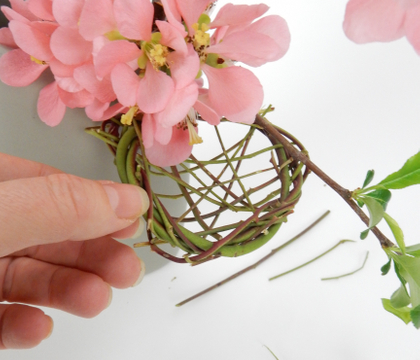
Gently pull the rattan pieces down from the wreath to create a basket shape.
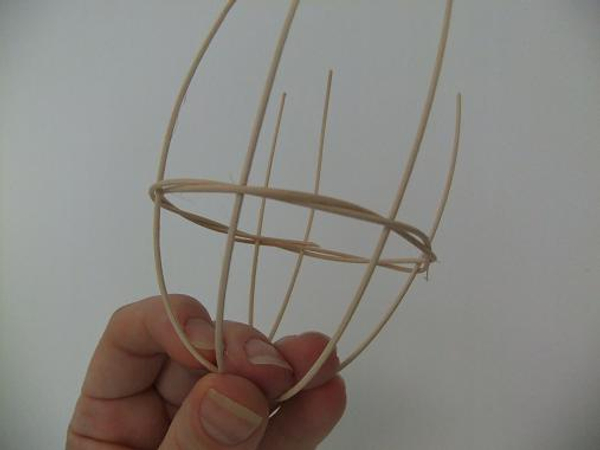
Adjust the pieces to shape the basket
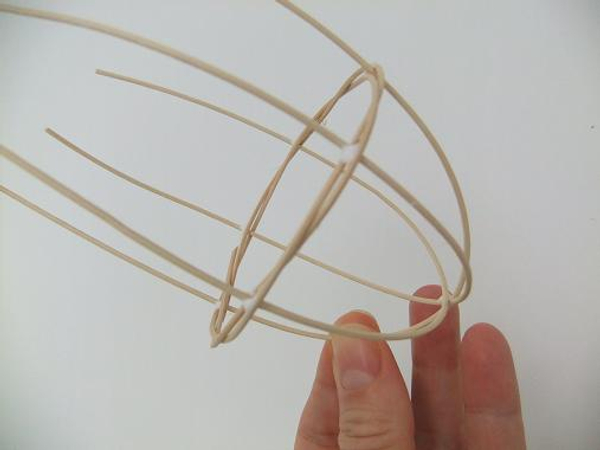
Secure the rattan pieces with a few drops of wood glue
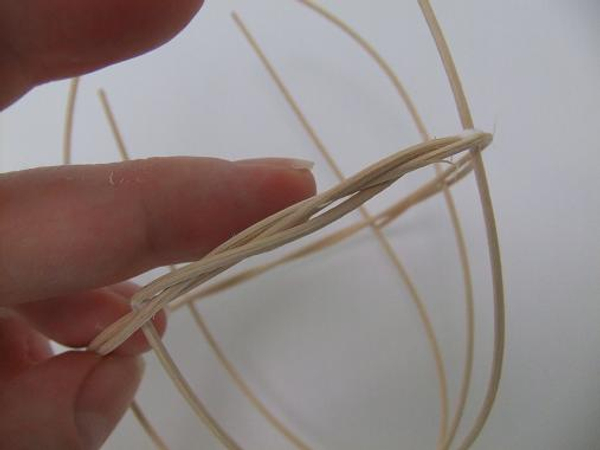
Fold the first rattan piece over and weave it into the wreath
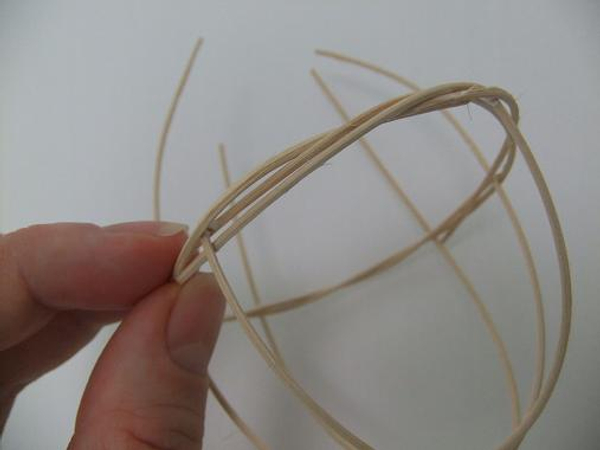
Hook the end piece into the wreath to secure
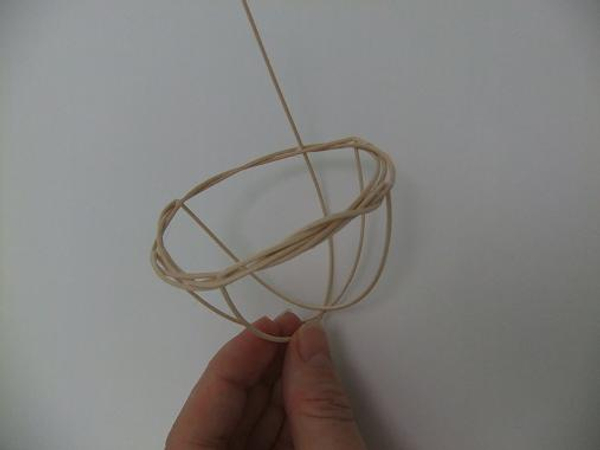
Fold over and weave in all the rattan pieces
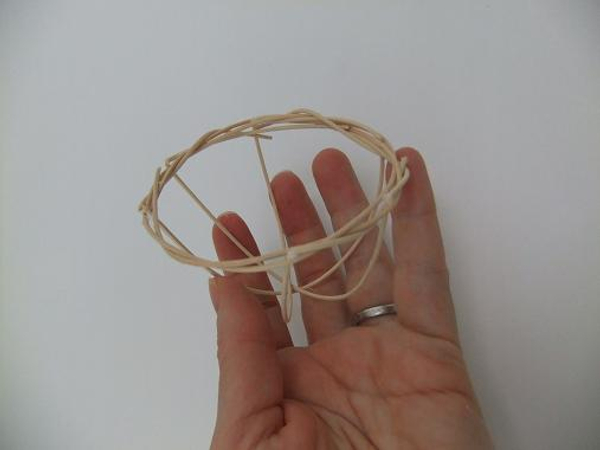
Secure the end pieces with small drops of glue
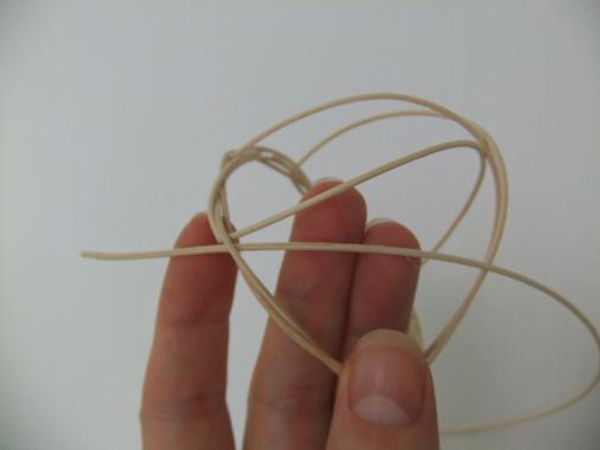
Hook a long piece of rattan through the wreath and weave it through the basket to break up the basic bottom lines of the basket
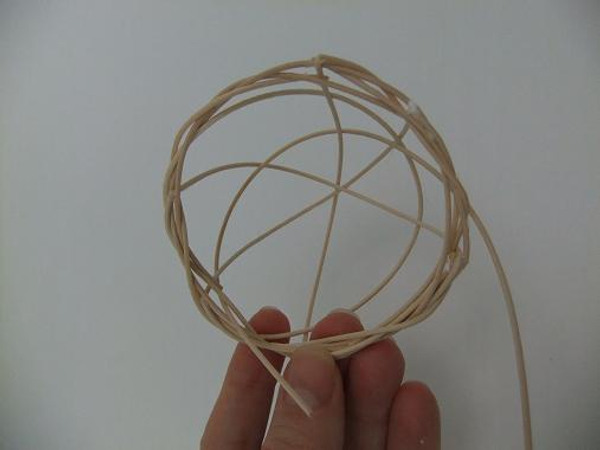
Weave and twirl the rattan in the bottom of the basket
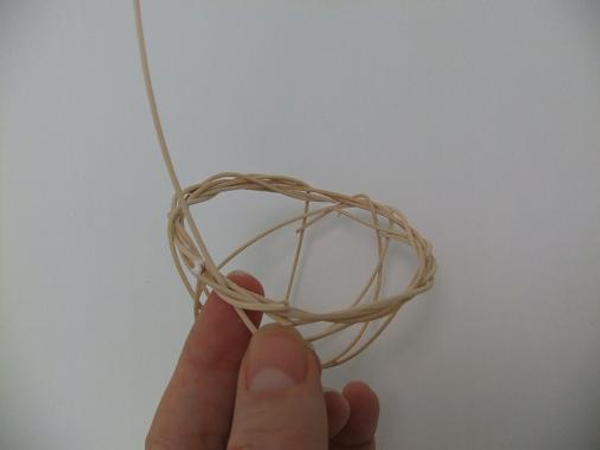
Weave in another long rattan piece to create the basket handle. Let the rattan piece dangle at one end
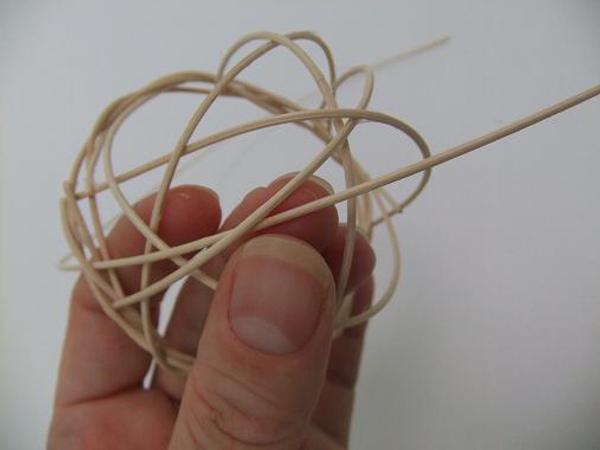
Curve the rattan in and around the bottom of the basket and out at the wreath
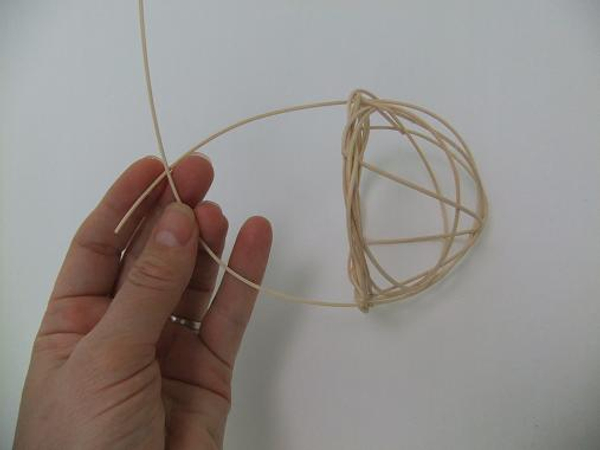
Fold the two dangling rattan pieces over the top of the basket
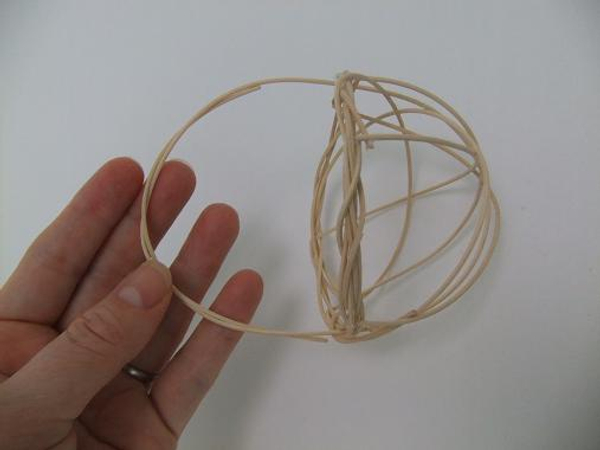
Weave the pieces together to secure the handle
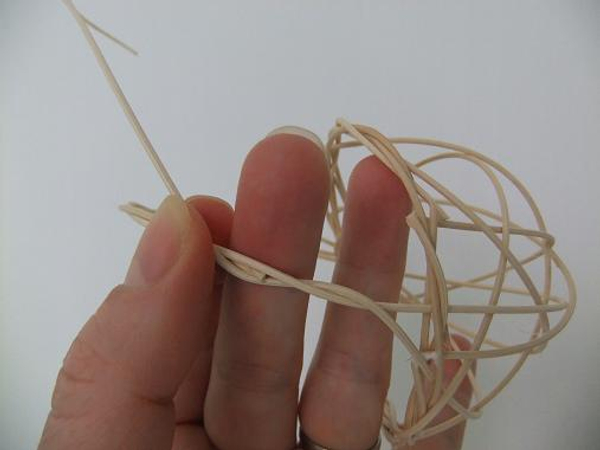
Weave in another section of rattan and weave it around the handle from the one side to the other
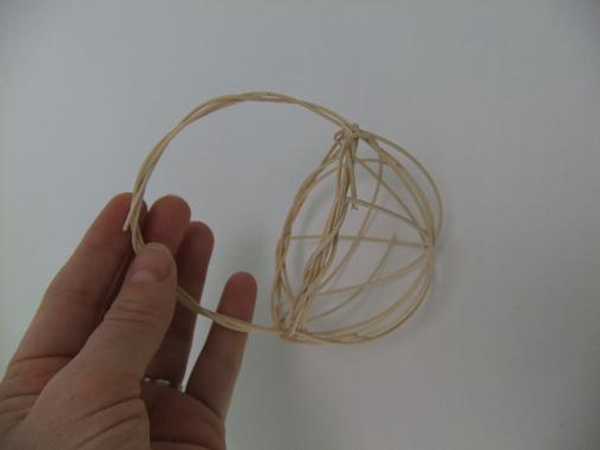
Secure the loose pieces by tucking it into the handle pieces
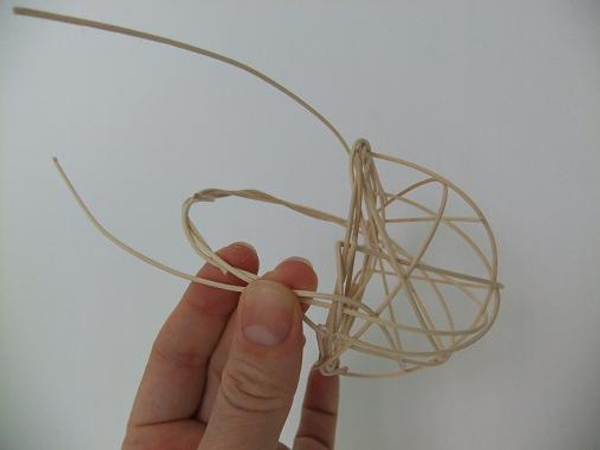
Add another rattan piece from the other side to create a neat handle
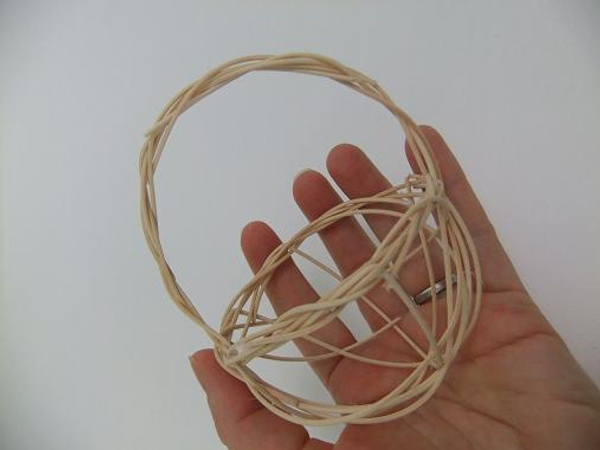
Almost done with the tiny rattan basket...
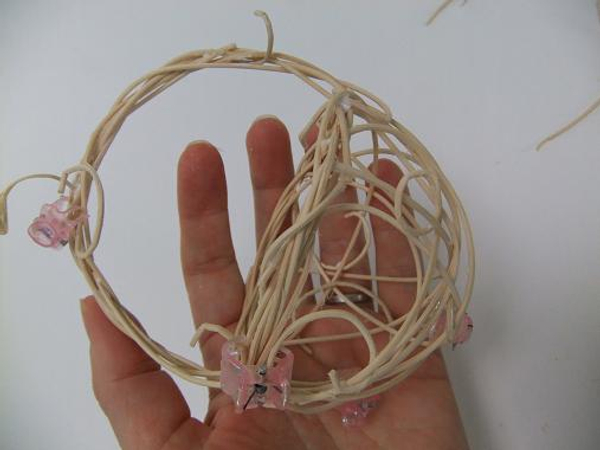
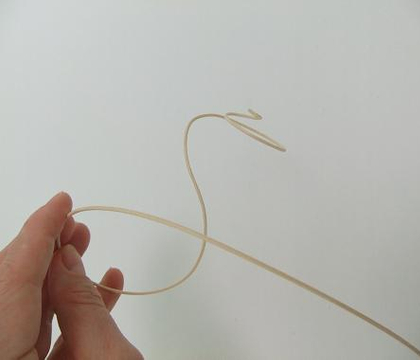
Curl a few rattan pieces and weave and glue it into the basket design. See Tutorial below for a detailed look at curling the rattan pieces
The basket is now done and ready to design with. But if you want to create a very stable bottom for it to rest on:
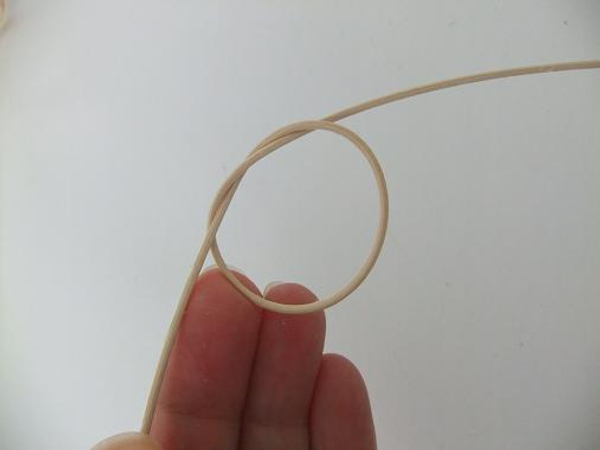
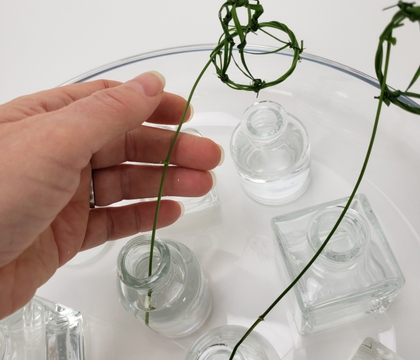
Make a small knot in a piece of rattan.
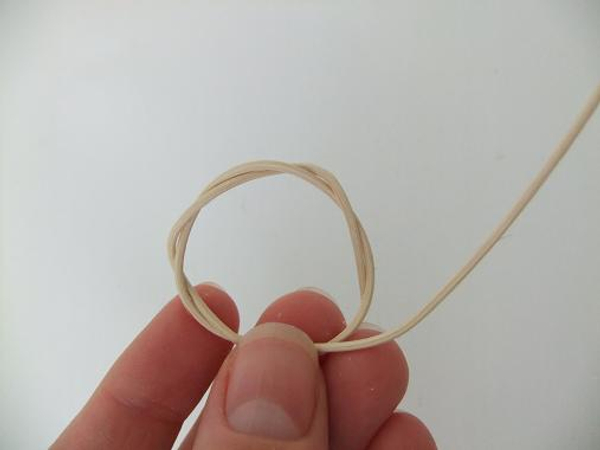
Weave the rattan into a tiny wreath
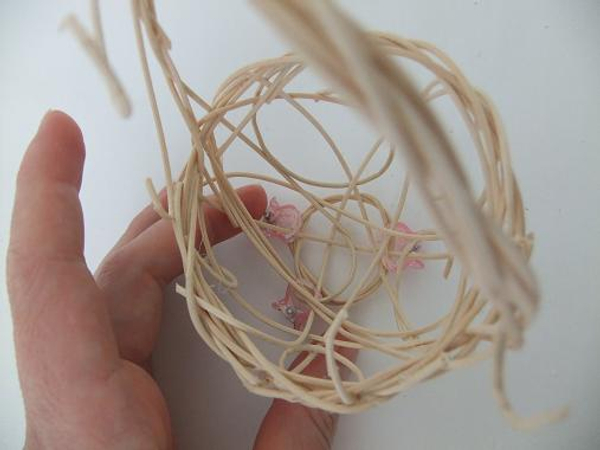
Glue the wreath to the bottom of the basket
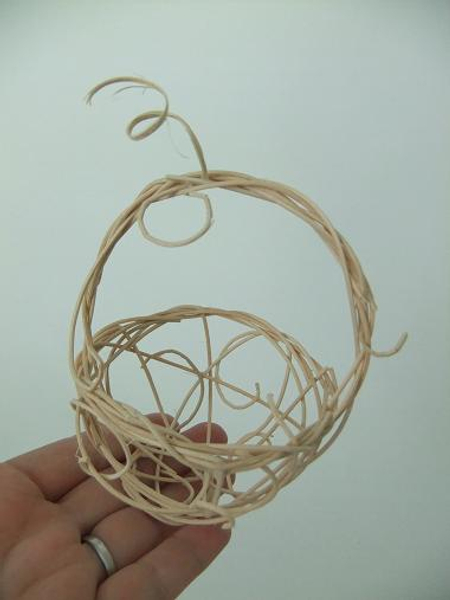
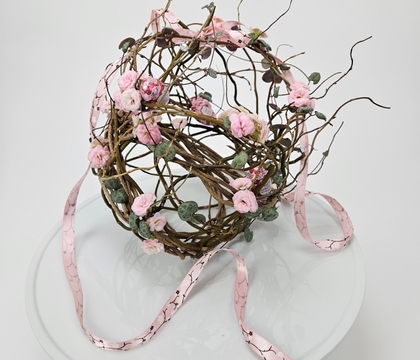
Tiny rattan basket all done and ready to design with
Sign up for my weekly newsletter
Every week I add a new design with related tutorials. Be sure to subscribe to receive an email notification with design inspiration.
