Christine de Beer - effortless floral craftsman
Cover a headband with a whole lot of little floral details for a contemporary fascinator
- 29 May 2024
- and more
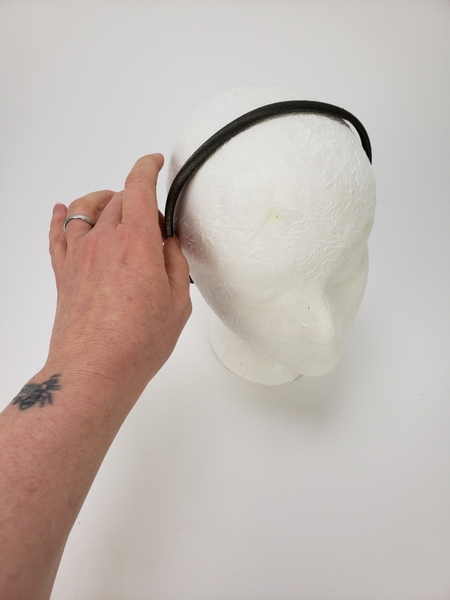
Fit a headband to use as your fascinator base.
This is such an important part of the design. Get this bit right and everything is just floral fun after that. You can make your own headband. I have a few ideas linked below in the Tutorials on how to do that. Or you can purchase a headband. Word of warning though: buy quality. I know it is tempting to buy a simple plastic headband and be done with it but you really should take care. Cheap can be really expensive! You don't want the headband to break midway of designing or even be uncomfortable to wear.
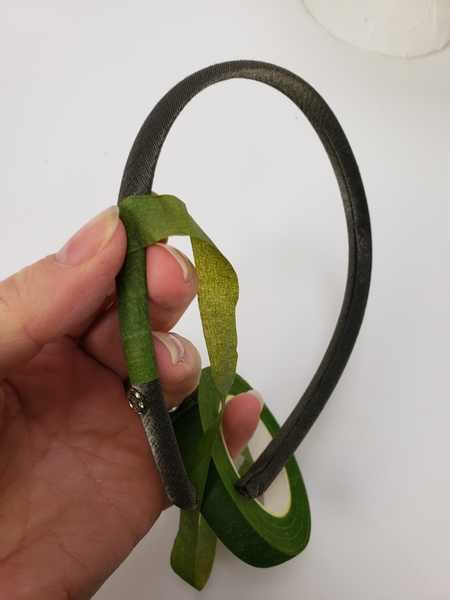
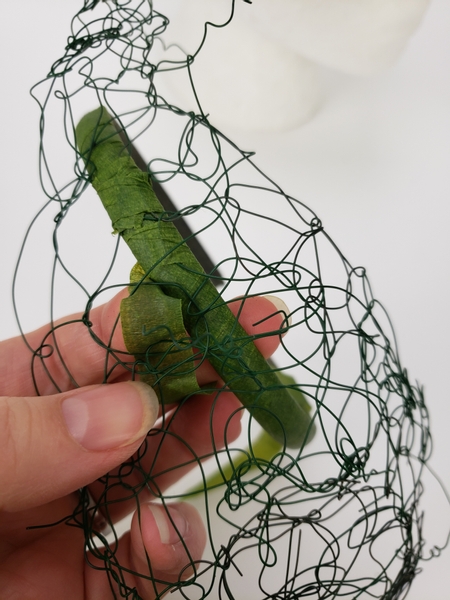
Cover the headband with florist tape. This protects the ribbon on the headband making it convenient for the recipient to use again rather than trash it but also it gives the floral material a sturdy base to adhere to. Glue loves floral tape.
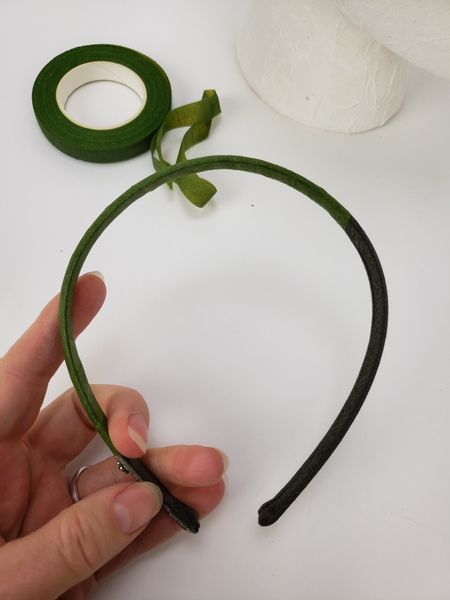
Be mindful of your design when covering the headband. You will have to conceal the tape with floral details so only cover what is needed. Also the ribbon is more comfortable at the ends of the headband to wear so leave that open.
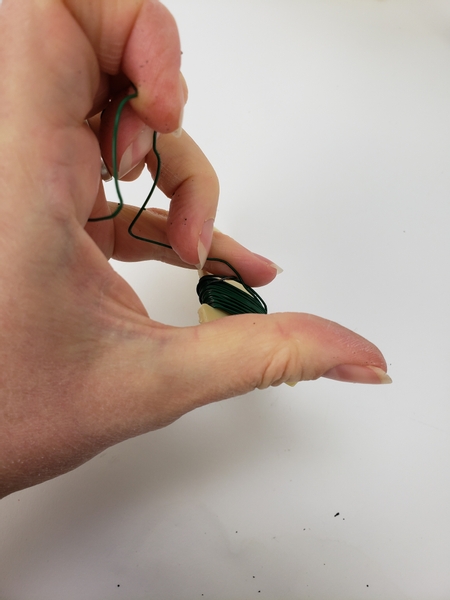
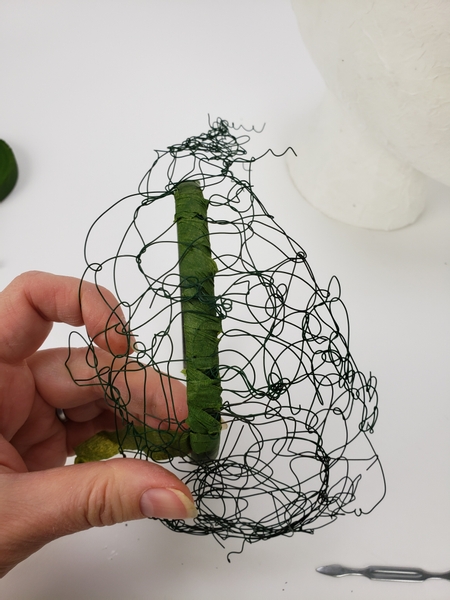
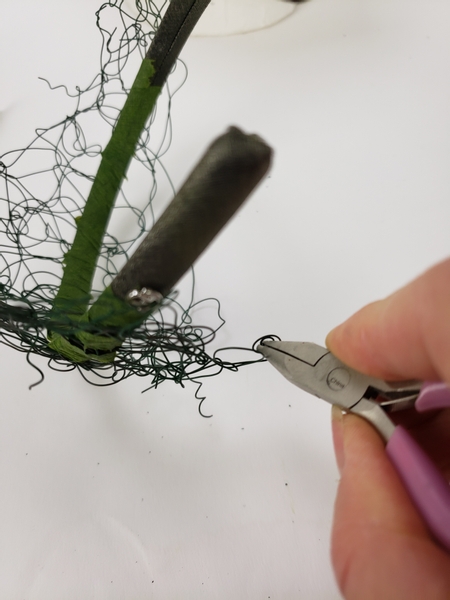
Scrunch up some wire to craft the lacy base...
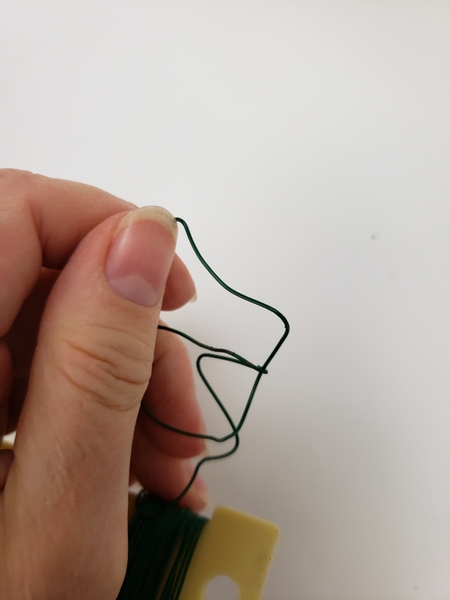
Hook and weave the wire to create a pretty tangle.
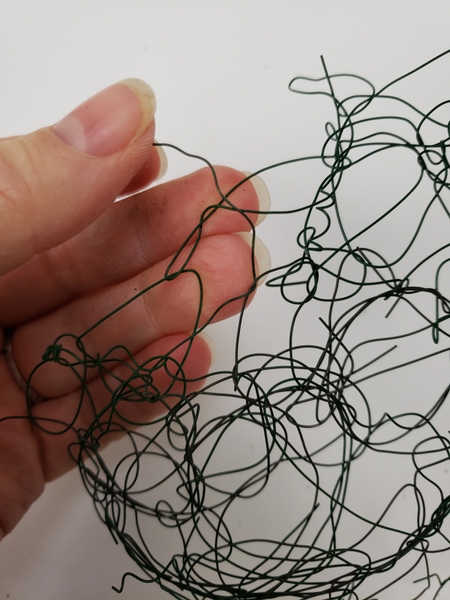
Add in more wire tangles and stich then together with wire to craft a flat base.
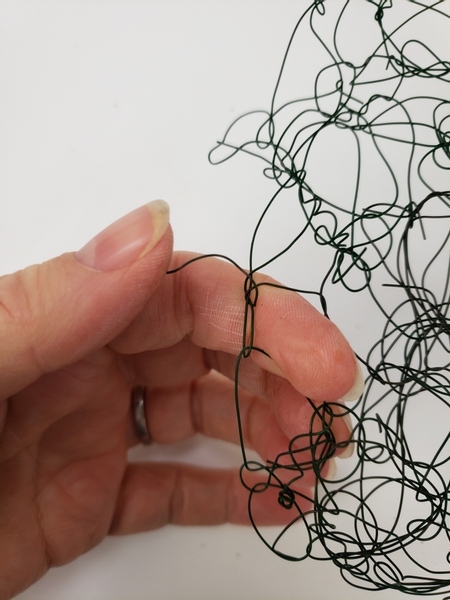
Make sure to leave a generous wire end untangled so that...
You can twirl the wires into tendrils that will not poke the person who is wearing the fascinator.
See the Tutorial below for more detailed instructions on how to curl wire tendrils.

Shape the base according to your design specifications. I made a tear-drop to mimic the calla lily shape for my design.
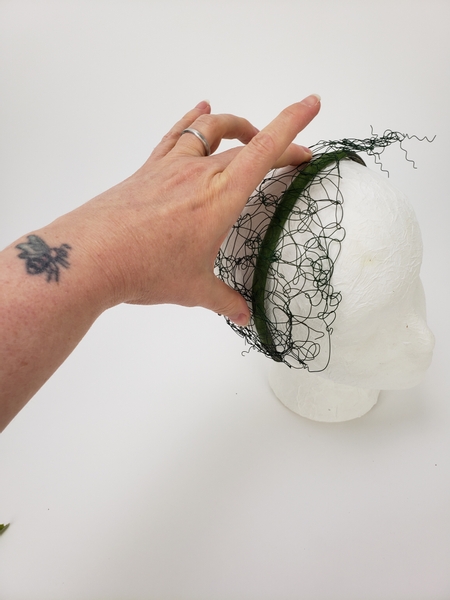
Fit the wire base over the headband.
Secure the wire base to the headband with florist tape.
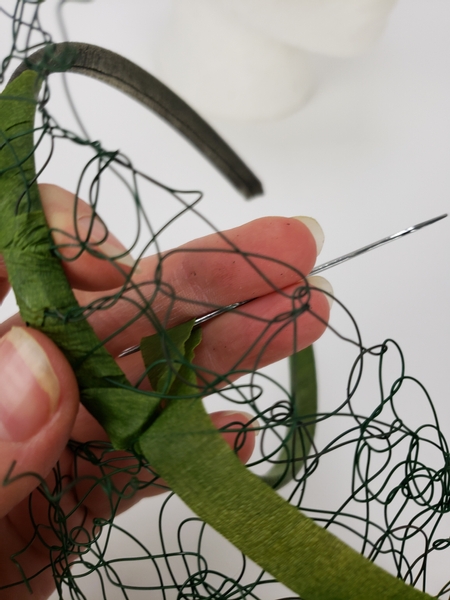
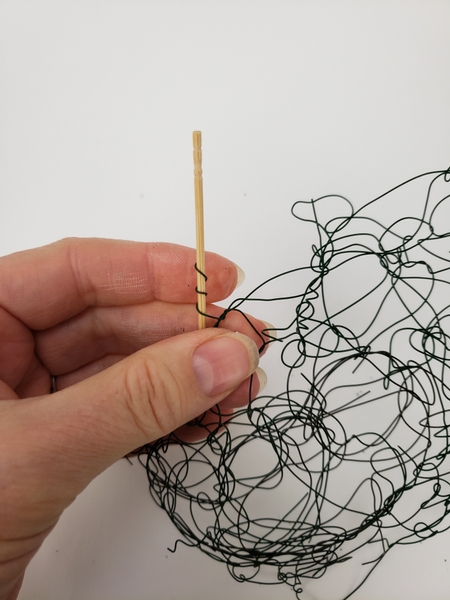
Design note: I use a cuticle pusher to help me guide the tape through the small gaps between the wires.
So that you have a neat and secure base to glue the floral details to.
Inspect the wire base and curl any exposed wire ends in on themselves.
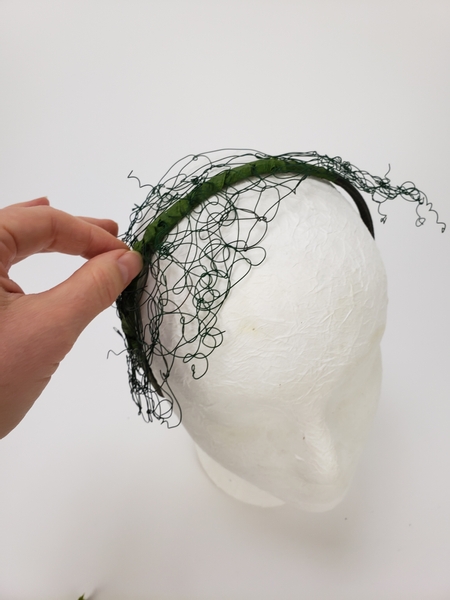
The fascinator headband and base are now ready to design with.
This week in our notification email I tell you a bit more about the preparation work that I did to make my calla lilies look perfect for as long as possible in this kind of design. You might even have a tip for me... please share! I send out only this one email... every Wednesday morning (Vancouver time) and if you are not yet receiving yours the you can sign up for the email below this post.
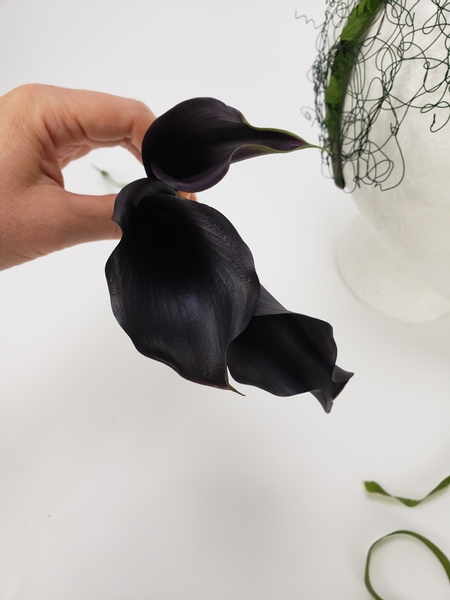
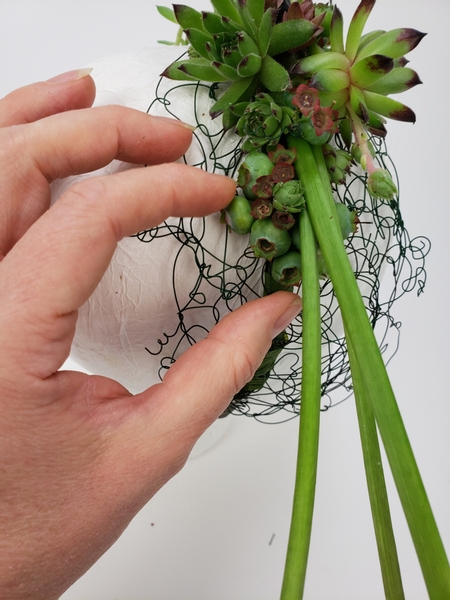
Gather and style the calla lilies to place over the wire base.
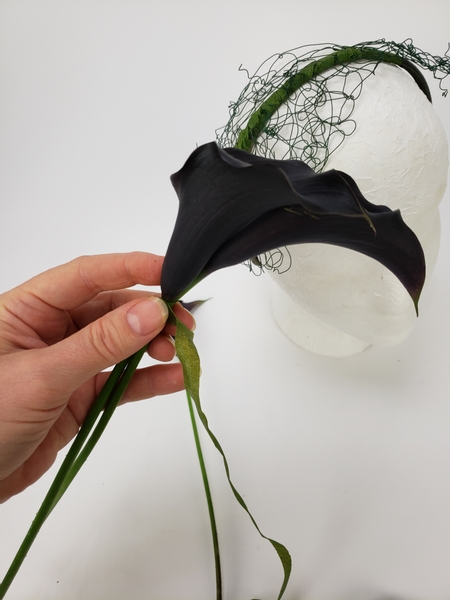
Tape the lilies into the position you want with florist tape...
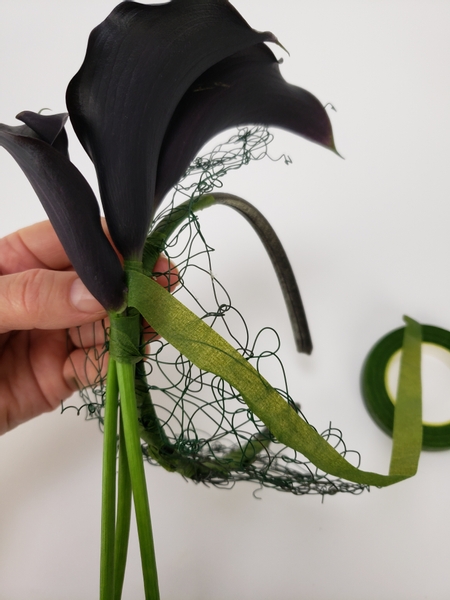
And tape that to the headband.
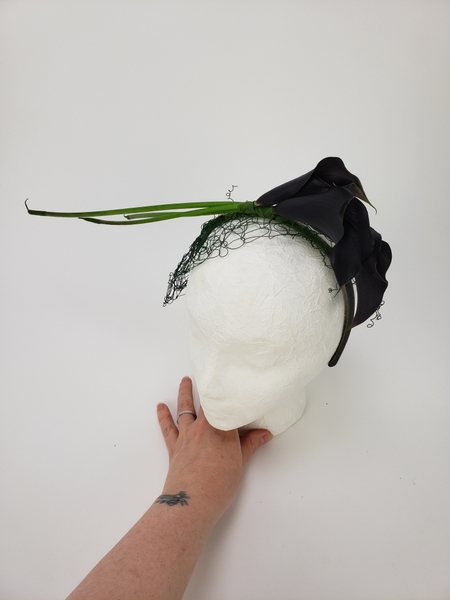
The calla lilies are secure and all dressed up with their sealed and air taped stem ends. Time to design the base...

For the base I am using a collection of succulents...
Book readers turn to page 104 where I show you how to groom and prepare succulents that you glue to a design. For more information about my book: The Effortless Floral Craftsman
but to get you started you can also find a Tutorial for adding succulents below this post.
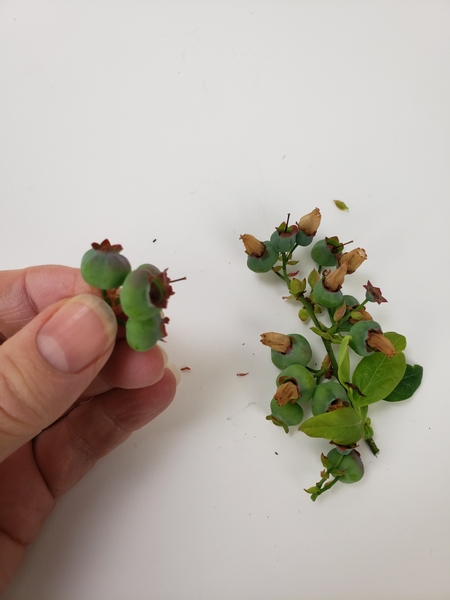
And some rather pretty blueberries that are not quite ripe yet... all growing in my balcony garden.
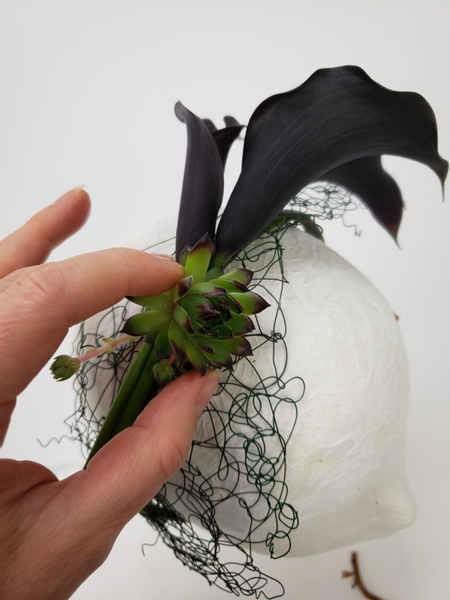
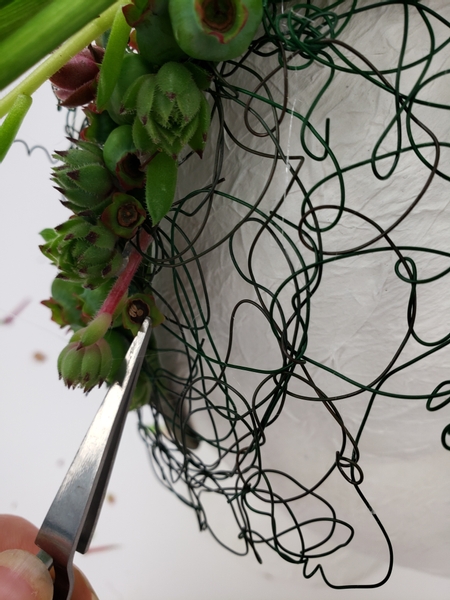
Glue the succulents to the florist taped covered wire base and headband.
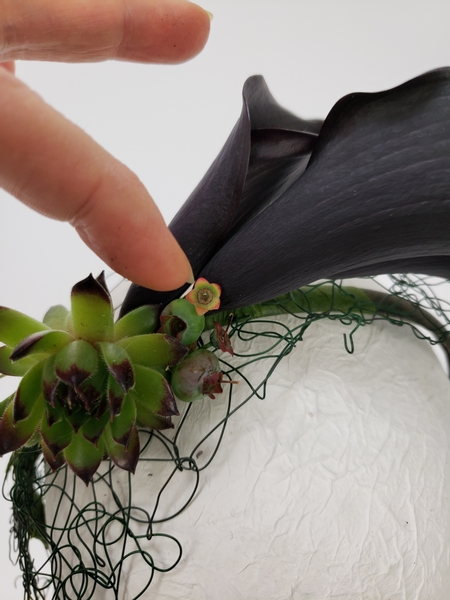
Fill in the gaps with blueberries.
Make sure each and every floral detail you add is secure. Press the tiniest of stems firmly down to secure it to the floral tape in the base.
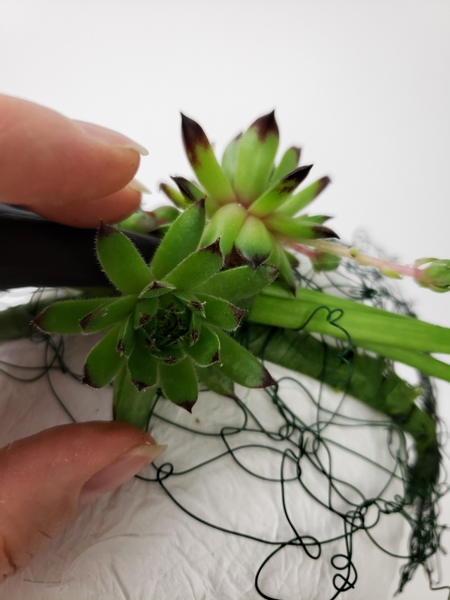
Work on the front view and the back to make it look pretty all round...
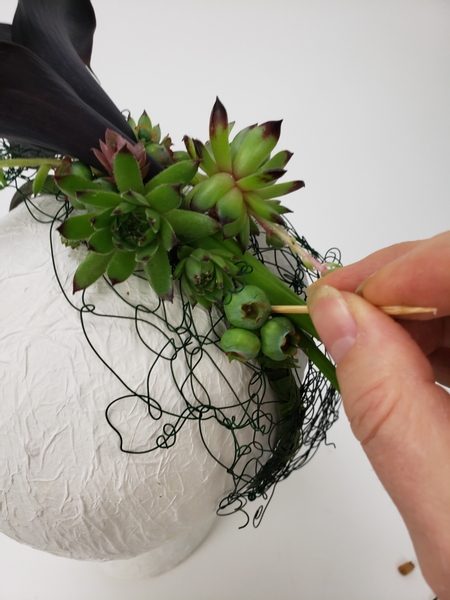
Add in a few longer stems to prevent the tiny details from looking flat and plastered into the design.
As a general rule: the lighter the plant material the longer the stem. To secure heavy berries and succulents cut away the entire stem and glue the surface flat to the base. Anything light and tiny (like the unpollinated berry receptacle) can be slipped between the larger plant material to hover above it. Just make sure it is secure. You don't want anything flopping about.
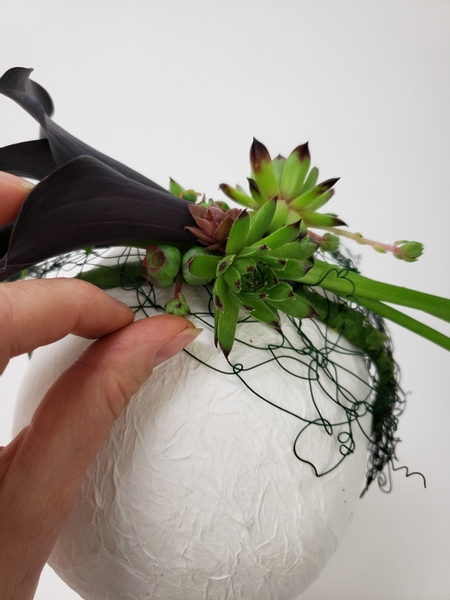
Use a tweezer to get into the tiny gaps and cover the base below the calla lilies stems to finish it off perfectly.

Add in a few longer clematis receptacles on longer stems to hover far above the fascinator design.
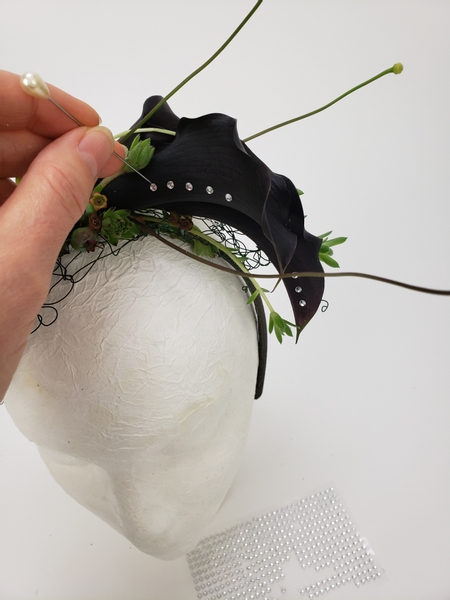
And dress the fascinator with a few rows of dew drop crystals on the calla lilies...
See the Tutorial below for more details on how I add the crystals to make sure the flowers are not bruised or damaged.
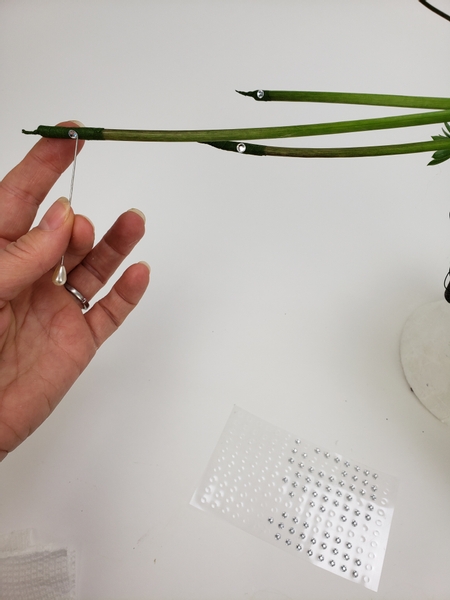
And finally a few more crystals on the sealed and air taped stem ends
Sign up for my weekly newsletter
Every week I add a new design with related tutorials. Be sure to subscribe to receive an email notification with design inspiration.


