Christine de Beer - effortless floral craftsman
Craft a birch bark bud vase topper for a openhearted Valentine's display
- 14 February 2024
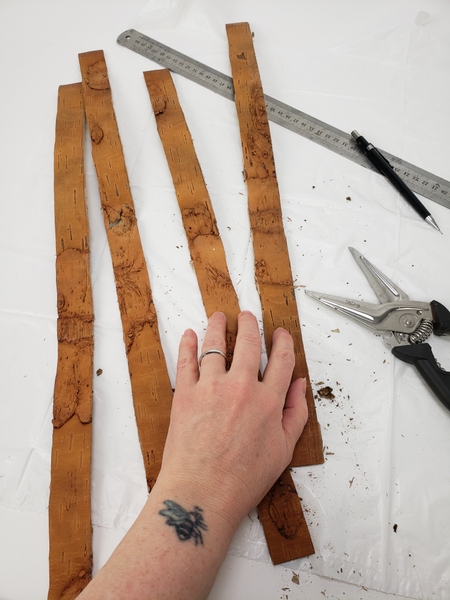
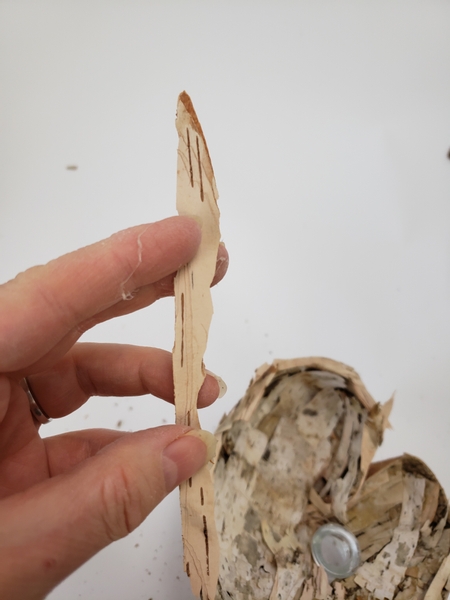
Cut birch bark into strips.
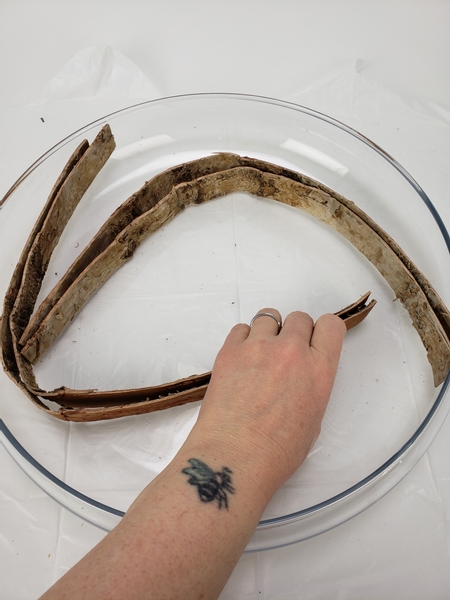
Soak the strips in warm water to make it more pliable.
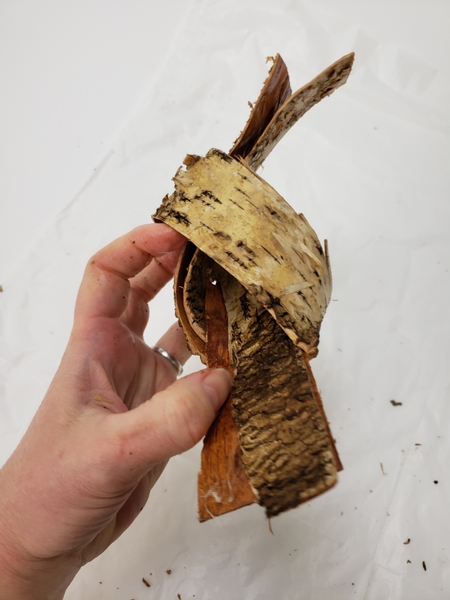
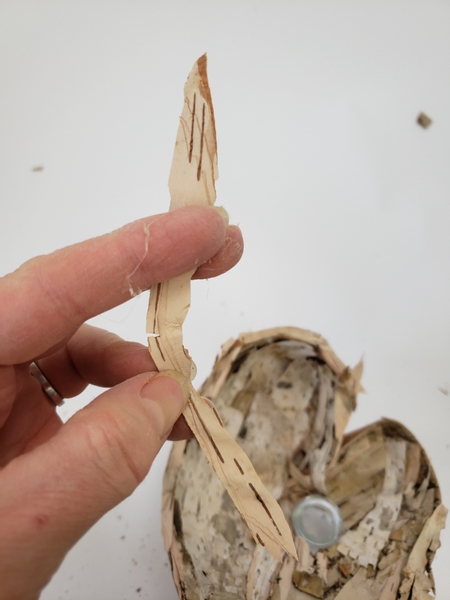
Make a knot in the birch bark.
Set the birch knot aside to dry. This sets the curve created by the knot into the bark.
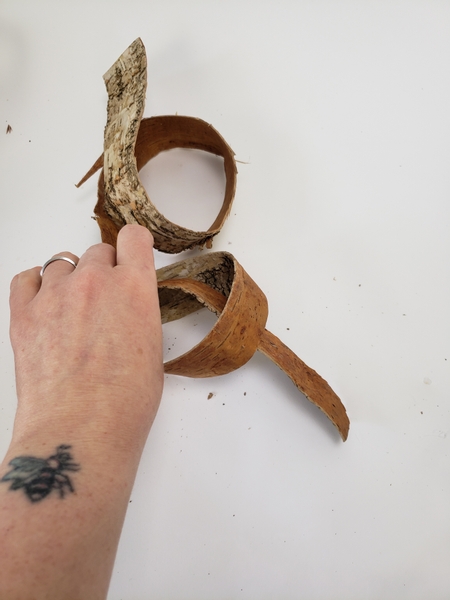
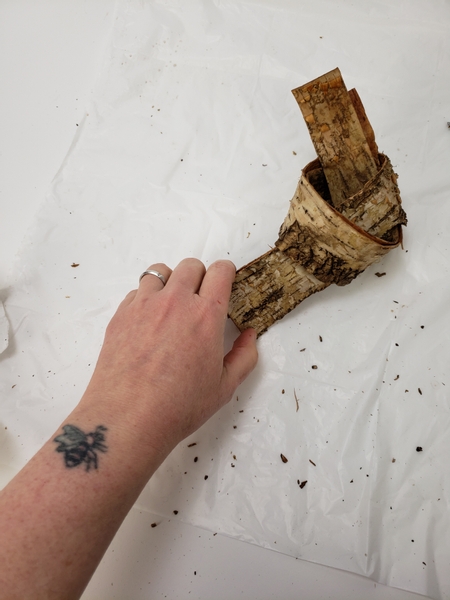
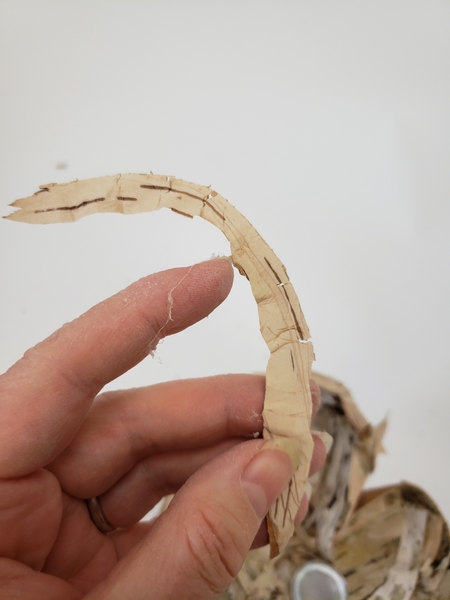
Untie the birch bark knots once dry. And pick the best one to shape into a heart.
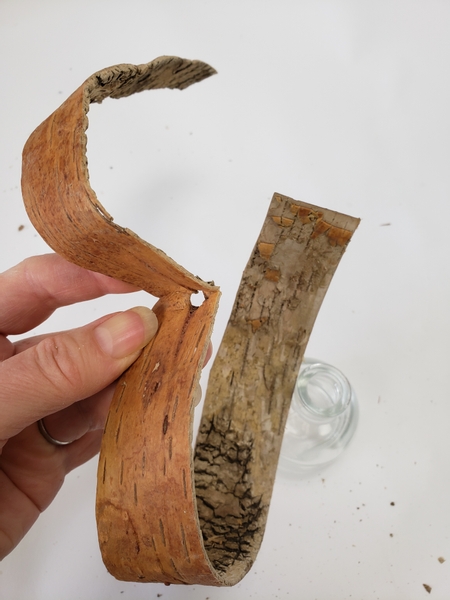
Fold the bark in half. The undone knot will shape itself into a heart.

Secure the fold with a bit of hot glue.
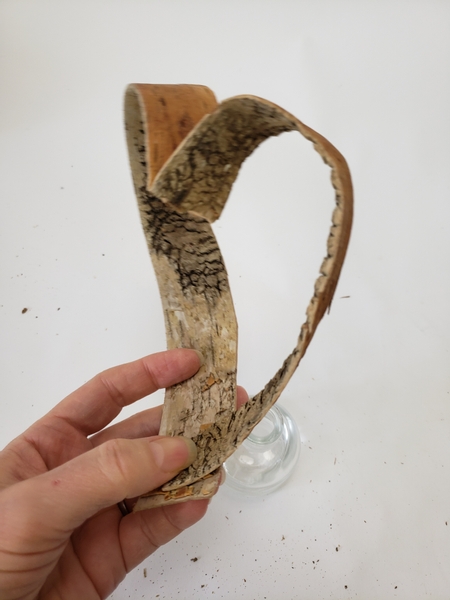
Fold the bark over and secure the tip to create a cupped heart.
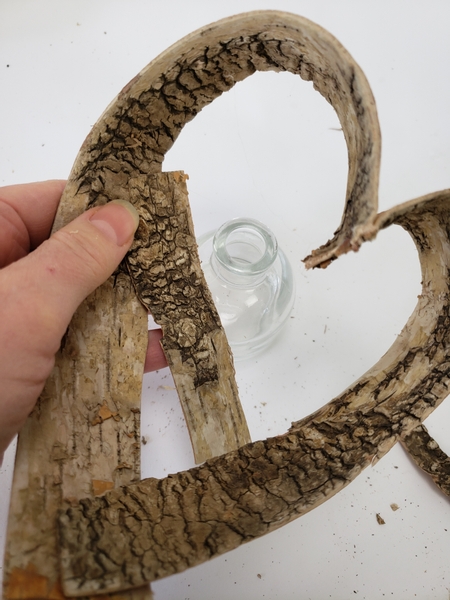
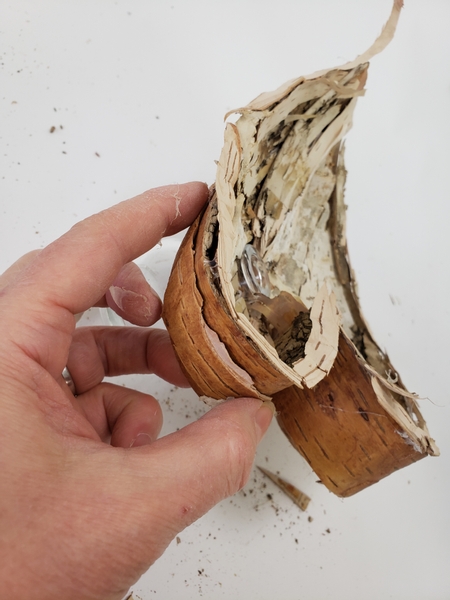
To make sure the heart can carry some weight (your floral details rest on this part) start with the sturdiest pieces of bark. Look for any knots or tougher pieces of bark and craft this foundation with that.
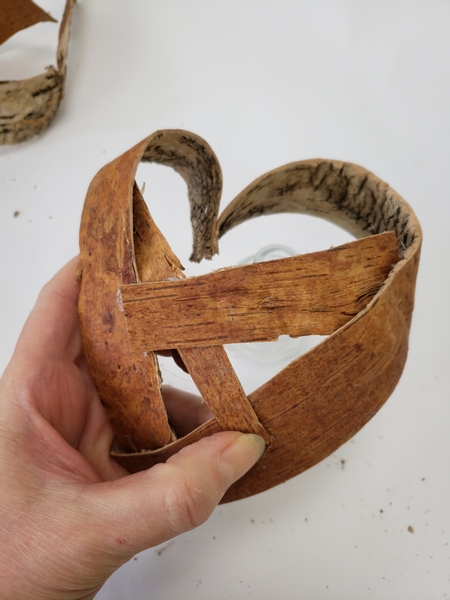
Give the inside of the heart a cross of support pieces.
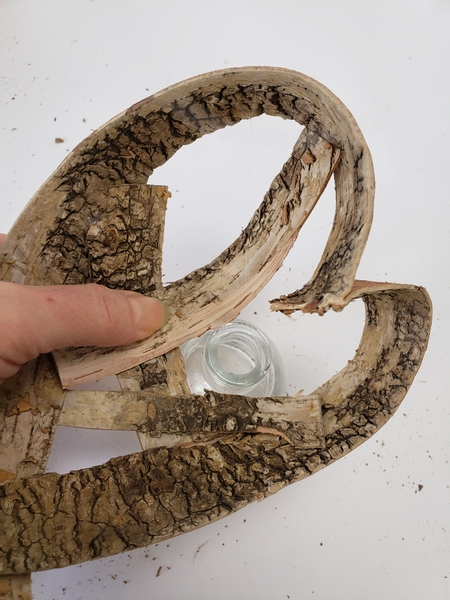
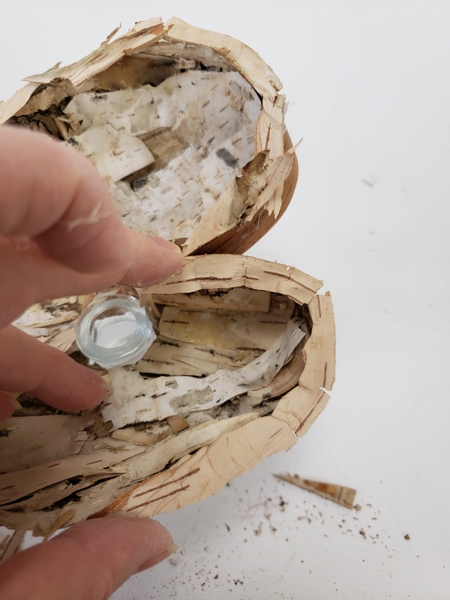
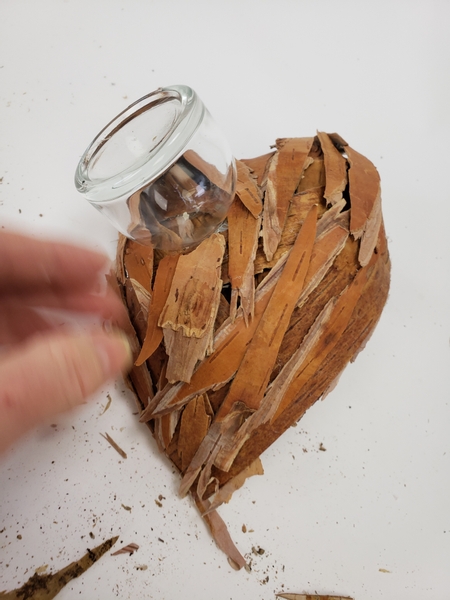
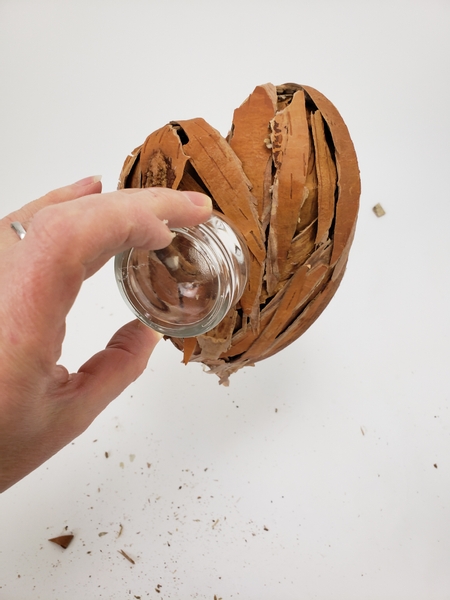
Slip the heart over a small bud vase and let the crossed pieces rest on the vase. Make sure the heart leans in an esthetically pleasing way and then start to add in more support strips.
Design note: I often talk about this but it really makes all the difference. Give your work personality. The way the heart tilts can add so much character. A jaunty or cheeky angle. A formal placing of the heart being dead-straight up. Each sends a different message. This is where you can make a connection with the onlooker. What is your heart saying?

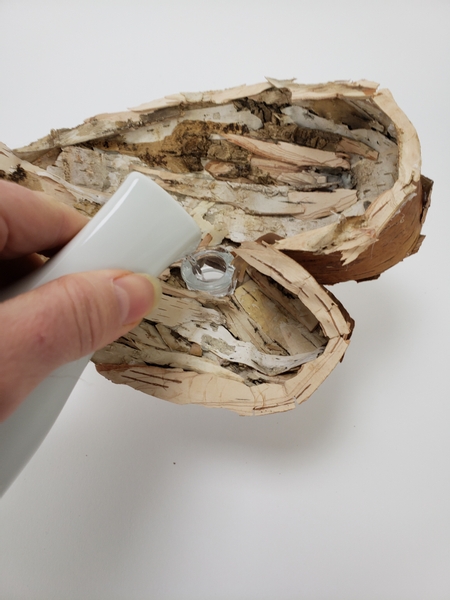
Once the cross pieces are secured you can start with the more decorative layer.
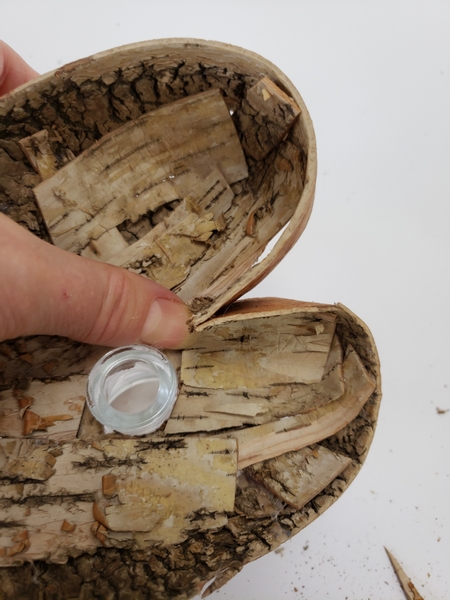
Built the heart up in layers filling in the gaps around the bud vase.
This week in our email I show you my tip for building up a realistic looking heart. If you are not yet receiving my Wednesday morning (Vancouver time) email the sign up is below this post. This is also a great way for us to connect. I answer all the emails... although some weeks it takes me a bit longer to get to them all than other weeks. But I would love to hear from you. You can reply to the email if you have comments or questions... or to say hi.
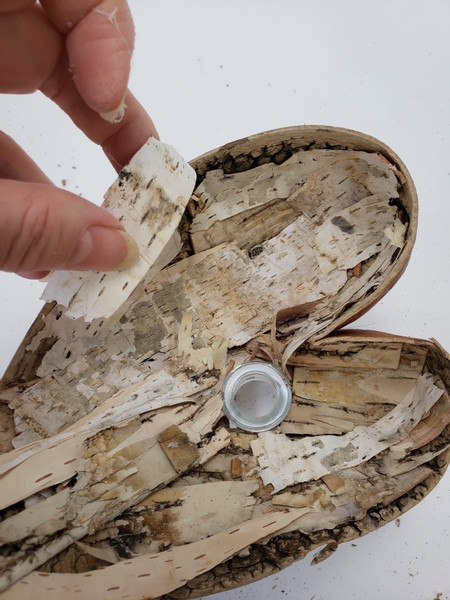
With a final layer of paper thin birch to conceal and give a more natural look to the heart.
The edges needs a bit of special attention: we control break those.
Book readers turn to page 273 where I talk about crafting illusions. This is where you learn about adding a touch to your work that elevates it to look... real. That is always the goal: lean in closer designs to have second look at how this is possible. For more information about my book: The Effortless Floral Craftsman
Carefully break the birch bark sideways to give it an angle. The trick is to not snap it. Nor tear the bark. It should just be broken to give it character... and lean slightly.
Move down the strip of bark and carefully break it into a curve to match the heart shape.
Glue the curved bark to the edge of the bark heart to finish it off.
Flip the heart over and shape the bottom of the heart with strips of bark.
Overlapping strips to flow in the same direction around the shape.
When the shape is sturdy and you are happy with the look you can start to design.
Fill the bud vase inside the heart with water.
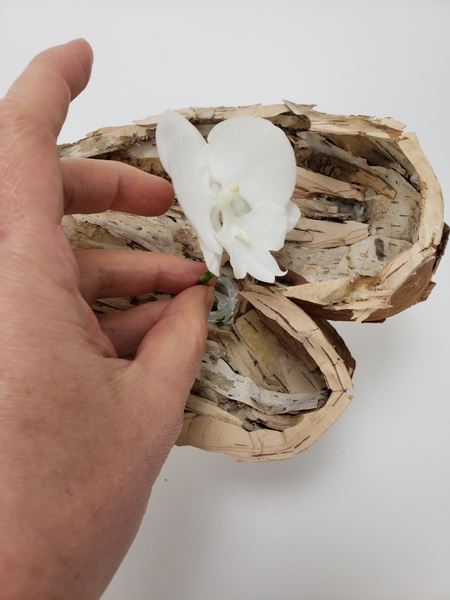
Add in the fresh flower stems...
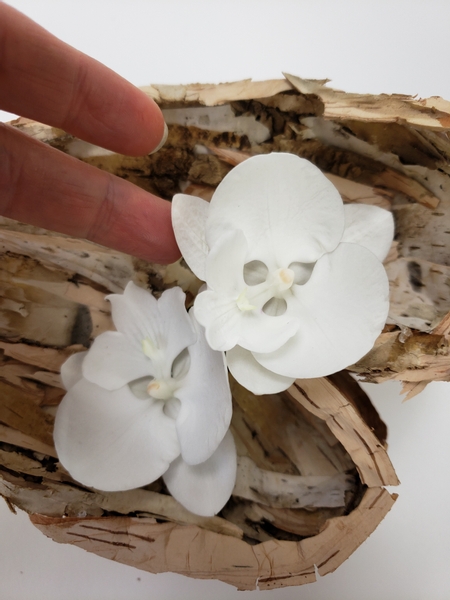
And wait... wow... these pure white Phalaenopsis orchids definitely deserve their own special heart frame, don't you think?
They are more delicate and fragile than the Phalaenopsis we usually grow and design with but so worth it to see it flower!
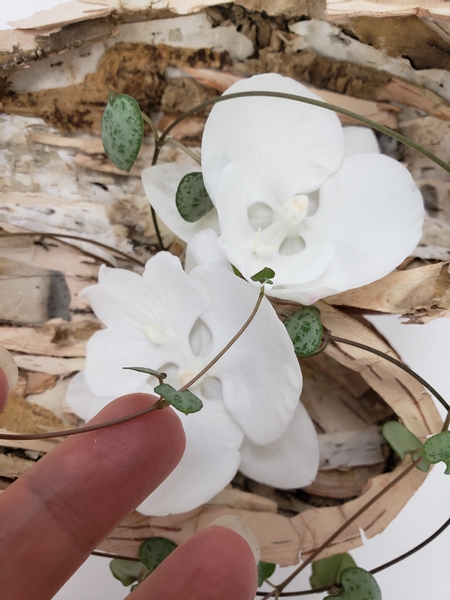
Add in a few heart shaped rosary vines to curve around the birch bark heart and finish it off with a few dew drop crystals to add sparkle.
I show you how to add the crystals in the Tutorials below.
Sign up for my weekly newsletter
Every week I add a new design with related tutorials. Be sure to subscribe to receive an email notification with design inspiration.


