Christine de Beer - effortless floral craftsman
Have your heart set on it armature for Valentines Day
- 12 February 2025
This design is made in two steps, the first step needs to dry into the heart shape before adding the fresh floral details.
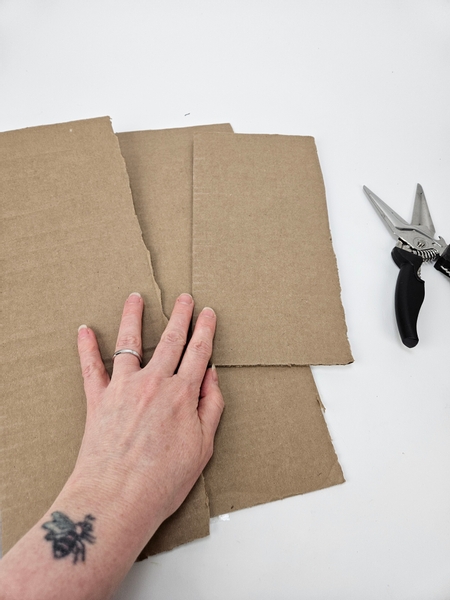
Cut three strips out of sturdy cardboard.
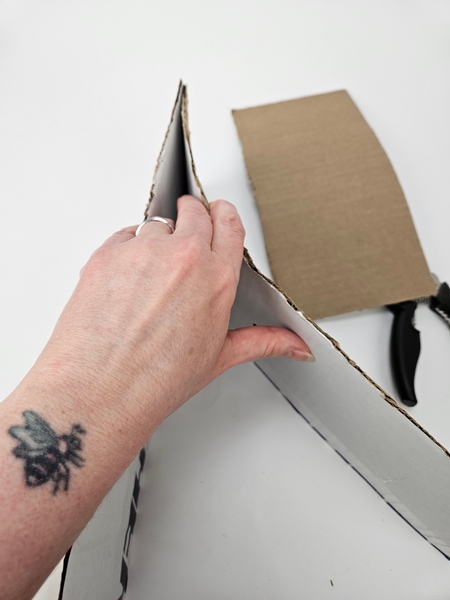
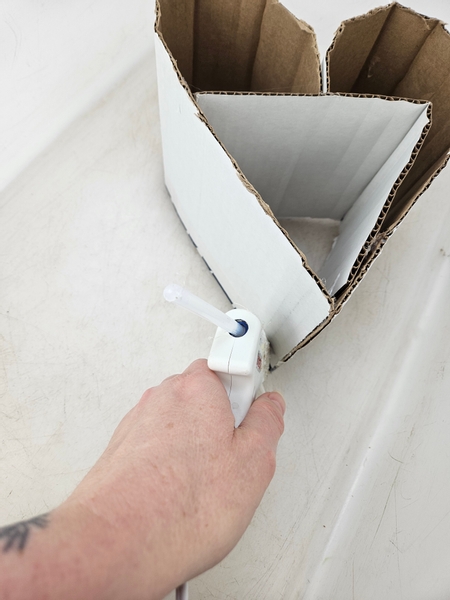
Use hot glue to secure the cardboard on one side...
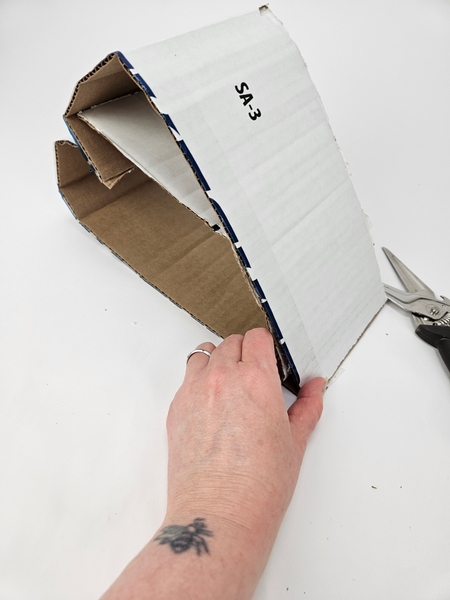
Fold the cardboard over and place the shorter cardboard into the heart shape and secure all three pieces at the tapered end.

Bend and secure the smaller cardboard to give the heart shape some support from the inside. Secure it with hot glue to make sure it is sturdy.
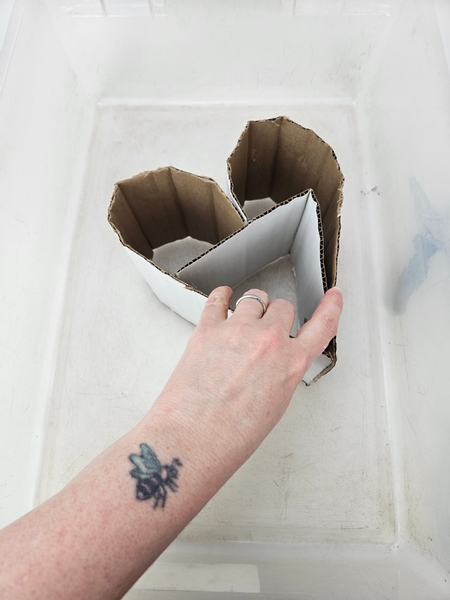
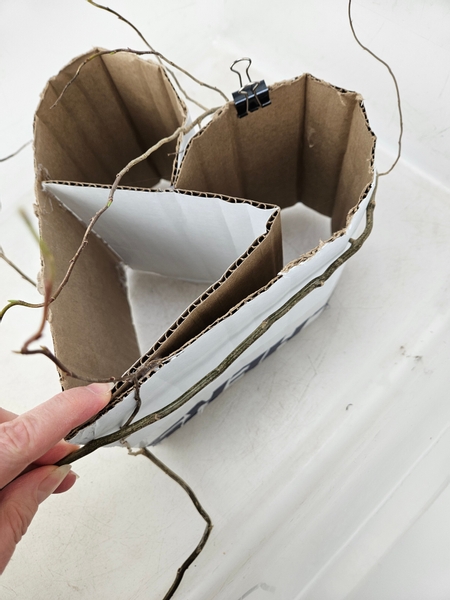
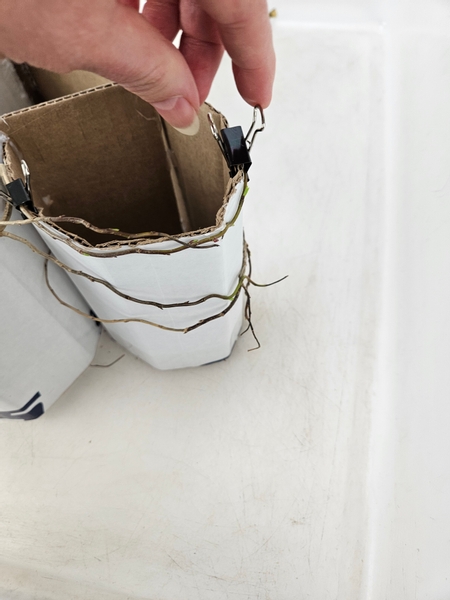
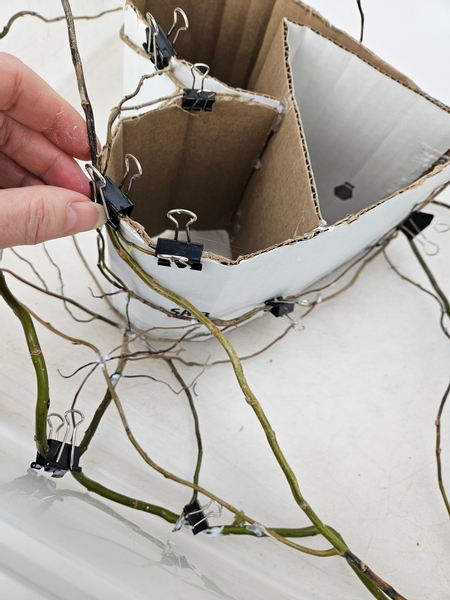
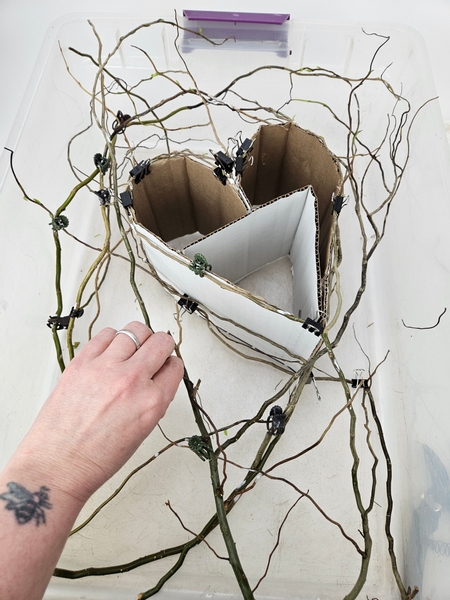
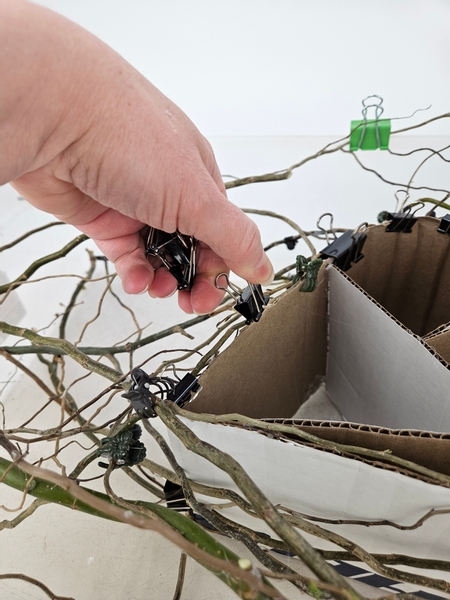
Place the cardboard heart in a container to make it easier to build around the shape.
The twigs are going to want to move the heart as you weave it into the container. To keep the heart where I want it in the container, I used 3 dots of hot glue to secure the cardboard to the container.

I do this on the outside of the cardboard so that I can see where it is secure when I lift the heart out to remove the armature.
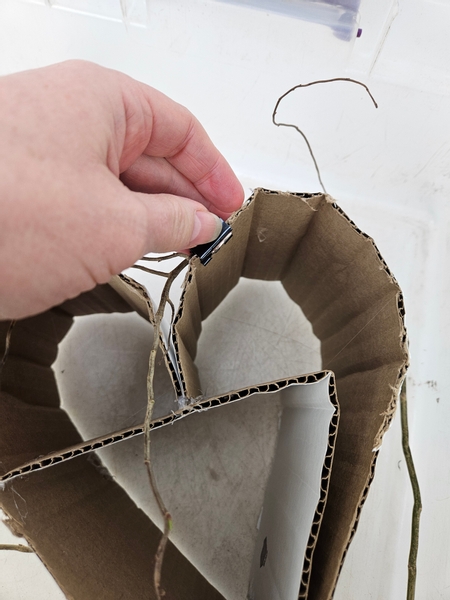
My first priority is to get the heart shape. For this I secure a really flexible willow stem with a clip to the side of the card board heart.
Fold the willow around to one end of the heart and wrap it tightly to follow the shape.
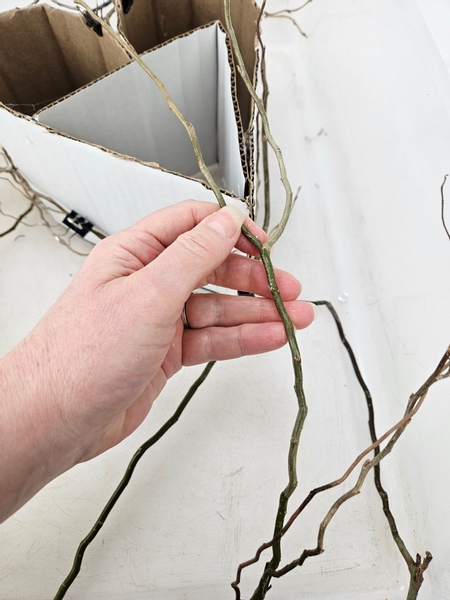
Secure the thicker willow stem with a clip to the tapered side of the heart...
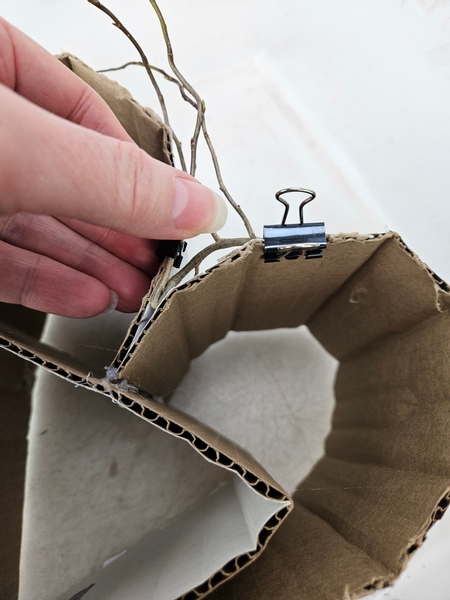
Fold the side branches and tip of the willow stem to tightly follow the heart shape around the rest of the cardboard. Use a metal clip to secure it in place.
Allow the side branches to curve around the heart shape and clip it in place.
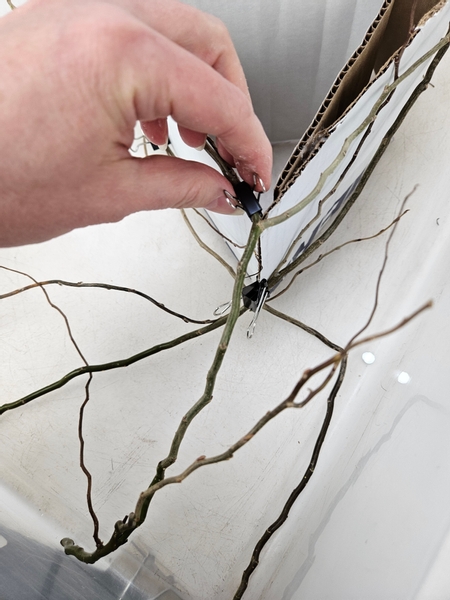
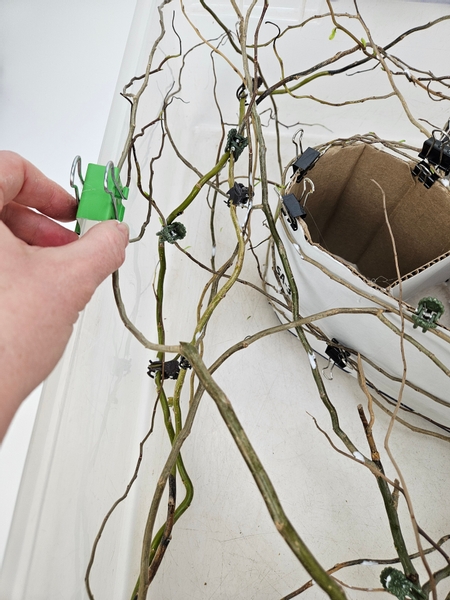
Once you have a stem wrapped around the heart you have twigs to glue more twigs to. Add in another twig and use wood glue to secure it.
Build the willow armature up by adding them there where they can connect with other stems.
This is really important. It is going to take a bit of time to build up and it will be a huge disappointment if it is wobbly and unstable once done. My top tip is to make sure you always, always glue each and every twig at least 3 places. I am adding a few thoughts for you in our email this week of what I have noticed made it easier for me to build up this design armature... and remove it without it falling apart.
I send out an email every Wednesday morning (Vancouver time) to let everyone know the moment the design is ready for you to view and I add a few notes or tips in the email that will help you make most of the week's inspiration. The sign up is below this post.
Slowly but surely build up the armature...
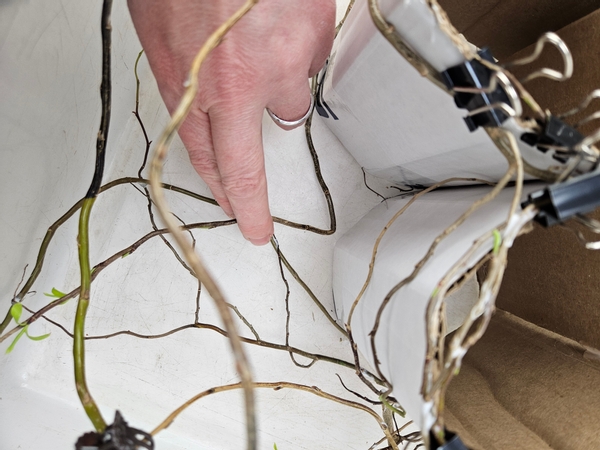
Any handy forks in the willow twigs are ideal to split into a support for the heart
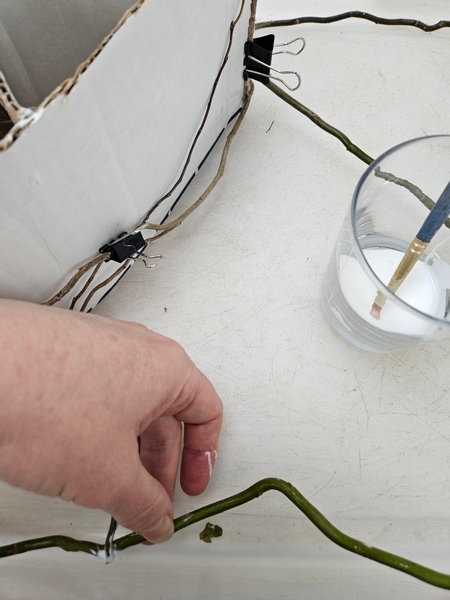
Open up the fork and place the willow stems on either side of the heart shape. Clip it in place and continue to build up the armature with the rest of the branch.
Fold flexible willow stems at a sharp angle to make sure it closely follows the shape...

Guide it to follow the cardboard shape
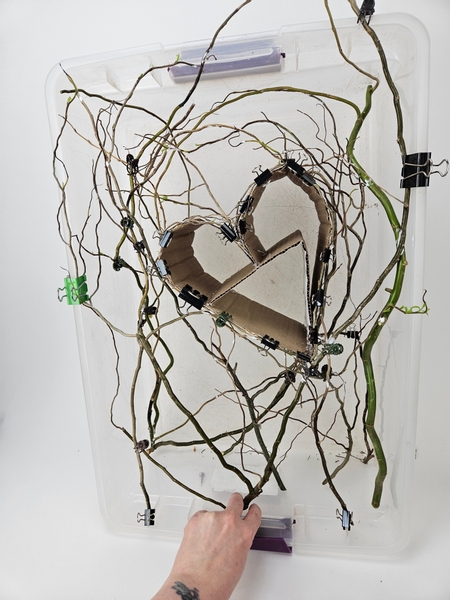
Be mindful of your design as you build the armature, you want this part to be a support for the fresh flower details but not be so obvious that you can see the armature from the fresh plant material.
Add in the stems for sturdiness... but also to look pretty.
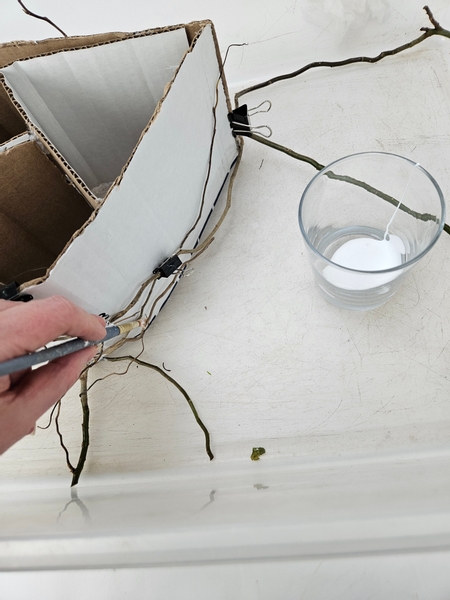
Add in a few stems that come out of the container to make sure it is not just flat. These I clip with heavy duty paper clips. You will also see I use butterfly clips for rounder twigs and smaller paper clips to secure the twigs to the cardboard.
Go over the design once more with a paint brush and some glue to make sure everything is secure. The wood glue dries clear so be generous.
Set the armature aside for the twigs to dry into position and for the glue to cure completely.
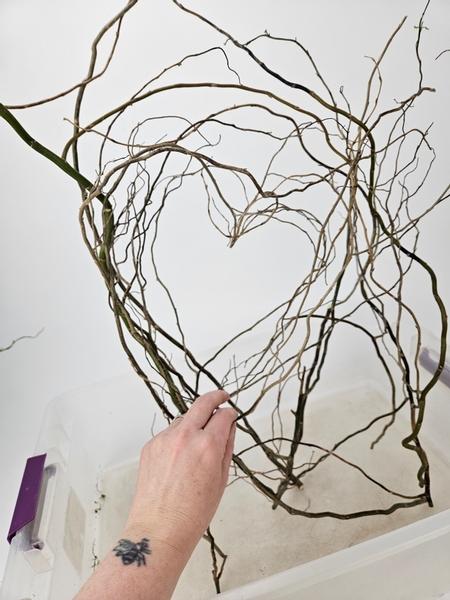
About a week later the shape should be ready for you to remove from the container.
Be careful when removing the clips. The willow tips are now gorgeously contorted with loads of personality... but it is so fragile!
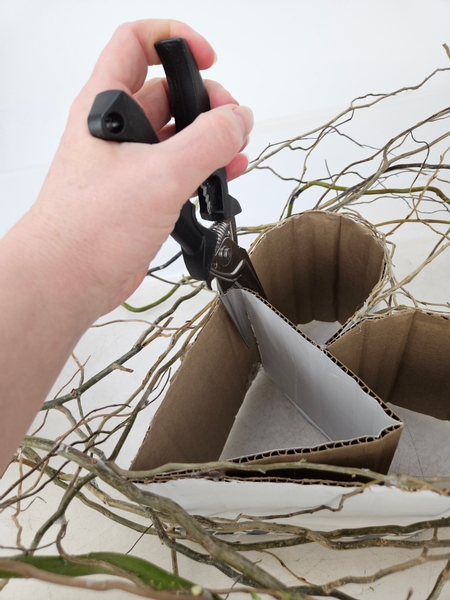
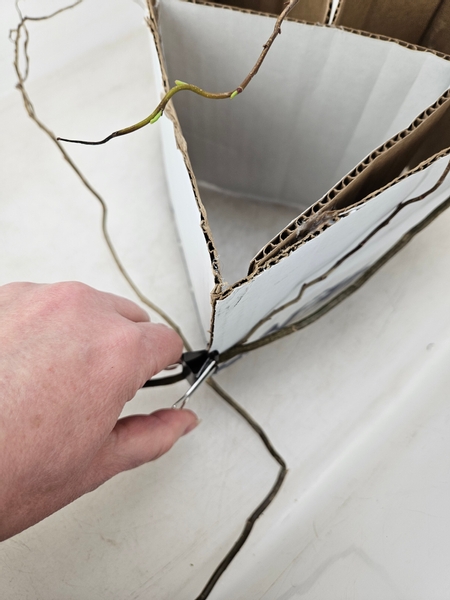
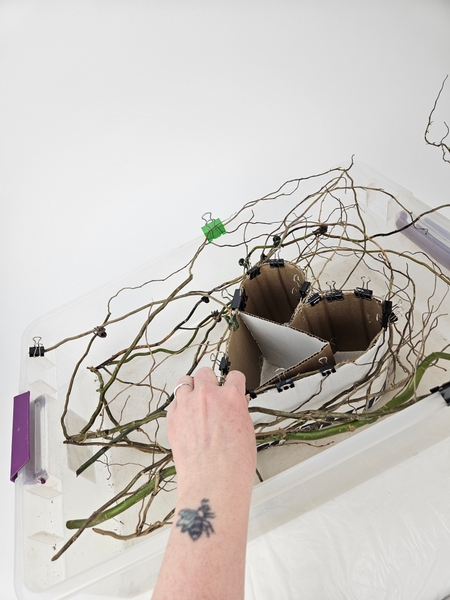
Cut the middle support out of the heart shape...
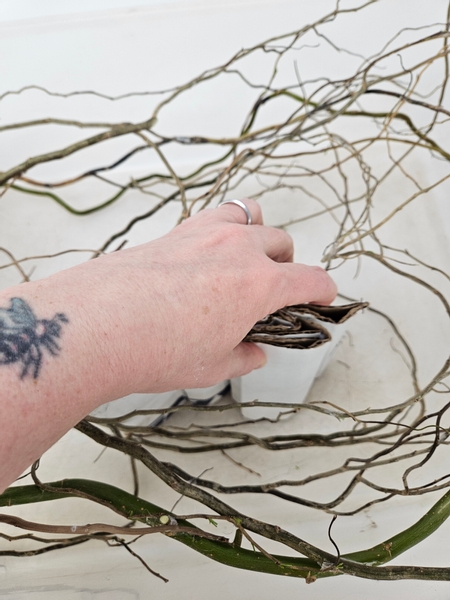
And slowly roll up the heart so that the hot glue dots pop away and you can remove the cardboard.
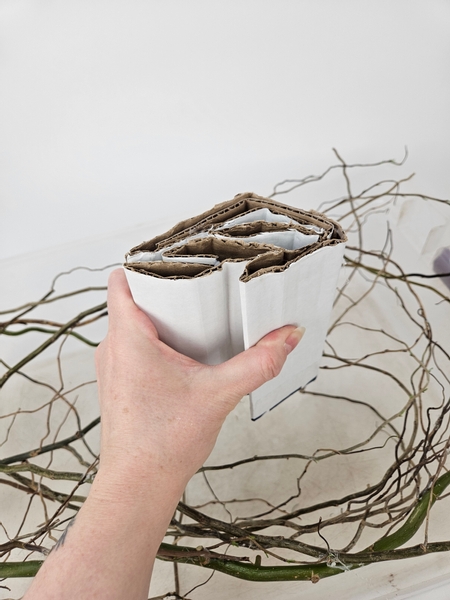
Carefully lift out the cardboard heart.
Lift up the heart armature and stand it upright to make sure it is secure. Give it a bit of a shake to make sure all the twigs are still glued. Add glue to any connections that are not quite sturdy and clip it it until the glue is cured.
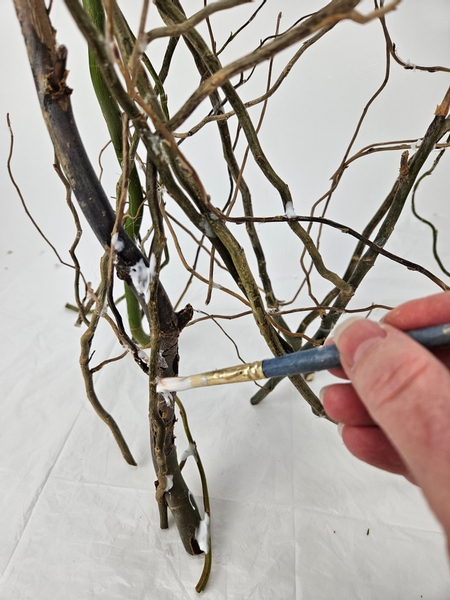
Next I am adding my snow... paint the stems with wood glue...
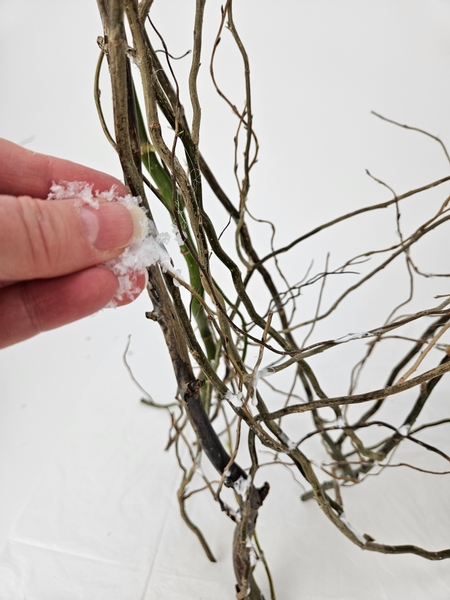
And sprinkle with artificial snow.
See the a Tutorial below for more detailed instructions on how I add snow to my wintery designs.
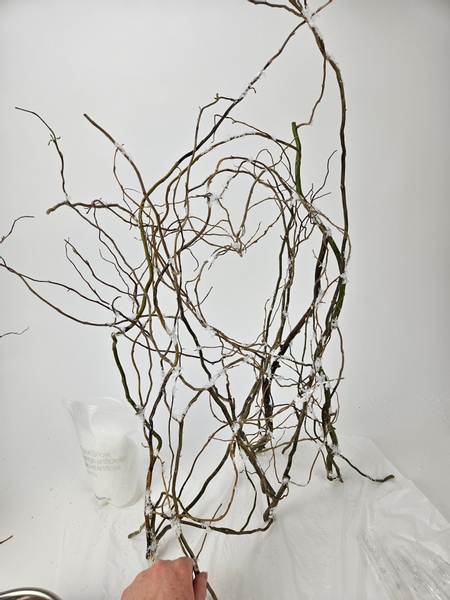
Again let the glue on the armature cure before adding the fresh plant material

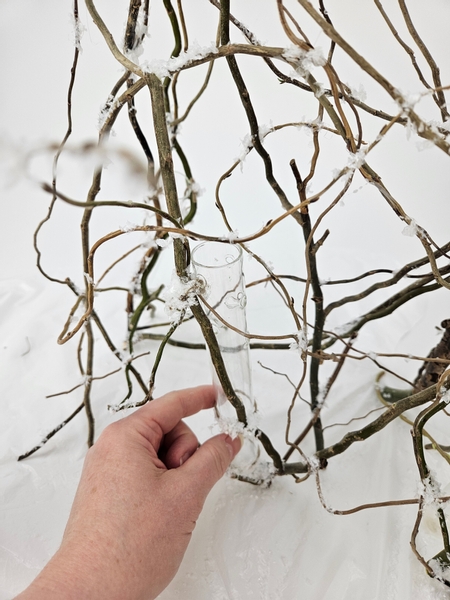
Tie in water tubes to keep the fresh willow hydrated...

Because I am adding heavy stems that I am weaving through the design I tie these water tubes as many times as the position allows to make sure it is secure.
And I add a tiny bit of artificial snow to conceal the knots... but more than concealing the knots... a tiny bit of wood glue on the knots make sure that they are as secure as possible.
You can use wood glue on any rope knots that you want to make sure they are secure.
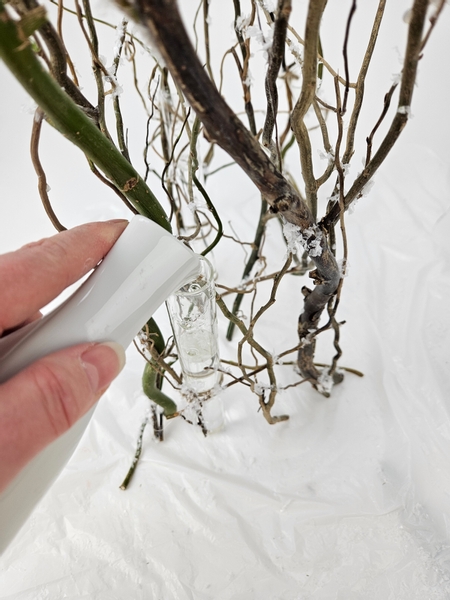
Pour water into the water tubes to keep the thirsty willow hydrated...
Press the willow stems right to the bottom of the glass tube so that they look like they are standing on the surface and also so that the stems have access to the water right to the last drop.
I am using new growth on the willow tips. They are just too tempting not to use! But conditioning fresh new growth is really difficult. My trick: I grow them. Cut the stems while still in bud and "force" it inside by encouraging it to sprout indoors in warmer temperatures. The plant material that grows this way is ideal for designing and will continue to grow in your design for as long as it remains hydrated.
Book readers see page 75 for more details. For more information about my book: The Effortless Floral Craftsman
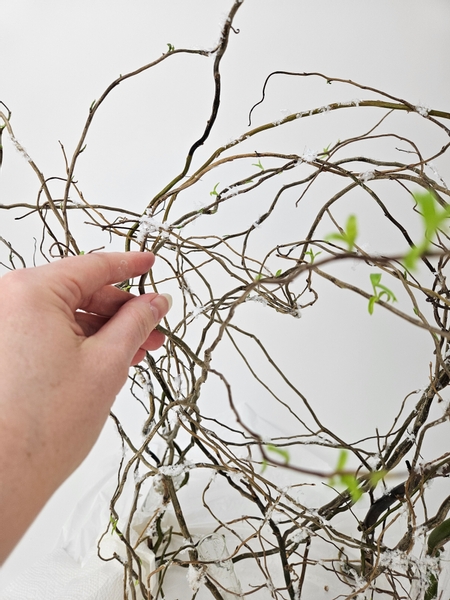
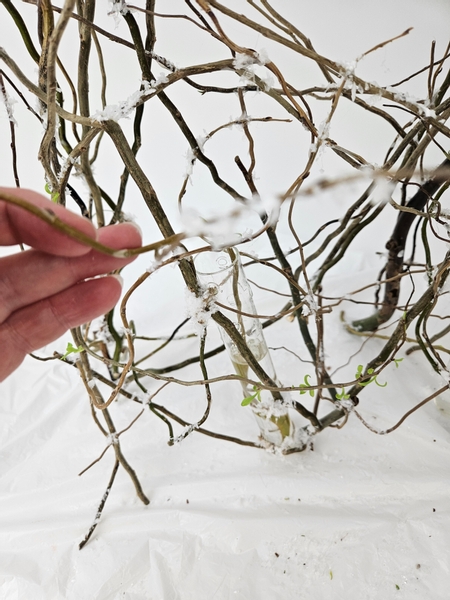
Weave the beautiful green willow stems through the armature. Be really careful though. The willow foliage is so delicate and breaks off so easily and the dried stems are so fragile they could also break...
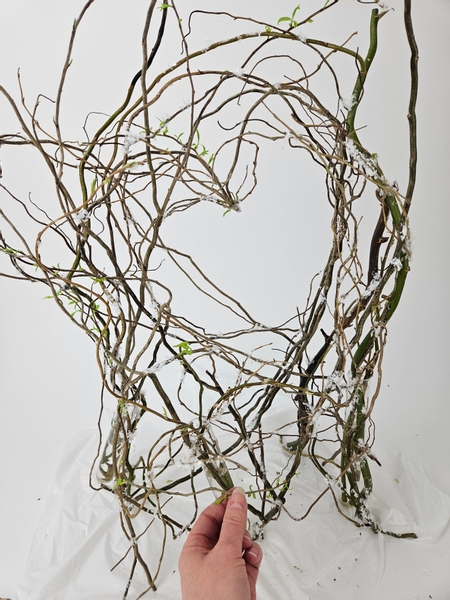
To look like it is growing over and under and all around the willow heart armature.
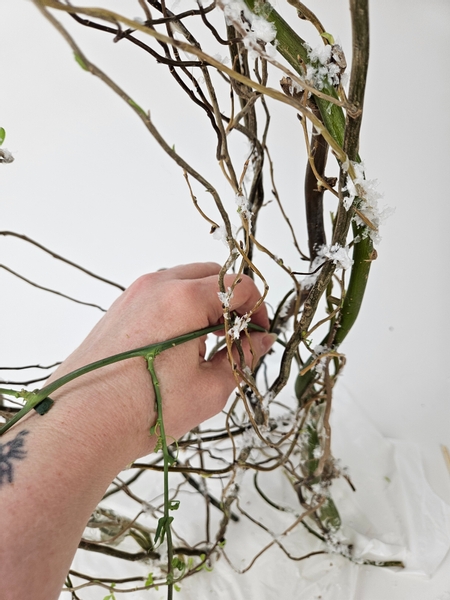
Strip the foliage from a passion fruit vine with a fork in the stem to expose the gorgeous tendrils and slip that into the water filled tube.
Weave the vine through the armature with one side branch to the front...
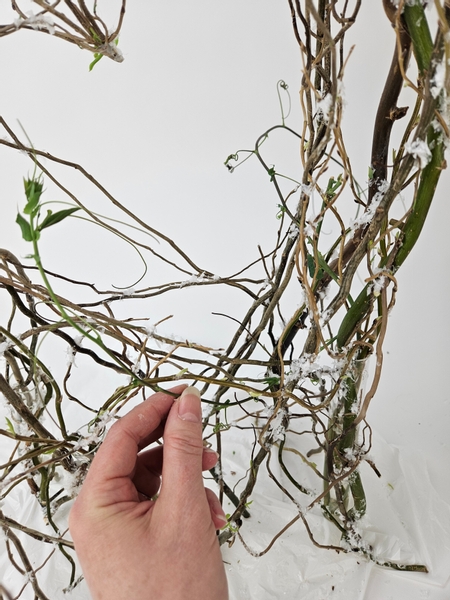
And the other side branch of the vine over around the back and towards the front of the armature so that the two stem's growth tips meet right inside the open heart space.
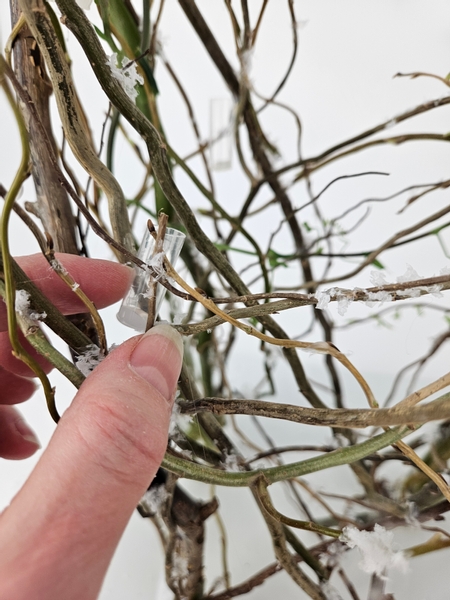
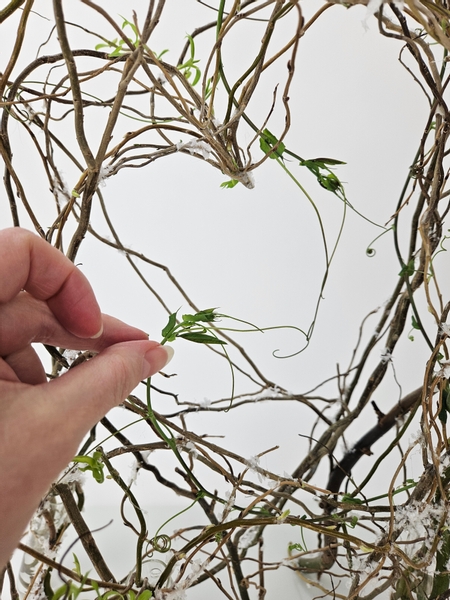
Glue in tiny water tubes every here and there to almost line the heart shape
Design note: I make tiny water tubes (... well... these are still my drinking straw ones... because I can reuse them and they last really well) but I have also started to make the tiny tubes from food grade aquarium pipes. Those look even better! The glue line is almost completely invisible. I have updated the Tutorial below.
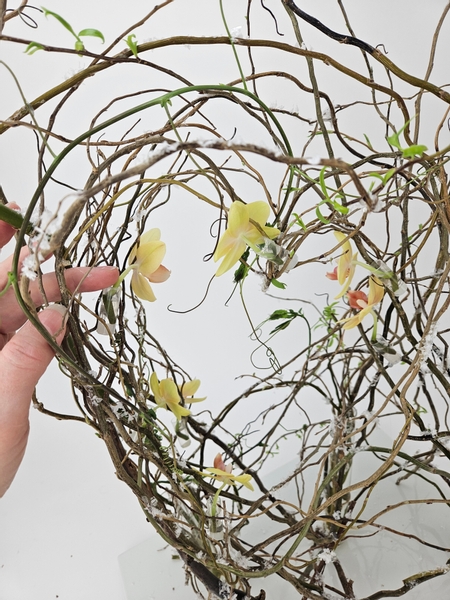
Slip the orchids into the tiny water tubes...

I am finishing the design with a few dew drop crystals... but only here and there around the heart shape.
See the Tutorial below for more detailed instructions on how (and why) I add the crystals with a pin.
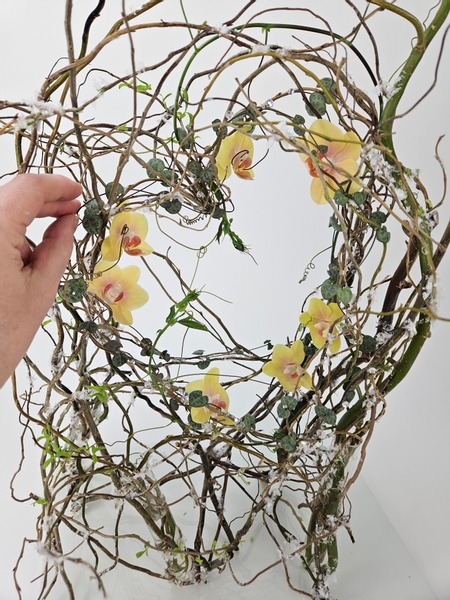
And my final step is to weave in the most delicate rosary vine stems.
But do be careful, these vines are champion tanglers. They want to snag and catch and tangle on to anything. Be careful not to catch any of the delicate design details.
Sign up for my weekly newsletter
Every week I add a new design with related tutorials. Be sure to subscribe to receive an email notification with design inspiration.


