Christine de Beer - effortless floral craftsman
Bark Gift Bag
- 5 February 2014
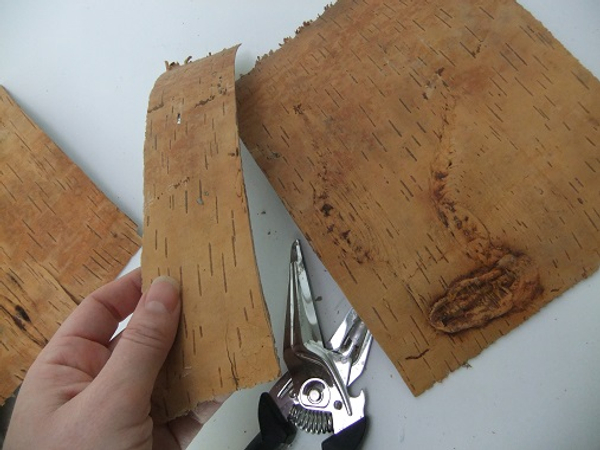
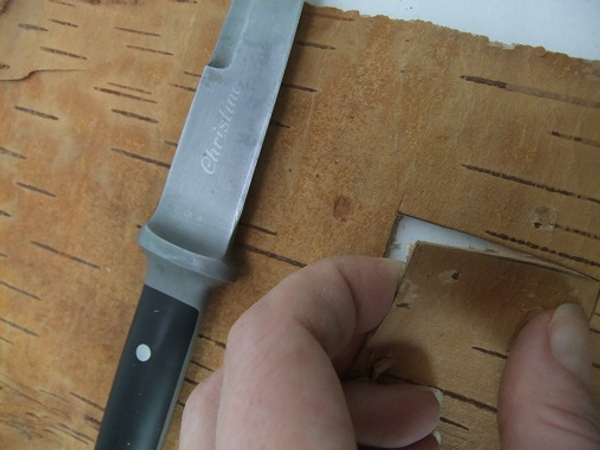
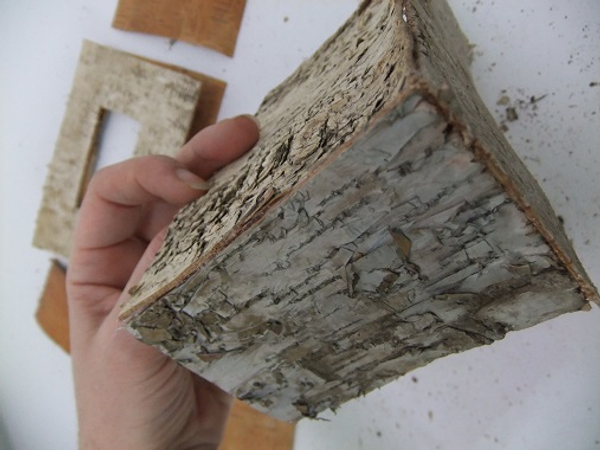
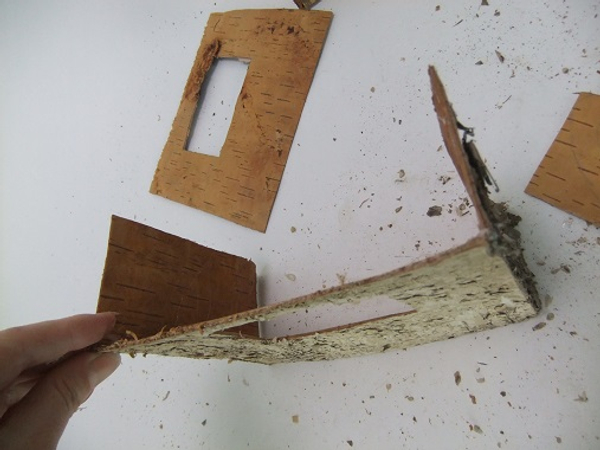
Cut a strip of bark into a rectangle.
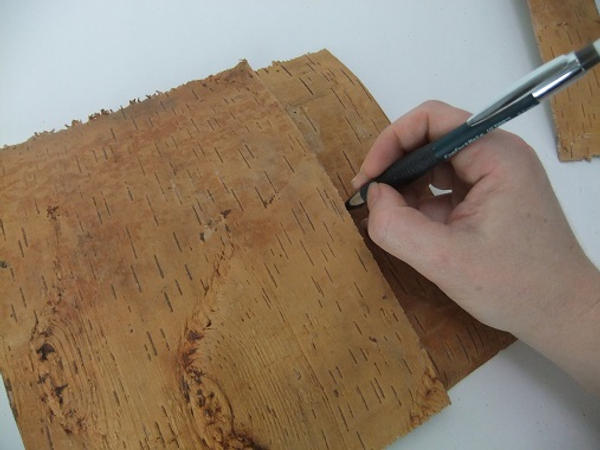
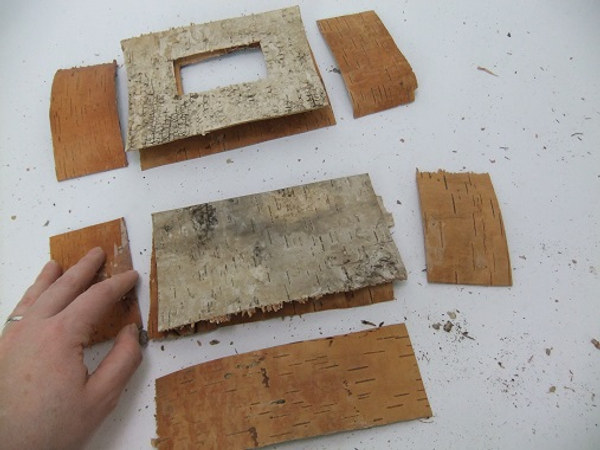
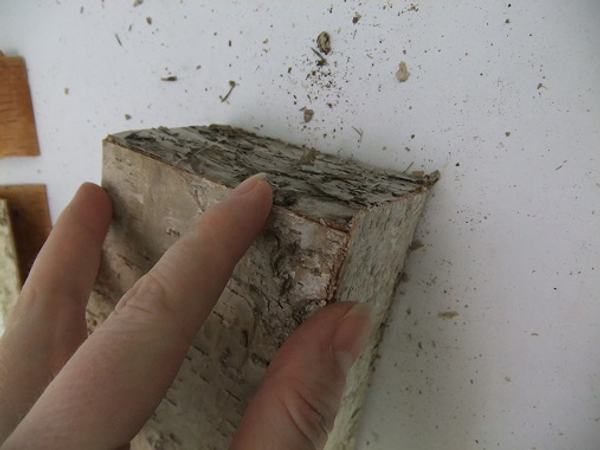
Mark a second sheet of bark to exactly match the first
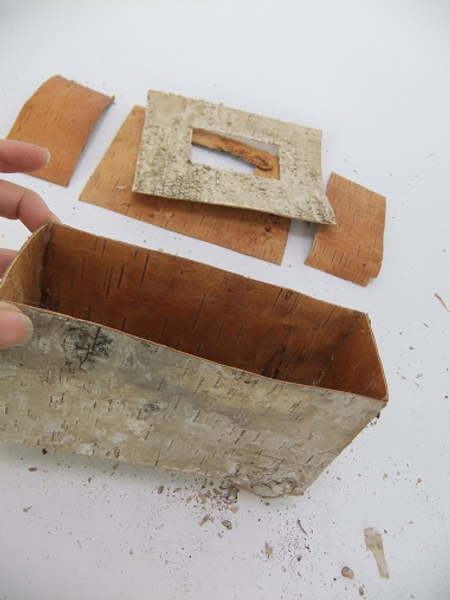
These pieces that you cut away will be used as the side panels when you assemble the bag

Cut a second rectangle
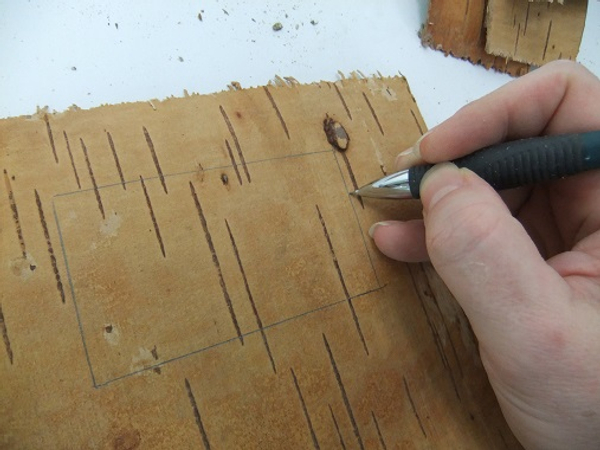
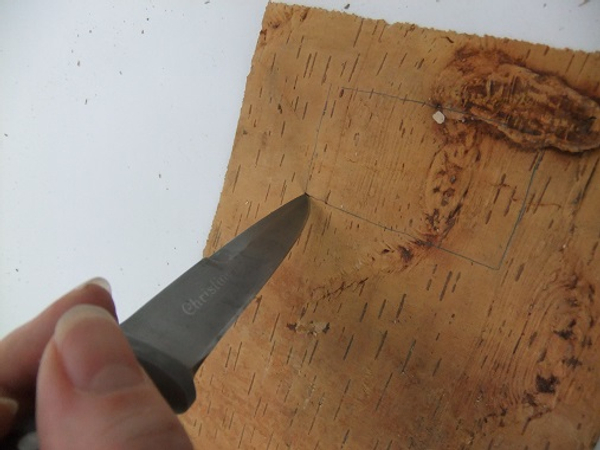
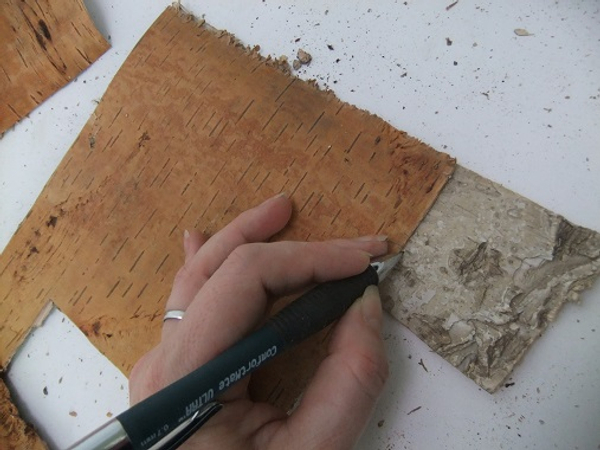
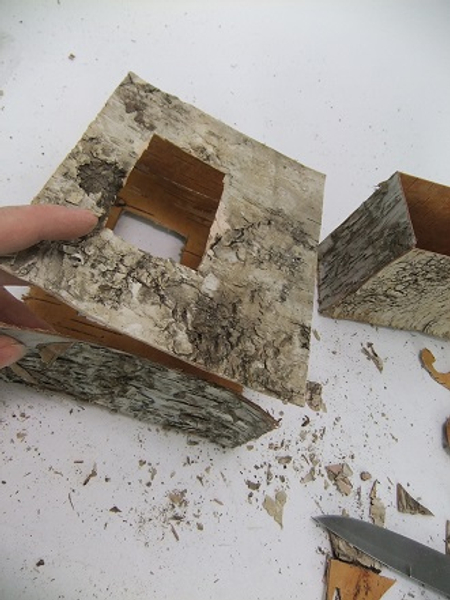
Draw a small window in the rectangle for the handle
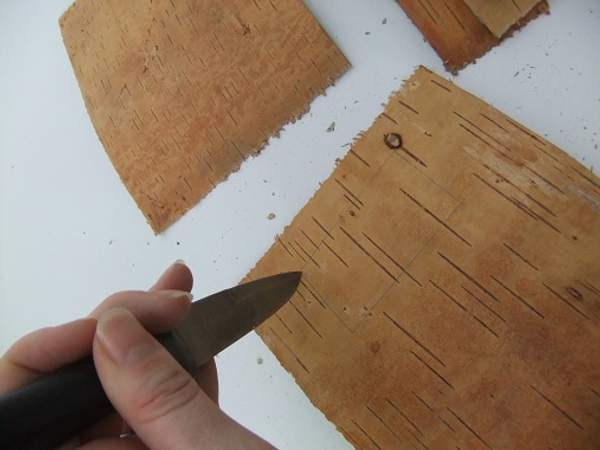
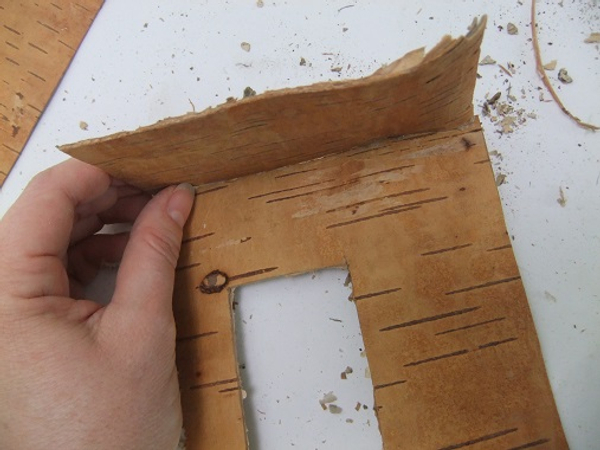
Cut the window out with a sharp knife
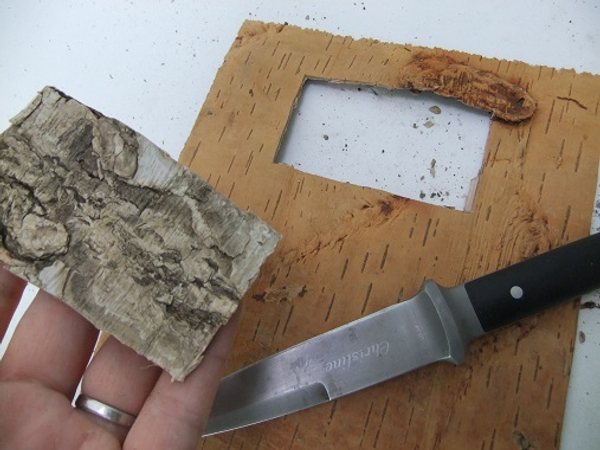
Lift the bark away.
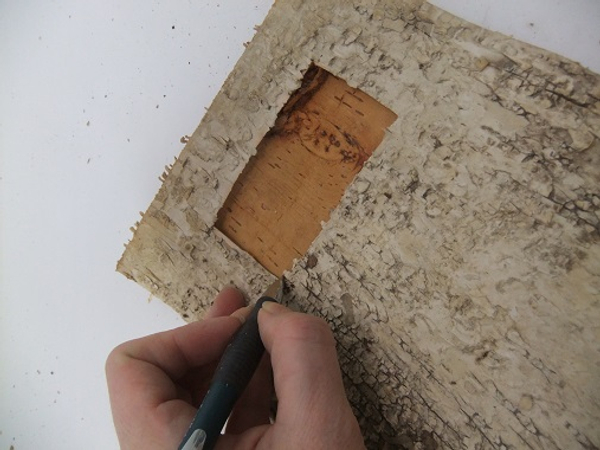
Place the two rectangles on top of each other. Smooth side facing in. Draw a window on the second sheet to exactly match the first
Cut the second window out...
... and lift it away
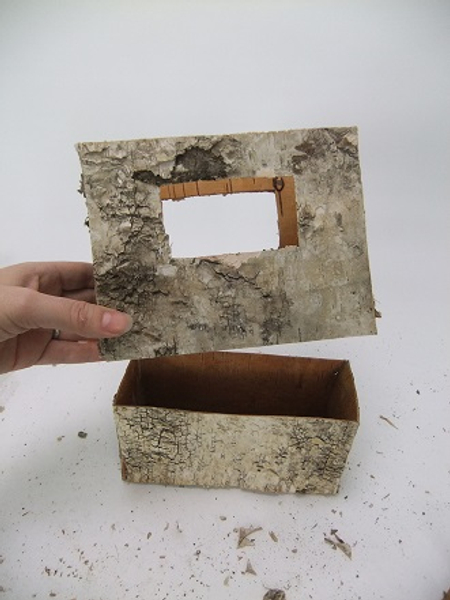
Mark and cut a bottom piece of bark. As wide as the two side panels that you cut away to create the rectangles
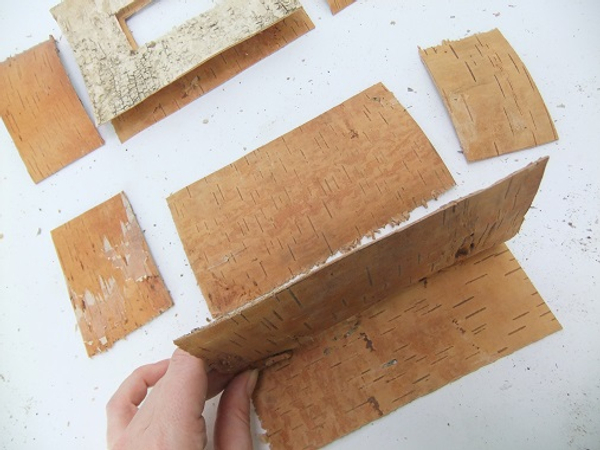
My gift bag splits ope in the middle for the flowers and twigs but you can assemble the bag without cutting it open. Just glue all the pieces as is
To split the bag simply cut the rectangles and side pieces in half.
Assembling the bag:
Glue the first half rectangle to the bottom piece
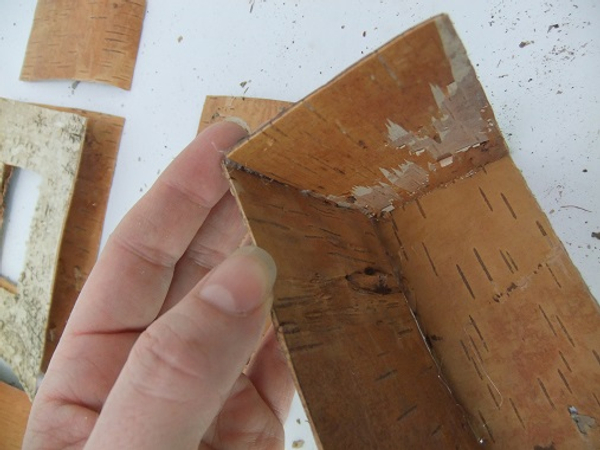
Glue the first bottom side piece to the base.
Overlap the sides neatly

Glue the other bottom side piece to the base
And glue the leftover piece completing the bottom of the bag
Set the bag flat on the base to stand upright
Glue the first side piece to the top half
Glue the other side to the top half
Glue the other top half
Ready to fill the gap
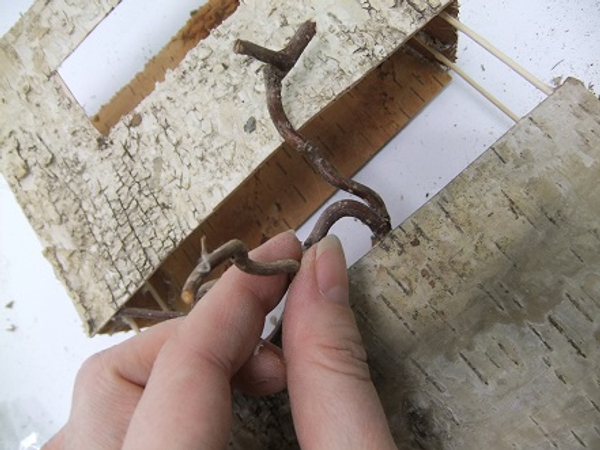
Twig gap:
I used four bamboo sticks as temporary spacers
Glue the spacers in the four corners opf the bottom of the bag
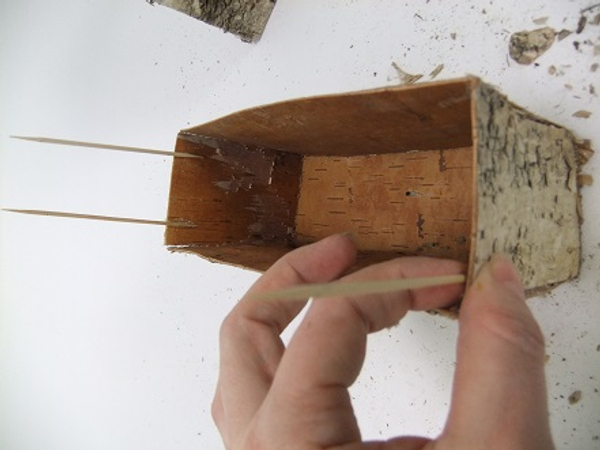
These will neatly keep the two pieces apart while you design
Glue the top half on to the bamboo spacers
Glue in hazel twigs. Make sure each twig makes contact with both the top and the bottom of the bark bag
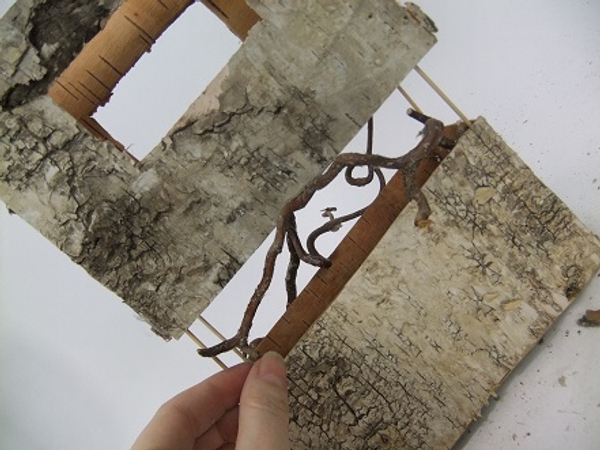
Add twigs to all four sides

Drape a few twigs to hang outside the bag shape
Carefully remove all four bamboo spacers
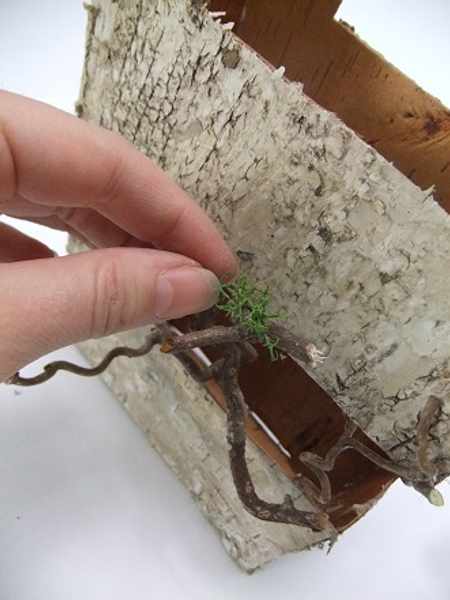
Bark bag ready to design with
Sign up for my weekly newsletter
Every week I add a new design with related tutorials. Be sure to subscribe to receive an email notification with design inspiration.


