Christine de Beer - effortless floral craftsman
Spiked Wire test tube catchers
- 5 September 2012
- and more
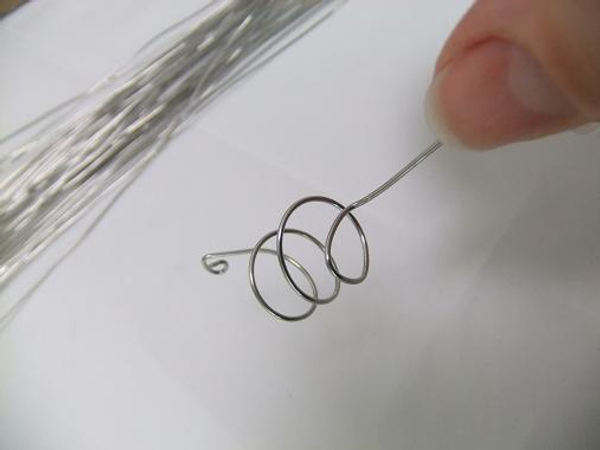
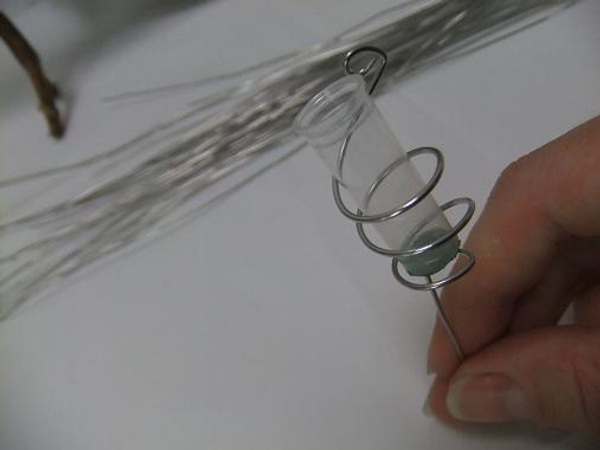
The spiral creates a base for the test tube to rest on
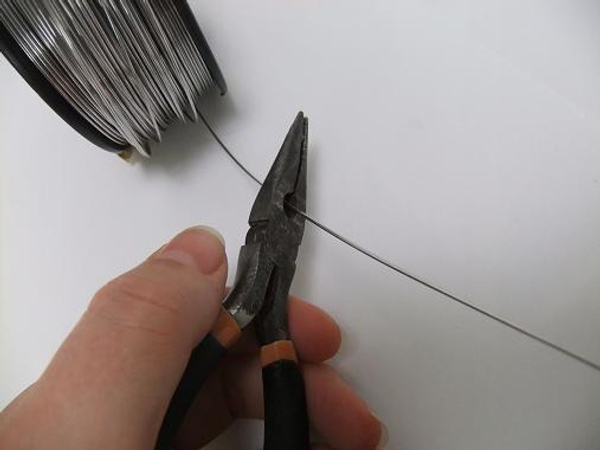
Cut a section of wire for each test tube.
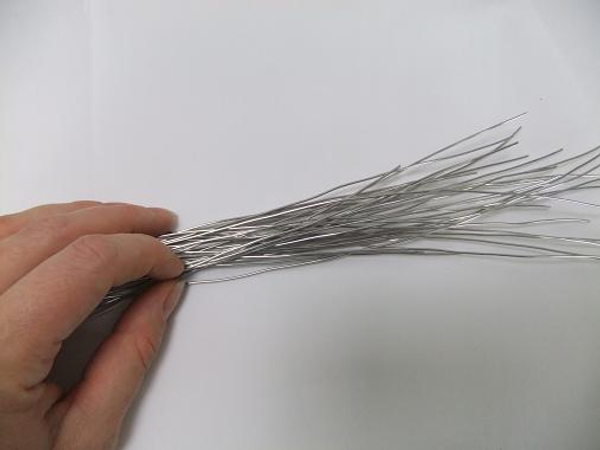
I needed 32 wires for the test tube spikes.

Measure a dowel stick to make sure it is just slightly bigger than the test tubes.
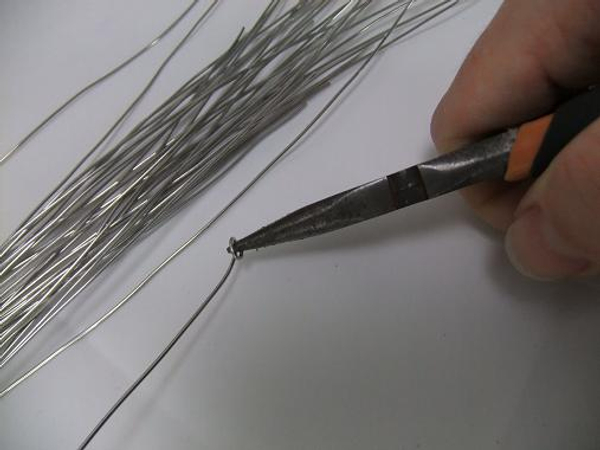
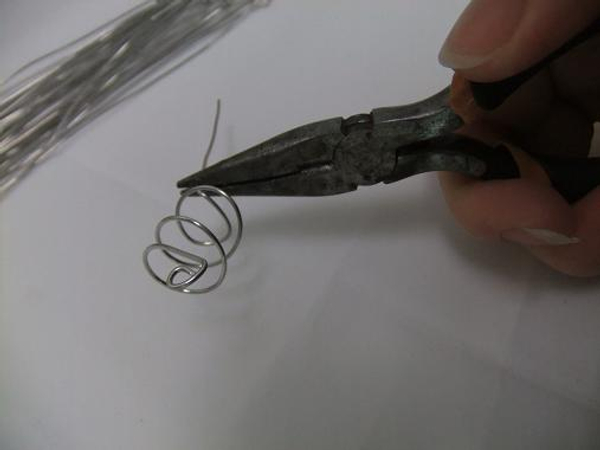
Roll the wire in a tight spiral at one end.
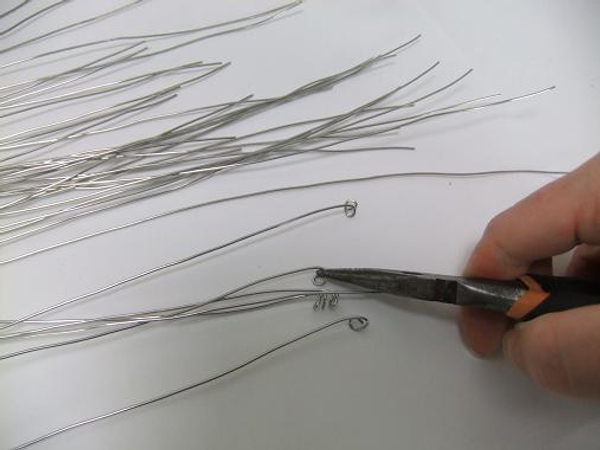
It is not only decorative but also blunts the sharp end. You can also hook plant material through the spiral to secure.
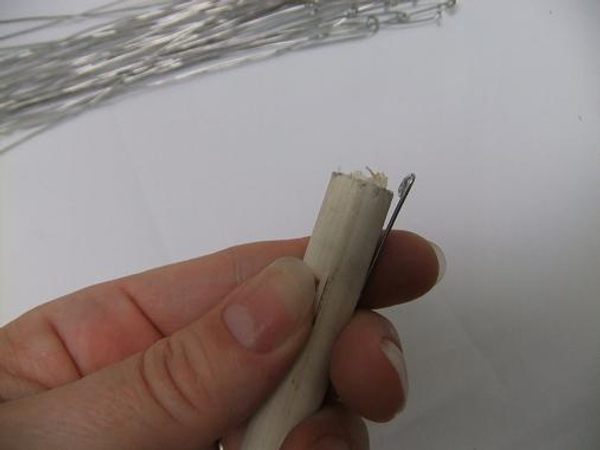
Fit the wire to the dowel.
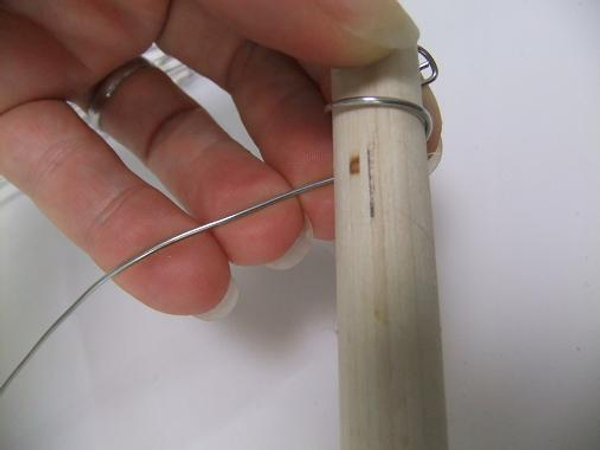
Wrap the wire tightly around the dowel stick.
Fold the bottom wire flat and in, to create a base.
Make sure the top spiral points out and the bottom wire covers the opening.
Creating a comfortable spike for the test tube that is not rigidly wired into place and can easily be removed and replaced.
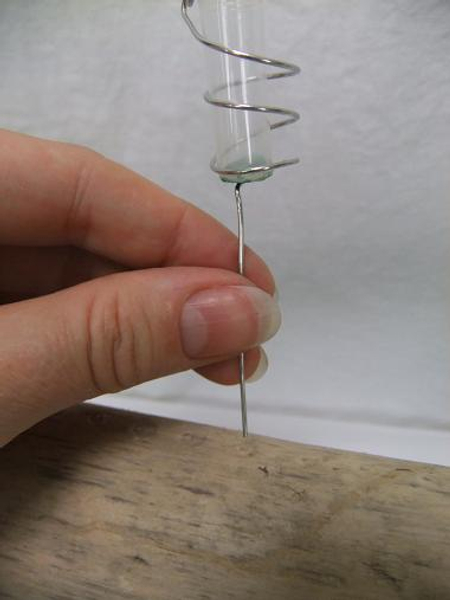
Drill small holes into the driftwood for the wire spikes.
Sign up for my weekly newsletter
Every week I add a new design with related tutorials. Be sure to subscribe to receive an email notification with design inspiration.


