Christine de Beer - effortless floral craftsman
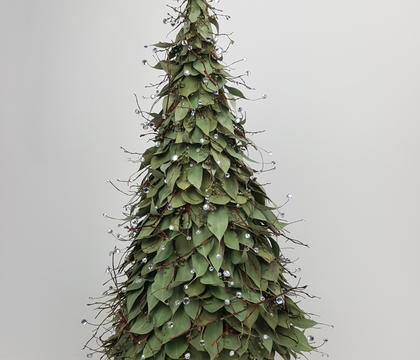
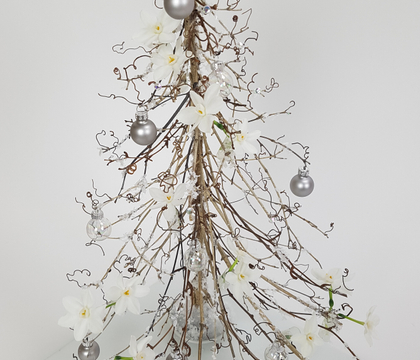
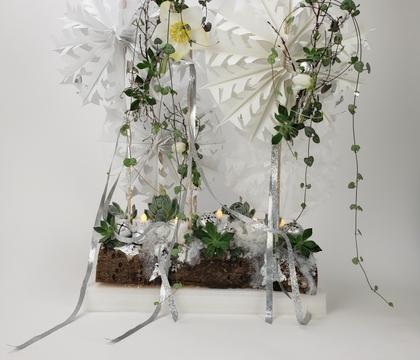
Twig and twinkle Christmas Tree
- 11 December 2019
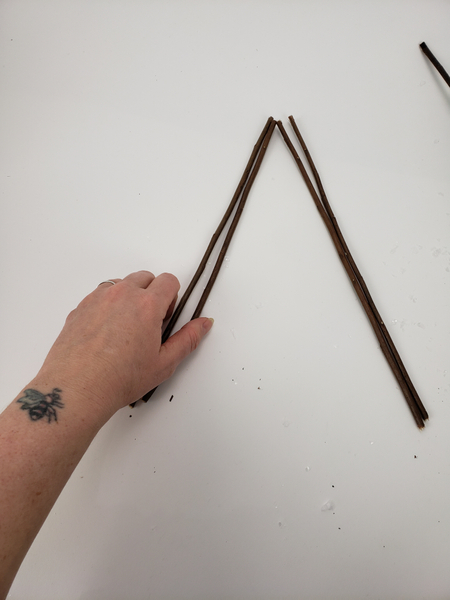
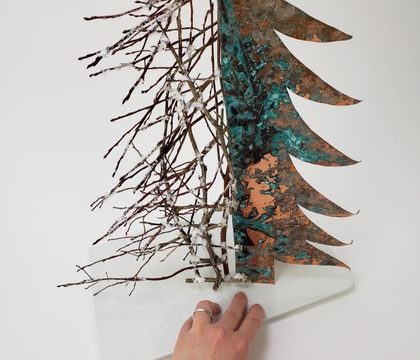
The frame of the twig Christmas tree is made up of two connected triangles
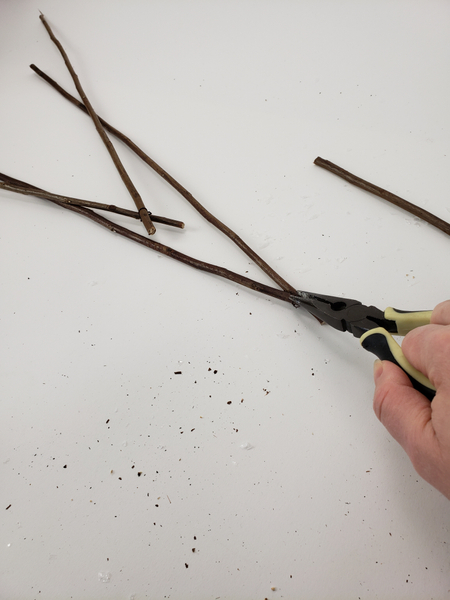
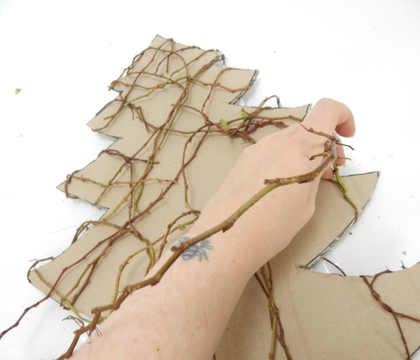
Wire the twigs together to create the triangular shape
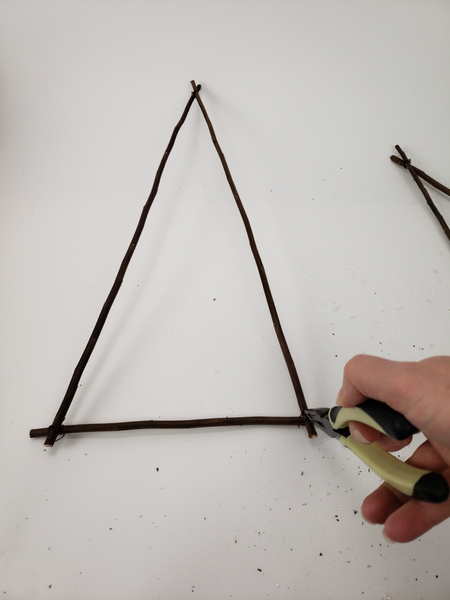
Measure out the base so that the shape is higher than it is wide to create a pretty Christmas tree armature.
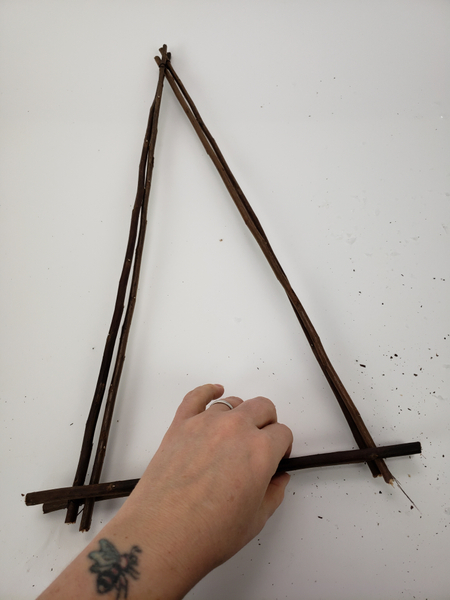
Measure the second twig triangle to be as close to an exact match as possible.
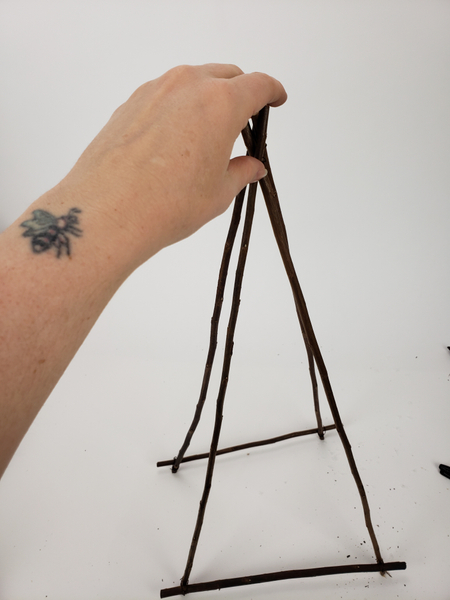
Lean the two sides together. If the armature can remain upright even before you have wired it, it makes it so much easier to balance. Adjust the twigs if necessary.
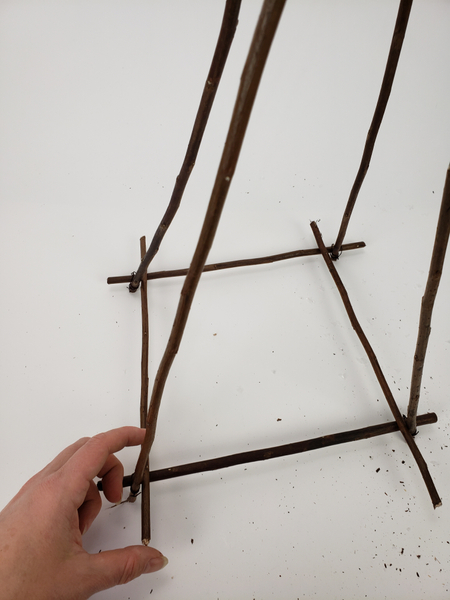
Cut two more twigs to connect the two triangles.
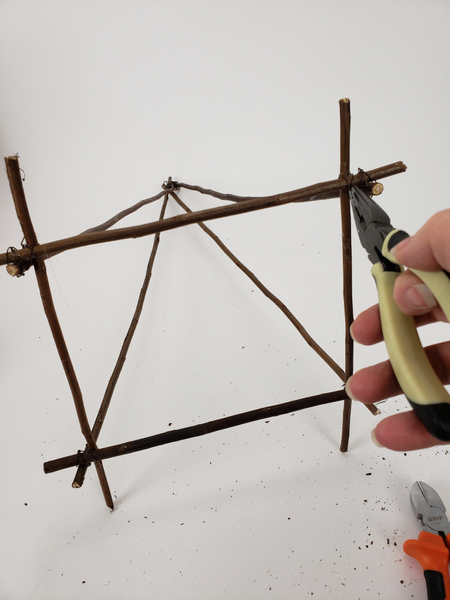
Wire the armature to secure.
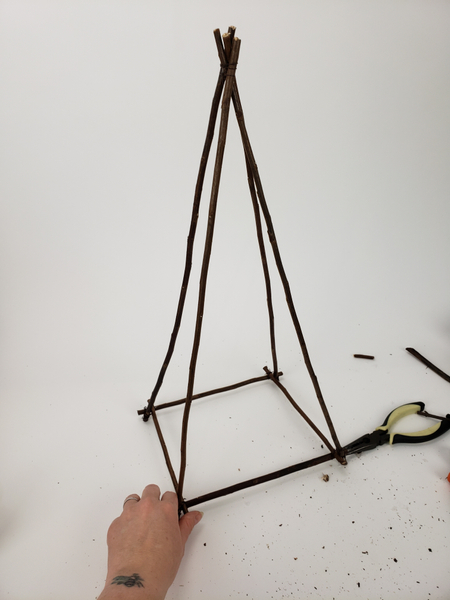
Make sure the armature stands flat before decorating...
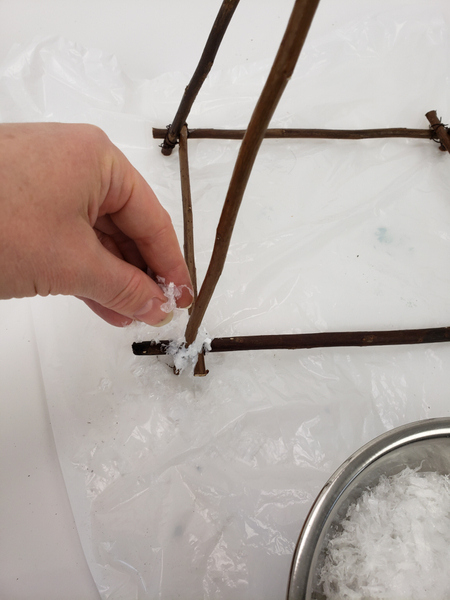
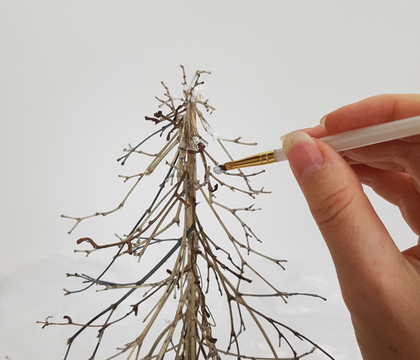
To double secure and conceal the connection wires cover it with artificial snow.
See the Tutorial below in the Tutorial section for more detailed instructions on how to add long lasting artificial snow to twigs.
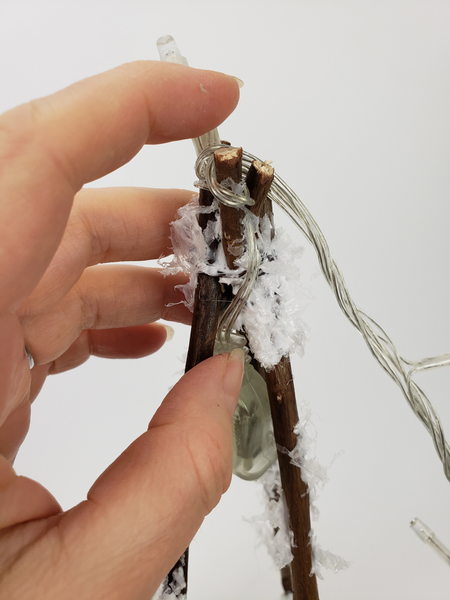
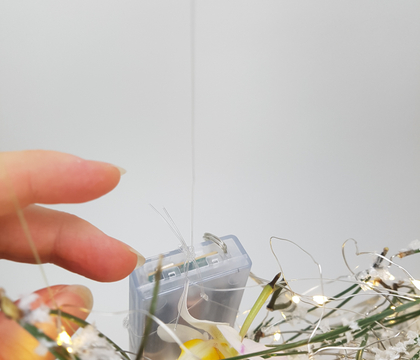
Start weaving in the Christmas lights. My string has a connecting socked which I simply tucked into the armature.
Design Note: I want most of my lights to be at the top 2/4 because the bottom 1/4 is covered in a thin layer of snow. Measure out the lights before hand because even though I want less lights there I do not want to run out of lights before the design is decorated.
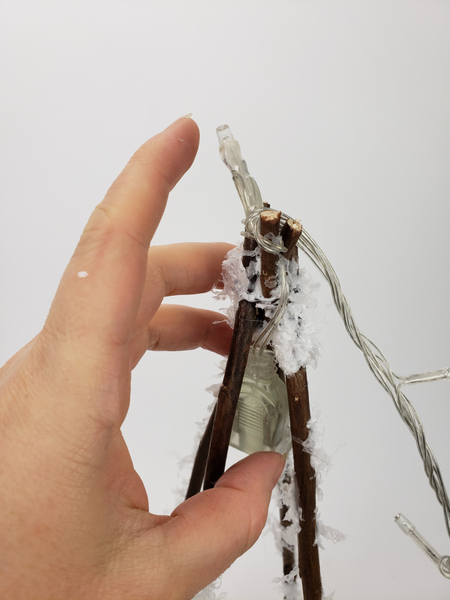
... The twigs will not only conceal the plug it will also keep is neatly in place.
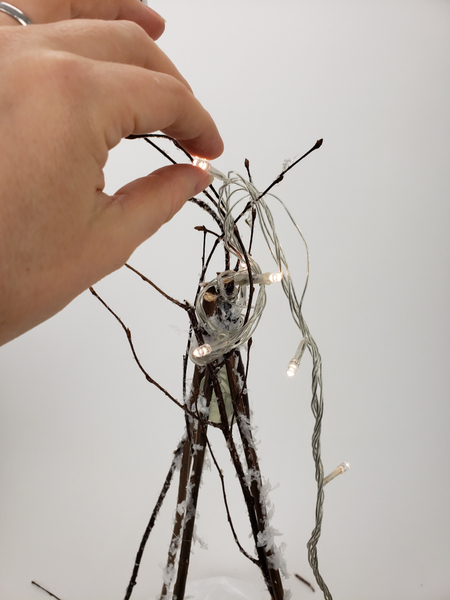
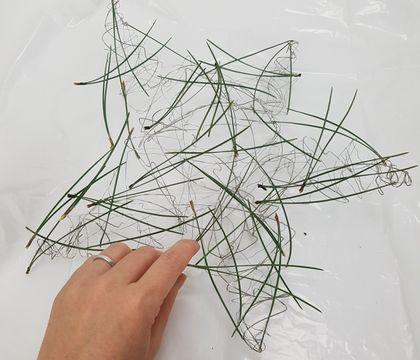
Create a controlled tangle by weaving the twigs through the wire...
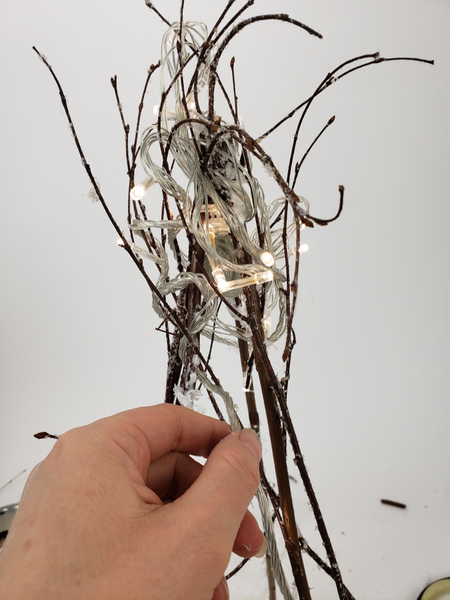
... And the wire through the twigs.
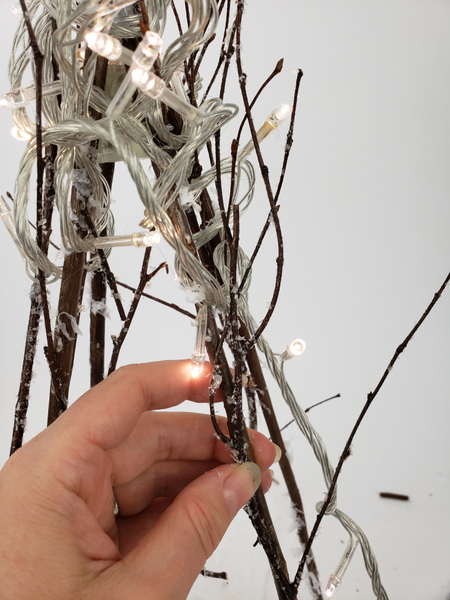
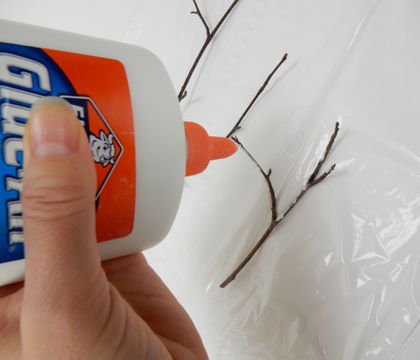
Glue in a twig... making sure that it is glued in at least three places so that it can carry the weight of the Christmas lights and wire...
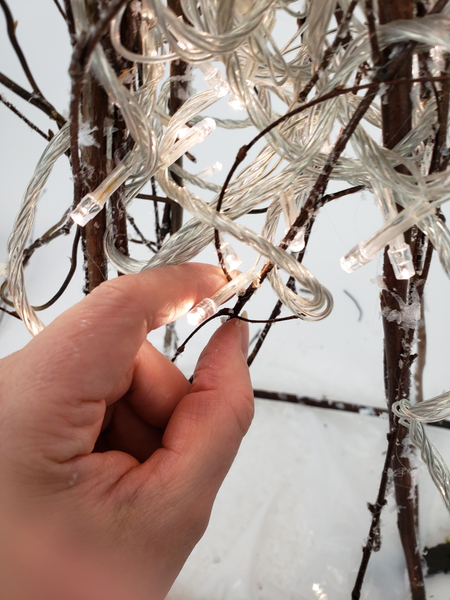
Then twirl the wire around the twig and position the light to rest on the twig like a firefly enjoying the view.
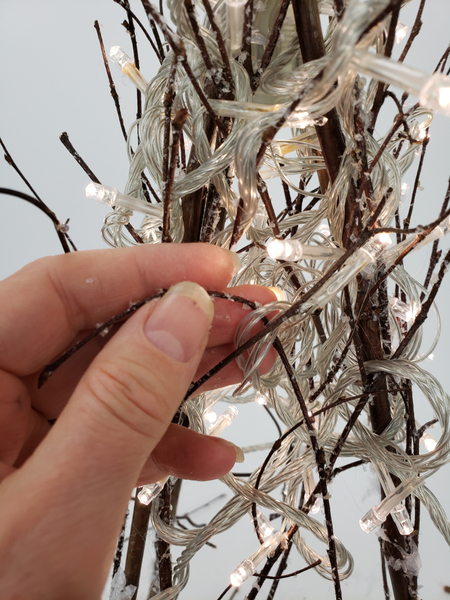
Glue in the next twig to support the wire to be exactly where you want it.
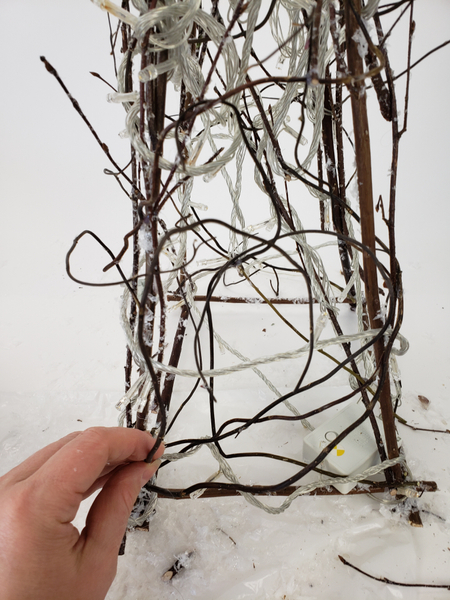
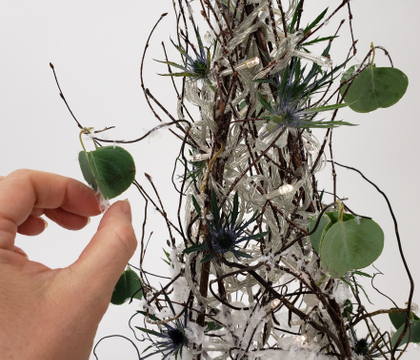
Add sturdier twigs to the bottom of the tree.
Book Reader Note: Take your inspiration from nature: add the smaller eucalyptus leaf baubles, bits of snow and twigs to the top with the heavier ones to the bottom of the design. Turn to page 273 Crafting an Illusion for more detailed instructions.
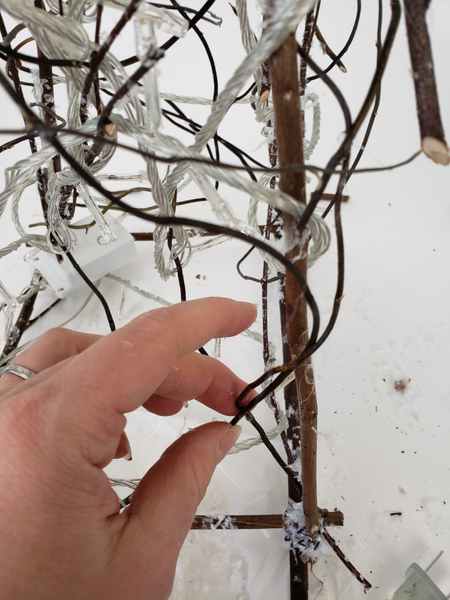
Make sure the twigs keep all the wires securely in place.
Newsletter subscribers: I have a tip for you this week to further prevent the wires from sagging as you display your tree... Make sure you are subscribed to recieve advance access to the weekly design and an exclusive bonus tip to make things easier for you when creating the design.
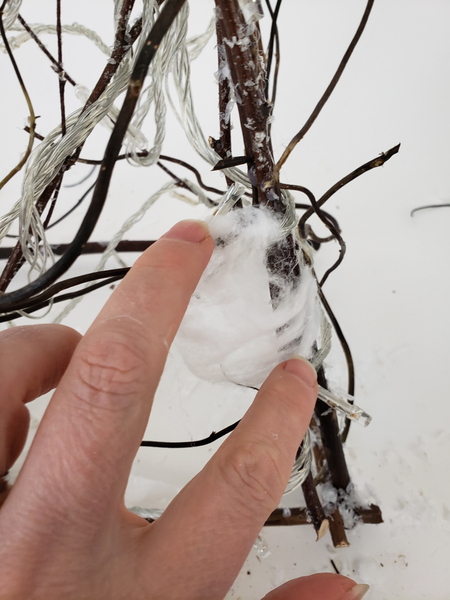
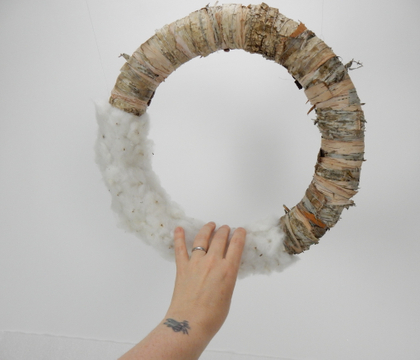
For my heavier snow fall at the bottom of the tree I combined two Tutorials that I have shared with you in the past.
Design note: I wanted just the softest dusting of snow so I created a veil of snowy fluff. This acts like a lamp screen to conceal the controls but it still lets the flicker of the lights shine through.
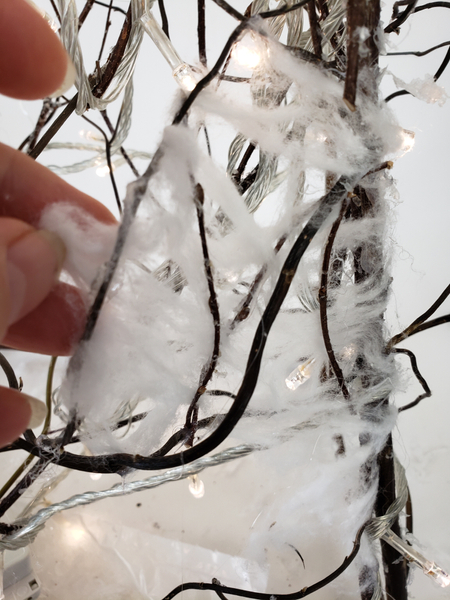
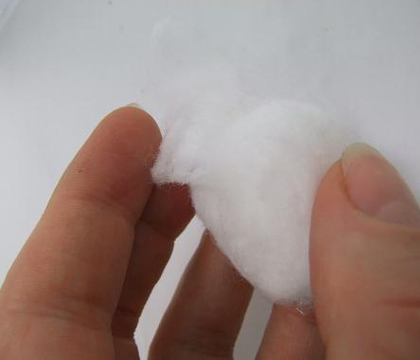
Fluff out cotton into a flat layer and glue it to the twigs. Make sure the cotton is supported on all sides because it is going to carry some weight...
See the Tutorial below in the Tutorial section for detailed instructions on how to fluff out cotton wool... and I also have a Tutorial for how to remove natural cotton from the pods and fluff those out. Book readers you can find more details on page: 35 where I tell you how I use glue... or you can use the technique on page 115- it's messy but it works really well if you want to cover larger areas.
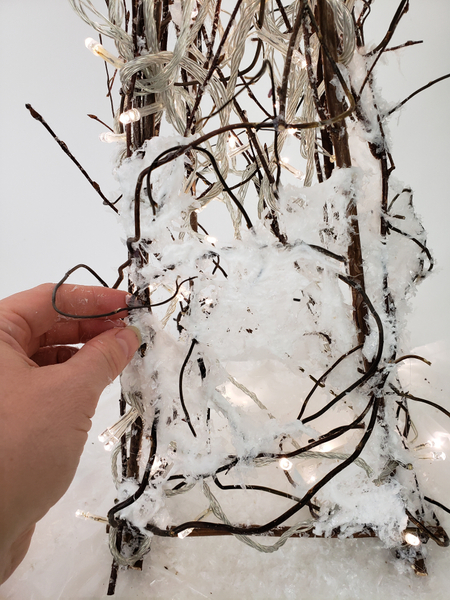
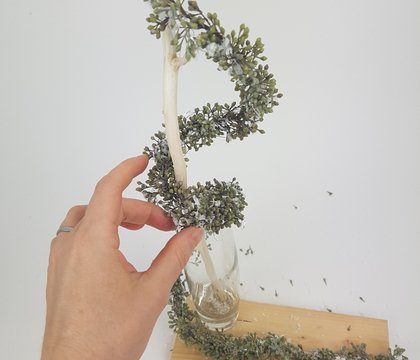
Once the cotton is secure add the artificial snow.
The combination of wood glue and artificial snow sets the cotton ( see the Tutorial below) firmly in place creating a barely there but strong screen.
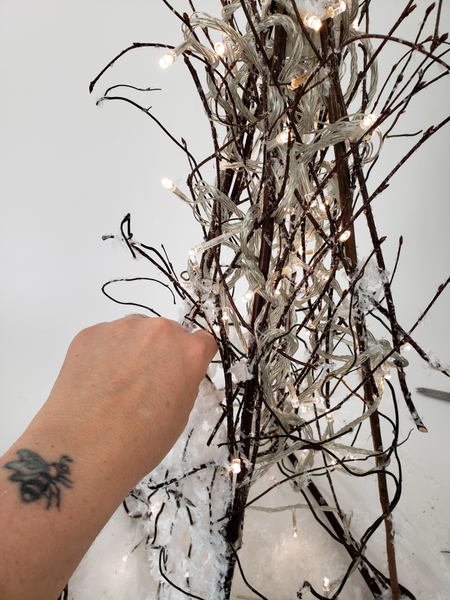
Glue in more twigs to twine through the screen

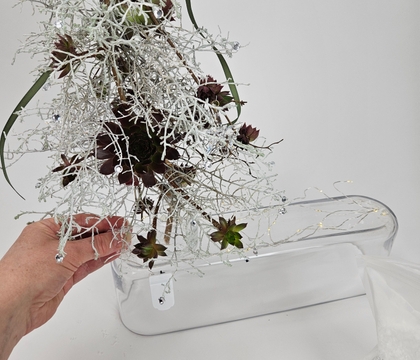
Place the tree in a display container and glue a few longer twigs to grow up the tree.
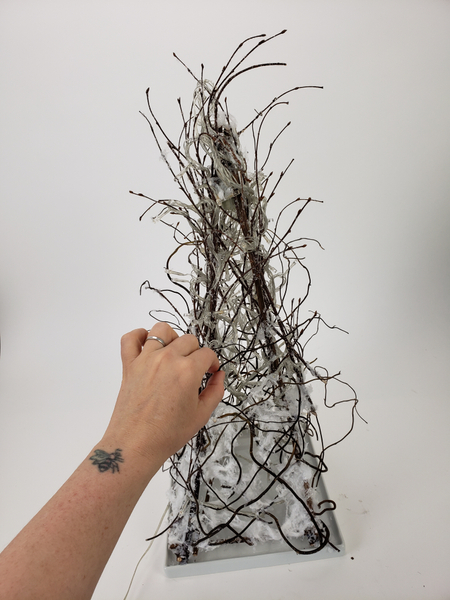
Your tree is now ready to design with.
Sign up for my weekly newsletter
Every week I add a new design with related tutorials. Be sure to subscribe to receive an email notification with design inspiration.
