Christine de Beer - effortless floral craftsman
Tiny Twig Christmas Treasure Trunk
- 24 December 2012
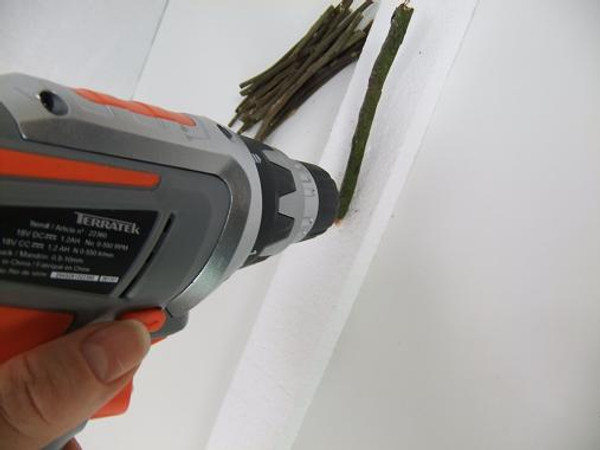
Cut 12 thicker twigs the size of the length of your gift box and a big handful of smaller twigs for the base, sides and lid. Drill small holes in both ends.
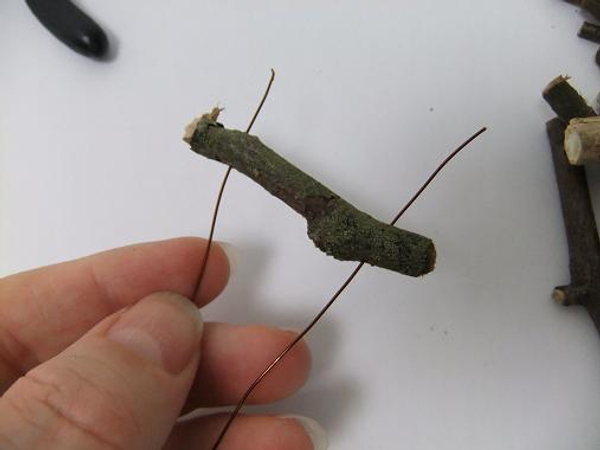
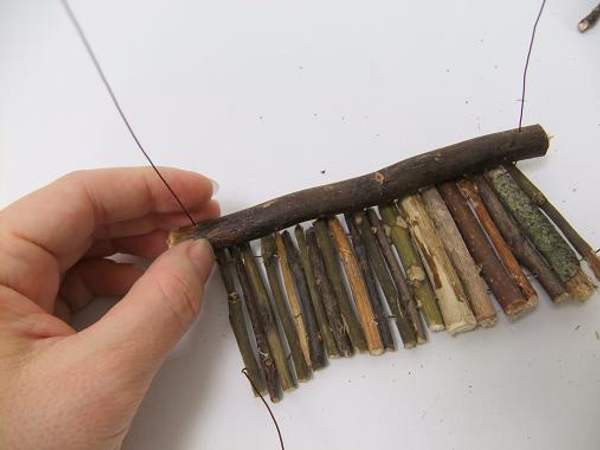
Start to thread the smaller twigs into the wire

Keep adding twigs...
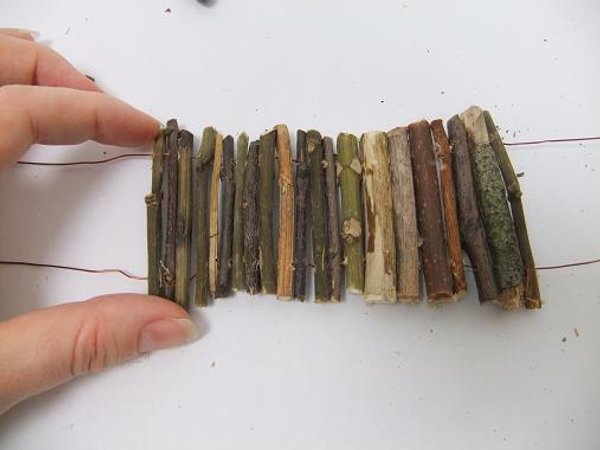
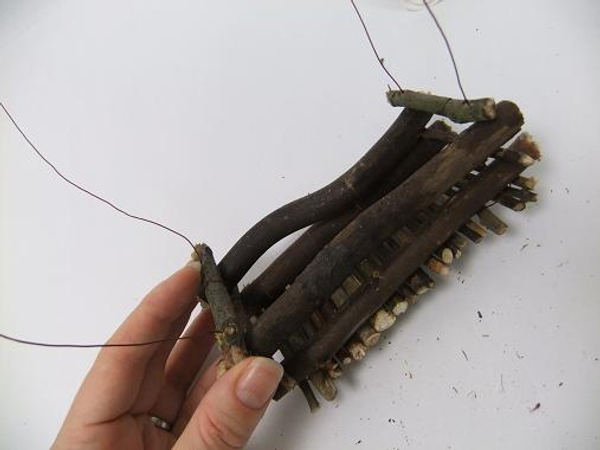
until you have enough twigs to shape the base of the twig trunk.
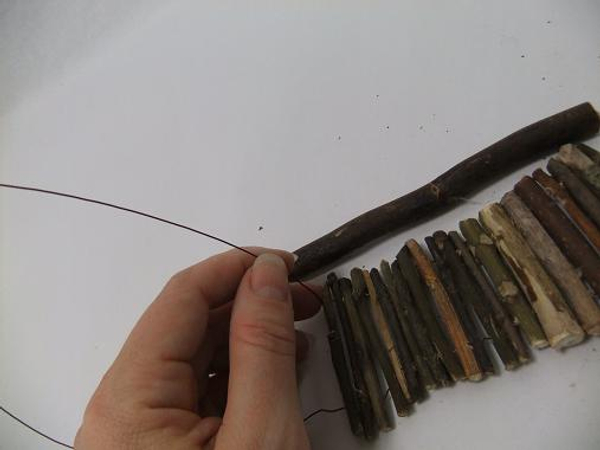
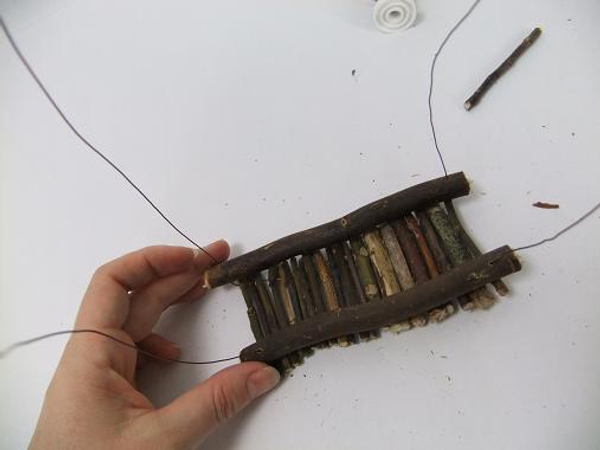
Keep adding twigs until the base is the same length as the longer twigs. Now fold the wires up
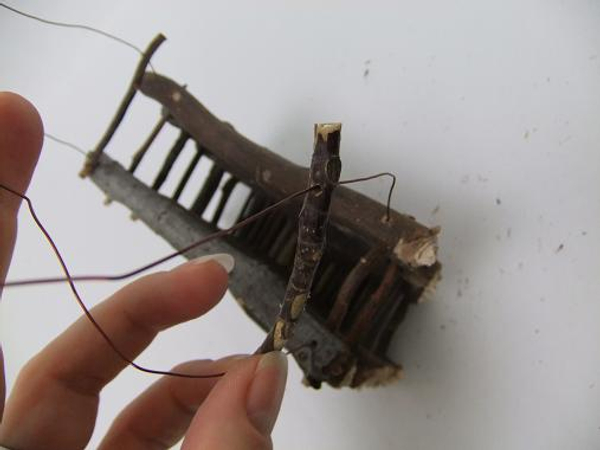
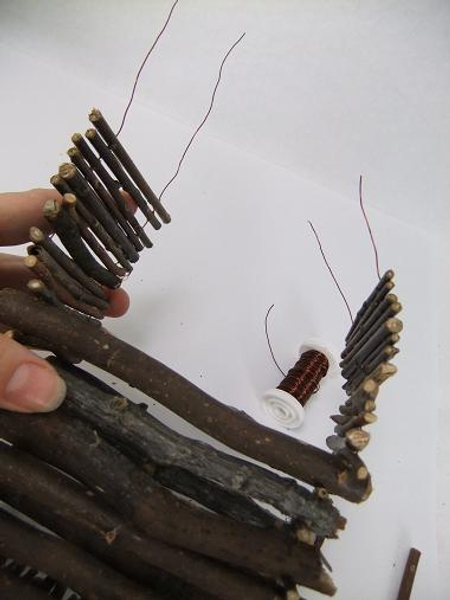
Thread the wire through the longer twig
Add another long twig
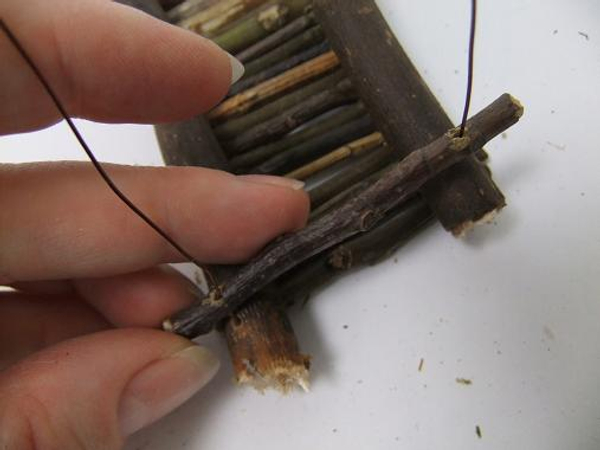
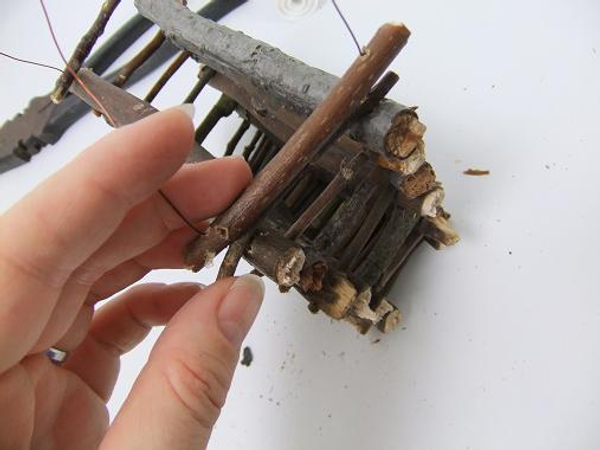
Thread in a side twig to rest on top of the longer twigs
Do the same on the other side
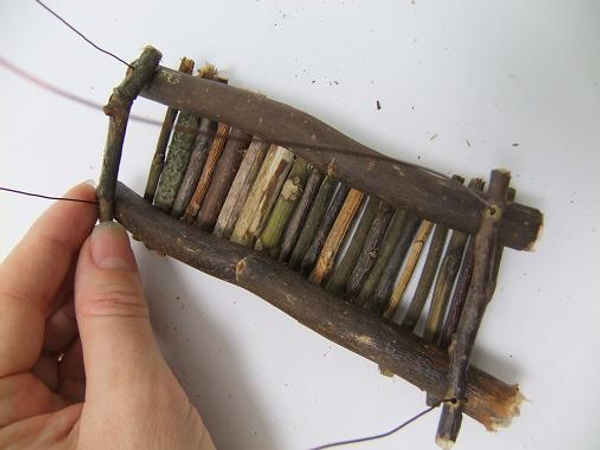
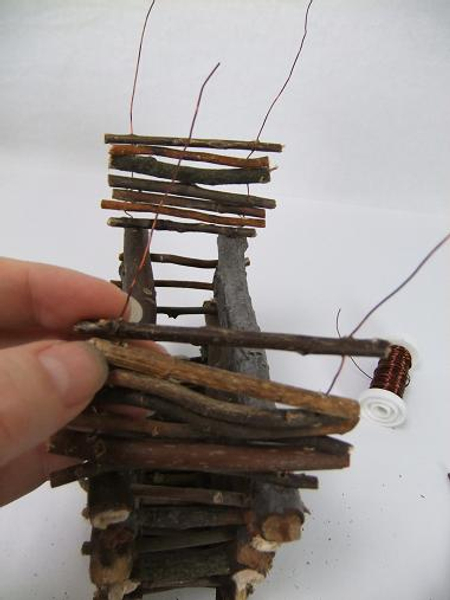
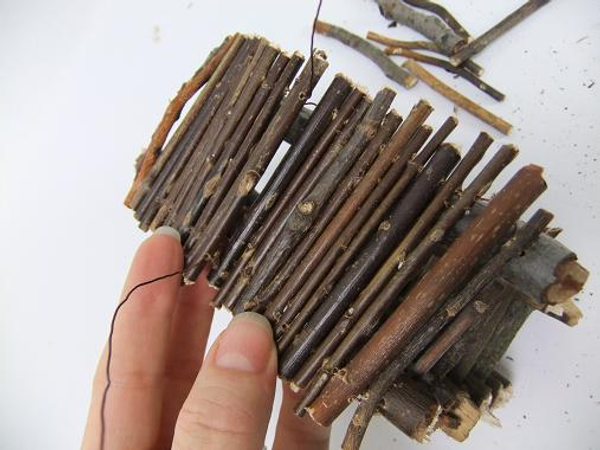
Continue to add twigs to build up the twig trunk
Build up the box as high as you want
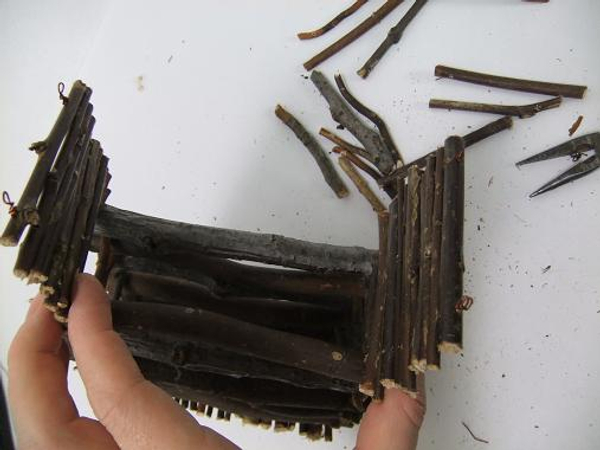
Start to stack the twigs to create a lid.
Add twigs until the sides meet in the middle
These twigs will easily flap open...
...and closed

Cut the wire short and loop...
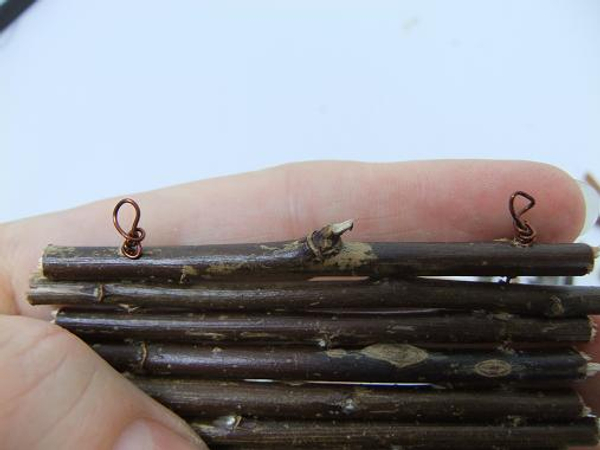
Wrap the rest of the wire around the loop to make sure there are no sharp wire ends that can cut or hurt.
Twig treasure trunk ready to decorate...
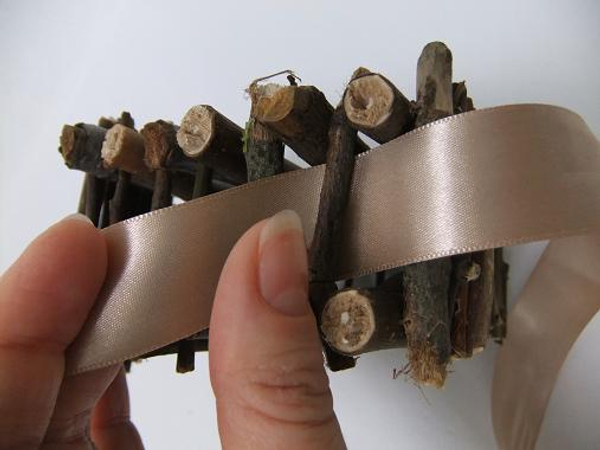
Measure the ribbon to weave around the box. Fold the ribbon in half and place the middle point at the middle of the base. Wrap the ribbon around the treasure trunk and start to weave it through the side twigs.
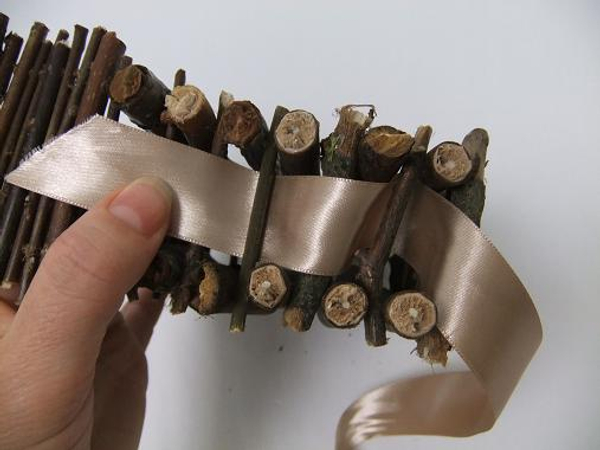
Weave the ribbon in and out of the twigs...
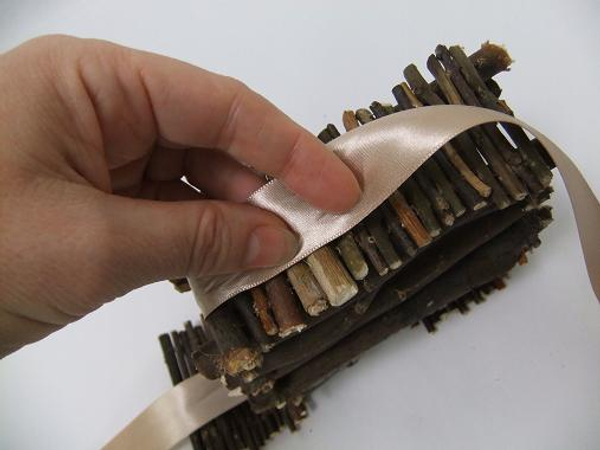
...around the base...
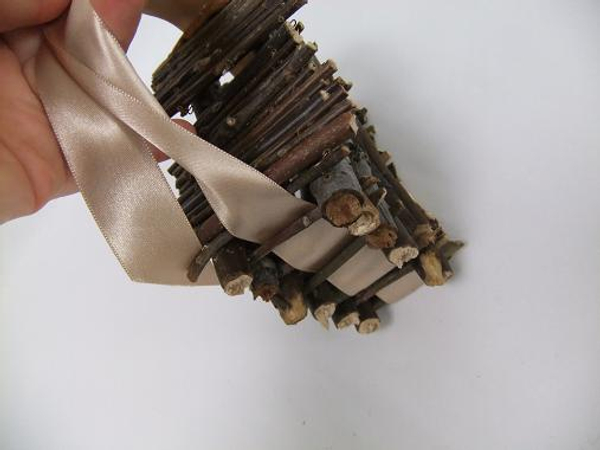
...and in and out of the twigs on the other side

Open the twig treasure trunk
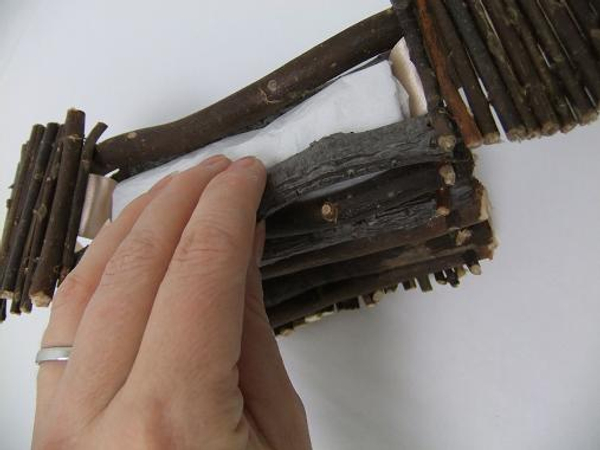
Slip in the present.
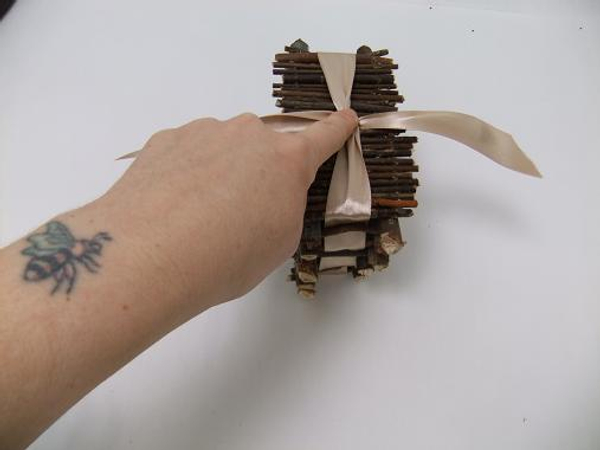
Close the twig flaps and tie the ribbon in a bow to secure

Decorate the twig treasure trunk with hazel twigs, pine cone roses, a few pine needles, ripped flax, ice pellet beads and a crystal snow flake
Sign up for my weekly newsletter
Every week I add a new design with related tutorials. Be sure to subscribe to receive an email notification with design inspiration.


