Christine de Beer - effortless floral craftsman
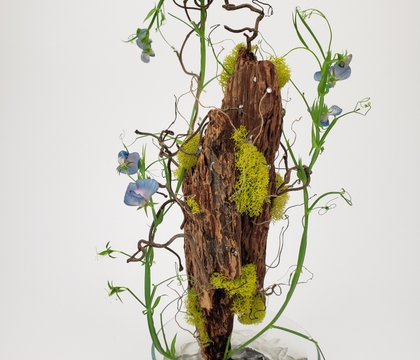
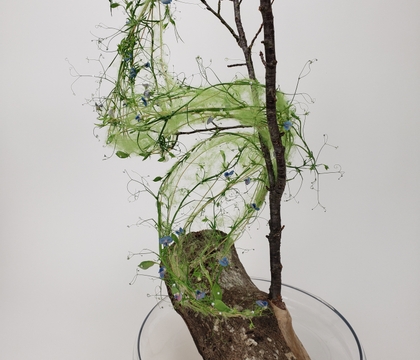
Sweet pea and Felting Wool Swirl Around a Log
- 10 July 2024

Choose a sturdy log with a forked side branch to create your armature.
Of course that is easier said than done... how do you find a nice and sturdy log with the most perfect forked side branch if you live in an apartment (like I do)? You assemble one of course! I show you how to make a dowel joint (the strongest possible joint) in our notification email this week. If you are not yet signed up I send out one email every Wednesday morning (Vancouver time) to let readers know that the new design is ready to view. I also add a bit of "insider information" that will make your weekly flower inspiration even more useful to turn the design into a flower lesson. The sign up is below the post. You can also use this email if you have a question or a comment. I would love to hear from you.
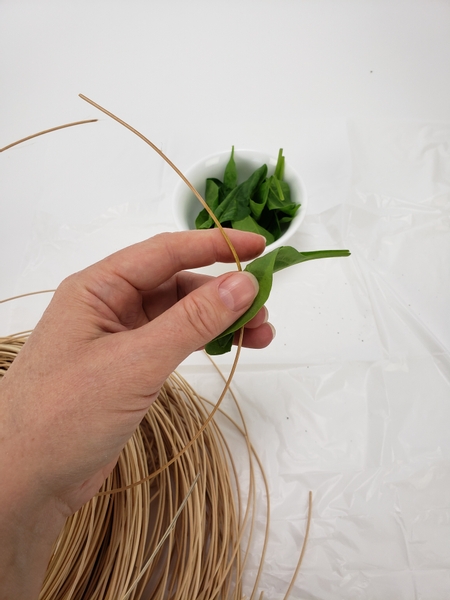
Stain some rattan green with spinach leaves.
Book readers turn to page 373 of my book to learn more about staining design elements using natural dye.
For more information about my book: The Effortless Floral Craftsman
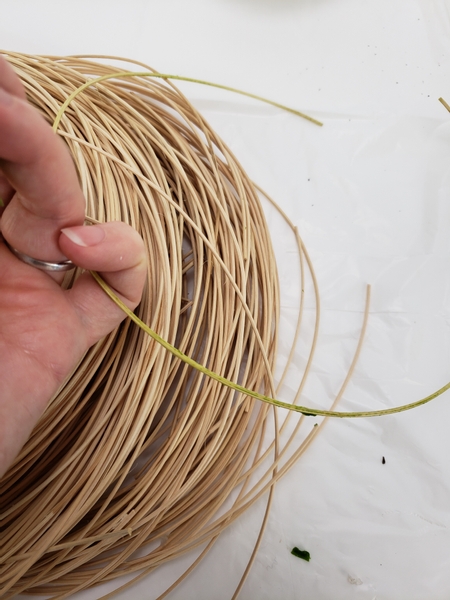
I do prefer a natural stain rather than painting. It is more of a natural look.
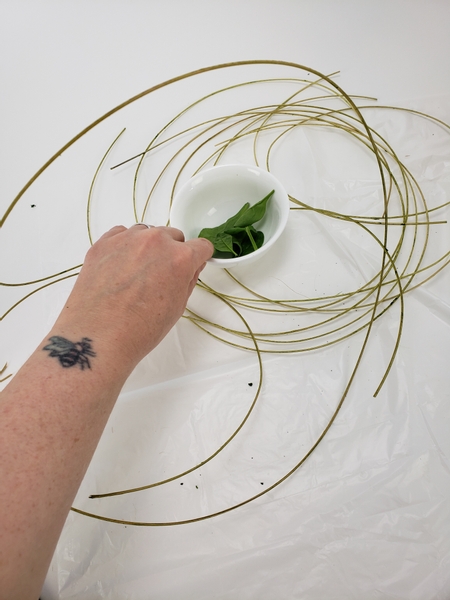
Prepare the rattan strips and set them aside for the stain to dry before gluing it into position.
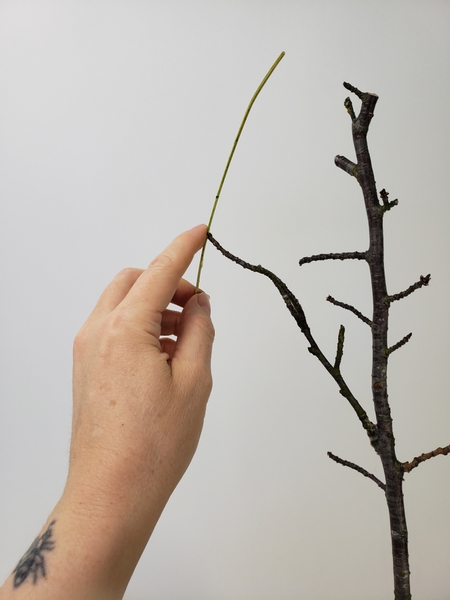
Glue the longest piece of rattan to the branch at the top. I used hot glue to secure the rattan.
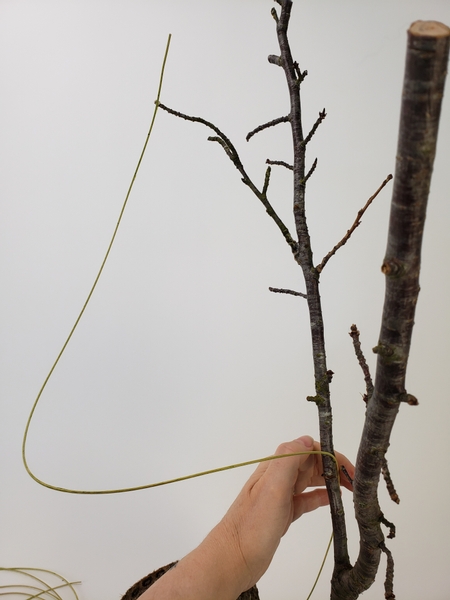
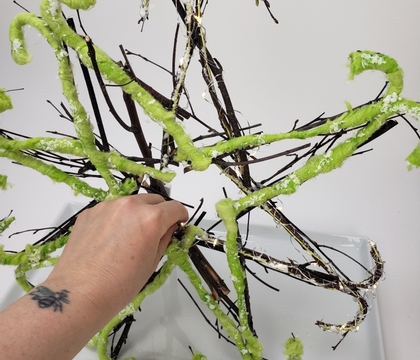
Allow the rattan to swirl naturally down and through the branch...

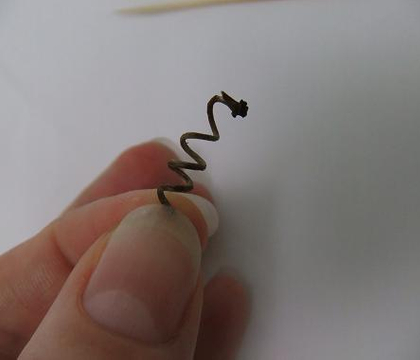
Carefully bend the rattan at a sharp angle taking care not to snap and break it.
This is a bit tricky. There is a Tutorial below that explains how to manipulate twigs like this. Practice on a small piece first to make sure you can create the right angle.
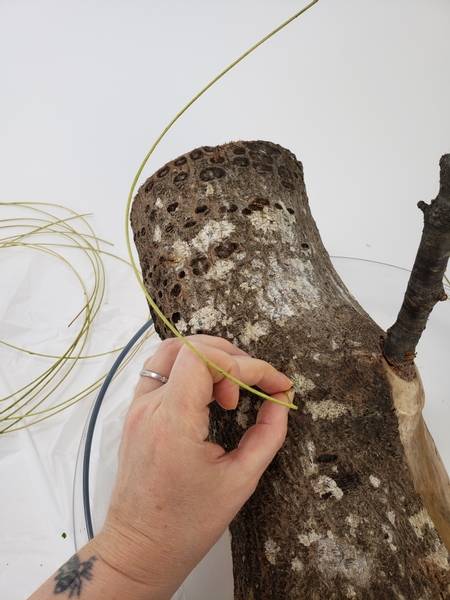
Glue this end of the rattan to the log.
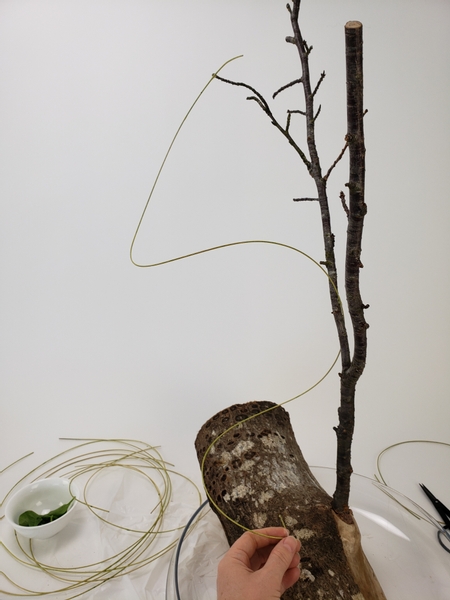
This angled piece gives the swirl some support so that it looks like it is light as air.... just floating above the log.
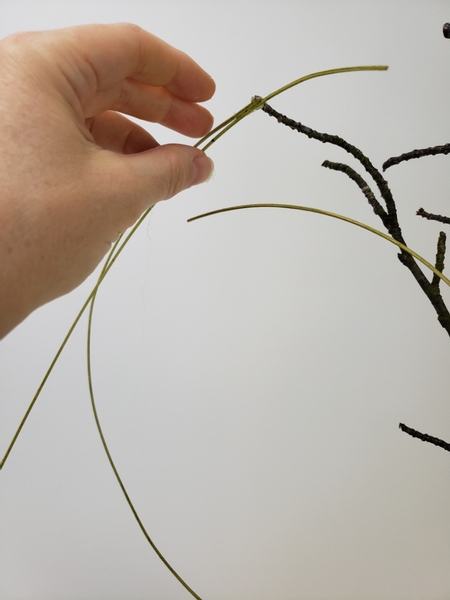
Add in the next rattan piece...
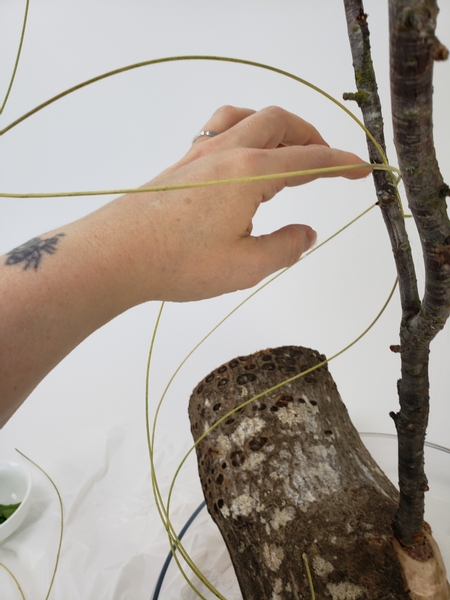
Glue it in place and add another rattan piece to follow the swirl.
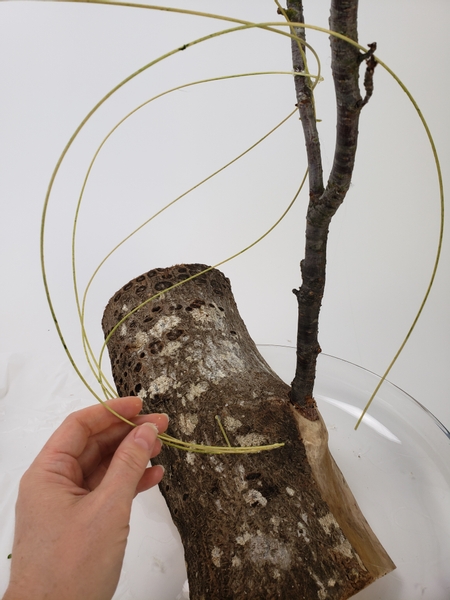
Extend the bottom of the swirl to end in a tapered tip just below the angled piece you secured earlier.
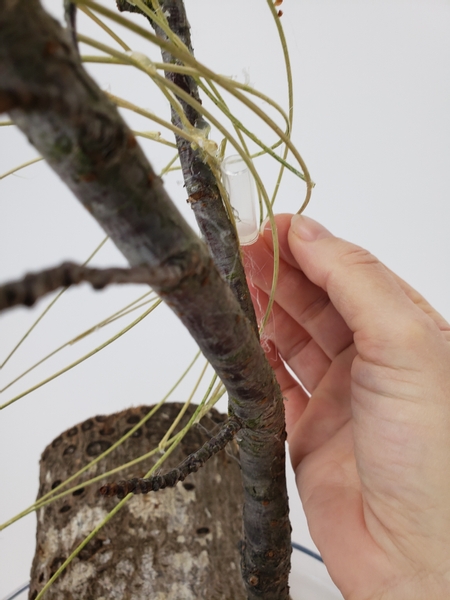
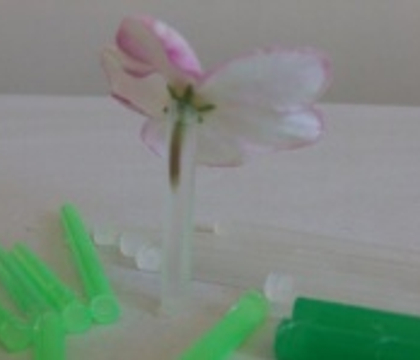
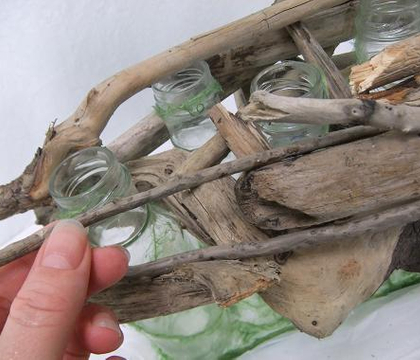
Glue in a few water tubes for the sweet pea vines.
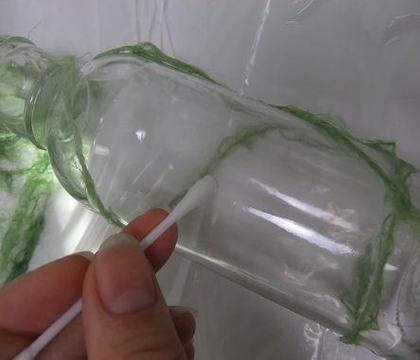
See the Tutorial below for detailed instructions on how I make these water tubes.
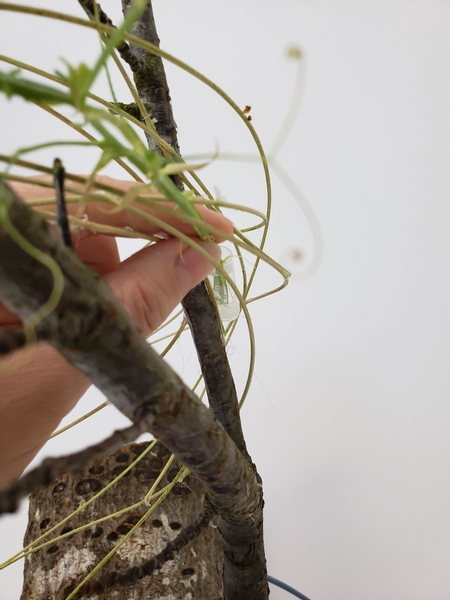
Place the sweet pea vines in the water tubes before draping it over the rattan swirl.
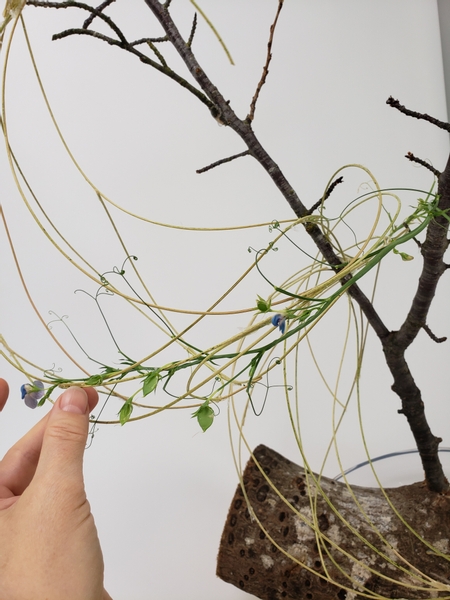
Weave the sweet peas through so that the tendril hold on to the rattan.
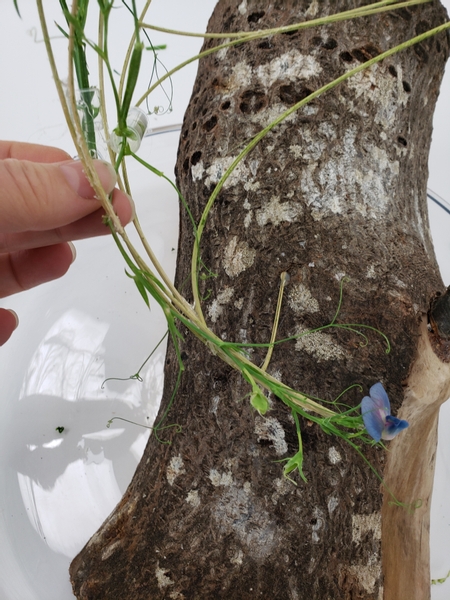
Sweeping down to the bottom tip of the rattan swirl...
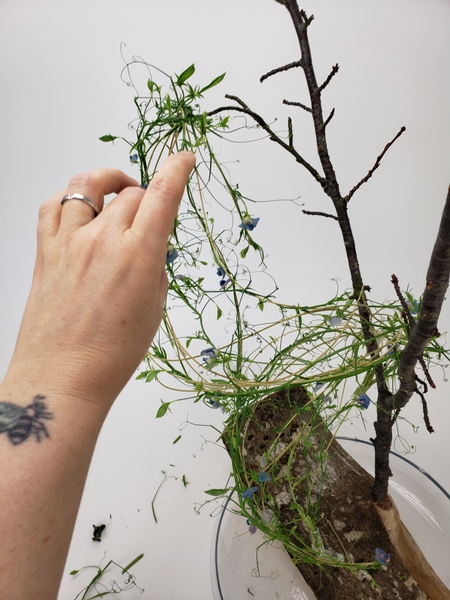
And all the way up to the top tip of the rattan swirl.
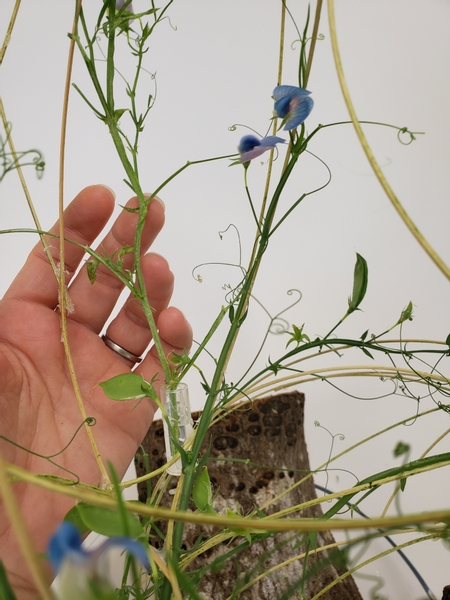
... but also... isn't this King Tut sweet pea amazing?
It is naturally blue with a blush of pink. It is one of my favourites. They are a bit more delicate than most sweet peas and the foliage looks like willow. In fact I grow mine up my coppice willow container in my balcony garden. You see while I wait for the willow to grow tall enough so that I can weave something pretty from the twigs in early spring I use it as sweet pea support. The sweet peas add nitrogen to the soil... which the willow love. And it looks like the willow is flowering... which I love. Win-win.
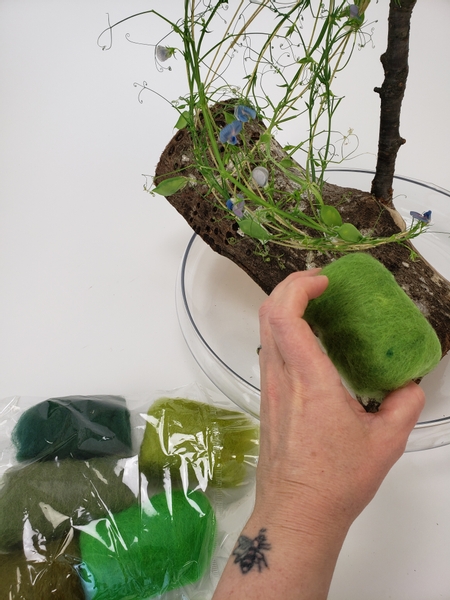
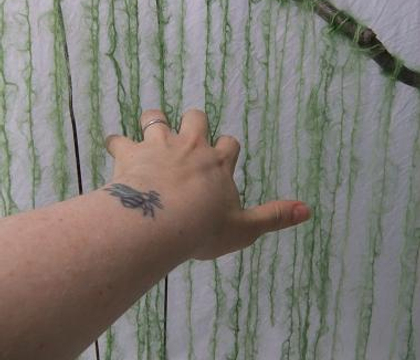
Next I am adding an impossibly thin haze of wool all over the sweet pea and rattan swirl.
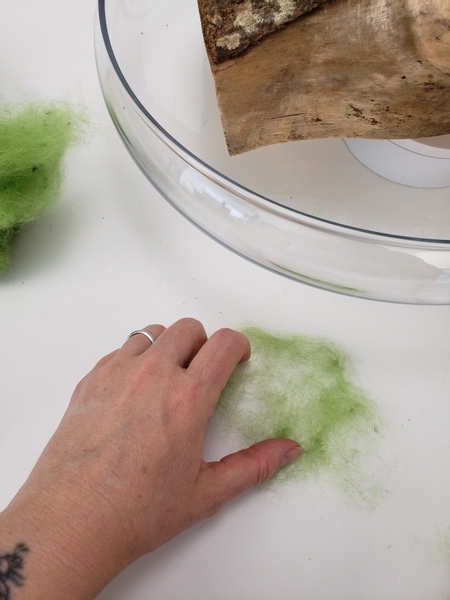
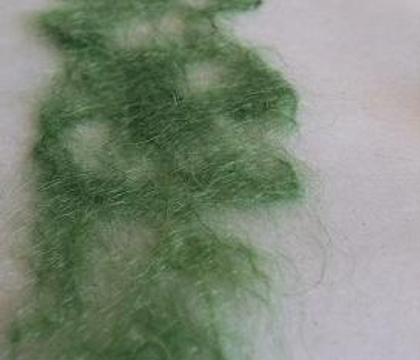
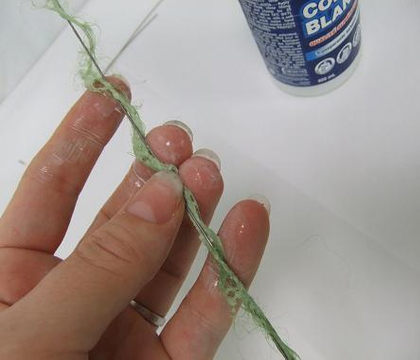
I am using two felting techniques to add the wool to my floral design. First I am making strips and patches to extend over the gaps between the rattan.
I show you how to do this in the Tutorial below.
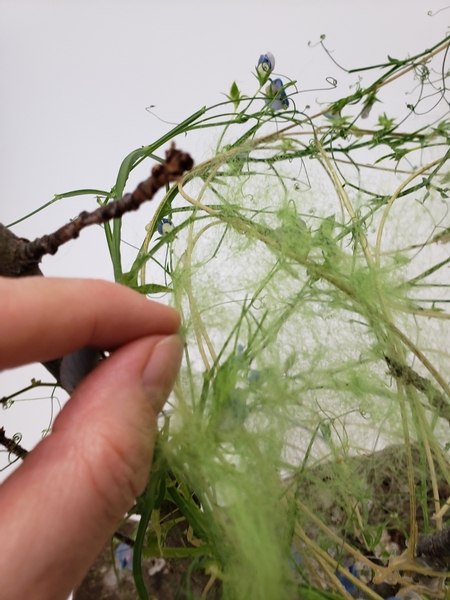
Place the thinnest possible wool patch to stretch between the rattan...
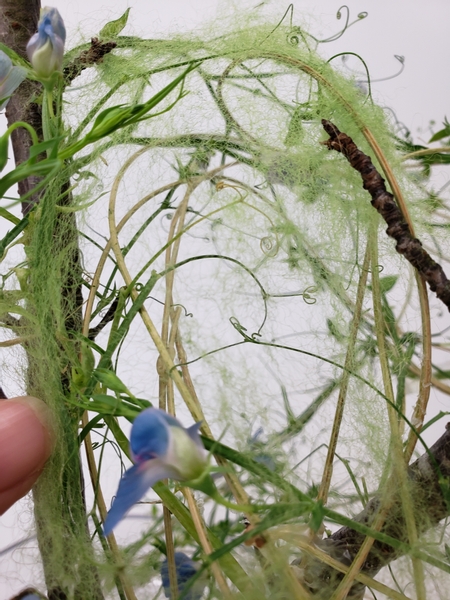
Focussing the bulk of the wool to cover any hot glue that might still be visible and pulling it open to allow all flowers to be clearly visible.
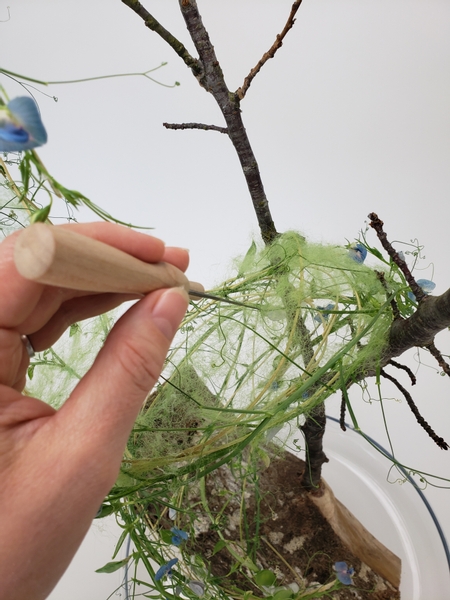
I then use a felting needle to secure the wool to the armature.
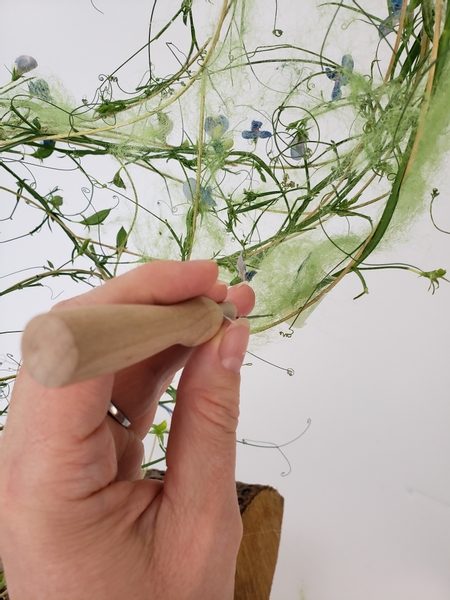
Pull the wool around the water tubes to conceal them as well.
The felting needle has barbs at the tip that knots the wool together. Short quick stabs are all that is needed. Be careful not to stab too deep or even sideways as this can break the delicate needle.
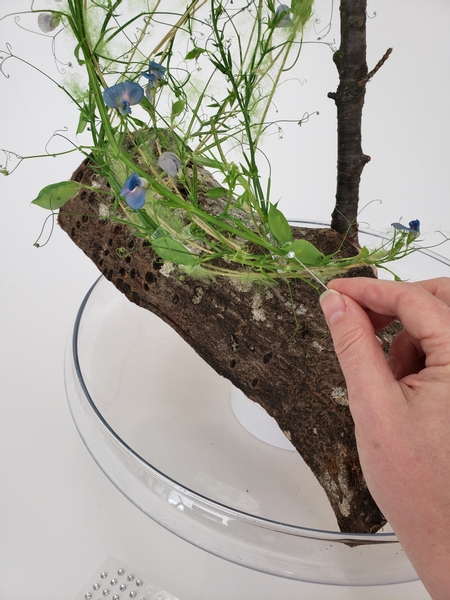
And finish the sweet pea and wool swirl with a few sparkling dew drop crystals.
Sign up for my weekly newsletter
Every week I add a new design with related tutorials. Be sure to subscribe to receive an email notification with design inspiration.
