Christine de Beer - effortless floral craftsman
The horror of flower dye and a spider that sits beside her
- 26 October 2022
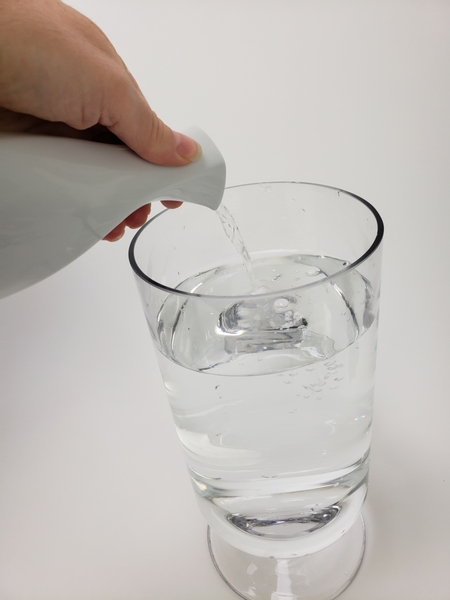
Fill a apothecary jar with water...
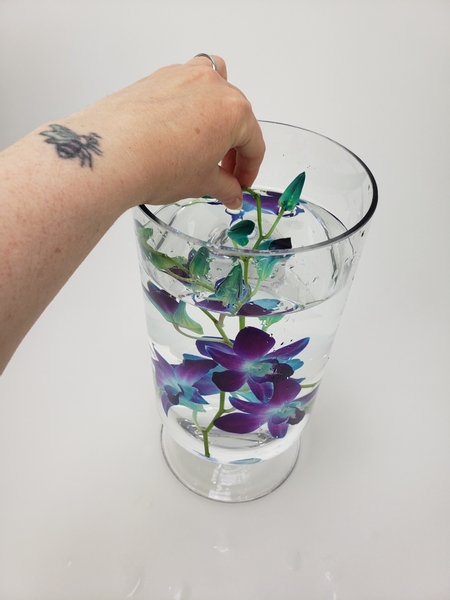
Arrange your frightfully dyed flowers deep in the water.

With the flower buds poking into the lid to keep them in place.
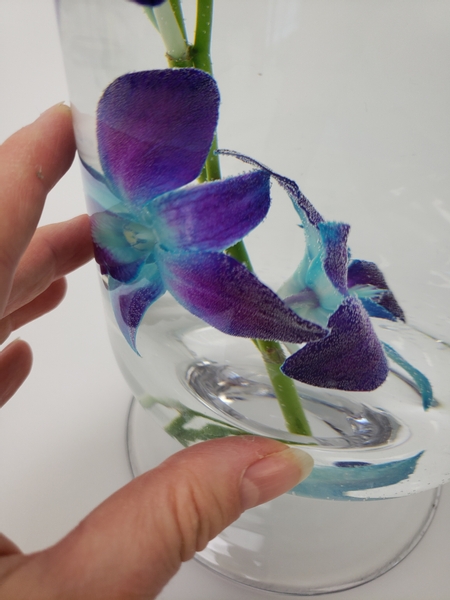
Set the vase aside while weaving the spider to allow bubbles to appear to give the impression of a specimen jar.
Design note: ordinary tap water will give you medium sized bubbles
Carbonated water (soda water or seltzer water) will give you sparkling water with larger bubbles
and for no bubbles you can use boiled water (cooled down) or distilled water.

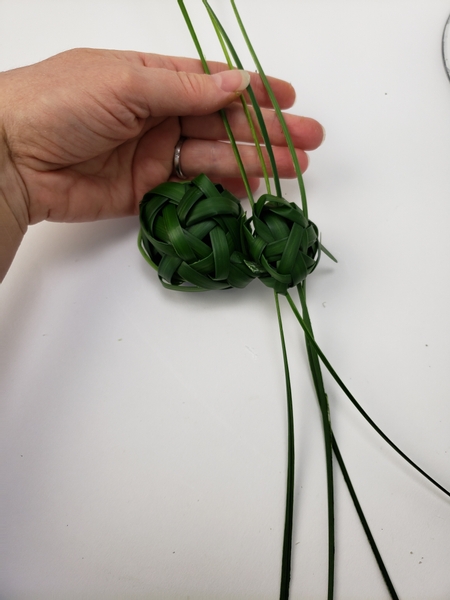
For the spider I wove two spheres...
this Tutorial is rather long so I added the Tutorial for weaving spheres below.
Book readers if you want to scale up the design and weave a HUGE spider you can find a suitable How To on page 186... with flowers in the spider body.
For more information about my book: The Effortless Floral Craftsman

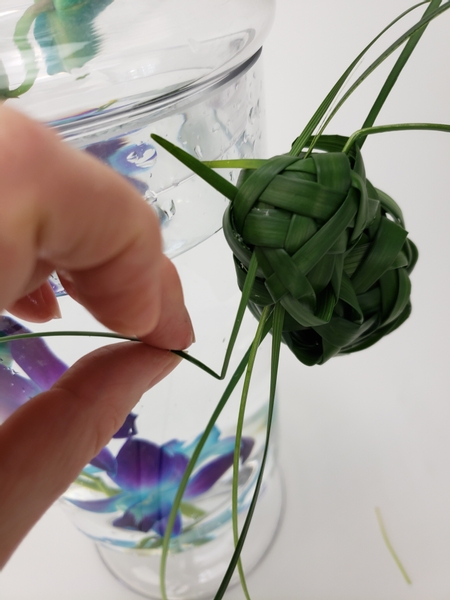
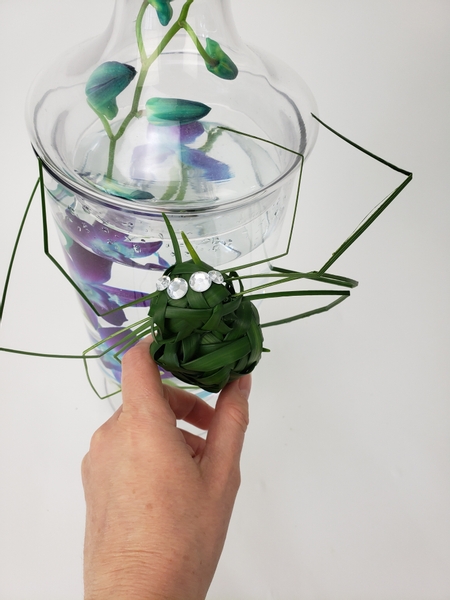
Weaving two grass tips to dangle out as fangs...

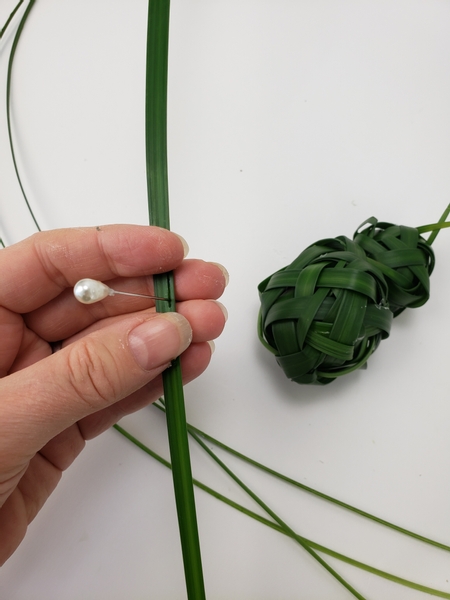
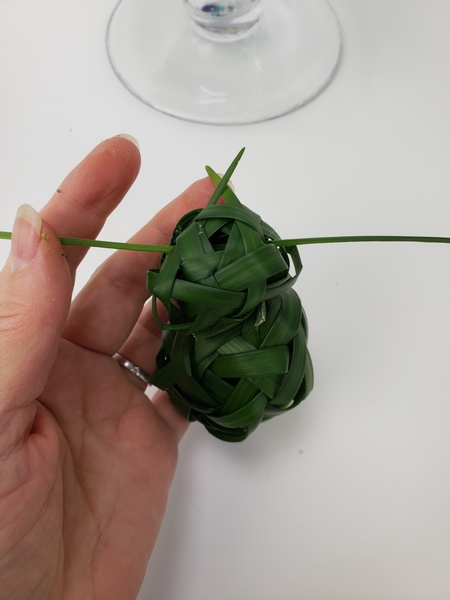
Use a long blade of grass to attach the two grass balls...

... by interweaving the grass through the body and the head spheres
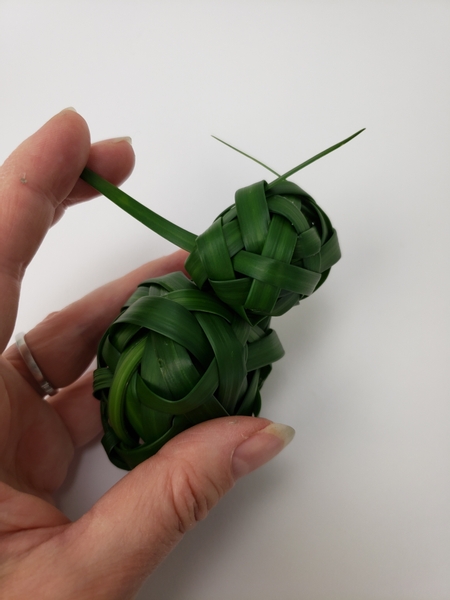
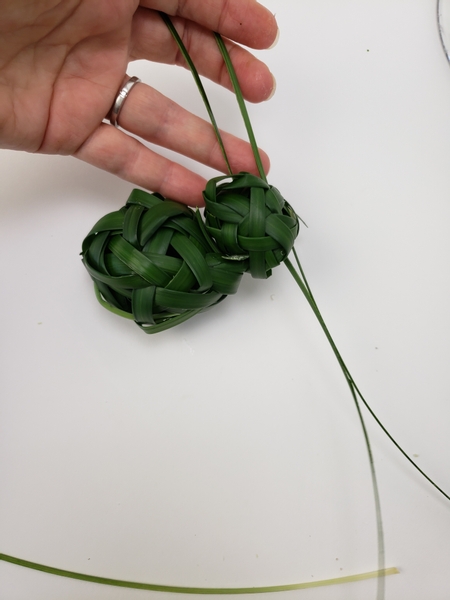
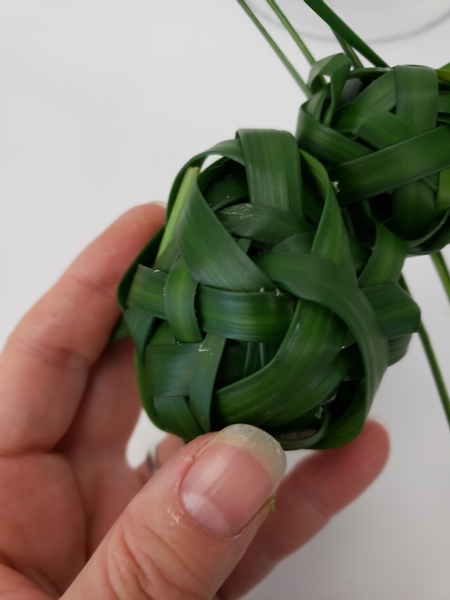
Pull the two balls together so that they sit tightly to craft the spider.
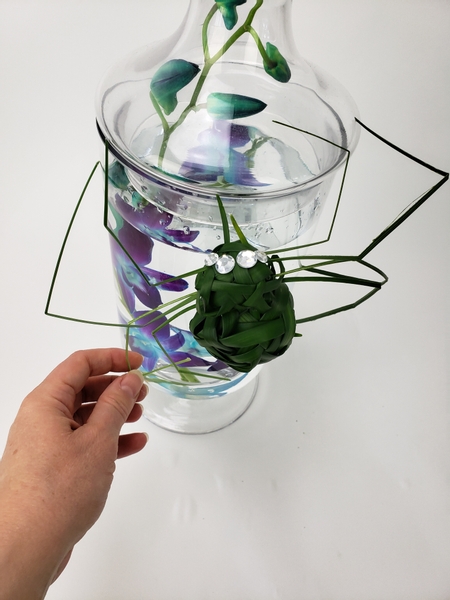
This is where you add your spider's personality. Is it poised to jump? Or relaxing in the lazy autumn sun?
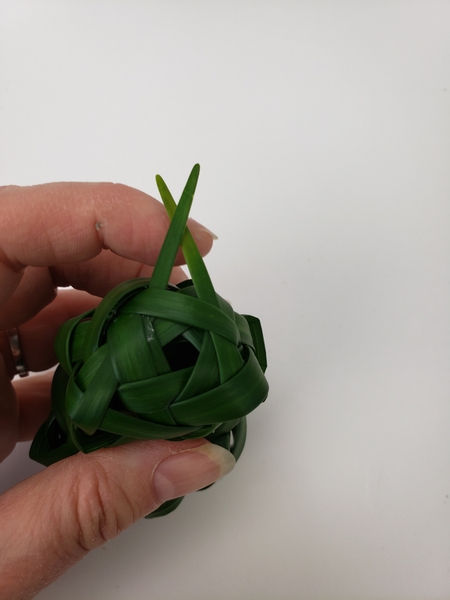
Reshape the head so that the fangs add to the personality.
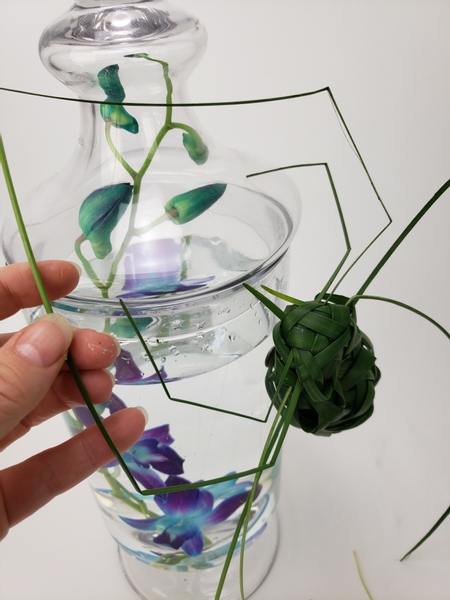
Use a pin to rip the grass into four thinner sections.
Could be why spiders are so super scary... but the legs go through the head part.... Thread a ripped section of a blade of grass through the smaller sphere.
And a second blade next to that...
And then leg three and four.
You can absolutely glue the spider to the side of the container... but what if you can reposition it to move about every so often... It's Halloween after all!
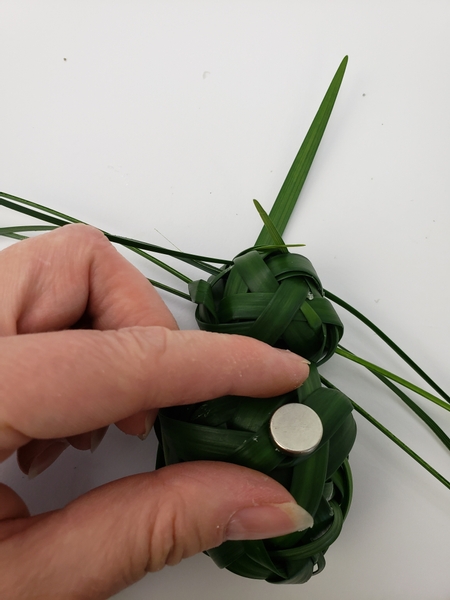
Slip a small corsage magnet between the woven belly of the spider...

Secure the magnet with a small bit of glue and conceal it by weaving in another blade of grass.

Place the partner magnet inside the vase and the spider on the outside.
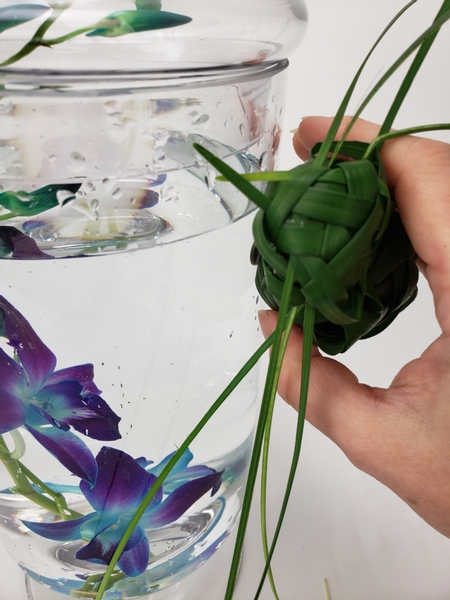
Reposition the spider by gently moving the woven body.
Bend the legs...
If you need a guide for how and where to shape the legs I have added a picture in this week's email as a tip. Make sure you are signed up to receive each week's email tip the moment the design is ready for you to view. The sign up is below this post.
Position the long legs...
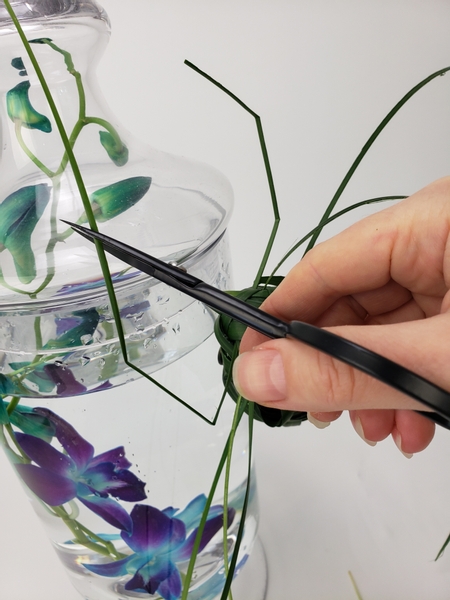
and cut the legs shorter....
Design tip: use the sharpest knife or snippers you have for this.
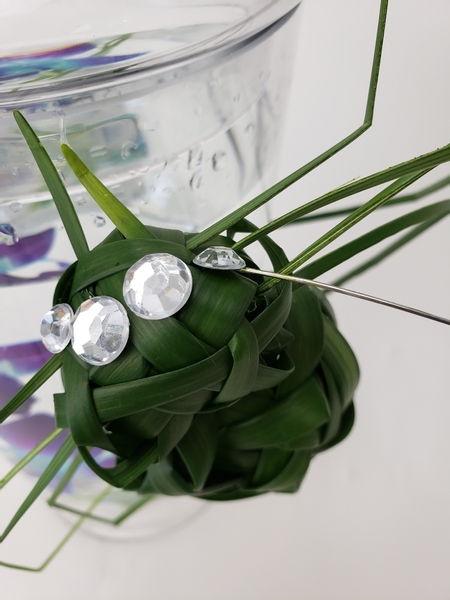
Use a pin to place the shiny dew drop crystal spider eyes.
See the Tutorial below for detailed instructions on how to use a pin to position the sticky crystals.
To move the spider:
Gently reposition the spider every now and again so that it crawls around the vase...
... and rearrange his legs to match.
Sign up for my weekly newsletter
Every week I add a new design with related tutorials. Be sure to subscribe to receive an email notification with design inspiration.


")


