Christine de Beer - effortless floral craftsman
Besom Broom
- 28 October 2015
The word ‘Besom’ derives from the old English ‘besma’ meaning ‘bundle of twigs’.
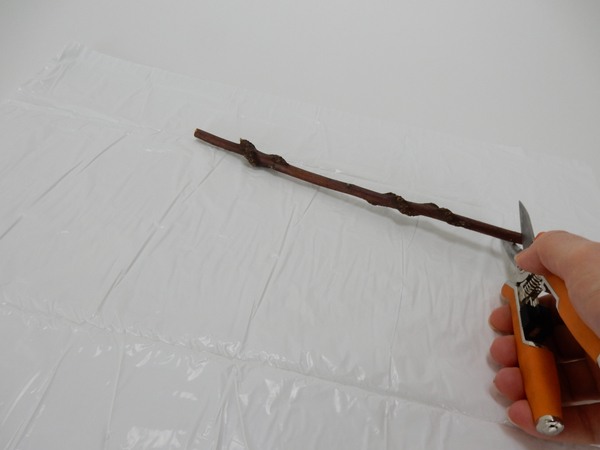
Cut a sturdy stick for your broom handle
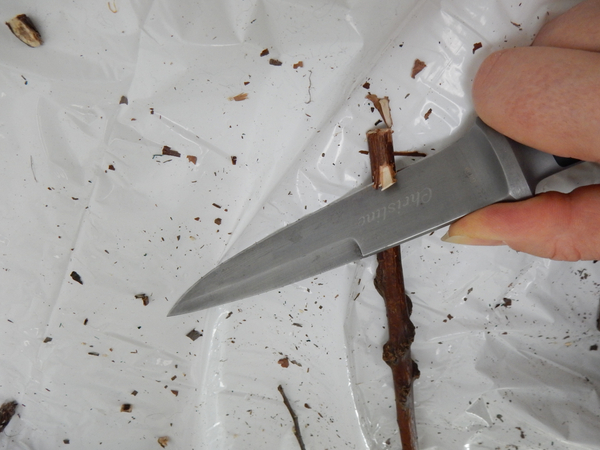
Cut the handle to taper at the top
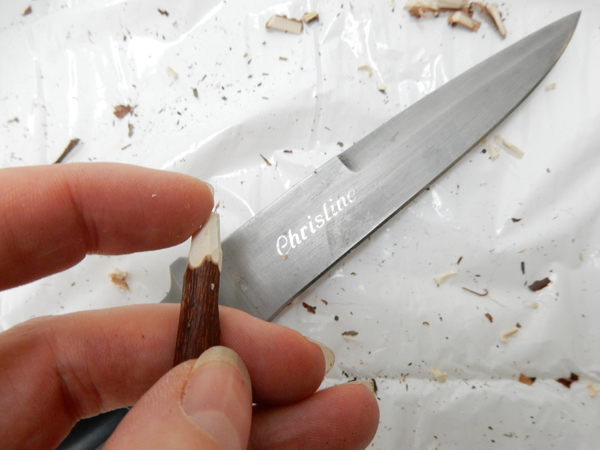
This sharp point make it easier to attach the broom handle
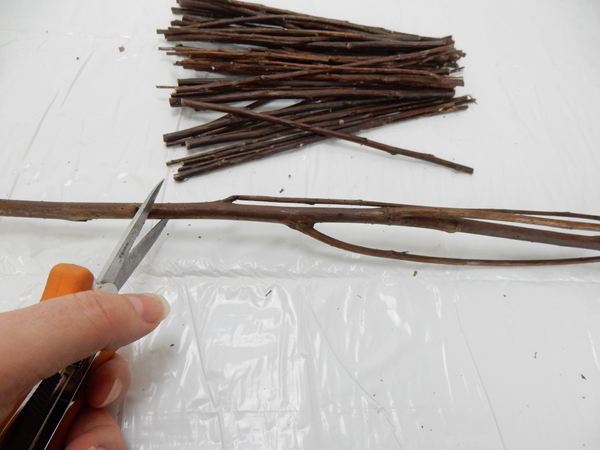
Cut a bundle of fine twigs
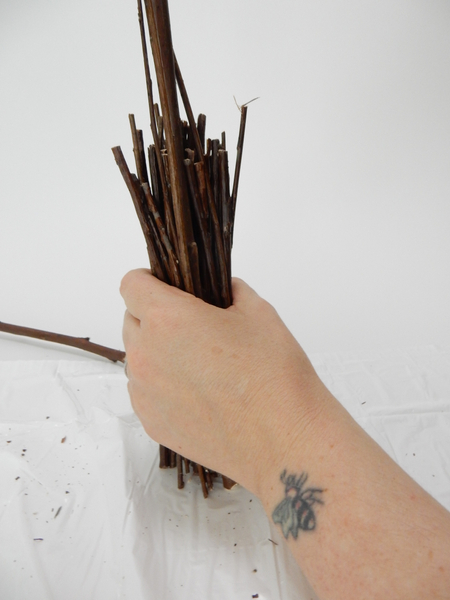
Gather the twigs in your hand and knock it on a working surface
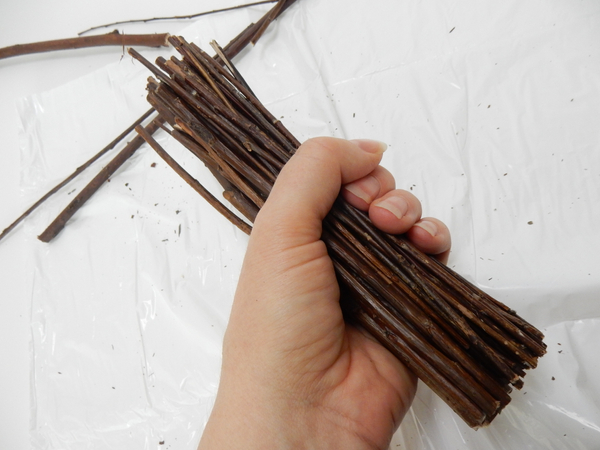
To create a flat butt end of the broom
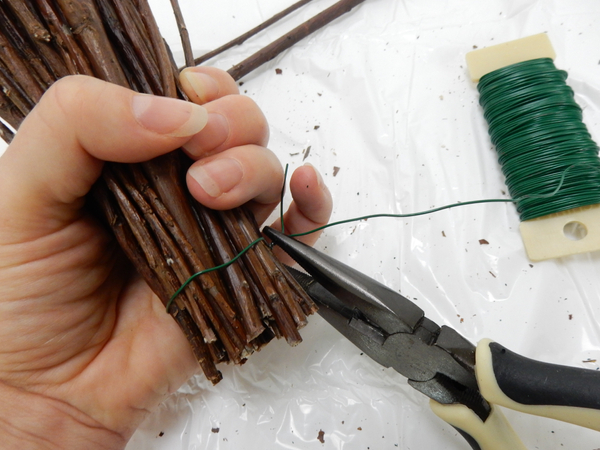
Bind the bundle with bind wire
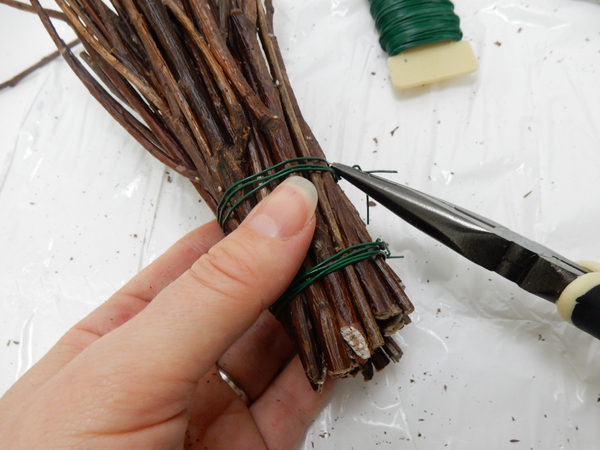
Twist the wire to make sure it is really tightly bound
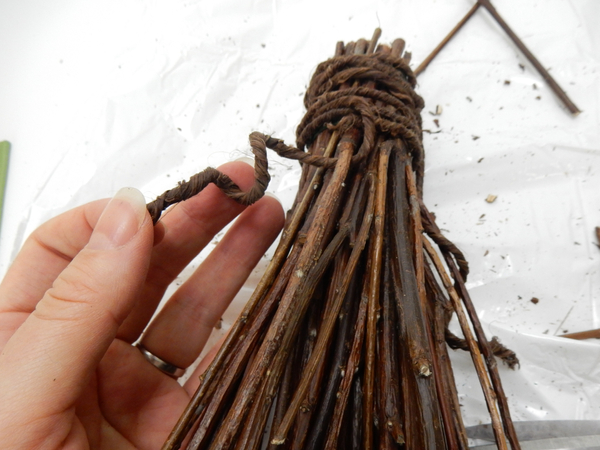
Because my broom is more decorative than functional I covered the bind wire with bark wire
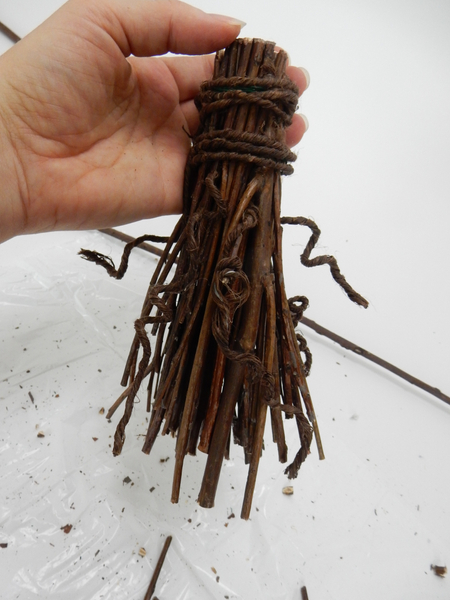
Add a few wire tendrils to create a more whimsical broom
See the Tutorial below for more detailed instructions on how to make wire tendrils
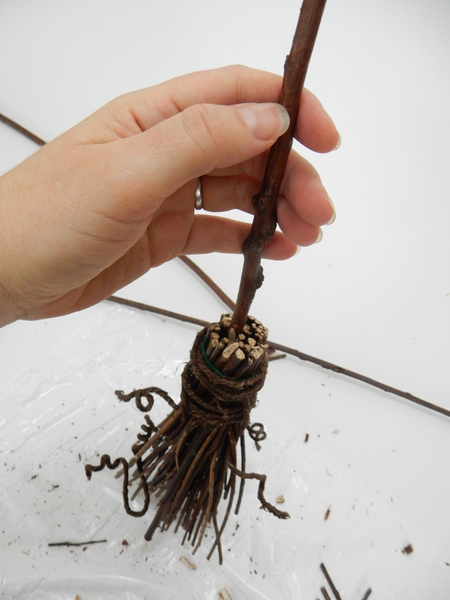
Wiggle the sharp end of the handle into the brush of the broom
Tap the broom on a working surface to let the handle settle
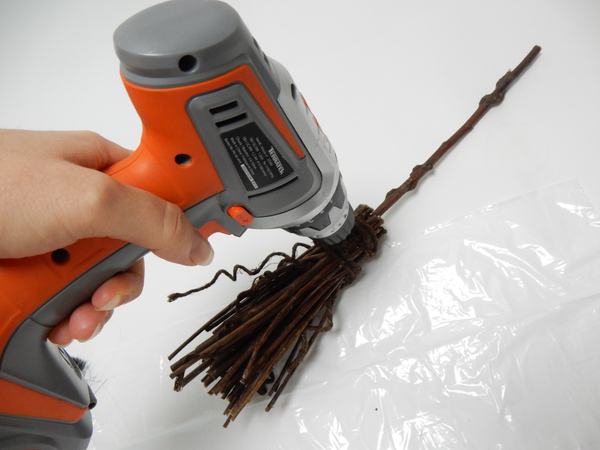
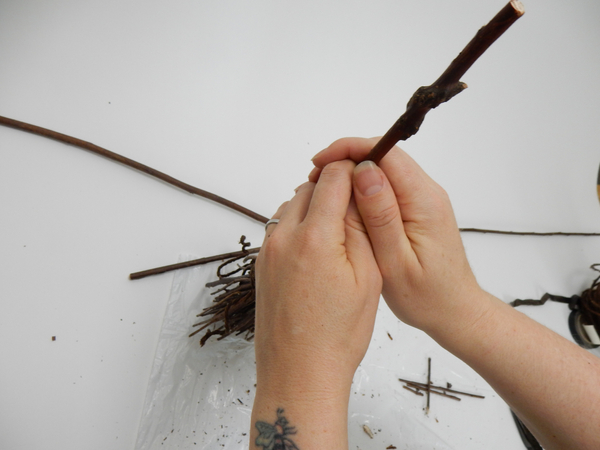
Drill a small hole into the brush and handle

Hammer a peg into the wood so that it fits tightly
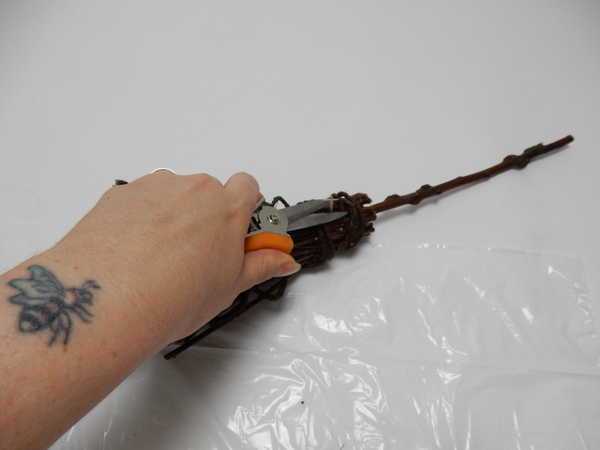
Cut the peg
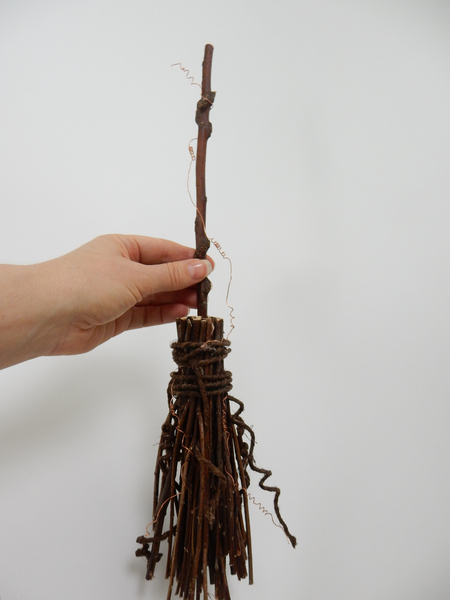
Add a few more decorative wire tendrils and the broom is ready to design with
Sign up for my weekly newsletter
Every week I add a new design with related tutorials. Be sure to subscribe to receive an email notification with design inspiration.


