Christine de Beer - effortless floral craftsman
Stalk and Husk Scarecrow
- 6 November 2012
This was one of my all time favourite things to make when I was a child. I always used corn husks to make dolls or scarecrows (some dressed in gown others wearing pants) but you can also use dried leaves as I did here
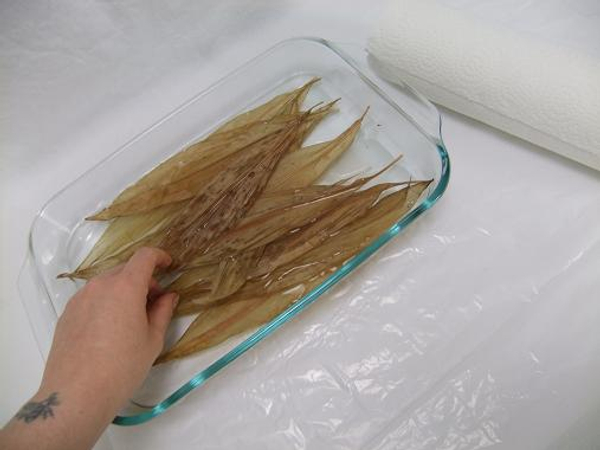
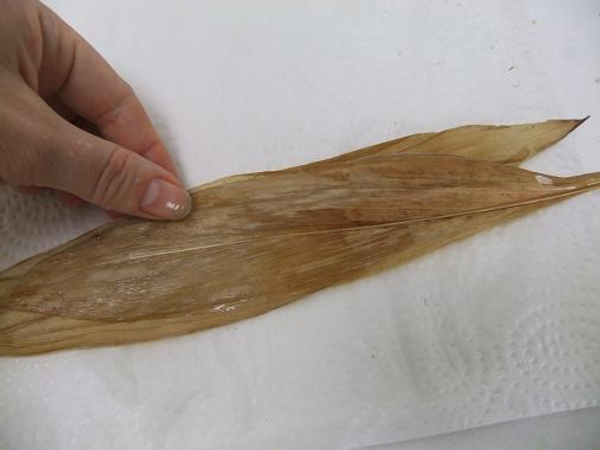
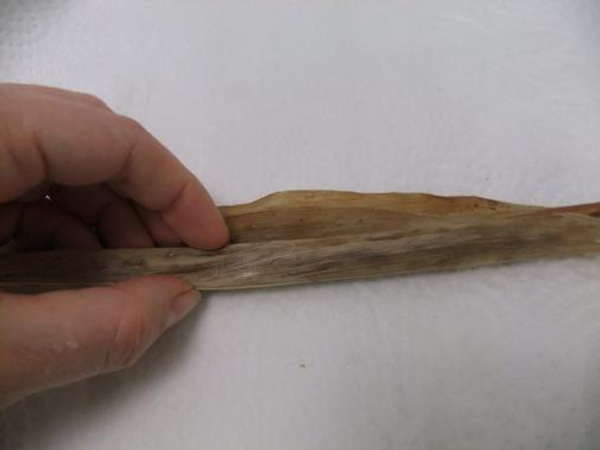
Soak leaves or husks in lukewarm water

Soaking the leaves make them more pliable
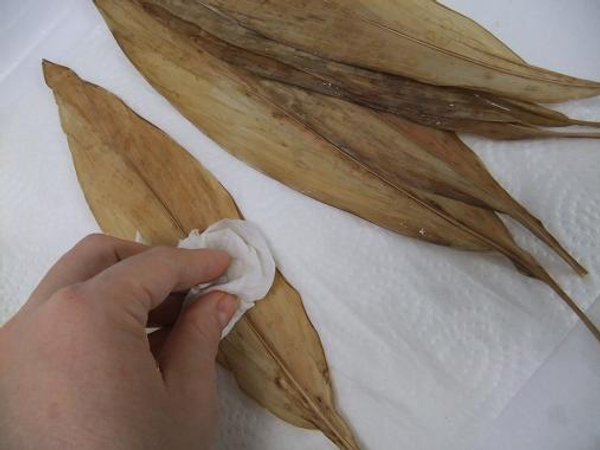
Blot the leaves dry.
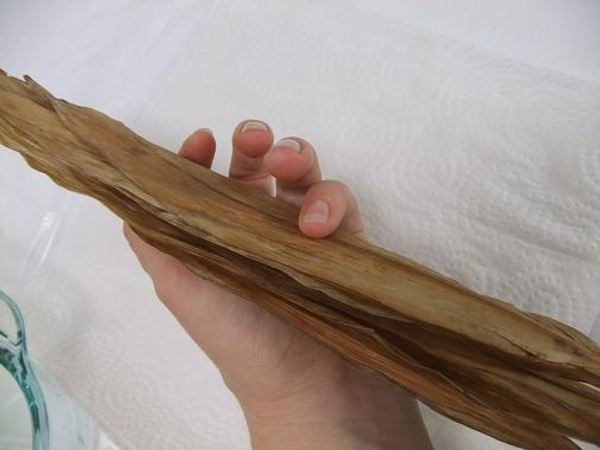
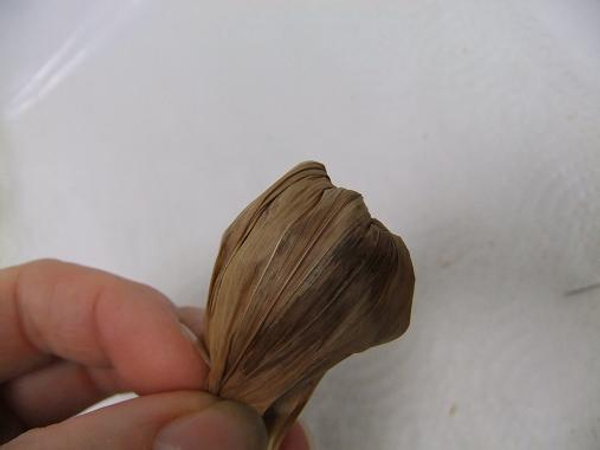
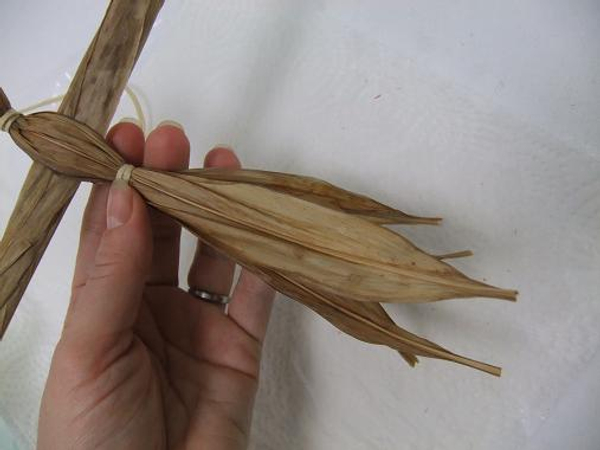
Set two leaves aside for the arms and stack the rest of the leaves so that all the stalks face in the same direction,
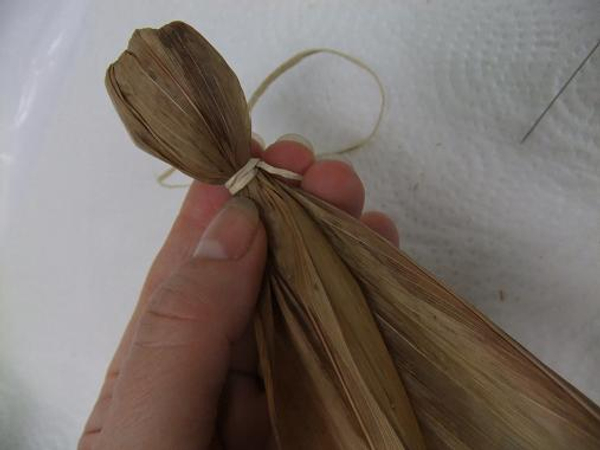
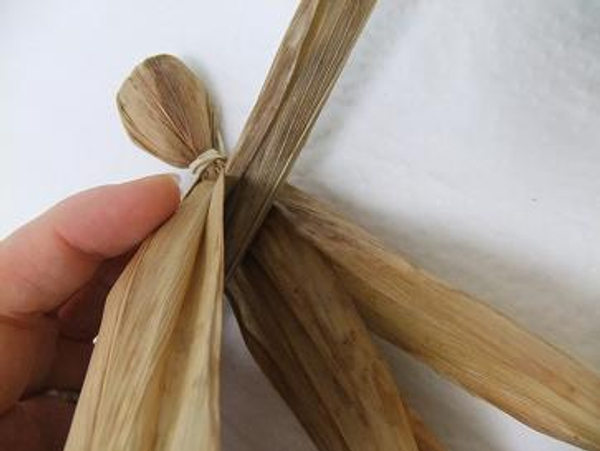
For the head:
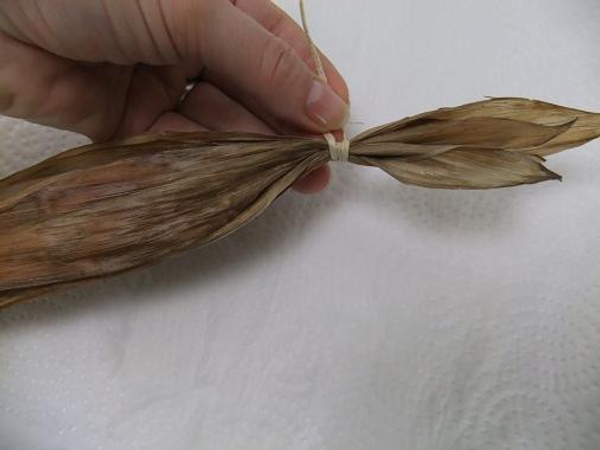
Tie the leaves with raffia
Variation:
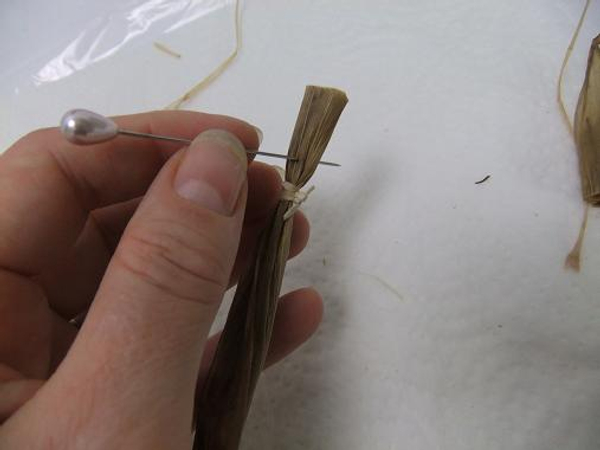
It you want the scarecrow to have bushy leaf hair
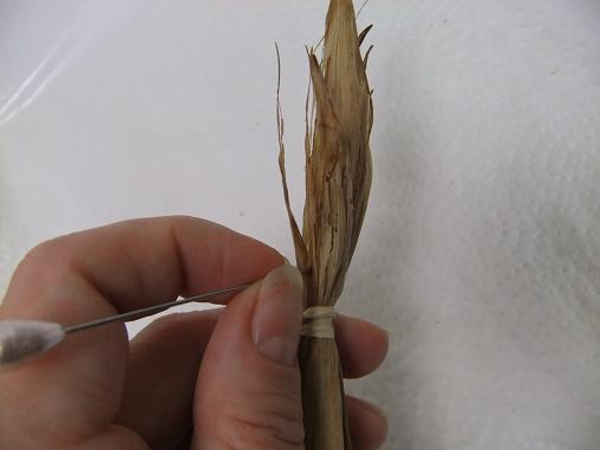
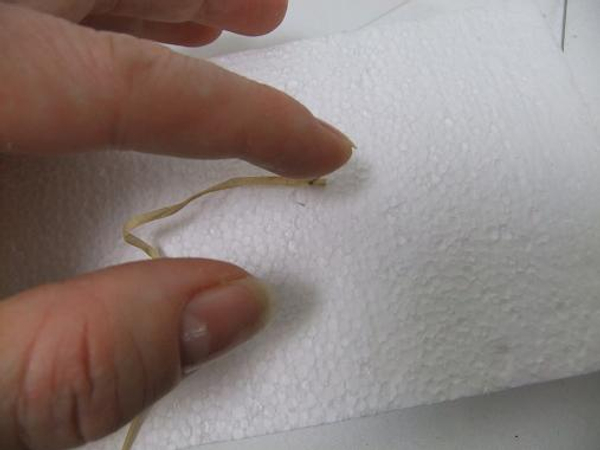
Rip the leaf ends with a pin.
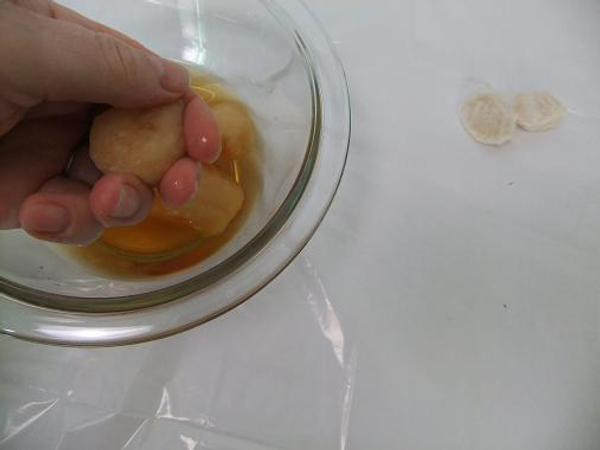
Soak a cotton ball in tea to stain it brown. Set aside to dry
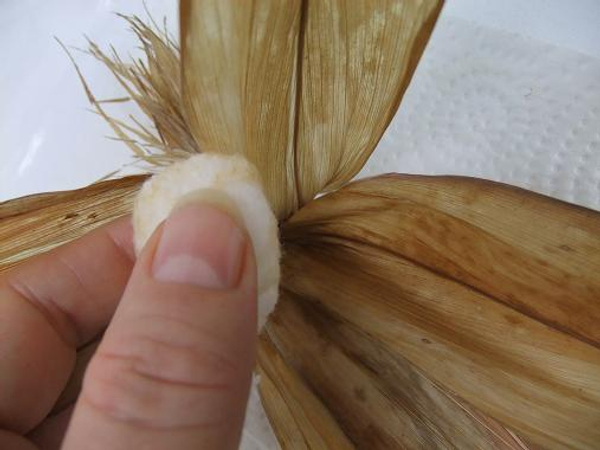
Open the leaves just below the knot and slip the cotton ball in
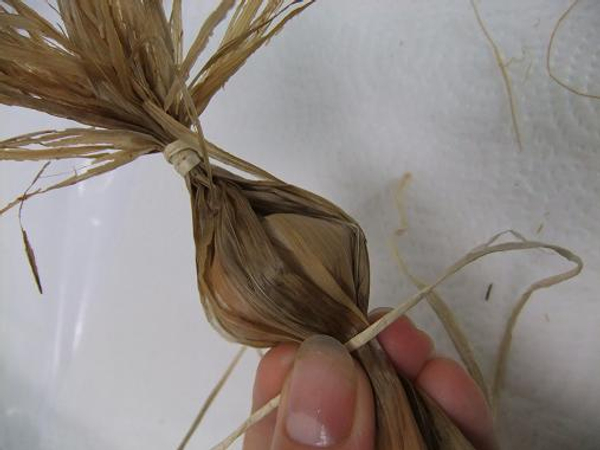
Tie the leaves just below the ball for a neck.
Variation:
It you want the scarecrow to no hair or want to glue on hair

Roll the leave ends (no need to rip them) into a ball and open the leaves just below the knot. Fold the leaves over the ball.
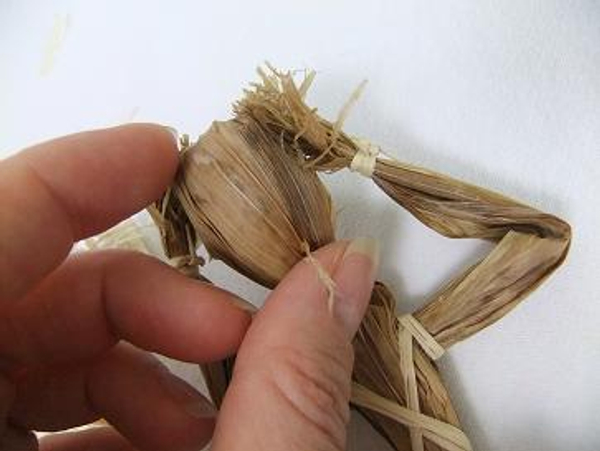
Gather the leaves together to shape the head.
Tie the head with raffia.
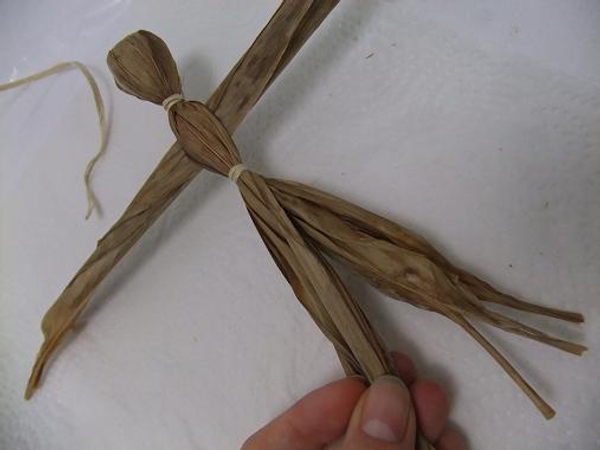
The body:
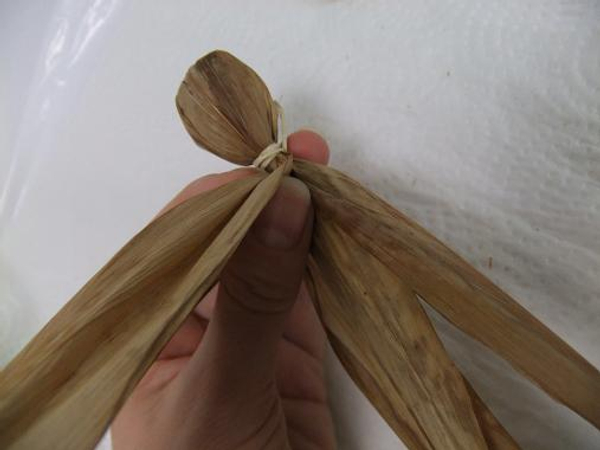
Divide the leaves into two and separate.
Place the two leaves that was kept for the arms on a flat surface.
Roll the leaves length wise.
Slip the rolled leaves into the leave stack
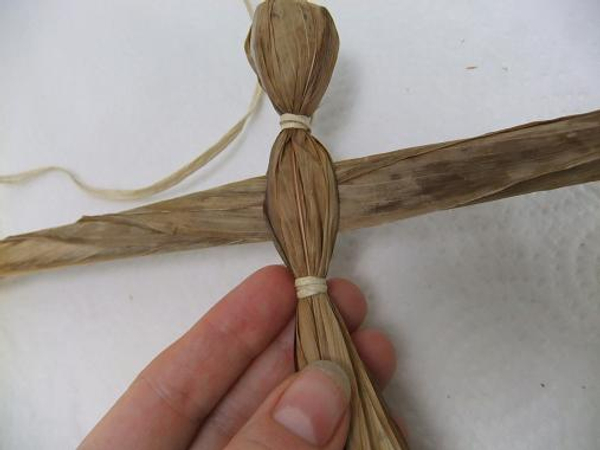
Tie the body with raffia
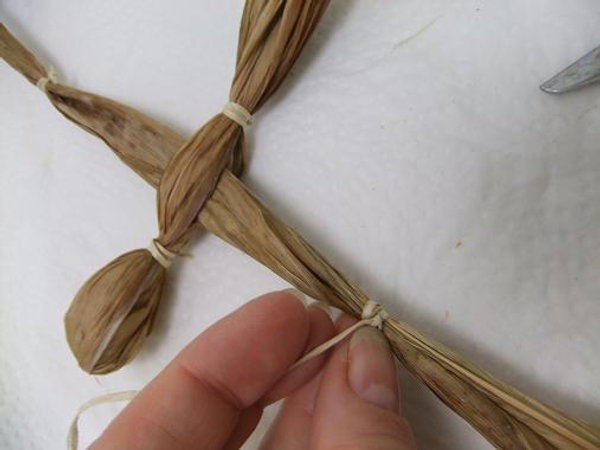
Tie the wrist with raffia.
The legs are next.
Variation:
You must now decide whether you want a doll or scarecrow. For a doll:
For the doll just cut the leaves straight and fluff out to create a skirt.
Variation:
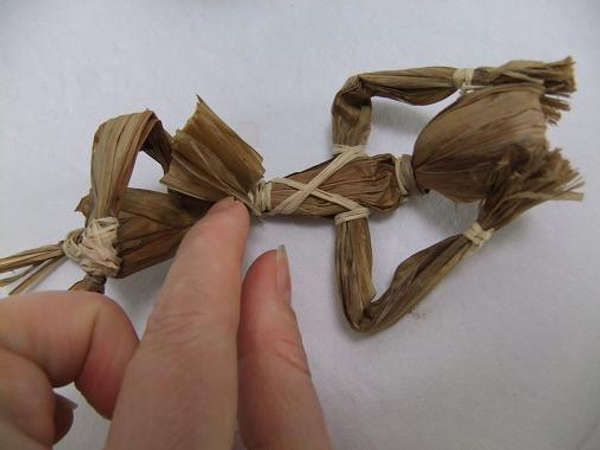
For a scarecrow wearing pants
Divide the leaf stalks into two
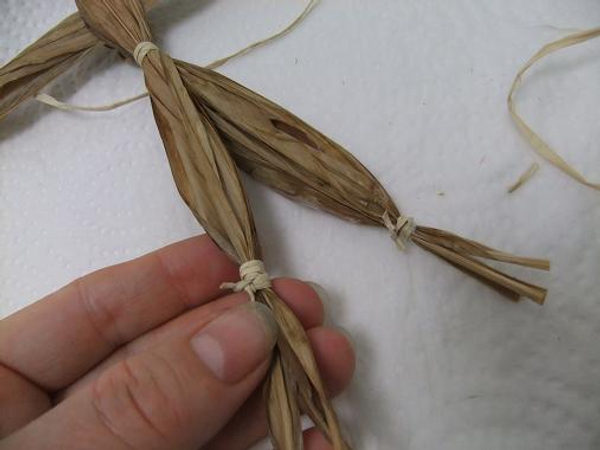
Tie the legs with raffia.
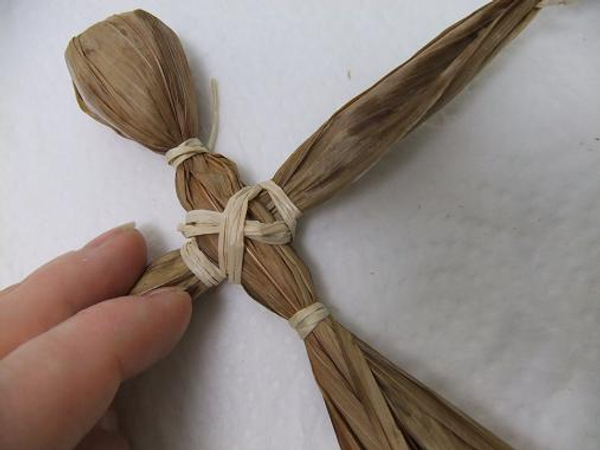
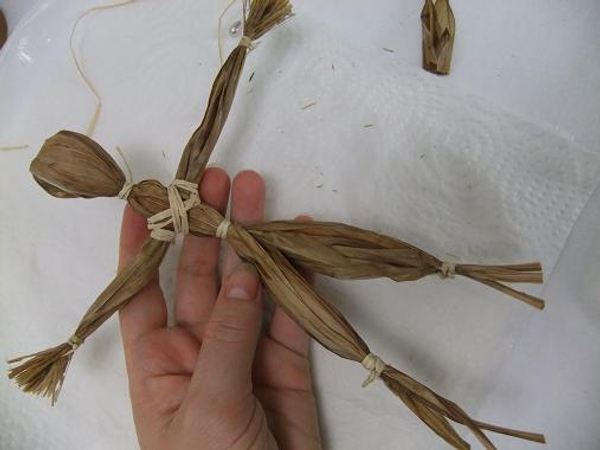
Tie a cross-over pattern at the arms and body
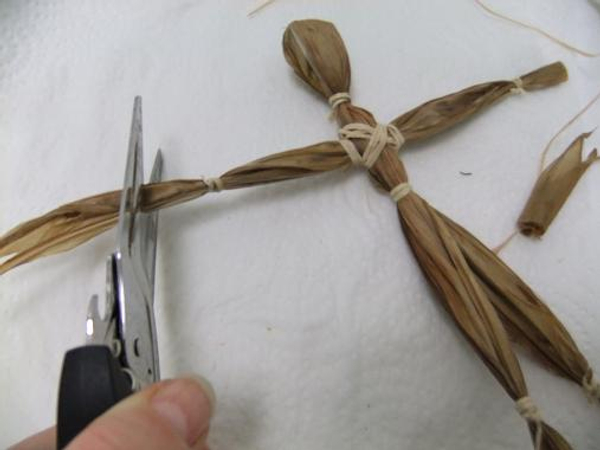
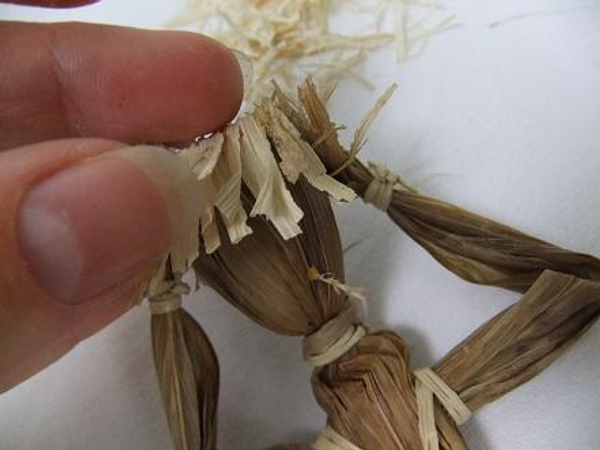
Cut the leaves shorter to create hands.
Rip the end of the leaves with a needle.
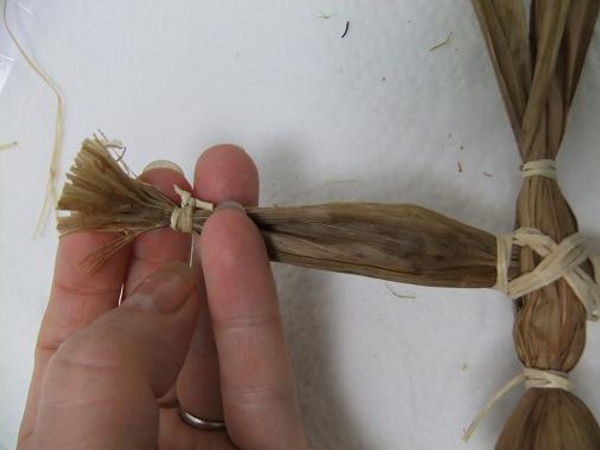
Fluff out the ripped leaves to give the hands volume
That is how you make a basic Scarecrow
But I wanted my scarecrow to be relaxing in a field of grass...

Place the scarecrow on a flat surface. Fold the legs at the "knees". Cross one leg over the other and secure it with a drop of glue. I used butterfly hair clips (see Tutorial below) to keep the legs in position while the wood glue dries
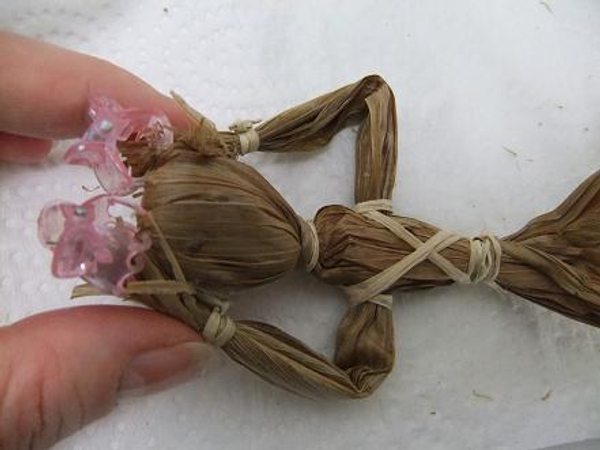
Fold the arms up and secure with glue. Again, clip the leaves with butterfly hair clips while the glue dries
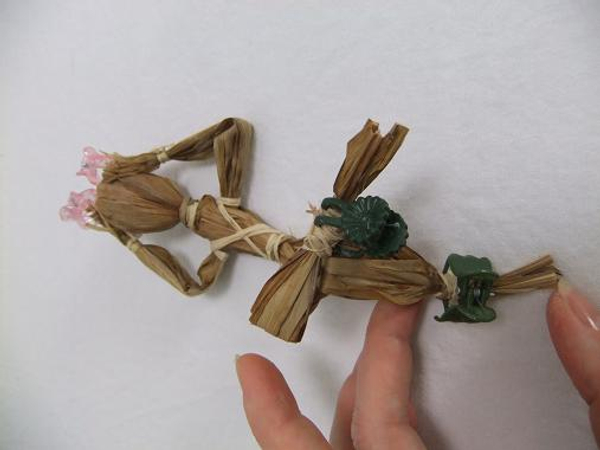
Set aside while the glue dries
For the tiny book:
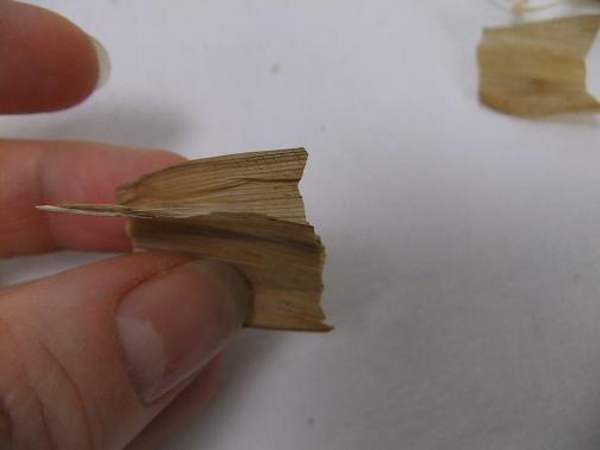
Use the left-over bits of leaf that was cut away when shaping the hands to make the book. Cut a few rectangles with a thick vain in the middle
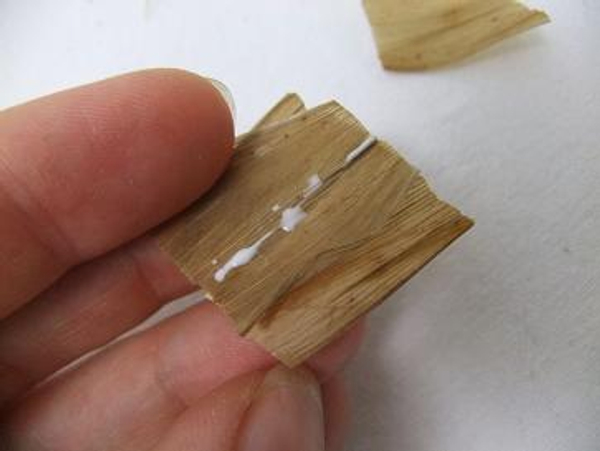
Pour out a few drops of glue in the middle vain line
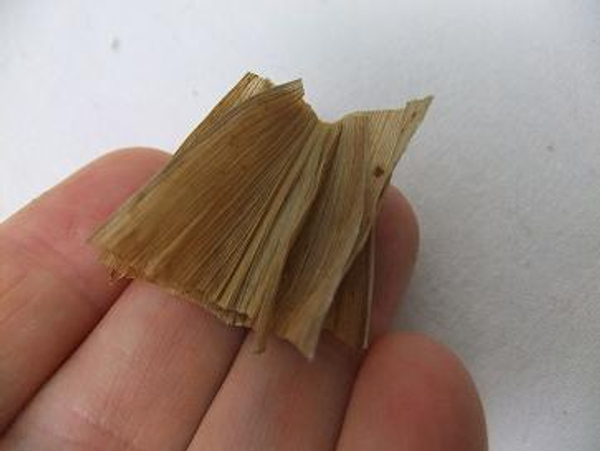
Layer the leaves
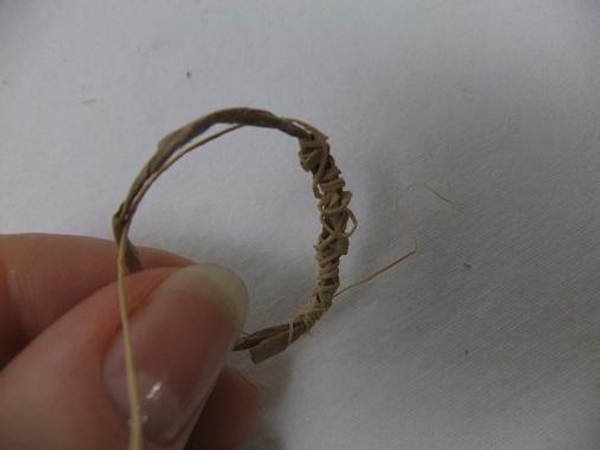
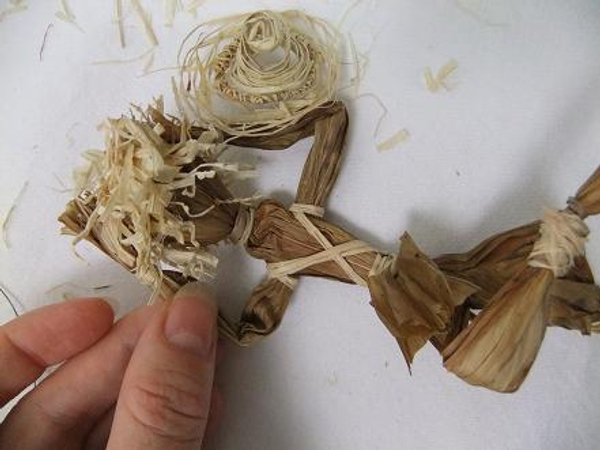
For the little woven grass hat:
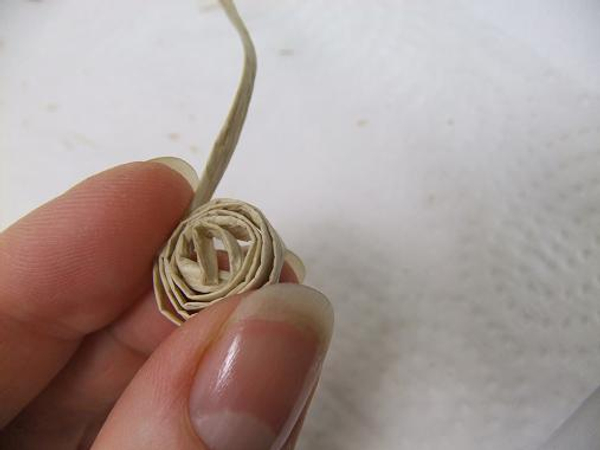
Roll the raffia...
into a tight coil
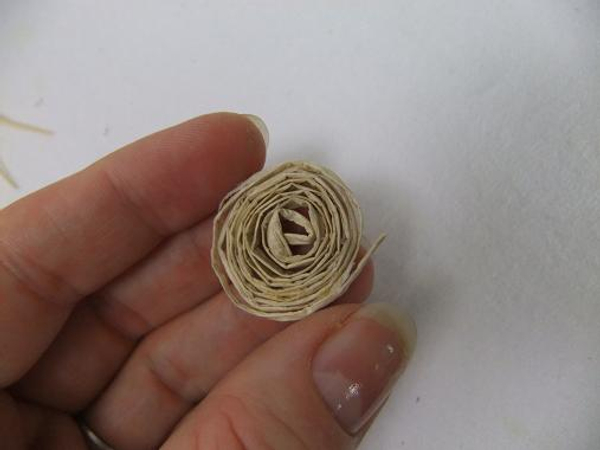
Secure the end of the raffia with glue and press the coil to spiral out.
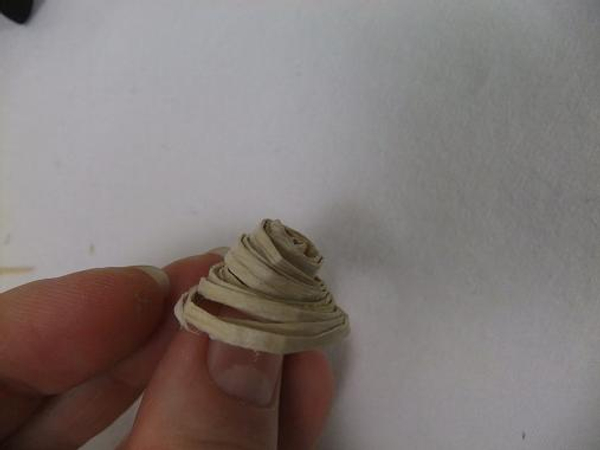
For the brim of the hat:
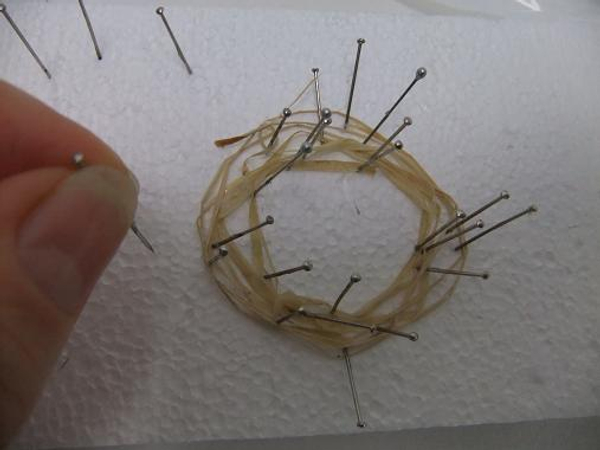
Pin a section of raffia to Styrofoam

Spiral the raffia around pinning the strands as you go
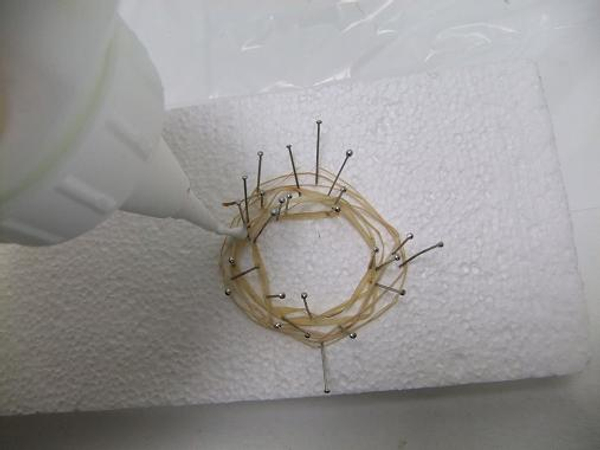
Pour out a few drops of wood glue and spread it to secure the spiral. Set aside to dry
Remove the pins.
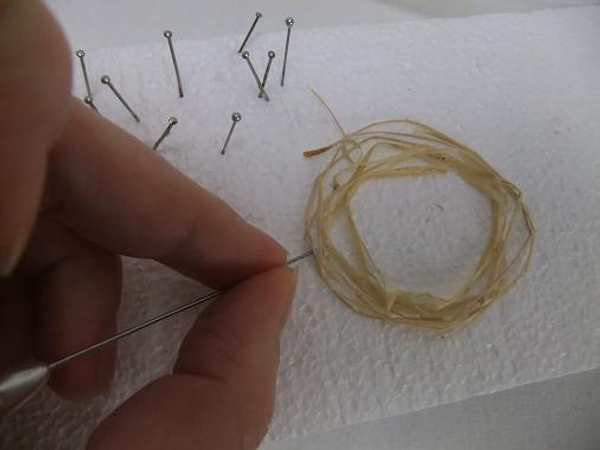
Lift the spiral and carefully remove it from the Styrofoam
Wrap a raffia ring.

Glue the tiny hat
Place the book and secure with a drop of glue
Glue in a tiny grass for the scarecrow to chew on.
Glue snippets of raffia for hair
Fluff out and roughen up the raffia hair bits to look wind blown

Add a few seedpods for the eyed and nose
Sign up for my weekly newsletter
Every week I add a new design with related tutorials. Be sure to subscribe to receive an email notification with design inspiration.


 to-do list")


