My Creative Workbook

Christine de Beer - effortless floral craftsman

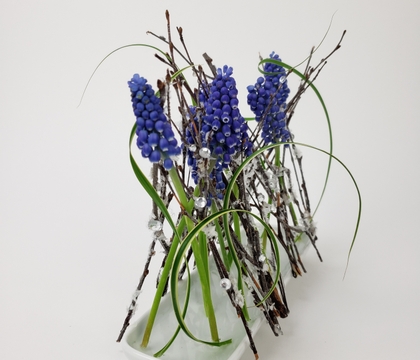
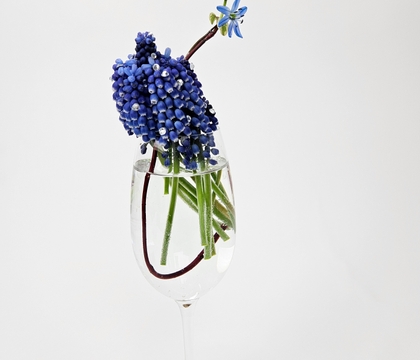
A Muscari cluster frog to display a precious Scilla Siberica on it’s own dogwood twig

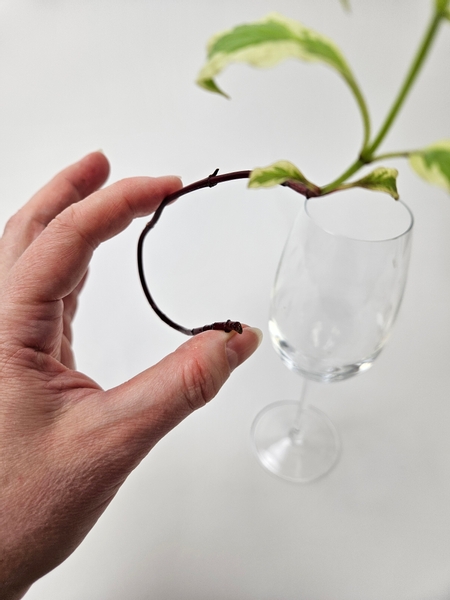
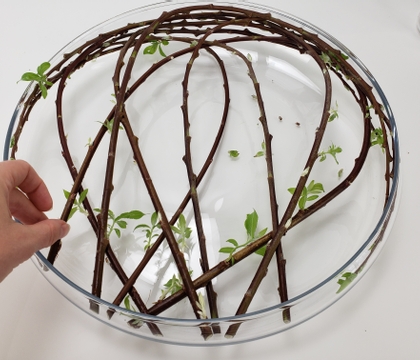
Curve a sprouting dogwood stem

Curve a sprouting dogwood stem...

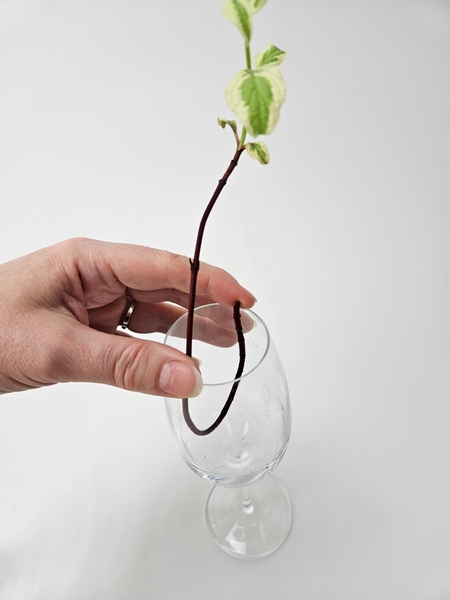
Slip it into a small display container

Slip the dogwood twig into a small display container.
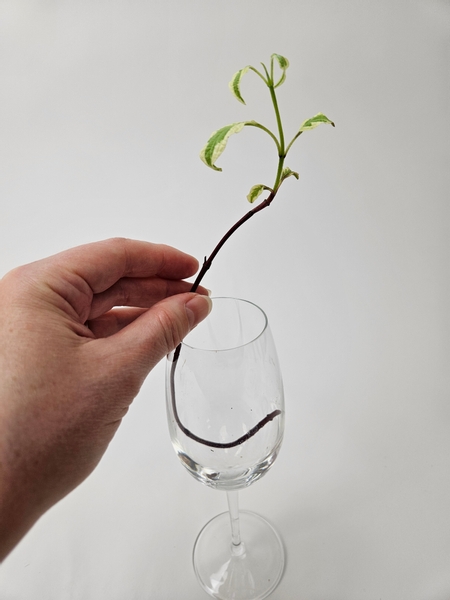
Slowly guide the twig deeper into the display container so that it securely wedged into position

Slowly guide the twig deeper into the display container so that it securely wedged into position at an angle.

Take your time to get this just right. The entire design is build around how this twig is positioned.
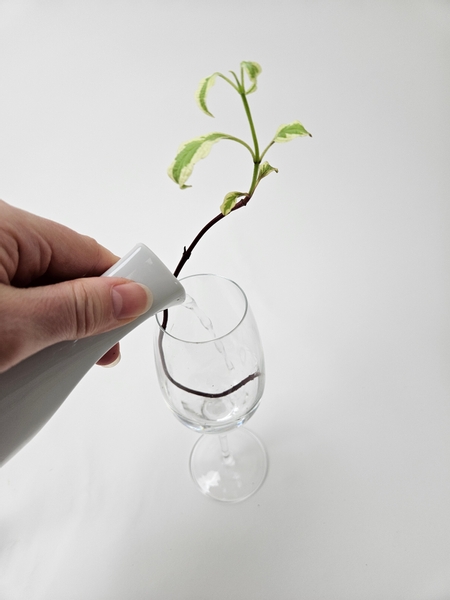
Once in position pour water into the display container

Once in position pour water into the display container.
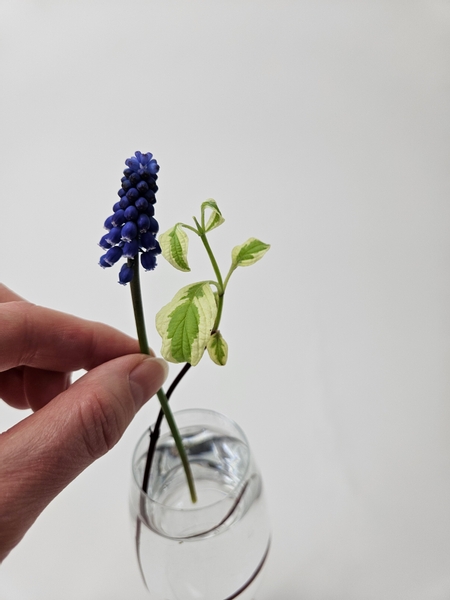
Measure out a muscari flower to build the cluster around

You will need the flower with the longest stem to create the tip of the cluster. Measure out the longest muscari flower against the dogwood stem to see where you want to build the cluster. Place this flower aside to combine later.

This week in our email I tell you a bit more of how I measured out the cluster so that it sits neatly with the stem ends below the water. I send out an email every Wednesday morning (Vancouver time) the moment the new inspiration design is ready for you to view. And I add a few design details for you to note before looking at the design to make sure you make the most of each week's inspiration. The sign up is below this post.
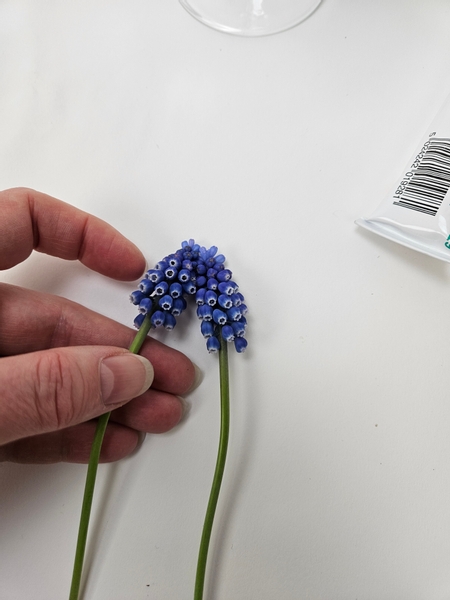
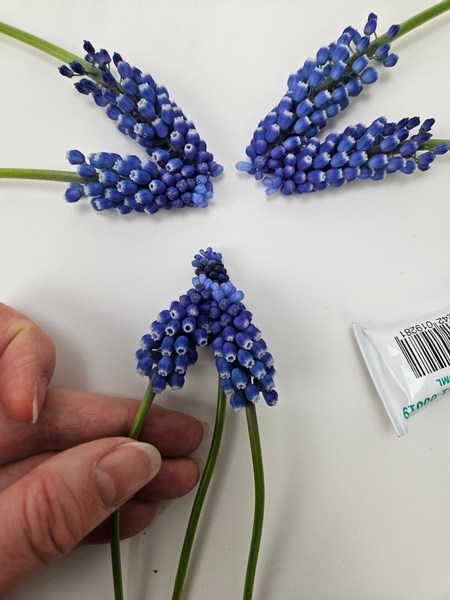
Match two Muscari clusters of small bell-shaped flowers into pairs

Match two Muscari clusters of small bell-shaped flowers into pairs and secure with floral glue.

Take care though... if you make a mistake you will not be able to lift any glue spills to remove it because it is applied directly to the delicate flowers. When you dab on the glue you also run the risk of the tacky glue removing some of the grape like flowers or some glue spilling on to the flowers next to the ones you want to secure spoiling the whole design. Dot on the glue only where you want it secured, let it become tacky and then gently combine the flower stems.
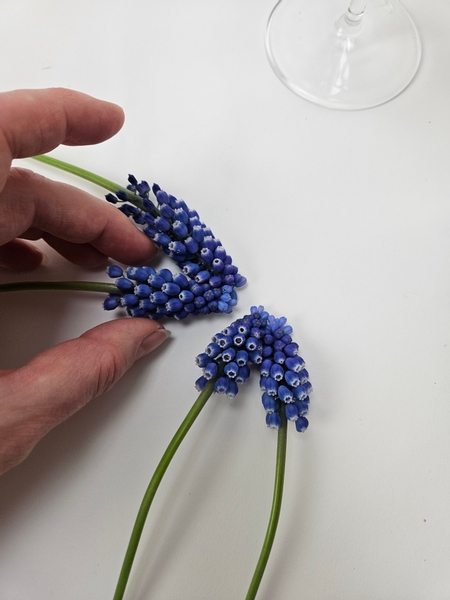
Match another pair and secure with floral glue

Match another pair and secure with floral glue.

Match a third pair and secure

Match a third pair and secure.

Secure the matched clusters around the tallest flower that you measured

Secure the matched clusters around the tallest flower that you measured. The idea is to build a large cluster out of the smaller clusters... pure luxury, right?
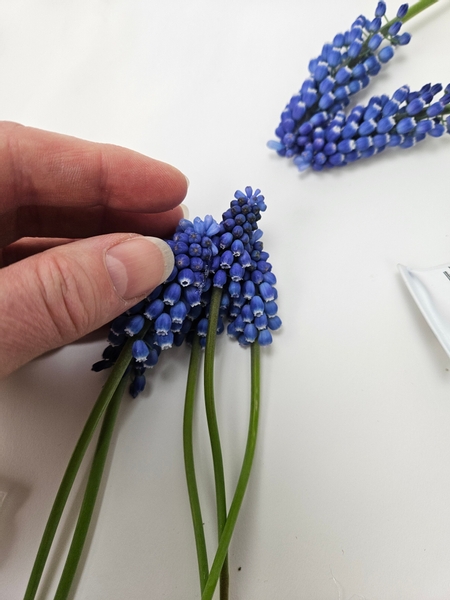
Glue in the next set of clusters next to the first

Glue in the next set of clusters next to the first. make sure it falls below the tallest floral cluster to keep the tapered effect.
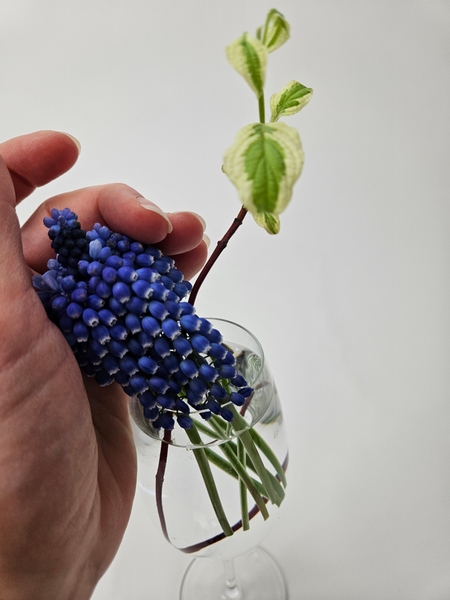
Cup the flowers in your hand so that the glue sets into a tight cluster

Cup the flowers in your hand lightly so that the glue sets into a tight cluster. Let the Muscari cluster slip into the display container to rest over the dogwood twig.

Book readers turn to page 126 for another cluster bunch from idea... this time using grass. For more information about my book: The Effortless Floral Craftsman
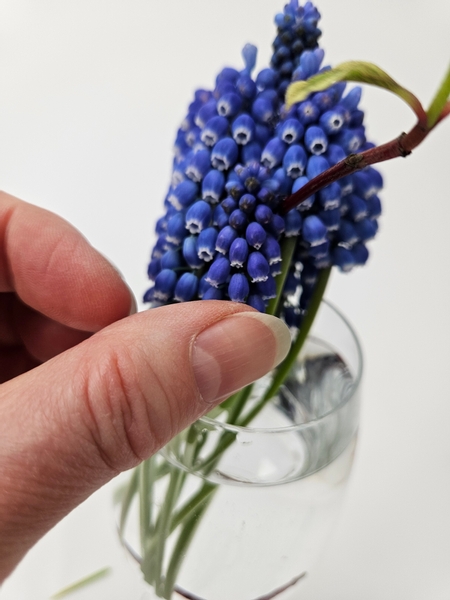
The twig should be between the muscari stems so that it looks like it is growing through the flowers

The twig should be between the muscari stems so that it looks like it is growing through the flowers.
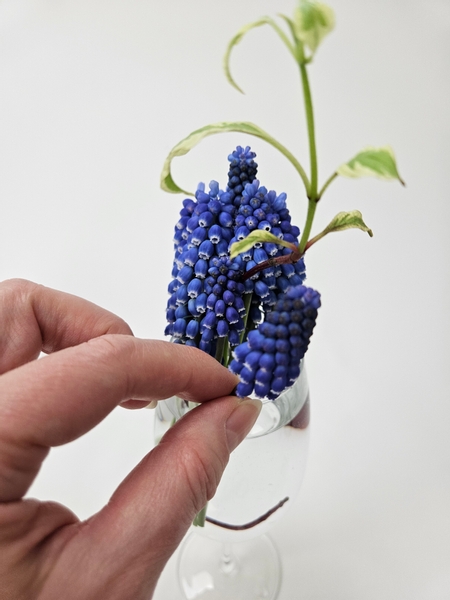
Glue in a few more flower clusters to fill in any gaps

Glue in a few more flower clusters all around the display to fill in any gaps. Be mindful of the stem ends though... you want them to look neat and not distract from the delicate focal point.

Thread the scilla flower stem all the way through the muscari cluster

Thread the scilla flower stem all the way through the muscari cluster so that the cut stem end is in the water below for the flower to remain hydrated.
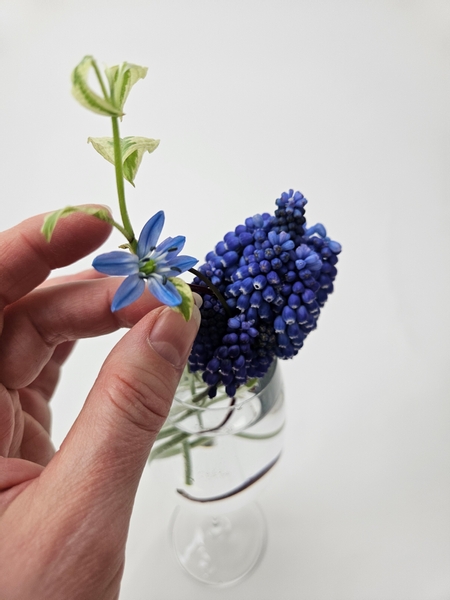
Place the flower using the dogwood stem as a support for the down turned flower stem

Place the flower using the dogwood stem as a support for the down turned flower stem.

Add a few sparkling dew drop crystals onto the cluster

Finish off the design by adding a few dew drop crystals to the design.

See the Tutorial below for more detailed instructions on how to add the crystals.

Every week I add a new design with related tutorials. Be sure to subscribe to receive an email notification with design inspiration.
Tutorials

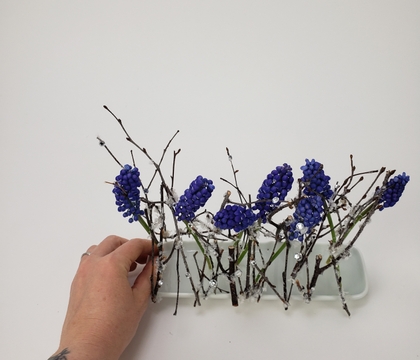
12 April 2023 Lean along armature for grape Hyacinths

A last lean towards winter as the snow melts and the Spring flowers starts to make an appearance.

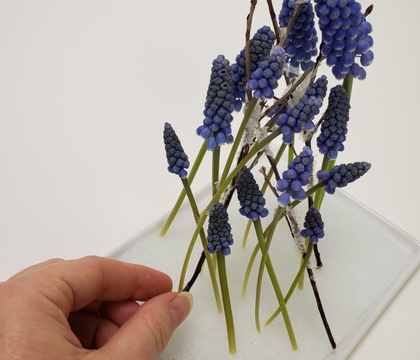
23 February 2022 Place delicate stems at an angle in a shallow fiber lined container

Line a shallow container with fiber to create a mat for the flowers to hydrate and stand in the exact way you want to place them.

1 April 2015 Hana-kubari Bamboo

Hana-Kubari is an Ikebana flower mechanic. Only natural materials such as pebbles, sticks and branches can be seen to support the flowers. Traditionally no twine or wire, nails,...

28 April 2021 A contained design for watching those pretty twigs get their leaves

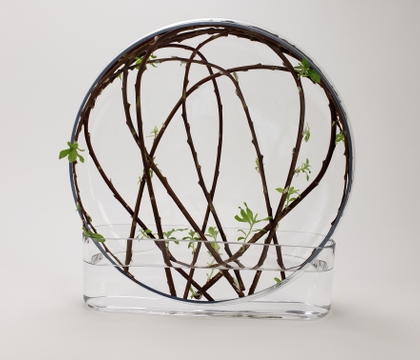
Careful manipulation of twigs in a shallow container. With a special note on how to use new growth.

24 March 2021 A Spring Sprout Wreath Flower Frog

Craft an everything is still growing spring design to celebrate... what we love!

16 January 2019 Delicate Twig Hammock Armature to keep tulips upright in a shallow container

Craft a suspended armature to create a clear winter design.

8 February 2023 Hover winter twig armature with an acetate platform

Crystal clear floral design for winter styling

8 July 2015 Using a pin to place tiny dew drop crystals

It's sometimes difficult to place a tiny crystal or bead exactly where you want it.

16 March 2022 Sturdy, blossoming armature in a shallow puddle

If you know just a bit more about the "why" we do the things we do it is easy to discover new "how's". This week I show you why it is possible to design with blossoming twigs in a...

9 February 2022 Tilt container with a spilling twigs armature

Perfect design for a warmer than usual winter design that hints at thawing.

6 February 2019 Winter White Twig Screen

Glue twigs to screen delicate flowers for a wintry design.

6 March 2019 Snow puddle armature

Connect twigs with puddles of artificial snow to craft a winter armature for your flowers.

Related Designs

2 April 2025 Love that a whole bunch!

Loved this delicate Scilla Siberica so much I got it its own bunch of Grape Hyacinths.

12 April 2023 The word we are looking for is… fun

A leaning twig armature with both the first signs of Spring and the last signs of winter.

23 February 2022 Plan Together

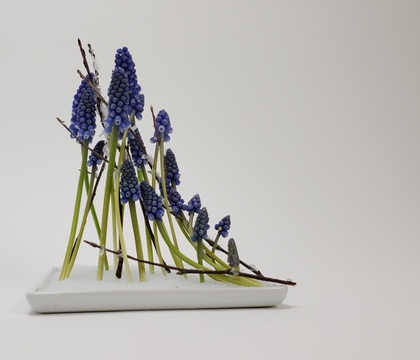
Leaning Muscari flowers in a snow covered twig armature.

1 April 2015 The Space Between

Traditional Hana-Kubari flower mechanic

28 April 2021 Here comes the sun...

A minimal design celebrating the new growth on twigs

24 March 2021 To two too!

A Spring Tulip celebration design... with a special message

16 January 2019 Every. Single. Week.

Stand tulips upright in a shallow container with a suspended twig armature.

8 February 2023 Snow… drops

A late winter design for minimal floral styling.

16 March 2022 Poised to Spring

An "it's only 10 days to Spring" design to display some blossom buds.

9 February 2022 Pouring

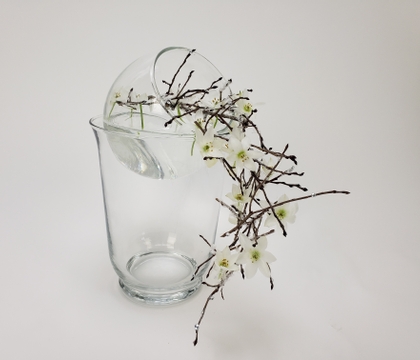
Place a small fishbowl vase at an angle to look like it is pouring out flowers and twigs.

6 February 2019 Tread softly on winter

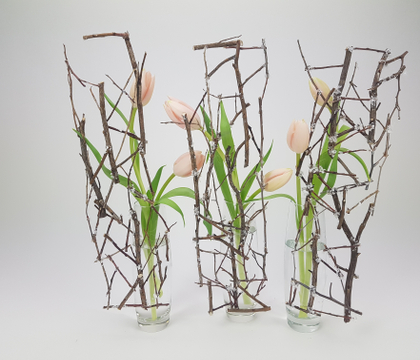
A delicate winter twig armature to show off the delicate beauty of these early spring coloured tulips.

6 March 2019 It almost happened today!

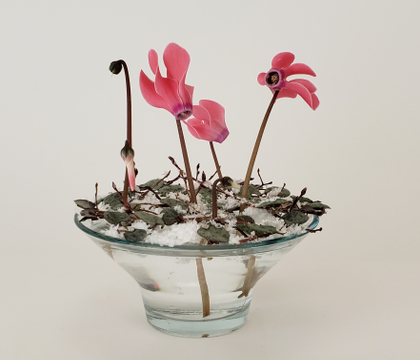
Craft snow puddles to keep your flowers upright