Christine de Beer - effortless floral craftsman
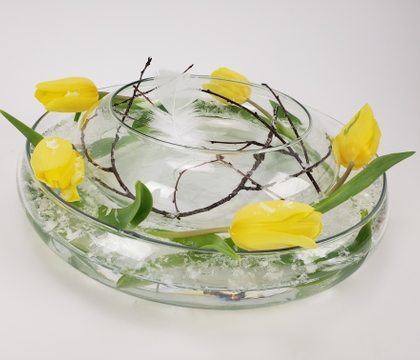
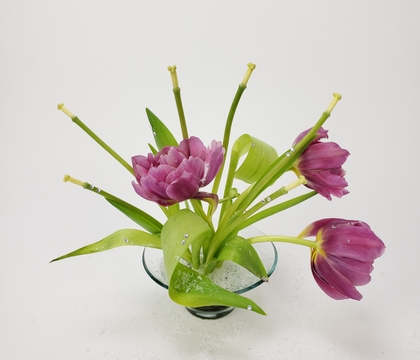
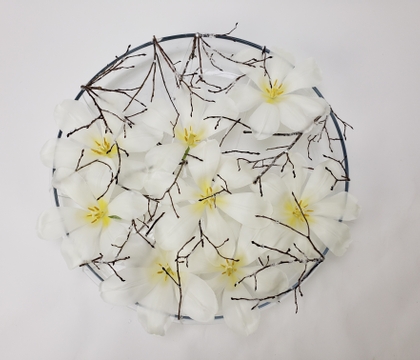
Knot a wool grid for a cozy Tulip and twig armature design
- 19 January 2022
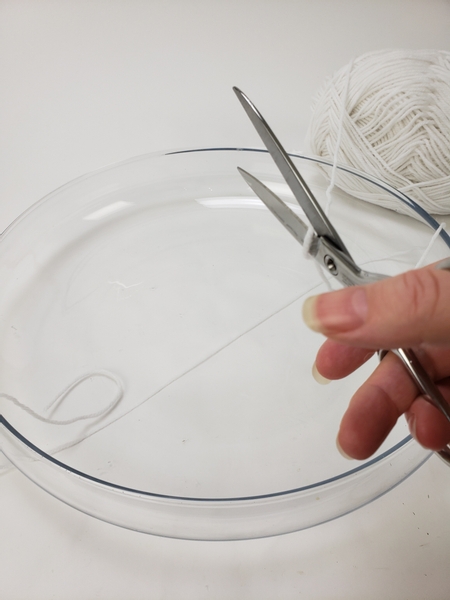
Measure and cut wool to wrap around a shallow container.
Book readers turn to page 46 if you want to level this up with a great plant based alternative to the wool.
For more information about my book: The Effortless Floral Craftsman
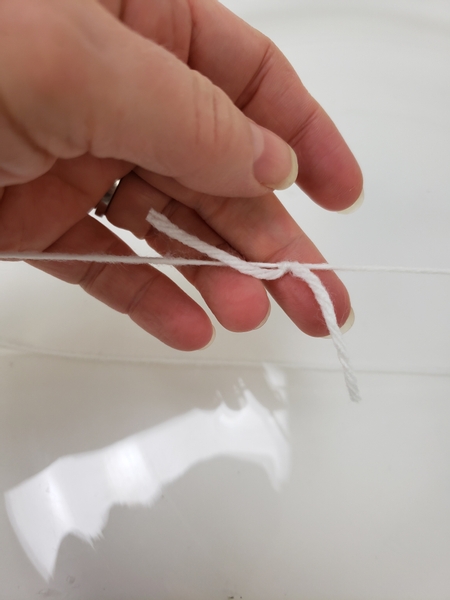
Knot the wool to secure it around the container.
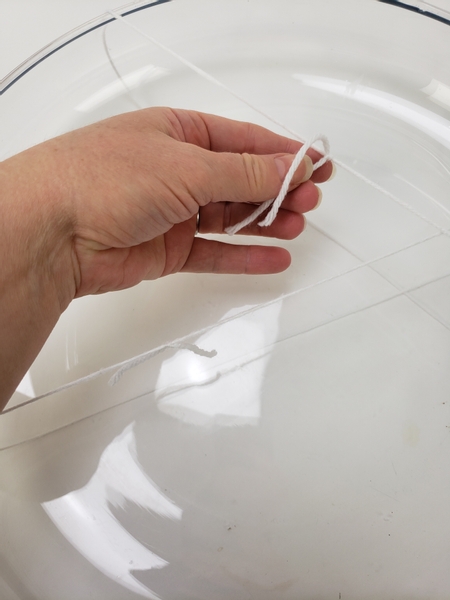
Wrap and knot another wool length.
It can be frustrating to knot these first few lengths of wool. See our email for my tip on how to make it a little bit less frustrating and keep it from slipping as you build up the grid. I send out a once-a-week email to let readers know when the design is ready for them to view. This is also my place where I get to connect with readers and share a special design related tip so that you can reply and ask questions. If you are not yet signed up the subscription button is below this post.
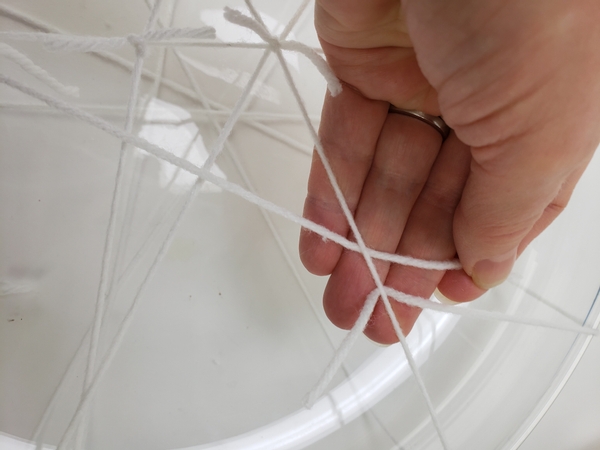
Keep knotting wool pieces securing them to each other to craft a strong grid that can carry the weight of the flowers.
Design note: make sure the wool is not droopy and will not touch the water. See our email for details.
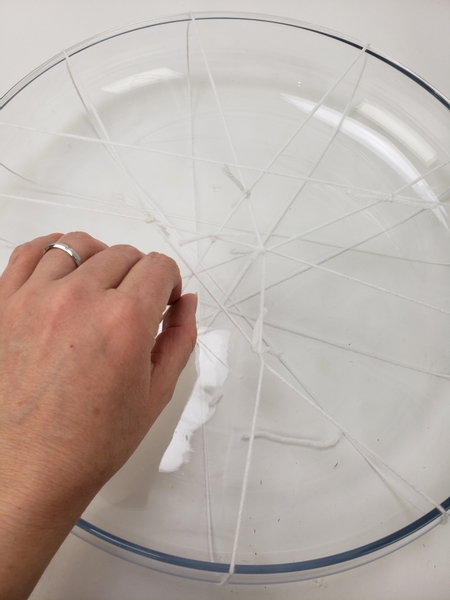
Test all the wool pieces to make sure they are well above the water.
Adjust any if needed.
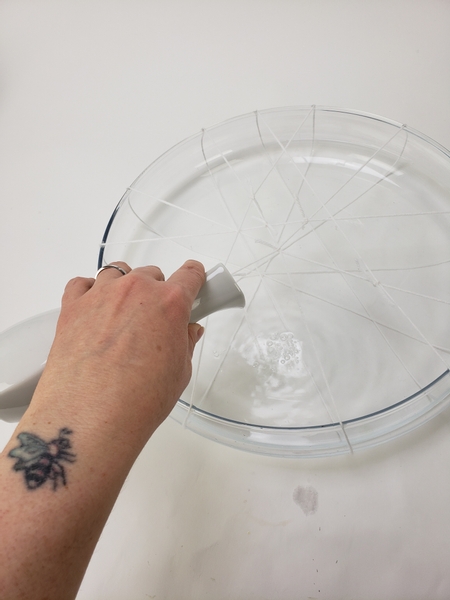
Fill the container with water.
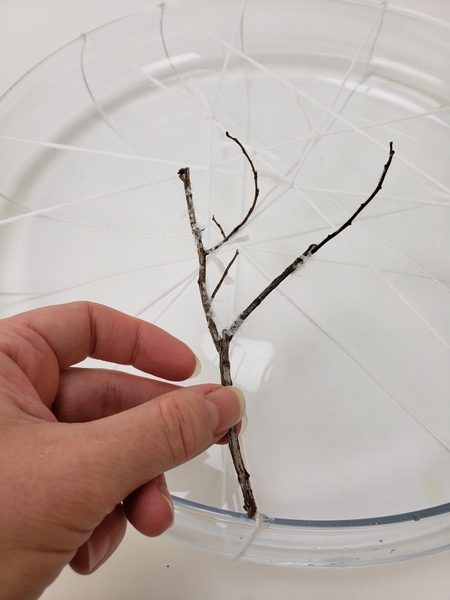
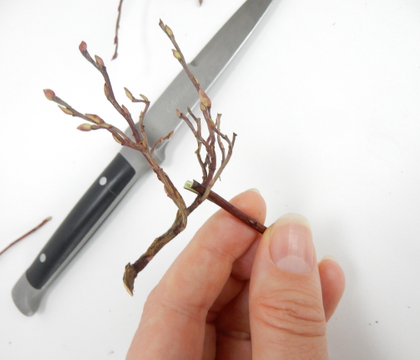
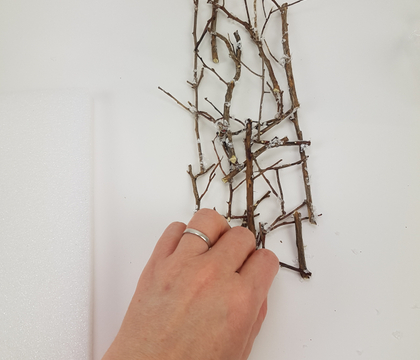
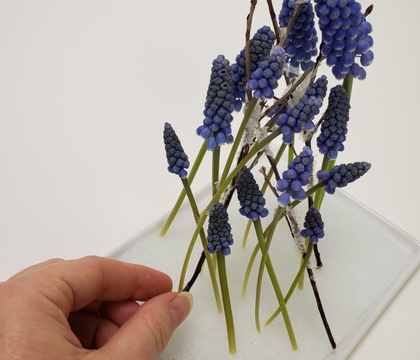
Secure a snow covered twig with hot glue to follow the wool line.
I wanted my twigs to extend above the tulips so I placed them with all the side twigs pointing mostly up. If you are unsure of how to cover twigs with artificial snow see the Tutorial below.
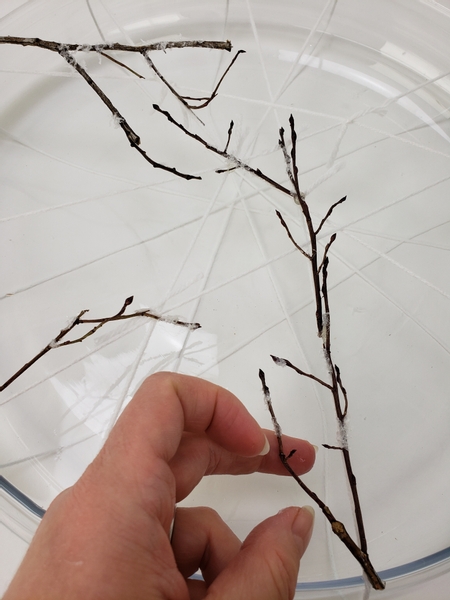
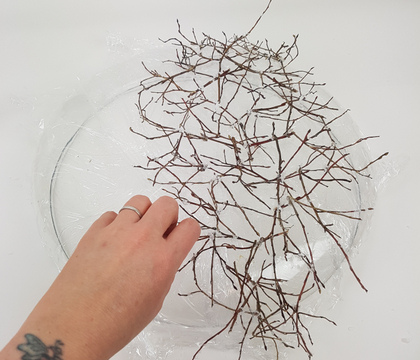
Build up on the wool grid to create a pretty twig design.
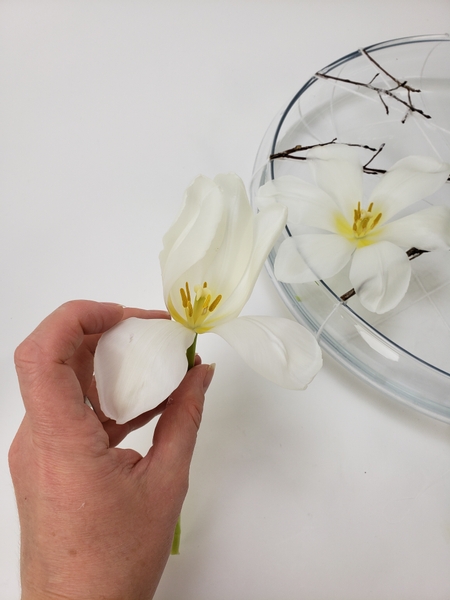
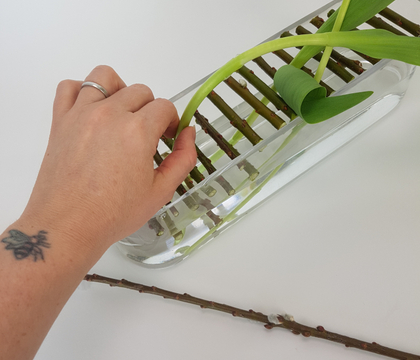
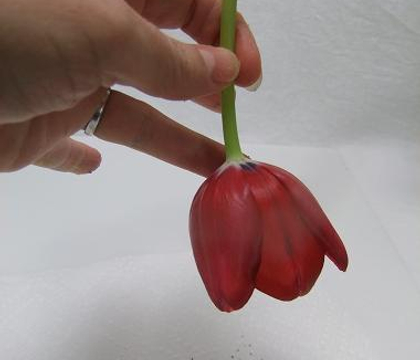
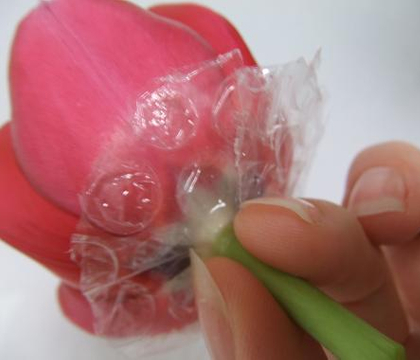
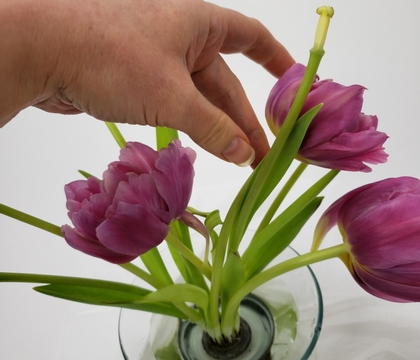
Reflex the tulip petals and place it in the water filled container.
For more information on how to reflex tulip petals see the Tutorial below.
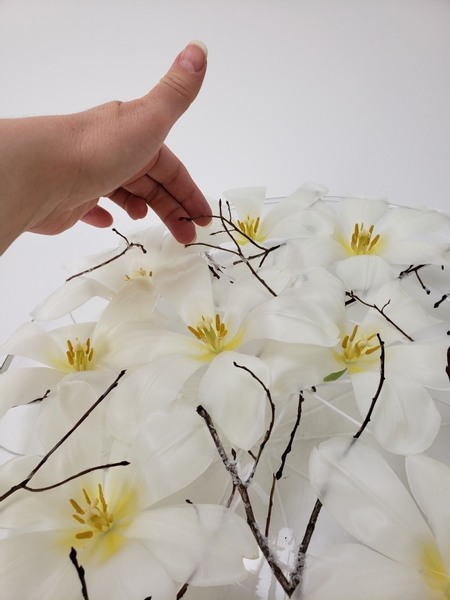
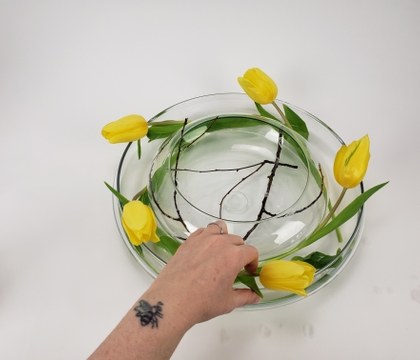
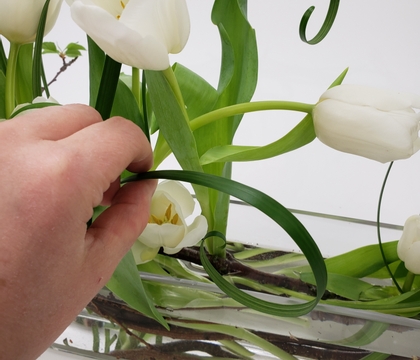
Nestle the tulips so that the twigs support and extend over them.
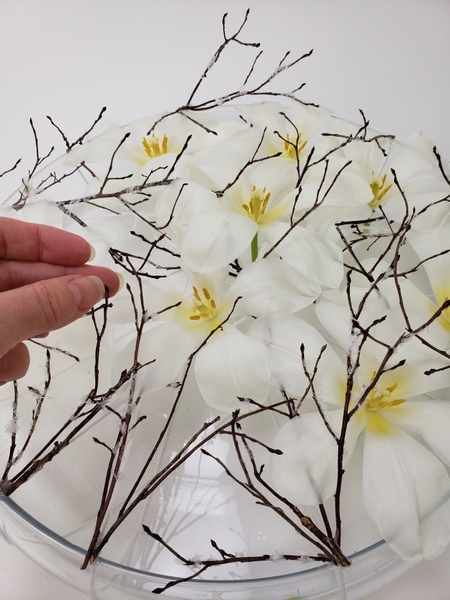
Add in a few more snow covered twigs to finish off the design.
Sign up for my weekly newsletter
Every week I add a new design with related tutorials. Be sure to subscribe to receive an email notification with design inspiration.
