Christine de Beer - effortless floral craftsman
Square Twig Cube
- 21 May 2014
- and more
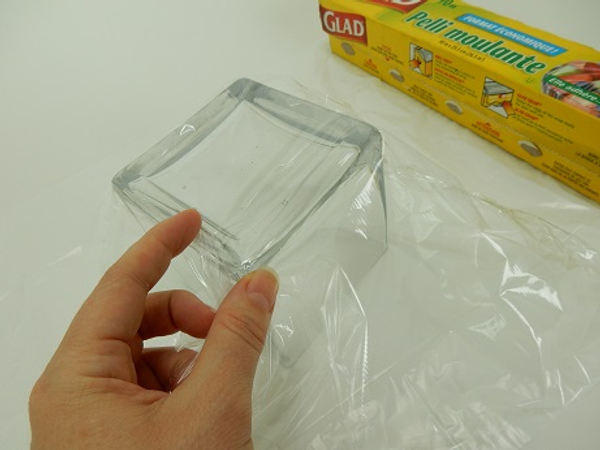
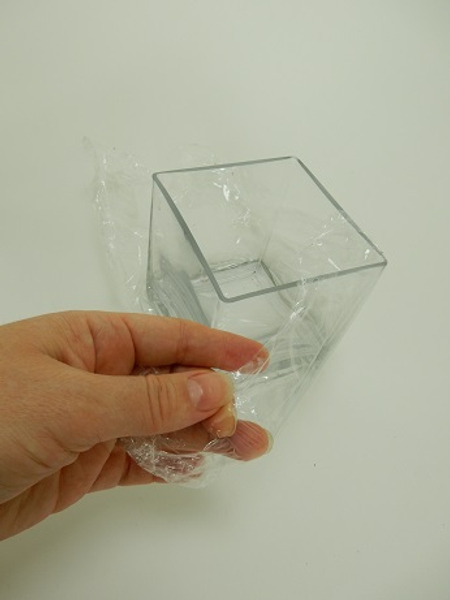
Turn a cube vase upside down and cover it with cling film
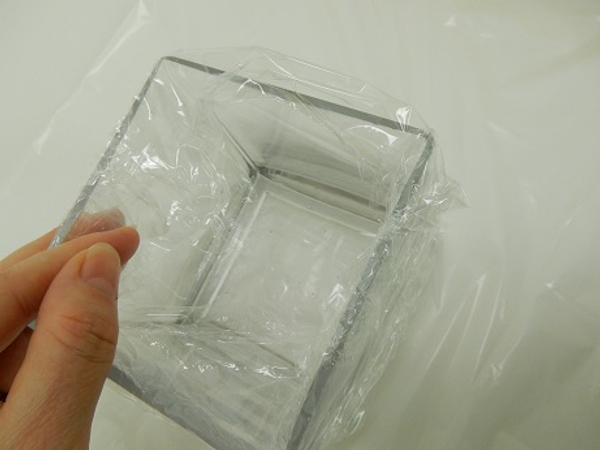
Turn the vase around and tuck the cling film into the vase
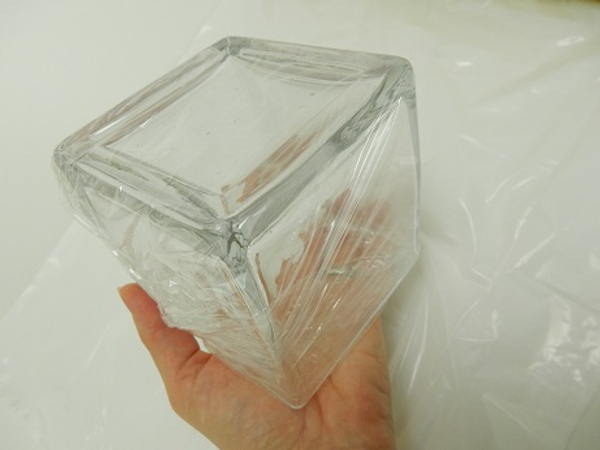
The cube vase is now protected from any glue spills making it easy to remove the twigs and clean the vase
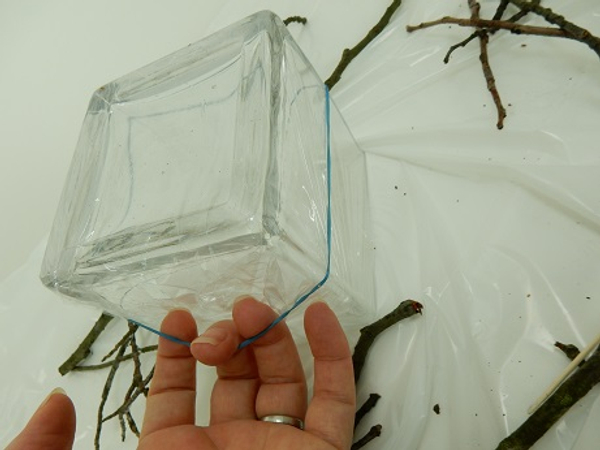
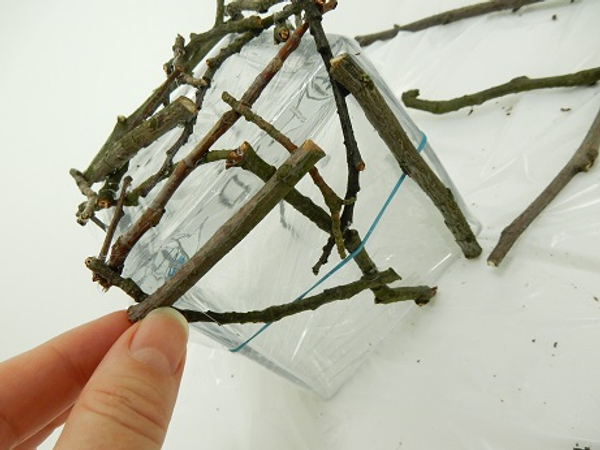
Stretch an elastic band around the cube vase
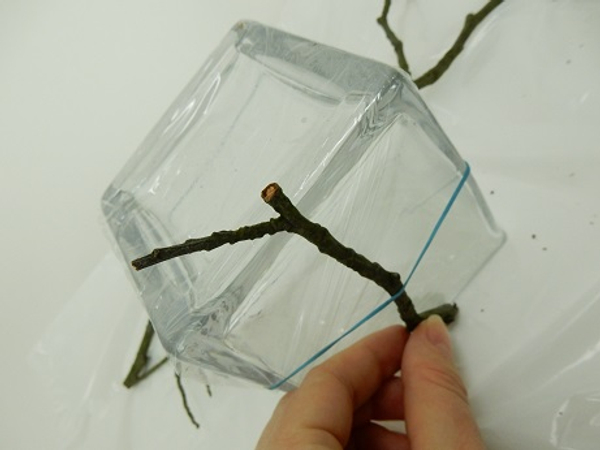
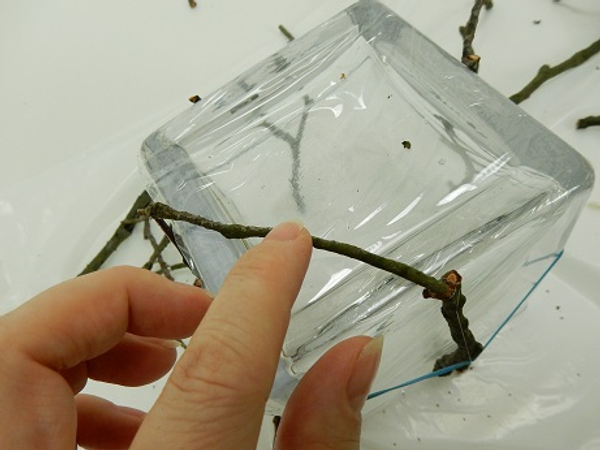
Slip a twig under the elastic band
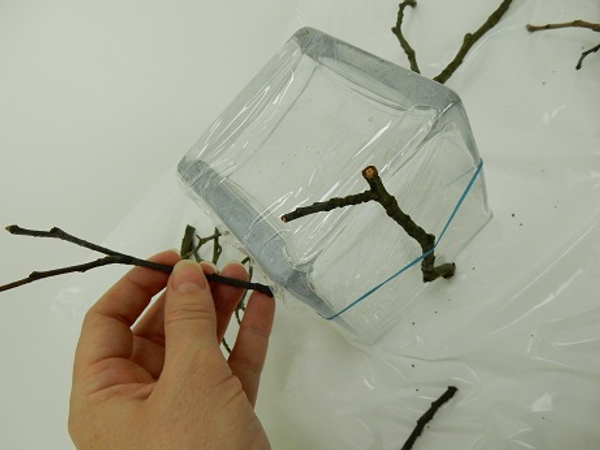
Place a second twig.
These twigs should extend slightly over the vase bottom.
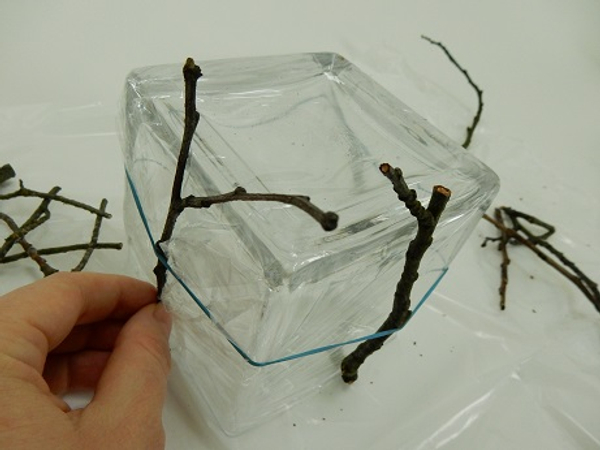
Add a two more twigs, one on each side of the vase
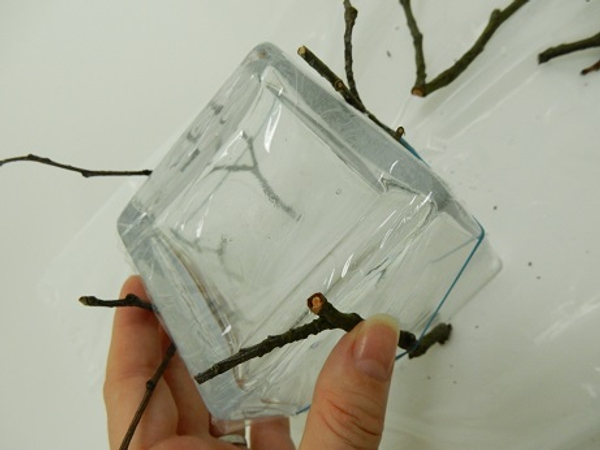
Trim the twigs so that they barely show over the bottom
Glue a twig on the bottom side of the vase. Do not glue the twig to the vase but rather from one side twig to another
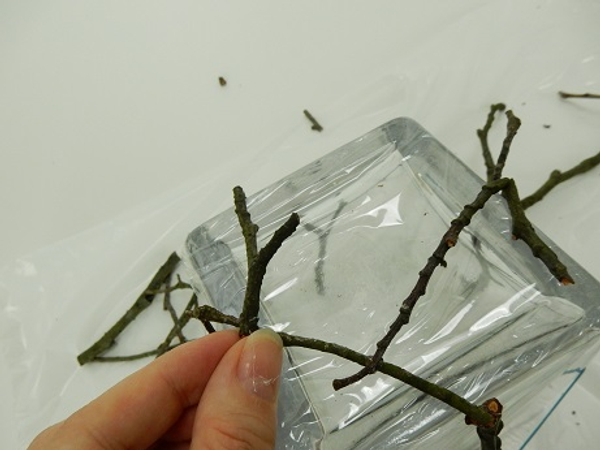
Add another twig, again not gluing it to the vase but from twig to twig

Keep adding twigs to follow the shape of the vase
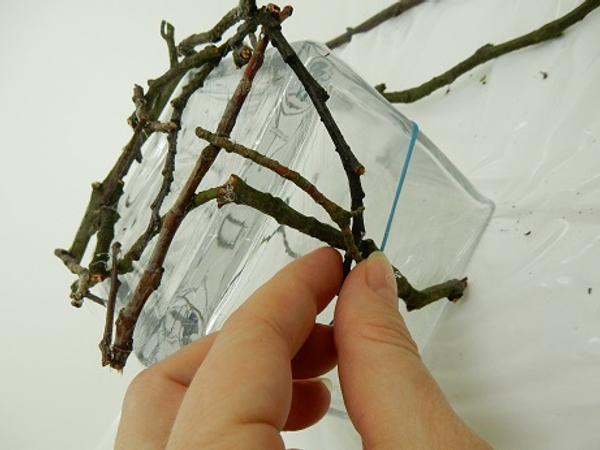
Do the same at the sides. Be careful to avoid the elastic band so that it can be easily removed without damaging the armature
Simply add twig...

... after twig...
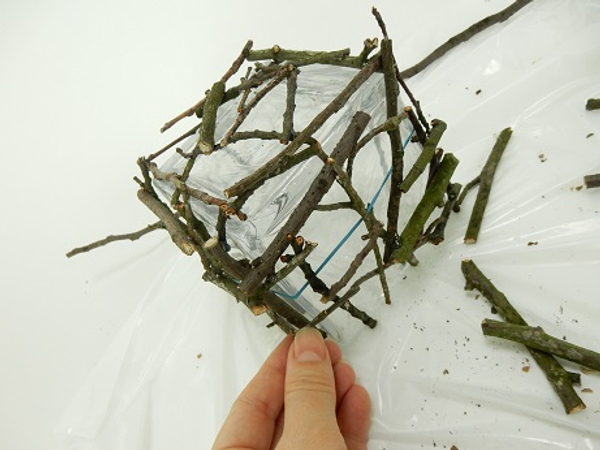
... after twig...
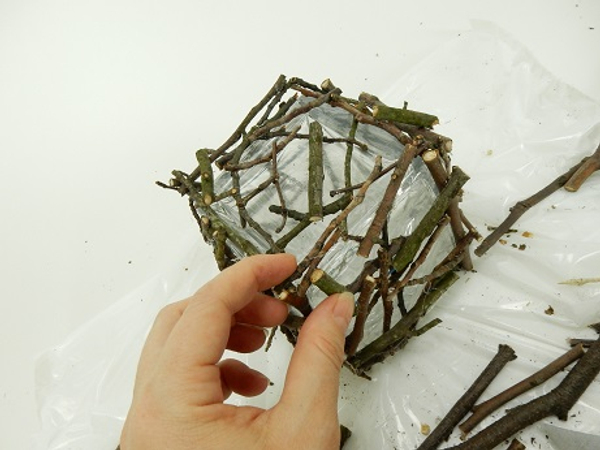
When you have a strong cube shape...
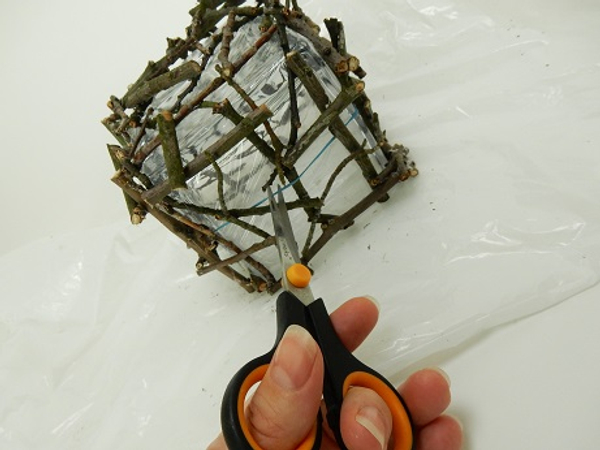
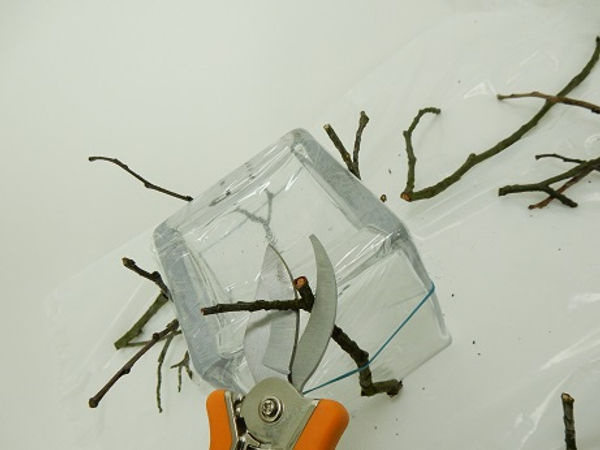
Reach in and cut the elastic band

Remove the elastic band
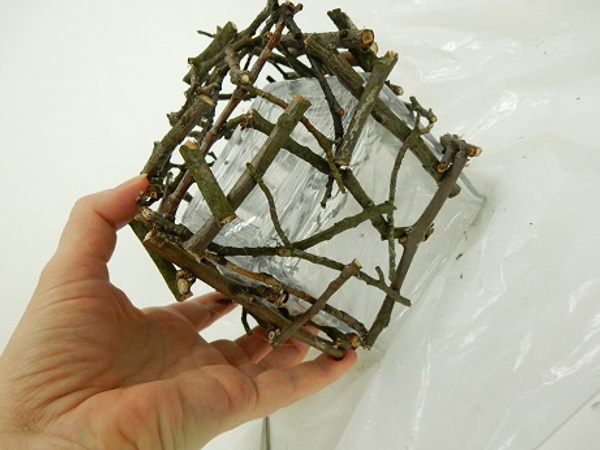
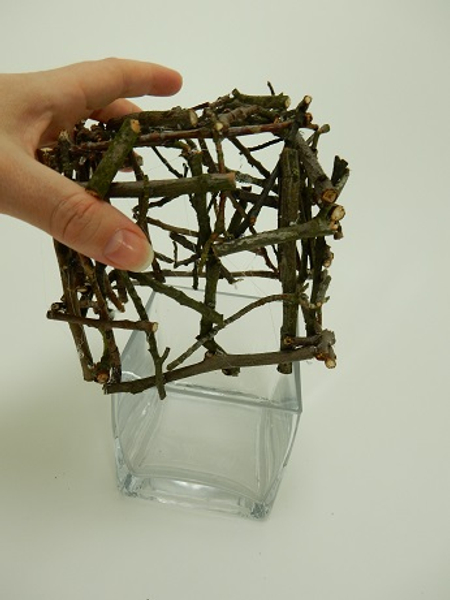
Carefully lift...
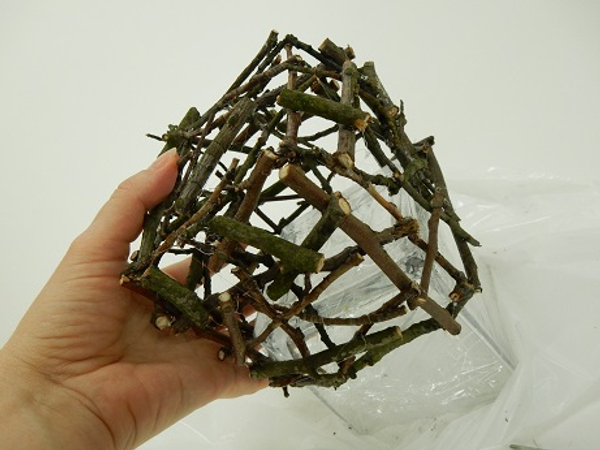
... away from the cube vase.
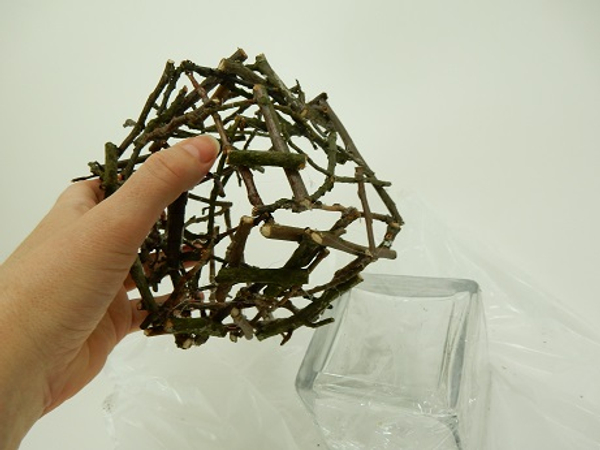
Twig square ready to design with
Remove the cling film from the cube vase
Turn the vase upright and slide the twig square over the cube vase.
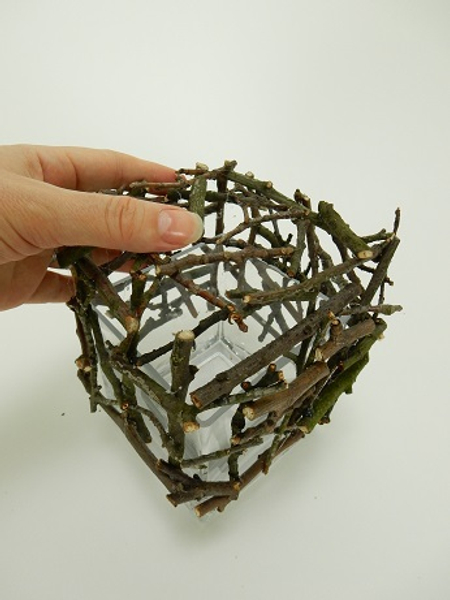
Square cube ready to design with.
Sign up for my weekly newsletter
Every week I add a new design with related tutorials. Be sure to subscribe to receive an email notification with design inspiration.


