Christine de Beer - effortless floral craftsman
Dangling Quaking Grass drops threaded through a hydrangea flower head for support
- 7 August 2024
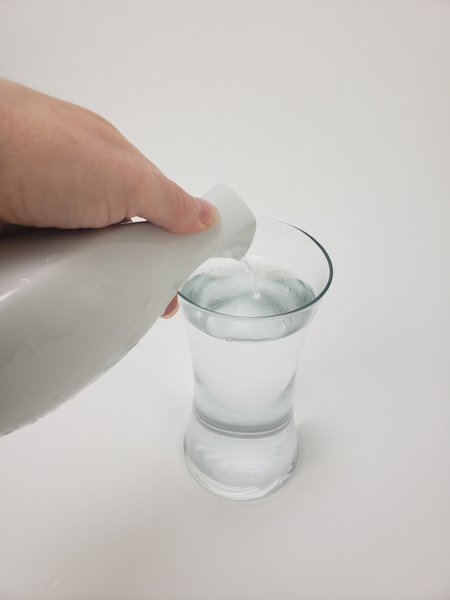
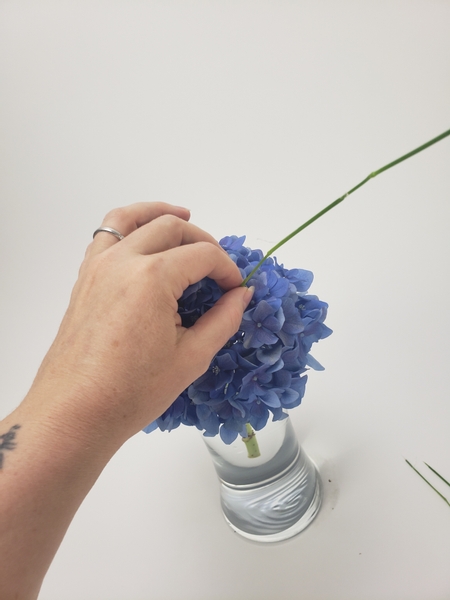
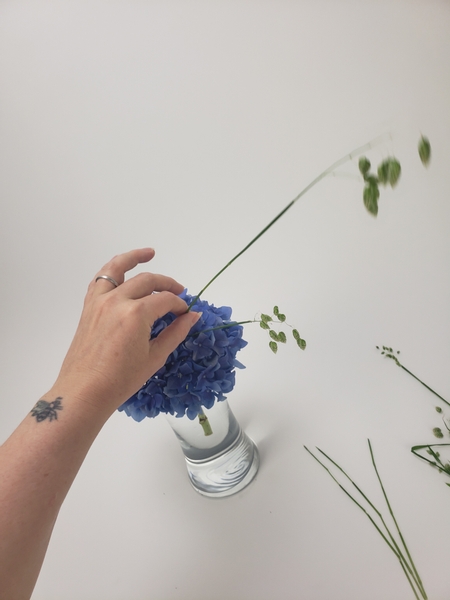
Fill a display container that is just big enough to support the hydrangea flower head with water.
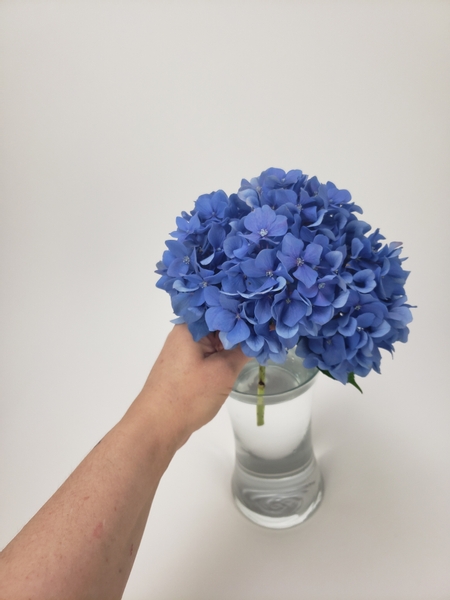
Place the hydrangea flower head in the container...

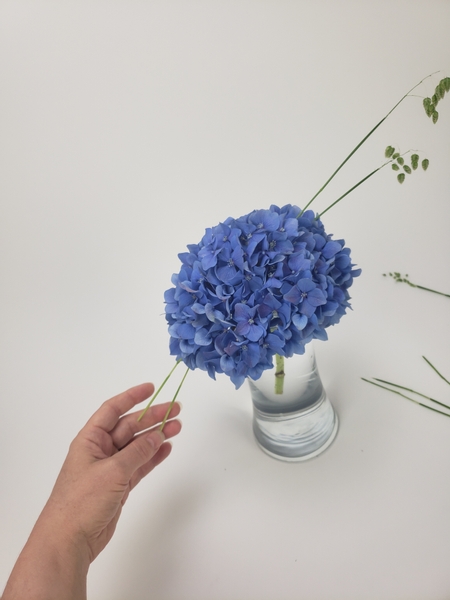
Making sure all the flowers are above water and unfurled over the edge of the container so that it sits firm and securely.
Design note: This is a great way to dry both the Hydrangea and the grasses I am adding... and it is the reason why I kept the stem slightly longer that I normally would. Enjoy the design as is but do not top up the water. Once all the water has evaporated the stems should be perfectly dry!
Book readers turn to page 124 for a complete guide on drying hydrangeas. For more information about my book: The Effortless Floral Craftsman
... but I am also adding a link below with more information about drying flowers to get you started.
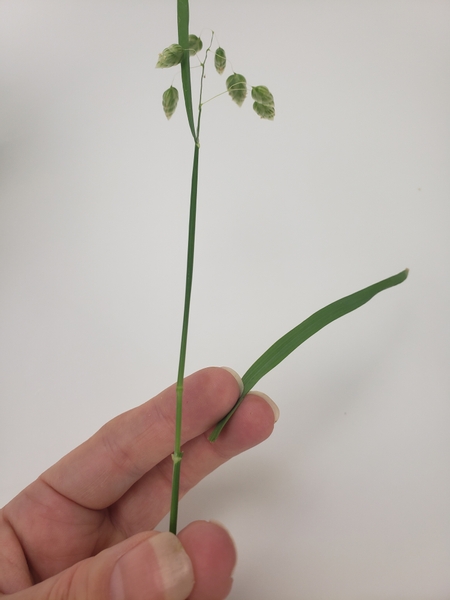
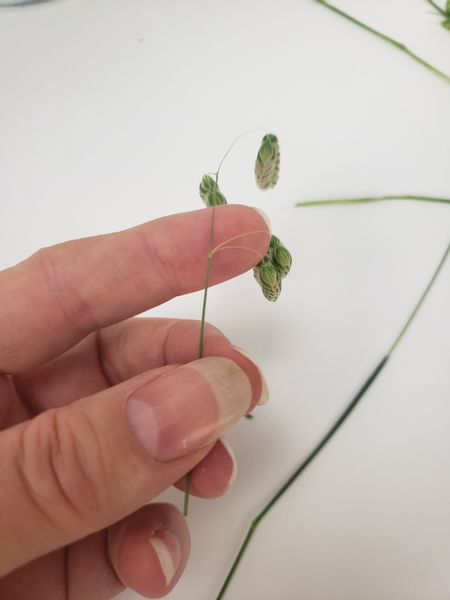
Remove the blades from the grass...
Be careful when grooming the grass for this design though. We need grass that is both tall enough to be threaded through the hydrangea and strong enough to support the dangling seeds we add. If you pull down on the grass (like we do when we strip foliage from weaving stems- see the Tutorial below) it breaks at the node and pulls out of the sheath.
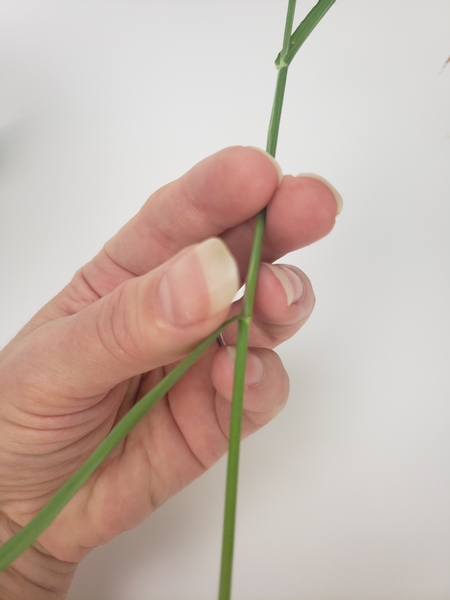
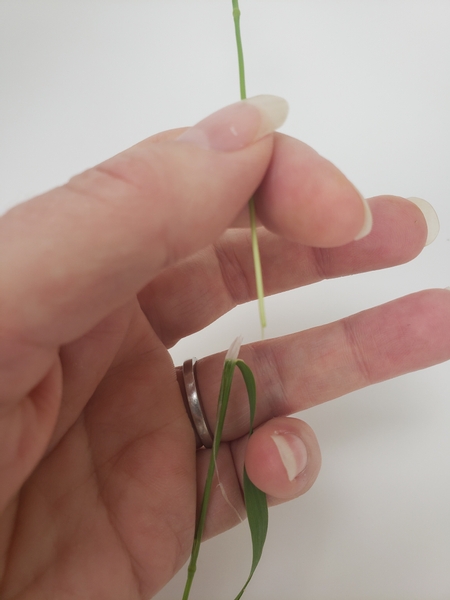
Rather bend down the blade to create a fold line...
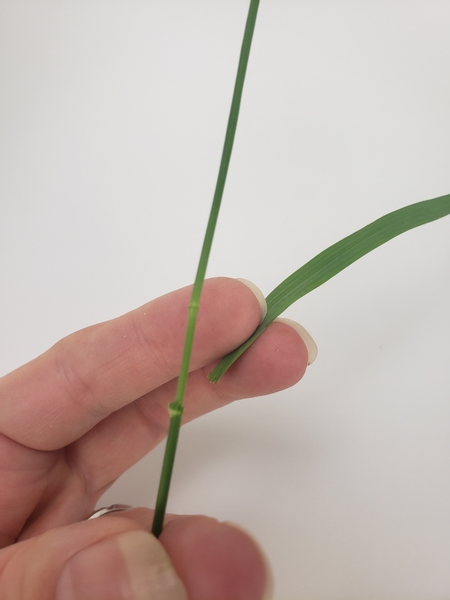
And tear the blade away along this fold line.
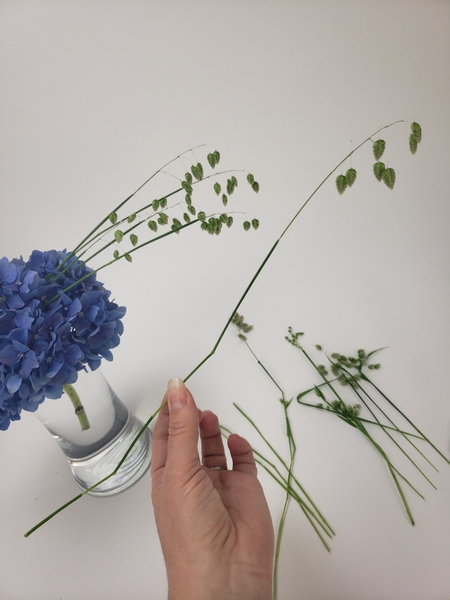
Thread the long grass through the hydrangea...
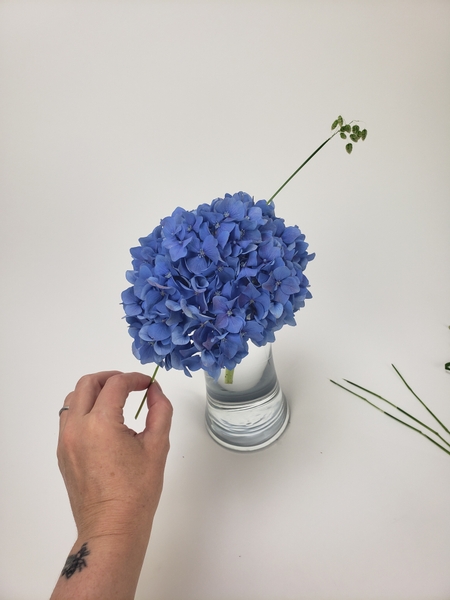
In the one side and out on the other... at a slight angle.
Add in the next grass...
And pull the end out on the other side.
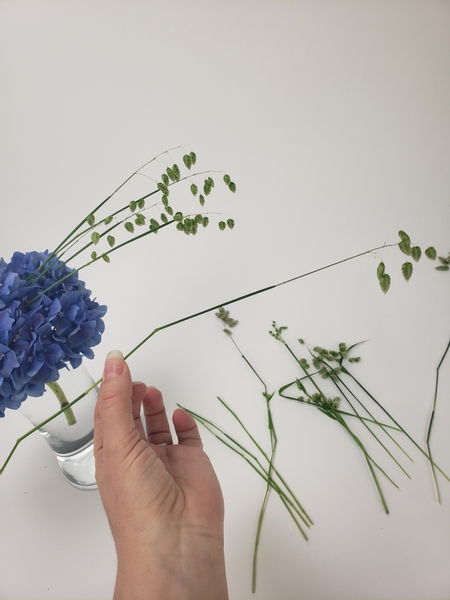
Design tip: add a few grasses into the water filled container so that they remain green and hydrated for a bit longer. As the water evaporate it will also dry with the others grasses.

Of course not all the grasses are perfectly shaped... some might not be perfectly straight or have bigger nodes....
Test how to turn these grasses to add some height...
... by also keeping the grasses from looking droopy. See the difference if you twist the grass to point up?
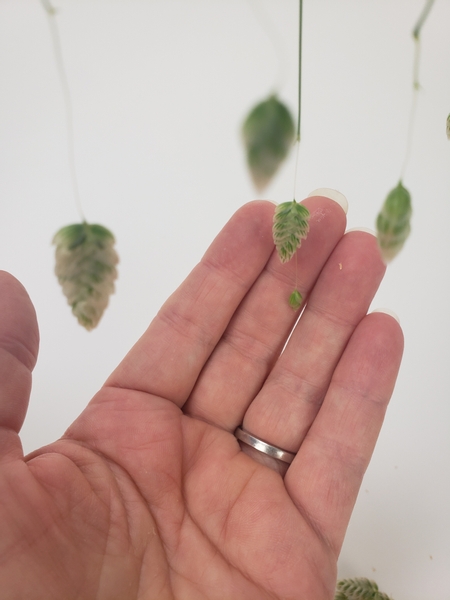
Next I groom a few additional seedheads to create the dangling seed drops...
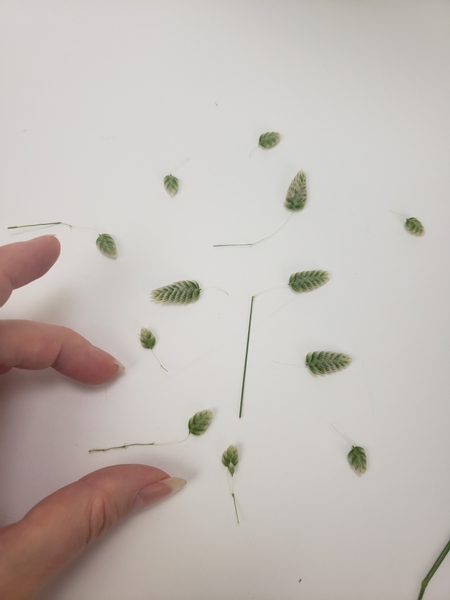
Divide up the spikelets into sections each one with the longest pedicel (tiny side branch) as possible.
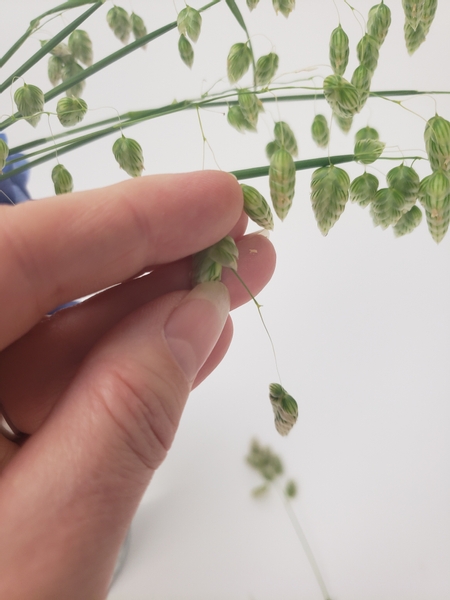
Split open the glume and glue the branch into the gap... this is delicate and fine work!
But it will attract attention so make sure your craftsmanship is perfect. Do I have a tip for you on how to add the absolute tiniest drop of glue on the absolute tiniest little branch? Yes, Yes I do! This week in our email lesson I show you how to level up on your floral glue skills when it comes to the most delicate design details. If you are not yet signed up... I send out a notification email each week (first thing Wednesday morning, Vancouver time) to let everyone know the moment the new design is ready to view. And I explain something in greater detail for you to notice when you view the design and Tutorial... a bit of an insider lesson even before you view the design inspiration. The signup is below this post. It is free to join.
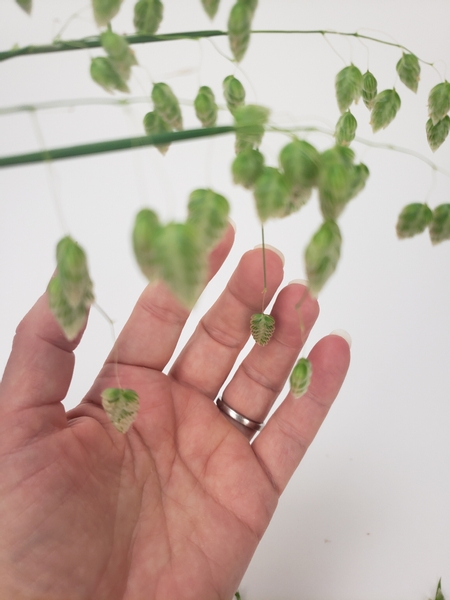
Add in dangling seed drops to all the grasses...
And add in smaller dangling seed drops to the dangling seed drops... to test your skills.
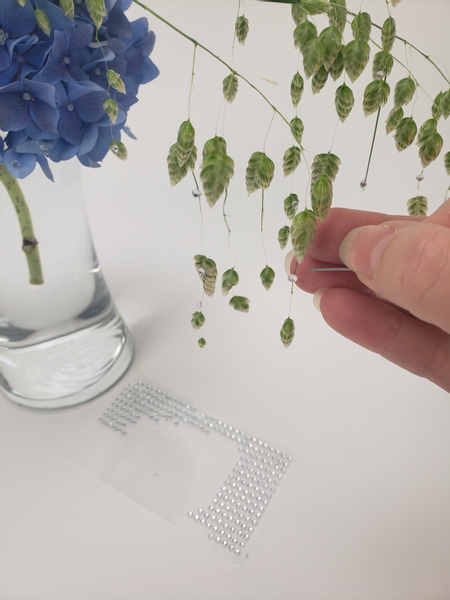
And I finish my design with a generous sprinkling of dew drop crystals all around the design.
See the Tutorial below for more detailed instructions on how (and why) to add the crystals with a pin.
Sign up for my weekly newsletter
Every week I add a new design with related tutorials. Be sure to subscribe to receive an email notification with design inspiration.


 second layer")


 water source")


 to-do list")


