Christine de Beer - effortless floral craftsman
Bark squares, wire and water tubes dangling dangler
- 11 June 2025
- and more
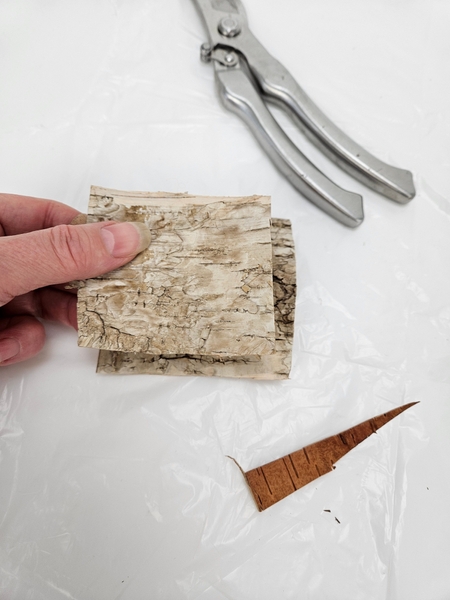
Cut two small bark squares.
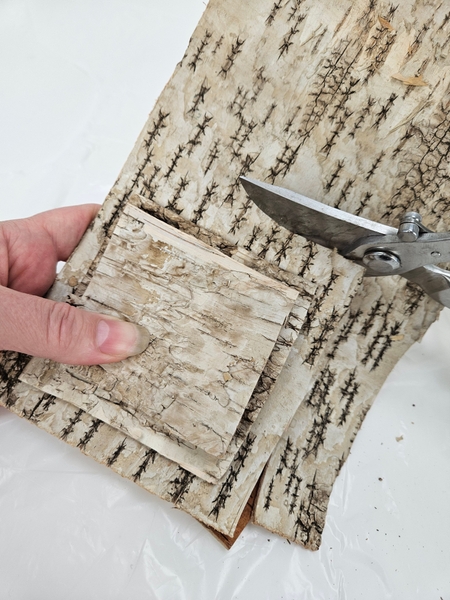
Place the bark pieces on a larger strip and cut two slightly larger bark squares. And two more...
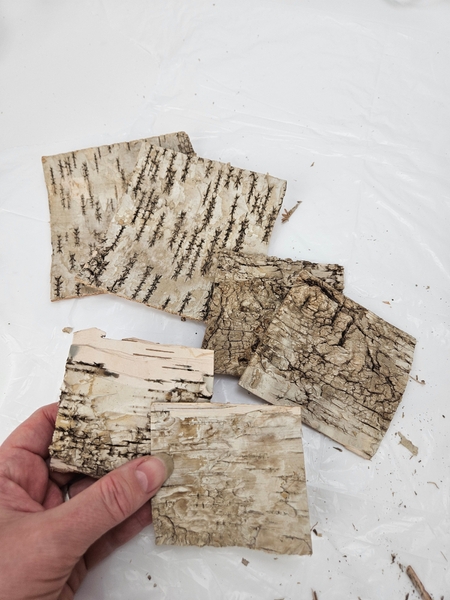
You will need 6 squares each set slightly bigger than the one before.
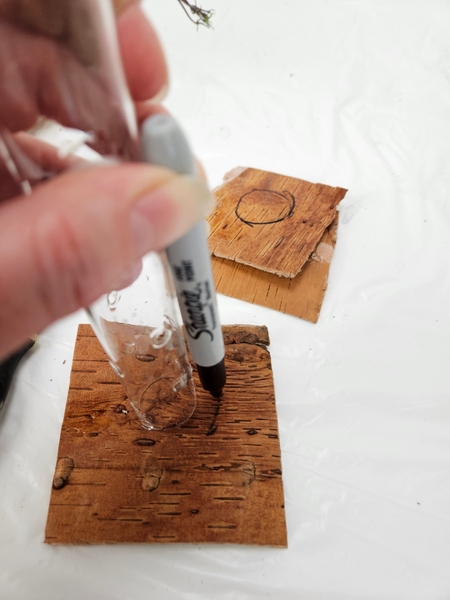
Use your water tube (that you will use for the water source for the design) to measure out a circle in the middle of the bark. Make the circle slightly bigger than the tube by resting the marker on the side of the tube rather than angling the tip of the pen to mark out close to the opening.
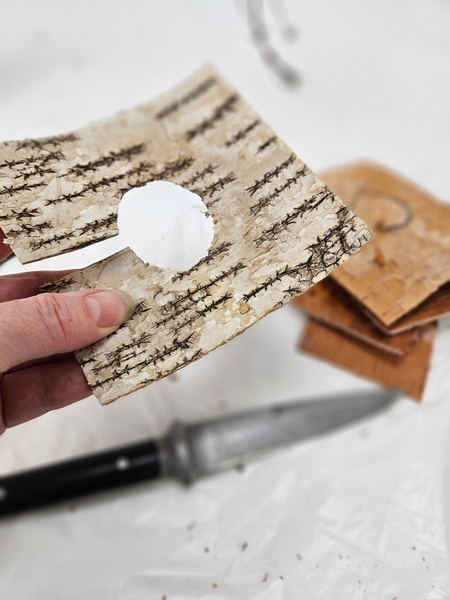
Cut the circle out and split the bark square on one side to make a gap for placing the square over the tube in the design.
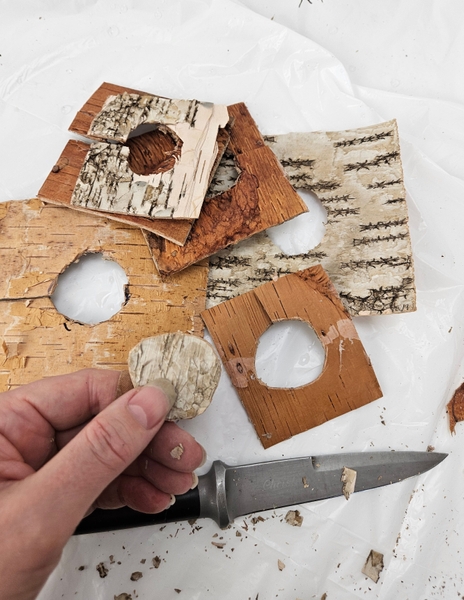
Cut the circles out of all the squares and set them aside to insert later.
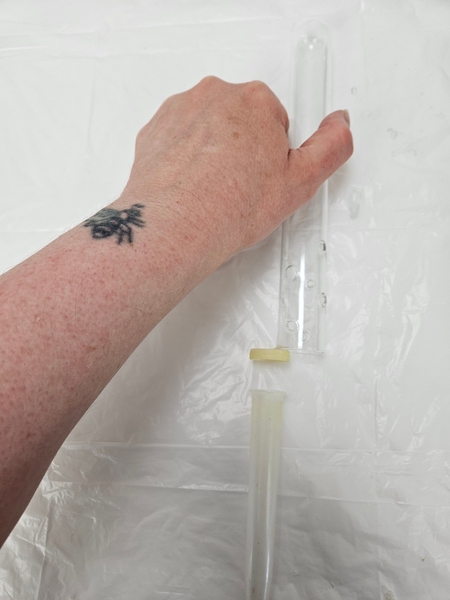
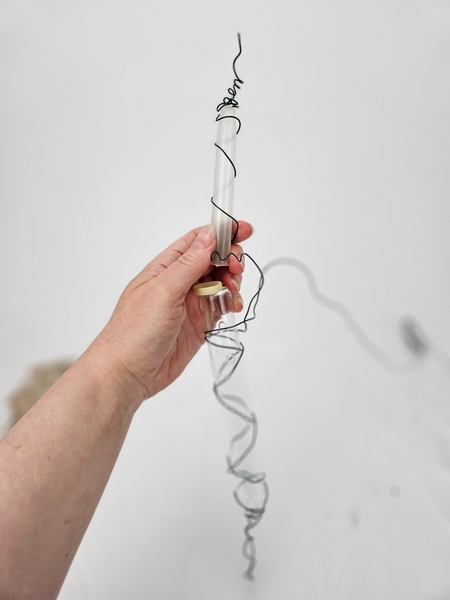
My mobile is crafted around two water tubes...
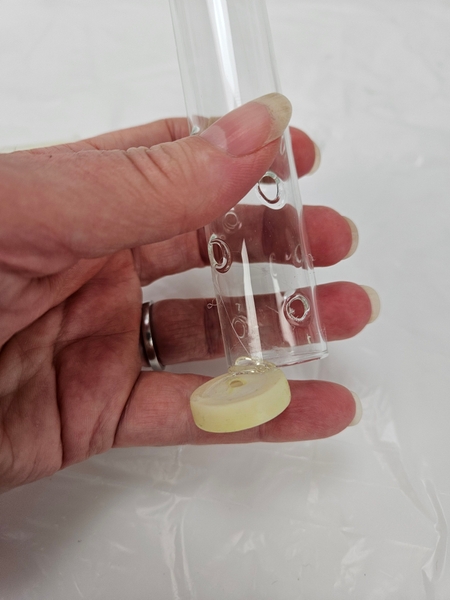
One water tube is larger and made from glass the other is plastic with a rubber seal. I glued the seal slightly at an angle to the glass water tube so that I can hang it upside down.
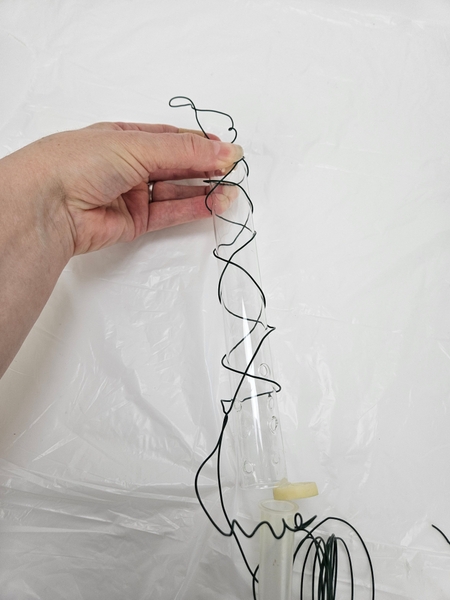
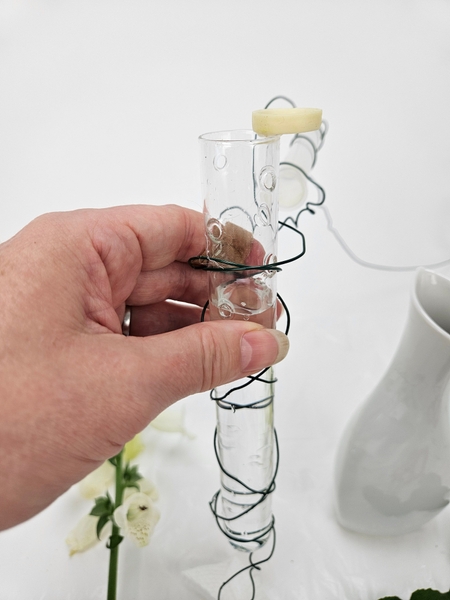
Wrap wire around the glass tube working from the opening to the base (twist it around the base to give it support) and back up again.
Continue up. Wrap the wire all the way up and around the plastic water tube.
I am adding a few twists in the wire to make it look like tendrils. See the Tutorial below for detailed instructions on how to create tendril like spirals in the wire.
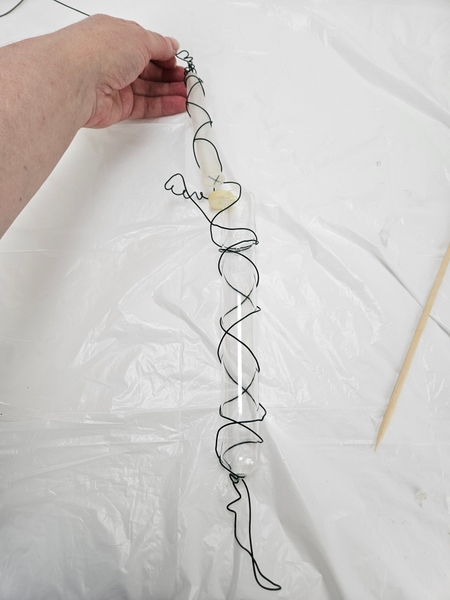
Make sure the wired tubes create a neat continues line. Do not cut the wire shorter...
Fill both tubes with water to keep the flower stems hydrated in the mobile.
Book readers turn to page 188 of my book to read more about how to fill water tubes that will be upside down (yes, there's a trick to it!) and 189 for a way to stop the seal from leaking.
For more information about my book: The Effortless Floral Craftsman
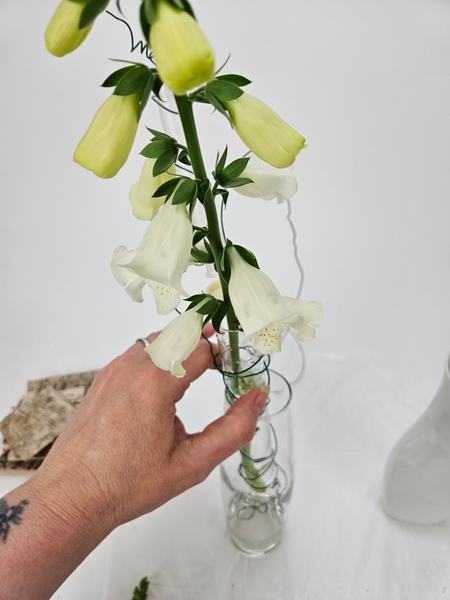
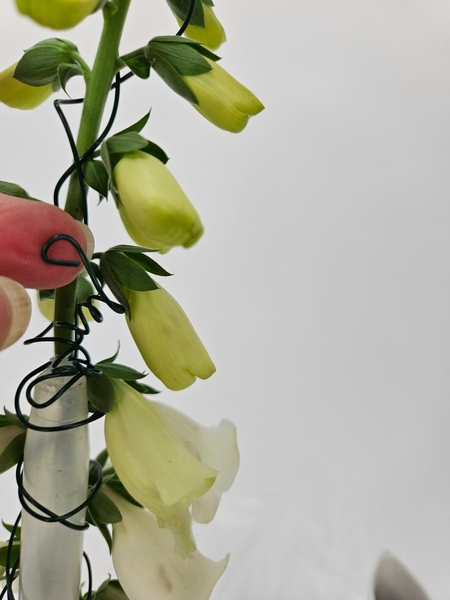
To make it easier to design, place the glass tube in a bud vase so that it stands upright. Place the foxglove in the water tube so that it remains hydrated while working.
Because the flower is fully hydrated it will not bruise easily. But still be gentle to make sure you do not damage the flowers. Carefully wrap the wire all the way around the flower spike.
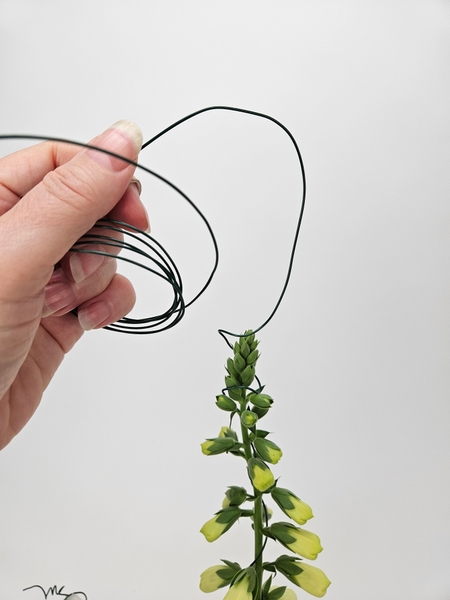
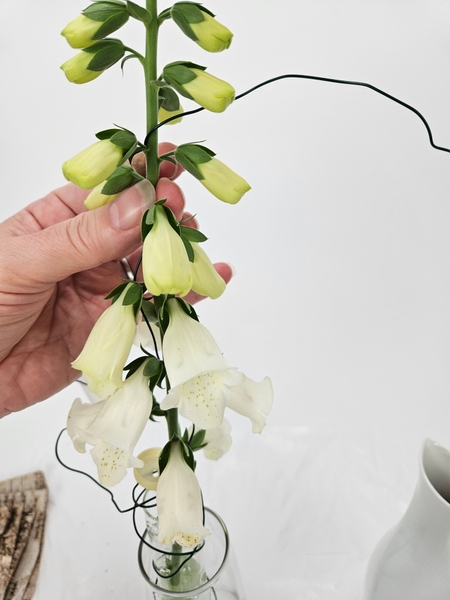
Wrap the wire all the way up to the top of the flower spike...
Twist the wire into what will become the hanging hook and wrap the wire all the way down the spike again to secure it.
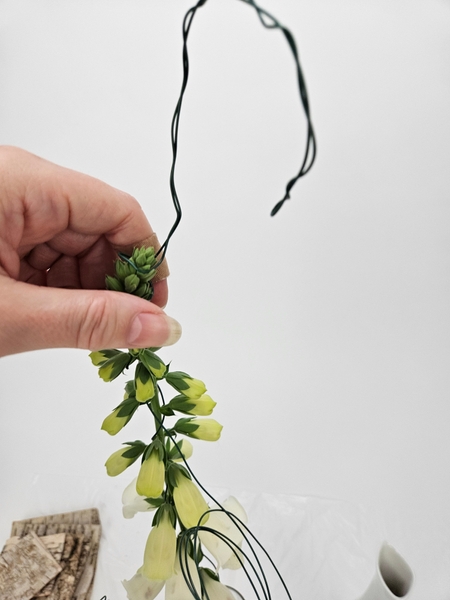
Twist the wire end in with pliers to make sure you do not have any sharp wire ends that can cut you while you work.
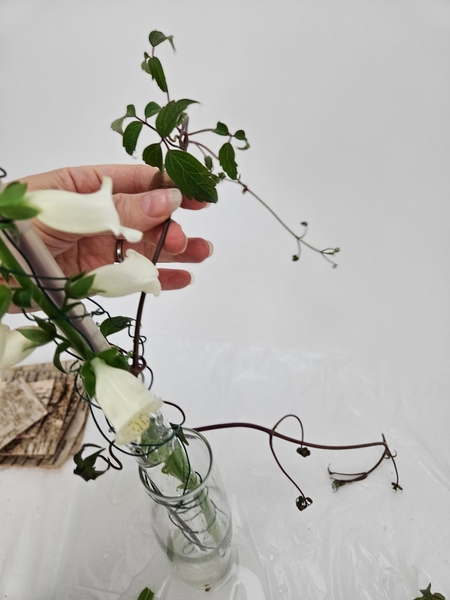
Slip a clematis vine through the rubber seal into the upside down water tube so that it points down. Place another vine into the glass tube to twirl around the armature up to the the hook.

Wind the vine around the hook wire and spiral it smaller to give you a secure hook.
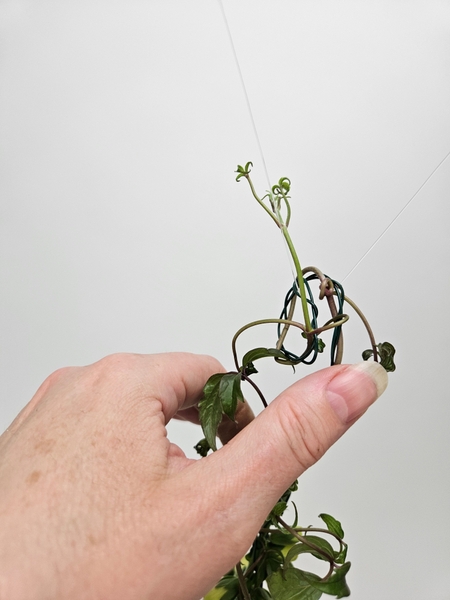
I am making an exaggerated hook to carry the weight of the flowers when I hang it up. The wire needs to be flexible enough to easily wind up and down between the flowers... but still hold its shape when you hang the mobile. An exaggerated snail shell spiral hook can carry a lot more weight that a ordinary hook.
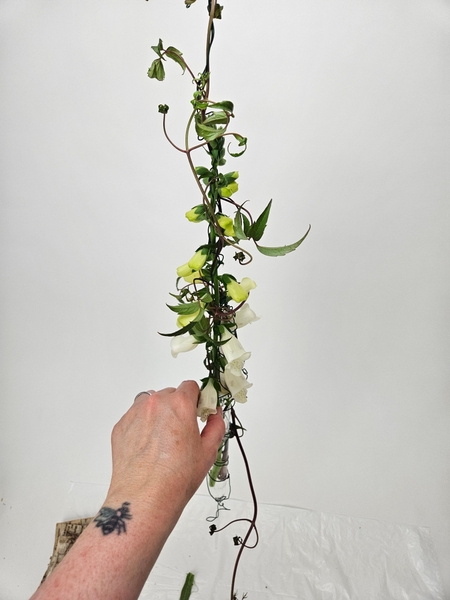
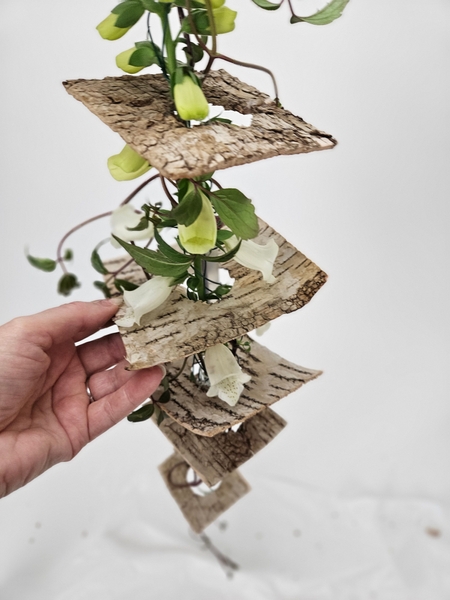
Design the vines so that it loosely curves and twirls around the arrangement.
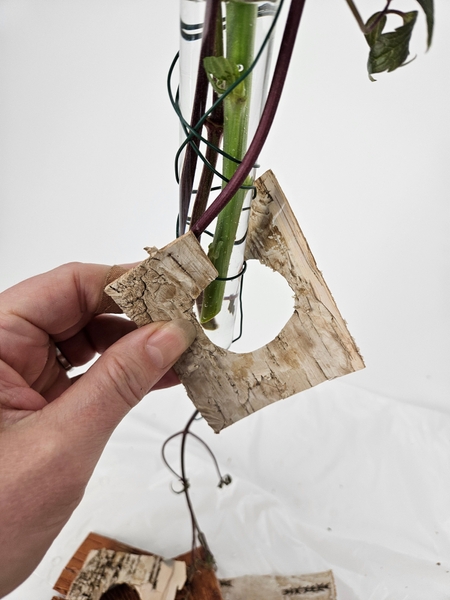
Slip the bark square over the water tube...
And secure them in place with hot glue. This week in our email (I send out an email every Wednesday morning, Vancouver time) I tell you more about how I keep the square in place and how to balance it so that it will not tip over without using an unsightly amount of glue. If you are not yet receiving the email the sign up is below this post.
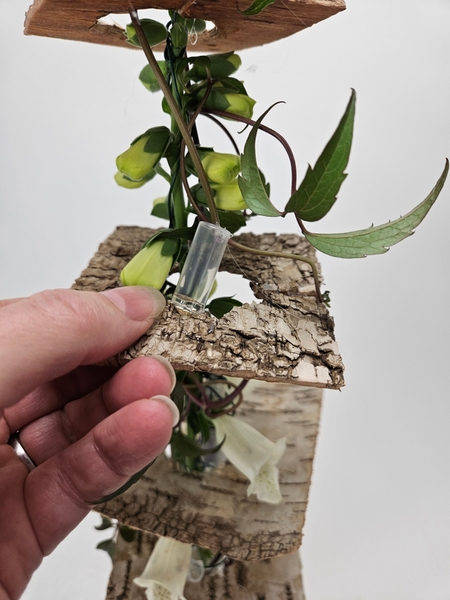
All the flowers are now in the top half. To add a few foxglove spikes towards the bottom I am adding in a few tiny water tubes. Glue in a few more water tubes with hot glue. These are those tubes that I make myself. See the Tutorial below for more detailed instructions.
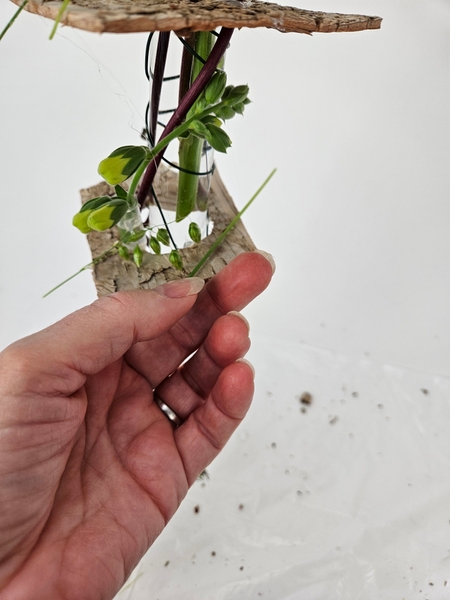
Glue in snipped pieces of quaking grass.
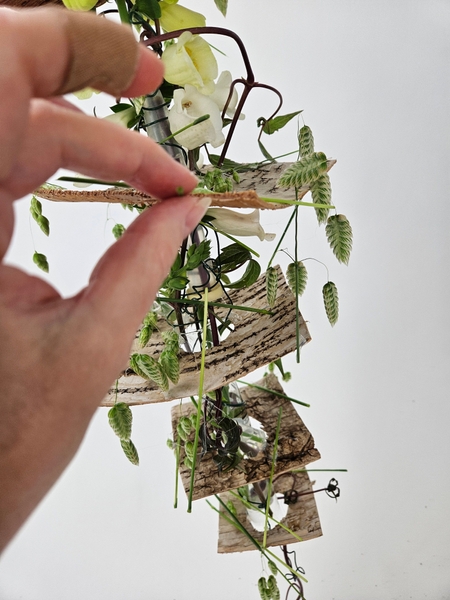
To dangle in and around the design as it turns in the slightest summer breeze.
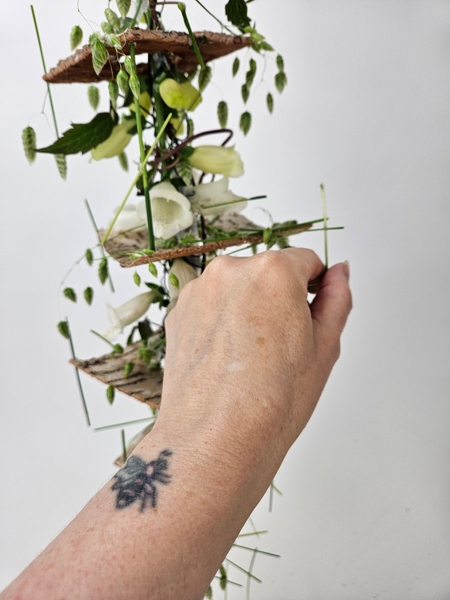
This is the part where you can add your own style to the design... leave it wild or (and this is probably more my own personal design preference) make the grass look more deliberately placed and "designed" by adding a few vertical pieces of grass to tame all that wildness.
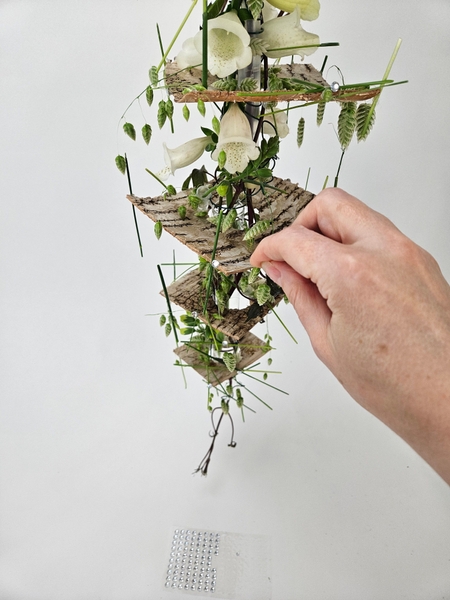
As always, I finish my design with a few dew drop crystals. See the Tutorial below for more detailed instructions.
Sign up for my weekly newsletter
Every week I add a new design with related tutorials. Be sure to subscribe to receive an email notification with design inspiration.


 water source")


