Christine de Beer - effortless floral craftsman
Weaving Zori-inspired slip-on Sandals
- 17 June 2015
This Tutorial is inspired by traditional Japanese Zori cloth sandals
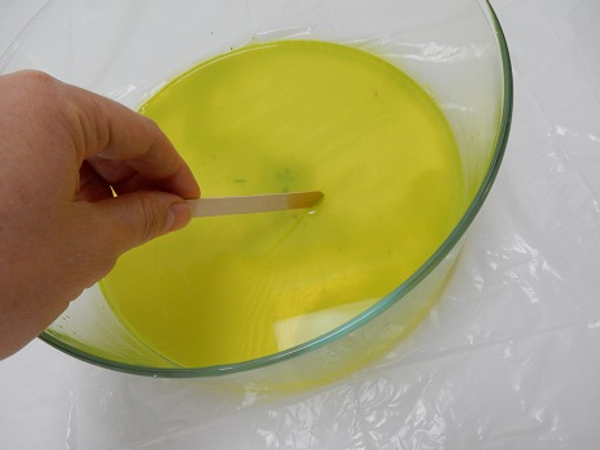
Create a dye bath with water based paint or natural dye
See the Tutorial below for suggestions on natural dyes you can use
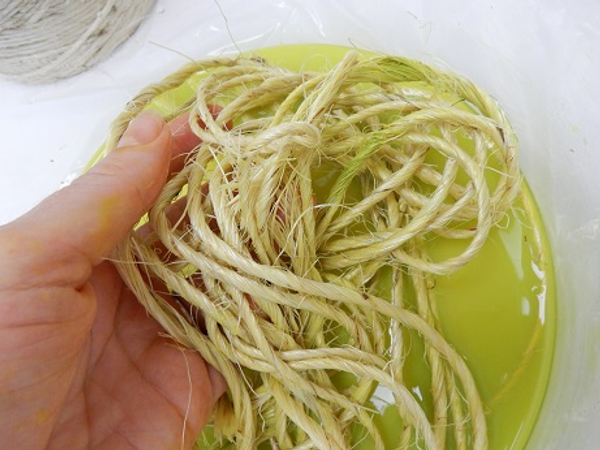
Soak the sisal in the dye
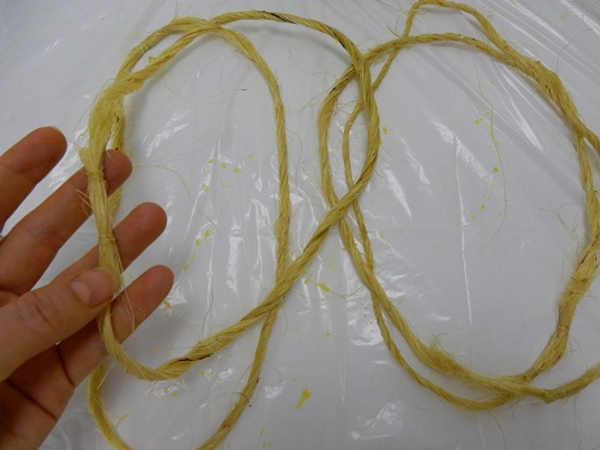
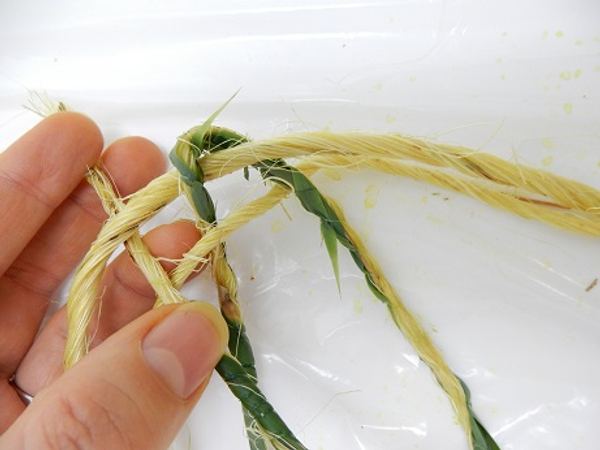
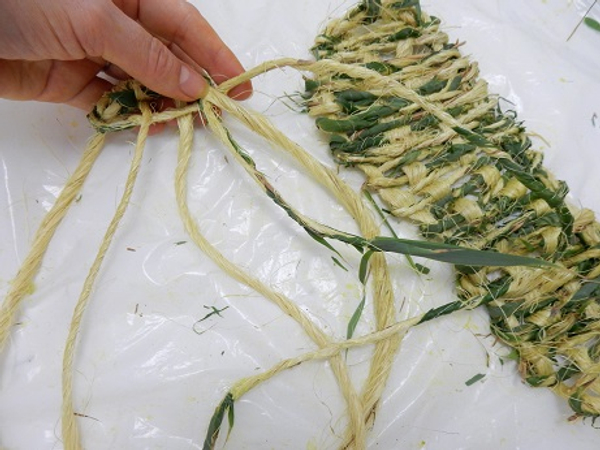
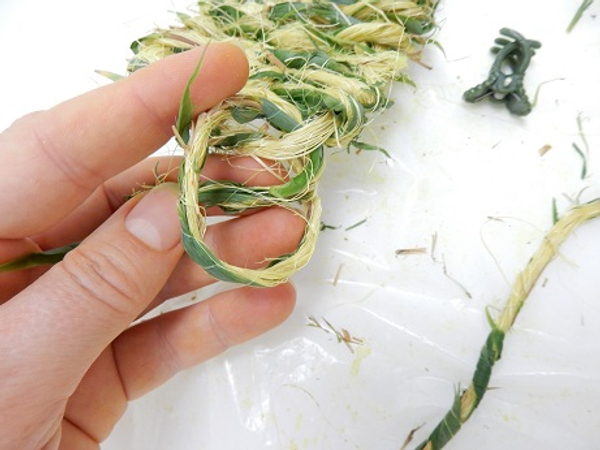
Loop four sisal sections and secure with knots. To measure the loops wrap the sisal around your feet and let it overlap slightly. I secured the loops in an overlap to cut down on bulk
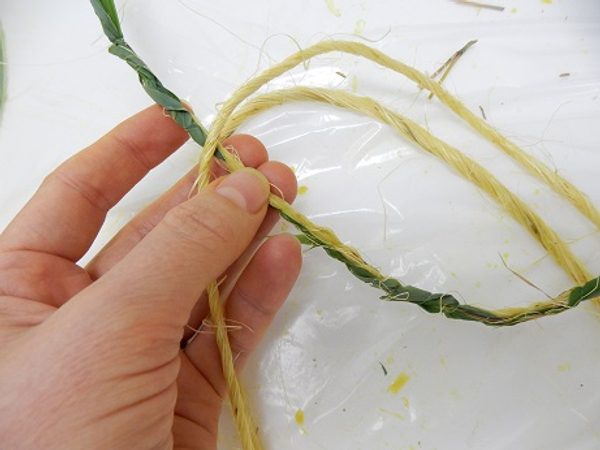
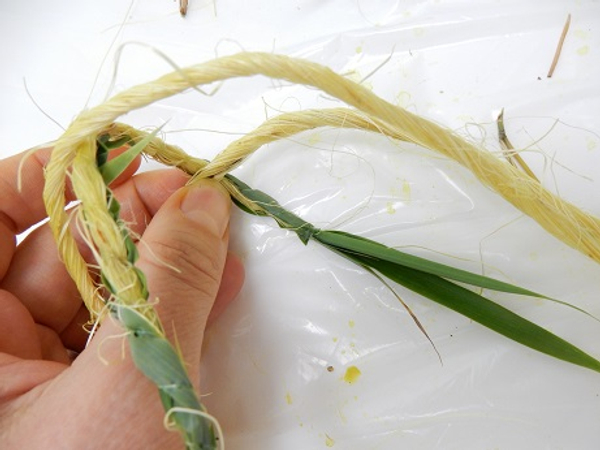
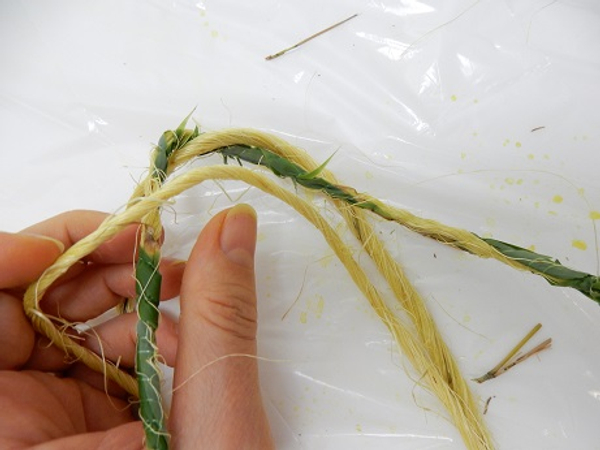
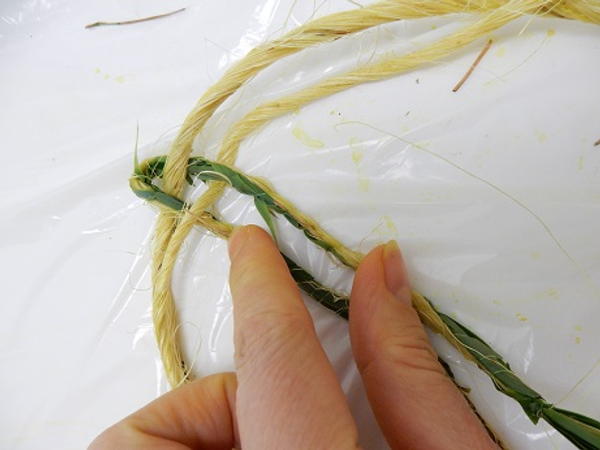
For my sandals I made Sisal and Bamboo string. See the Tutorial below for detailed instructions
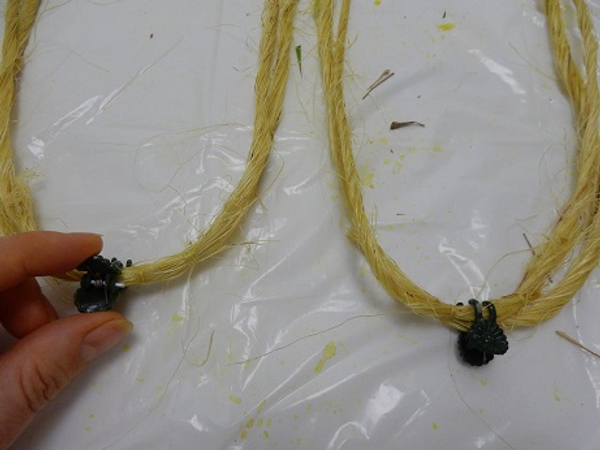
Secure the loops in pairs with clips
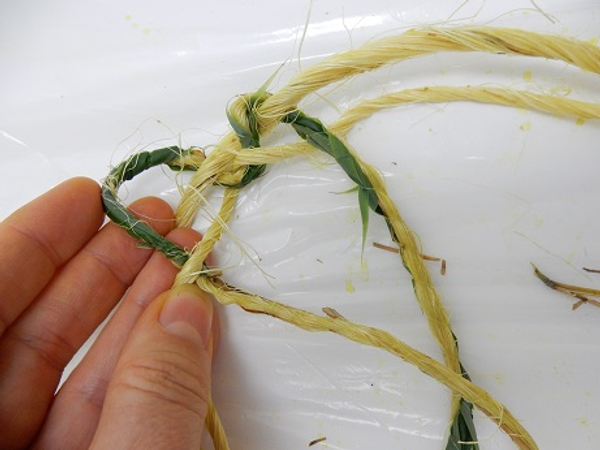
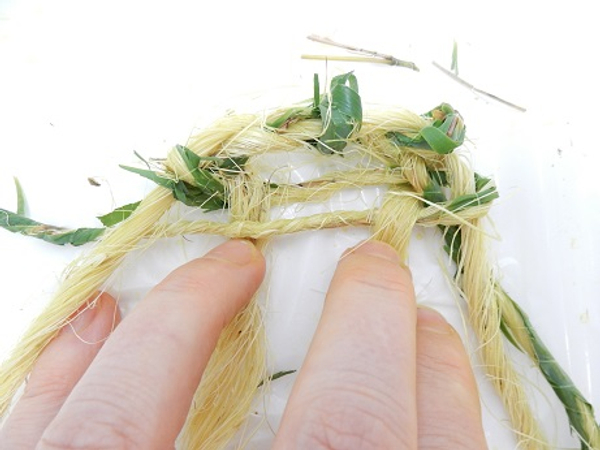
Slip the sisal and bamboo string between the loops
And under the bottom loop
Slip the string through the two loops
And over the top loop
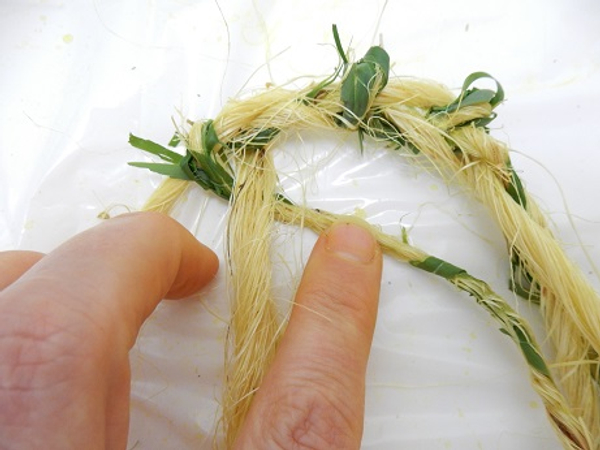
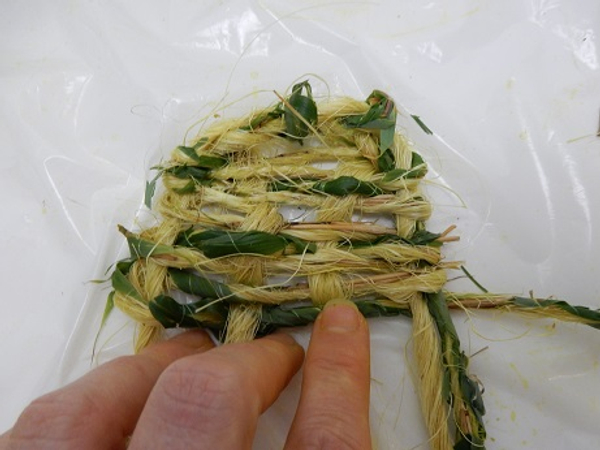
Fold the string back up and weave it through the loops.
I used the basic "over and under" weaving pattern. See the detailed Tutorial below for more information on weaving with foliage
Fold the string down and weave it through.
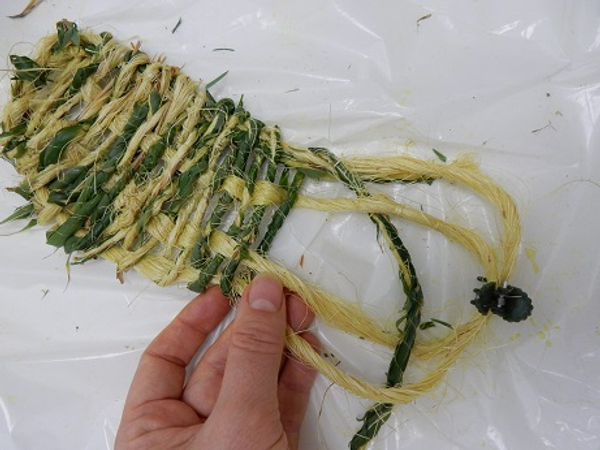
Continue weaving the toe of the sandal on both sides
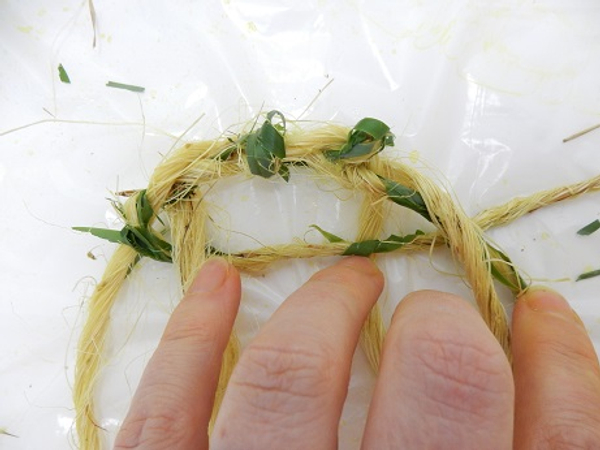
Fold the string into the sandal and weave it through from one side to the other
Fold the string back and weave to the other side.
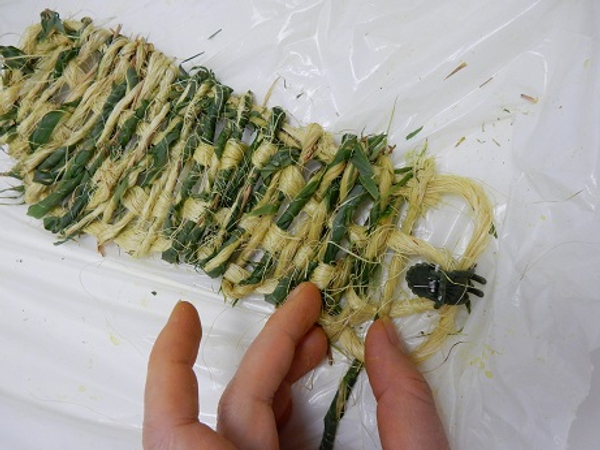
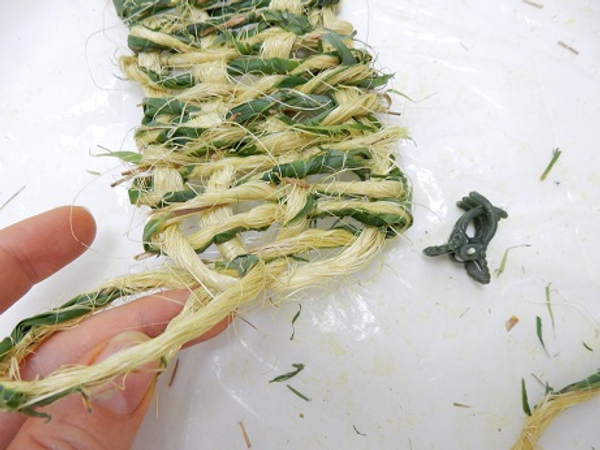
This is the basic weaving pattern for the sole of the sandal
Continue weaving from side to side incorporating the other half of the string to strengthen the sole. Simply wrap it and weave with the loop on that side.
Weave down the loops shaping the sandal as you go along
I wanted my sandals to look hand made and wove it loosely for a closer weave simply wiggle the string closer each time before adding the next weave
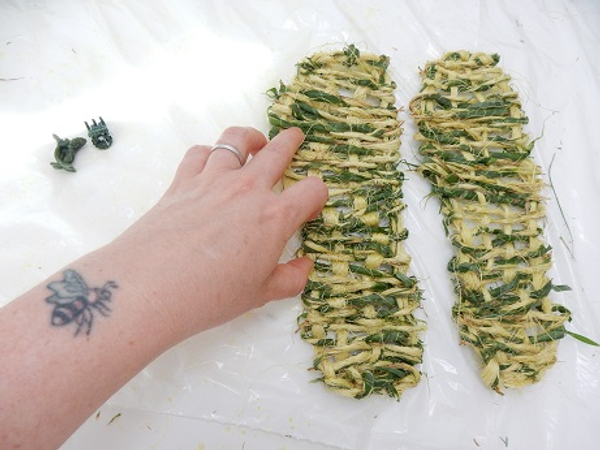
Do exacly the same to make the other sandal
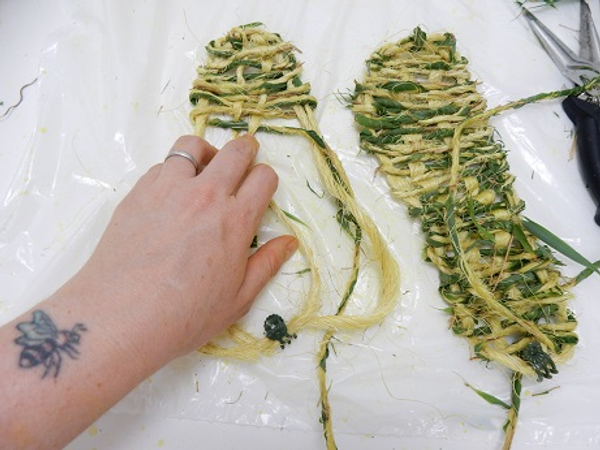
Simply weave down to create the toe.
Shape the sandal as you go along
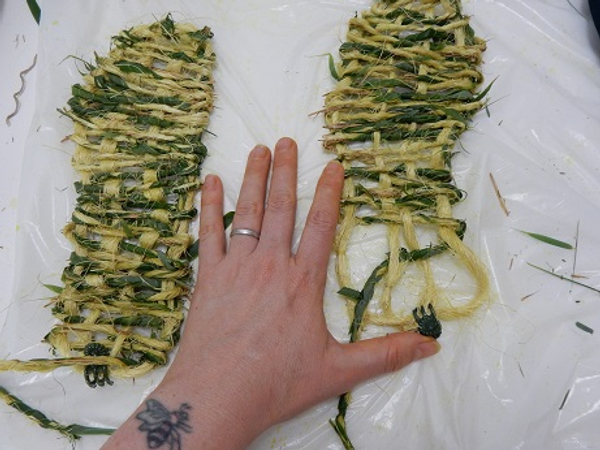
Once the two soles are ready you can finish it off
Remove the clip
Stitch up the heel of the sandal over the two loops and secure the string with a knot

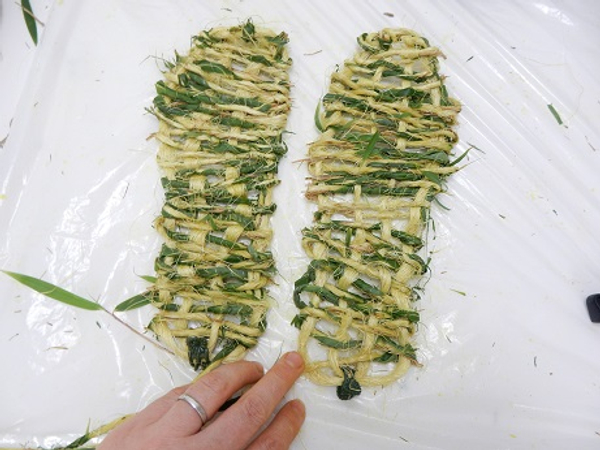
Cut the extra string away and wiggle the weave to neaten
Even out gaps and shape the sandal
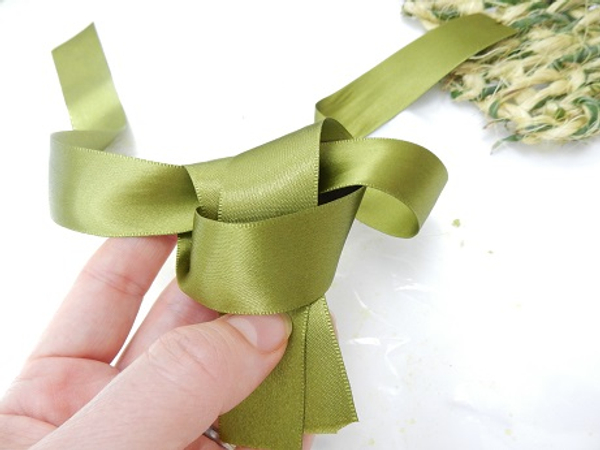
Cut two sections of ribbon for each sandal. Loop one ribbon around the other at the middle point
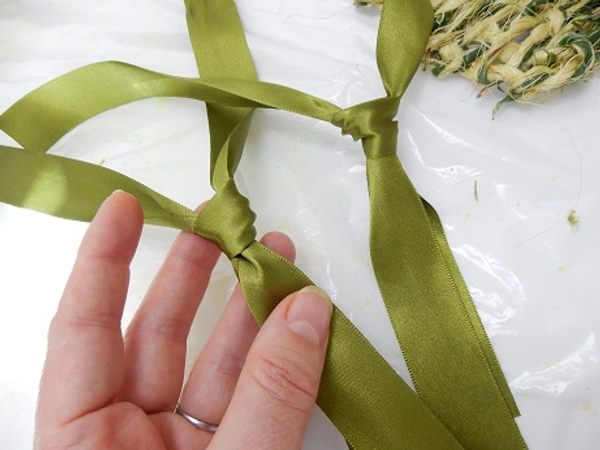
Pull tight to knot

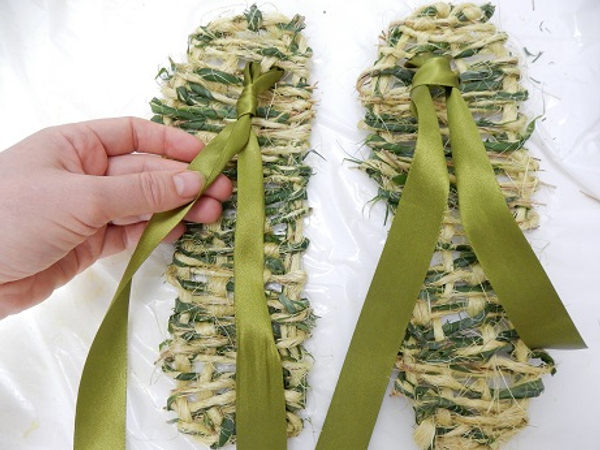
Slip the ribbon through the sandal sole

Turn the sandal over and knot tightly to secure the ribbon
Do the same with the other sandal
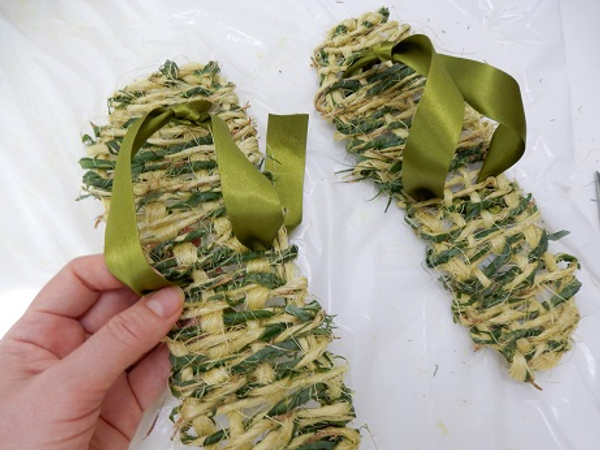
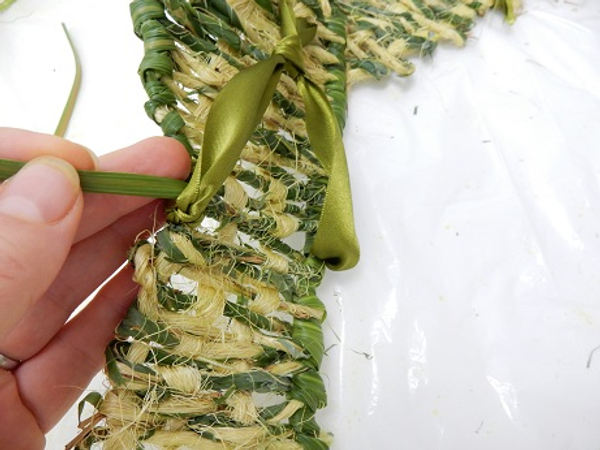
Fold the ribbon over to the front of the sandal over the bridge of the foot.
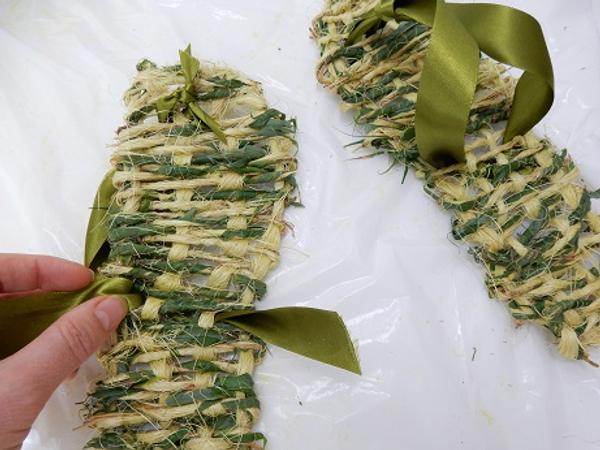
Flip the sandal over and knot around the loop on the side
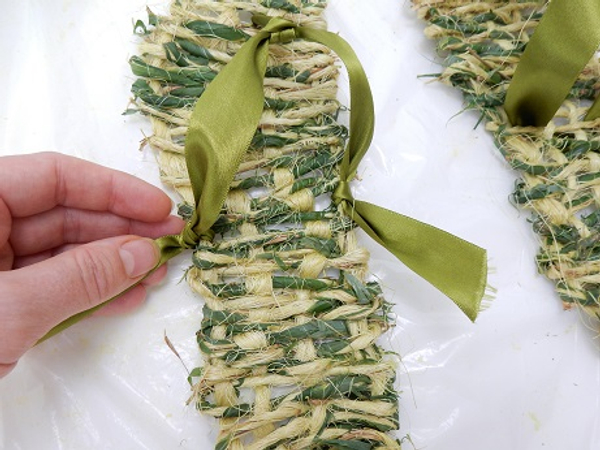
Knot tightly
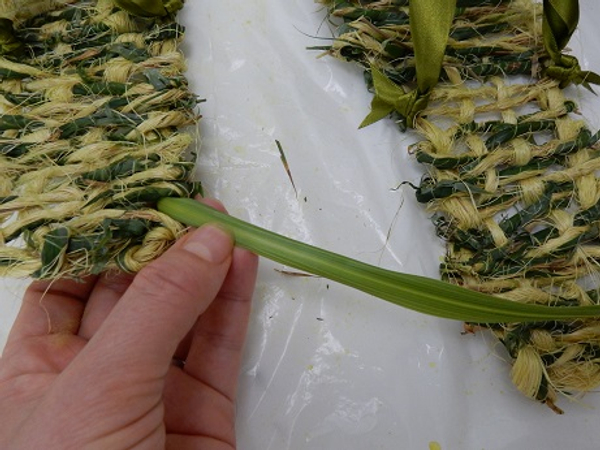
To finish the sandals take a long blade of grass...
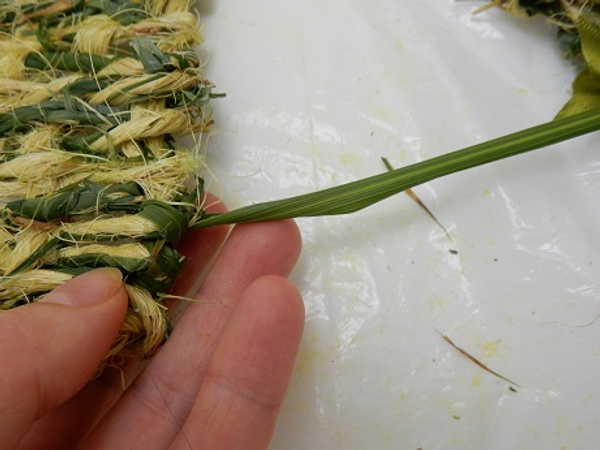
And stitch around the sandal
Creating a darker border
And covering the knots on the sides
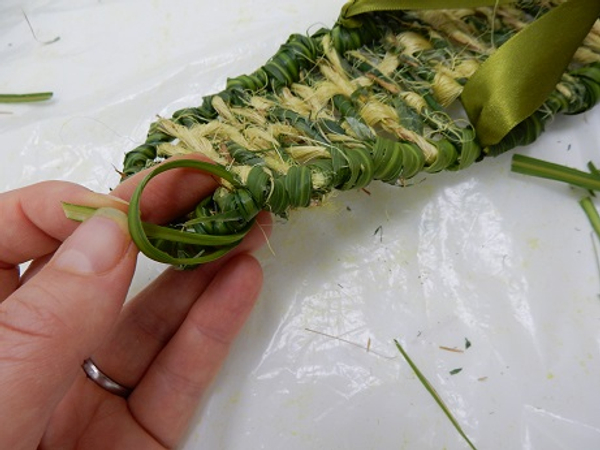
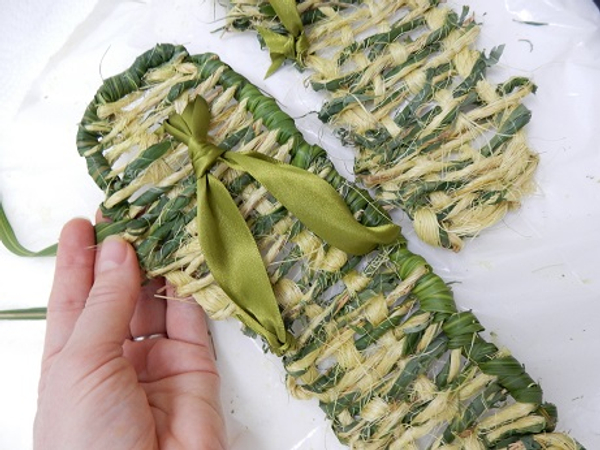
Secure the grass with a knot
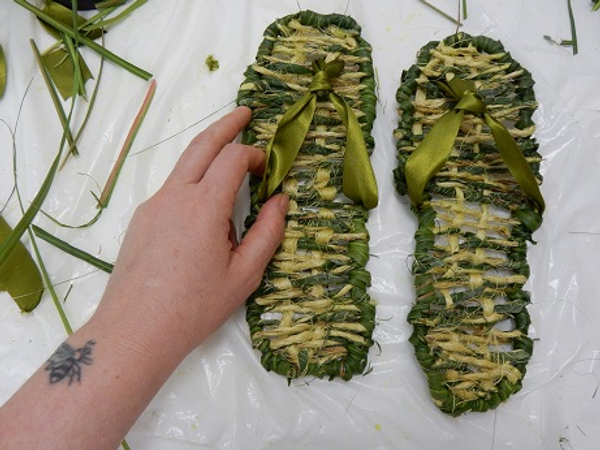
The basic sandals are now ready to decorate
I added a dragonfly on my sandals. See the Tutorial below
Sign up for my weekly newsletter
Every week I add a new design with related tutorials. Be sure to subscribe to receive an email notification with design inspiration.


