Christine de Beer - effortless floral craftsman
Autumn leaf ballet slippers from scratch
- 18 September 2013
The ballet slippers are made from Katsura Tree (Cercidyphyllum japonica) leaves
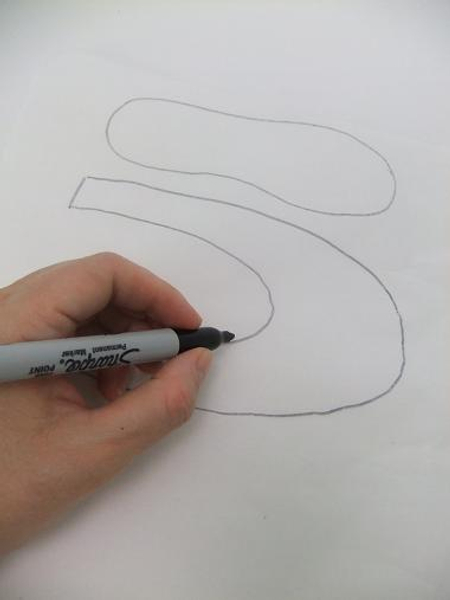
Draw the slipper pattern on thin paper
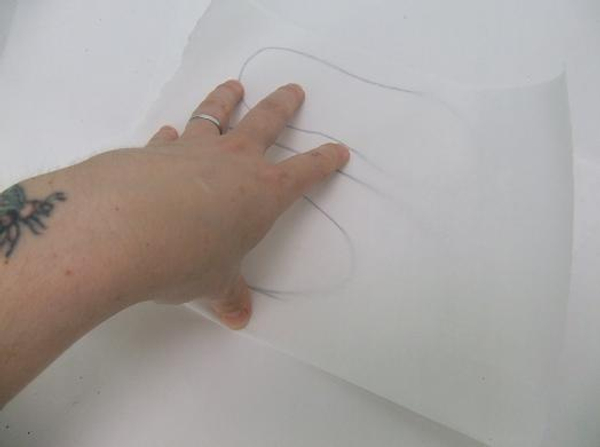
Fold the thin paper over the drawn slipper pattern
Copy the pattern for the other ballet slipper.

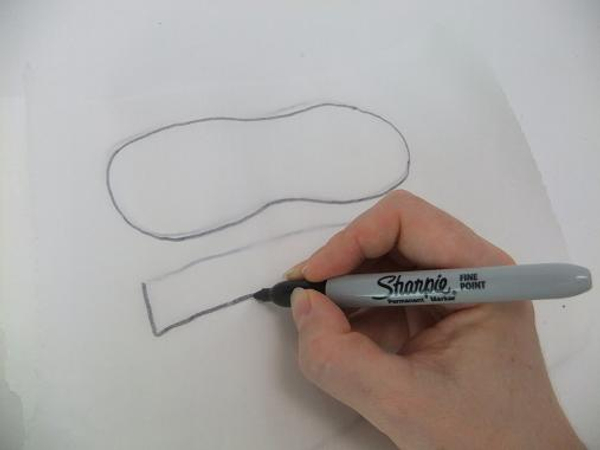
Open the thin paper. You now have two slippers, one right sole and a left sole.

Cut out the ballet slipper pattern
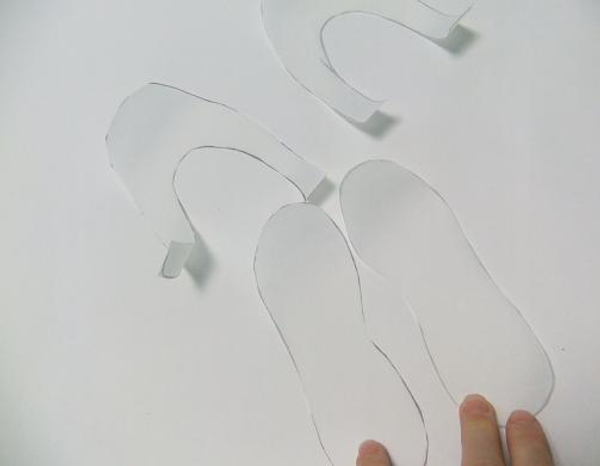
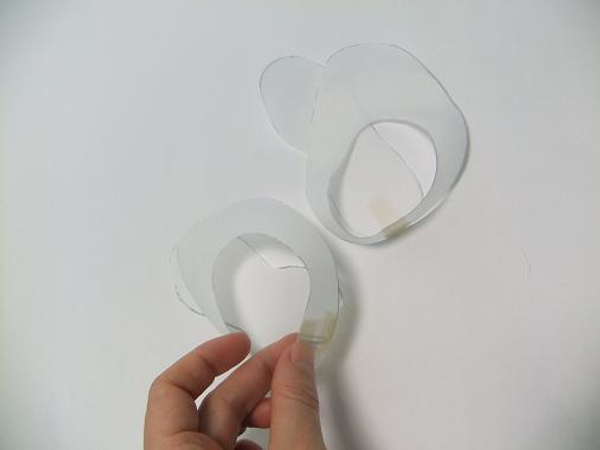
Place the two slipper soles down on a working surface.

Connect the ends of the upper (toe) part of the pattern with masking tape
Tape the upper to the sole
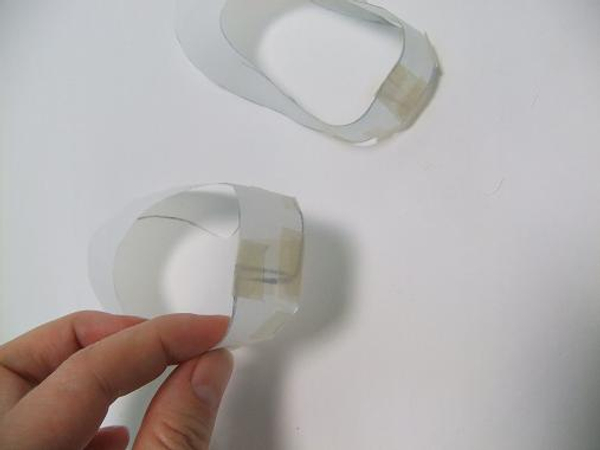
Continue to tape the upper to the sole following the contours with a few more strips of masking tape.
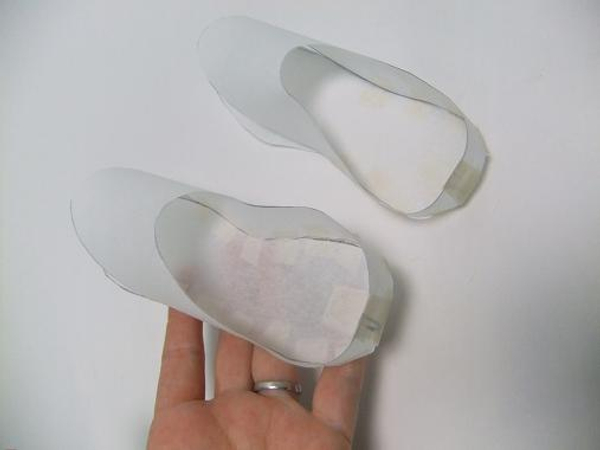
Continue to tape the upper...

... all the way around. Do the same with the other slipper
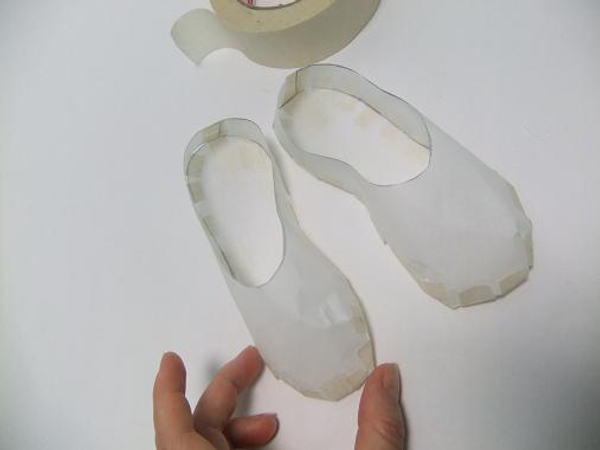
Paper slippers ready to design with
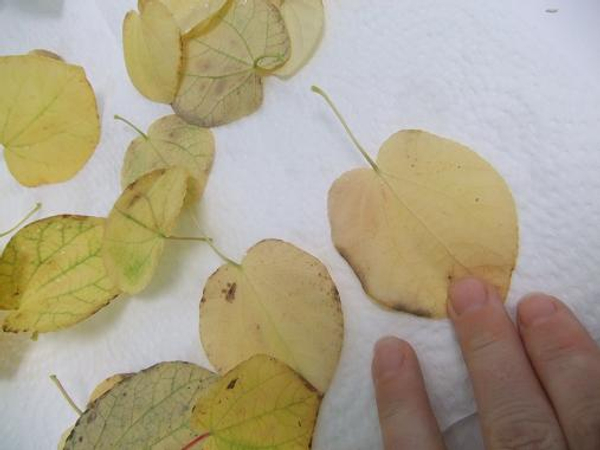
Wash and dry a few autumn leaves
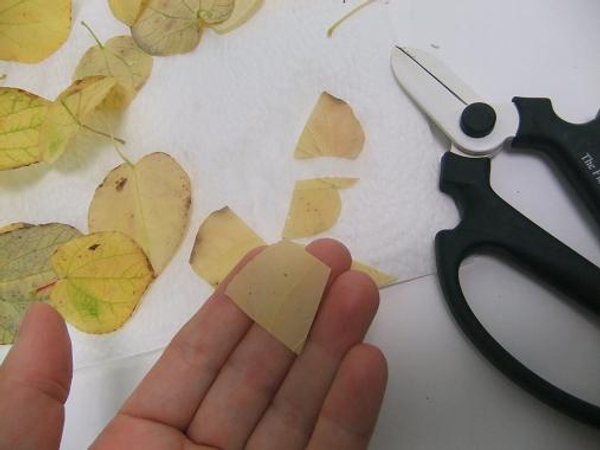
Cut the stems from the leaves and set aside. Cut a few of the leaves in irregular blocks.
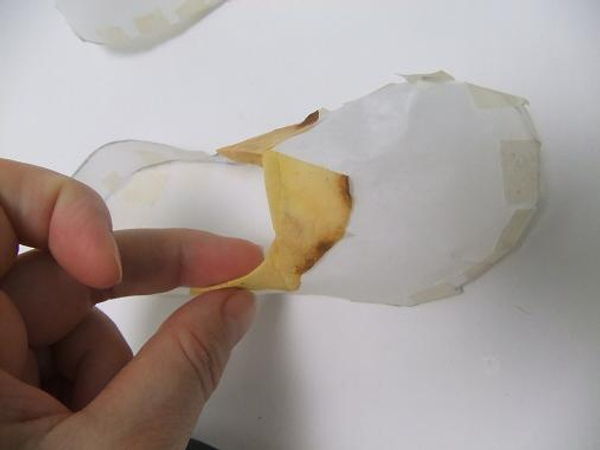
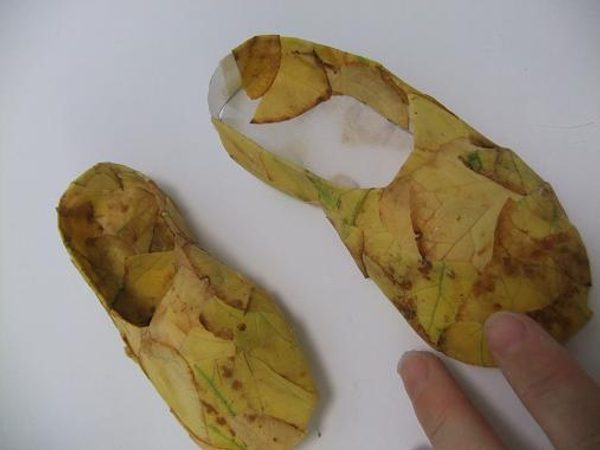
Glue the fall leaves to the paper slipper.
Overlap the leaves so that it will still cover the paper as it dries and shrinks
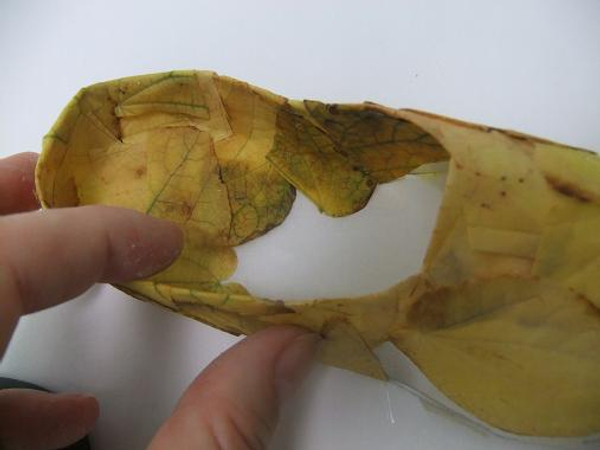
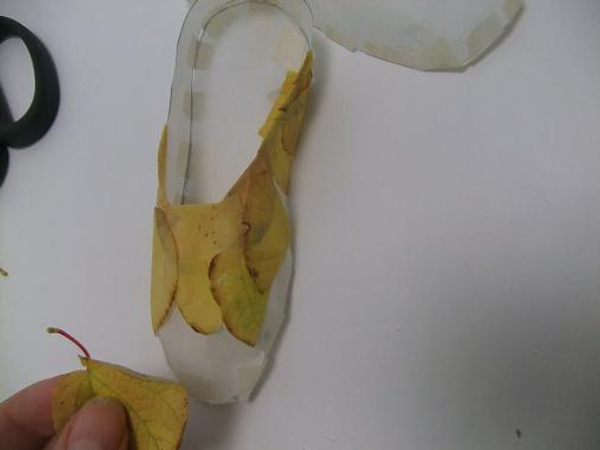
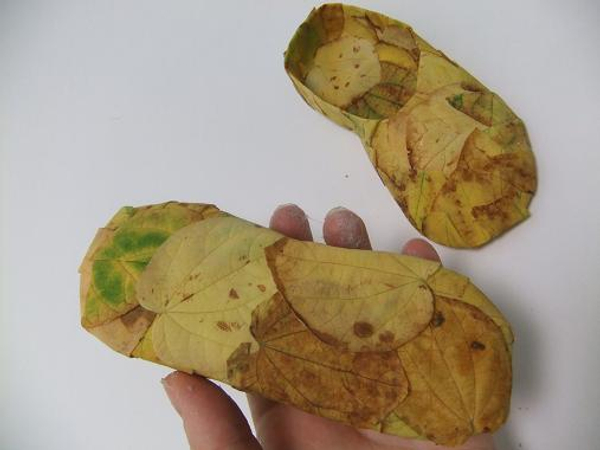
Completely cover the paper slipper with fall leaves so that it can be picked up and viewed from all angles
Smooth down the edges of the leaves to lie flat
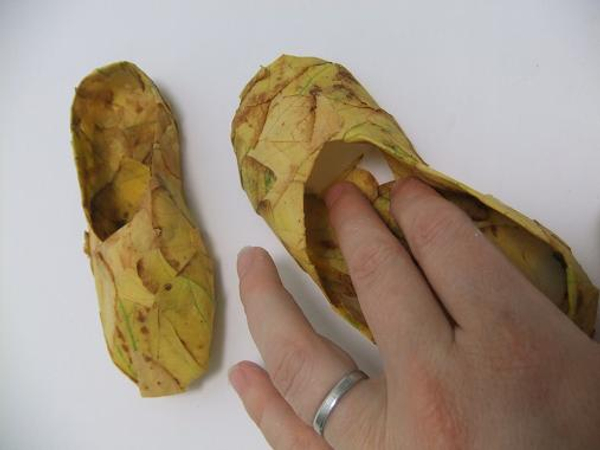
Reach deep into the slipper toe and cover the inside sole
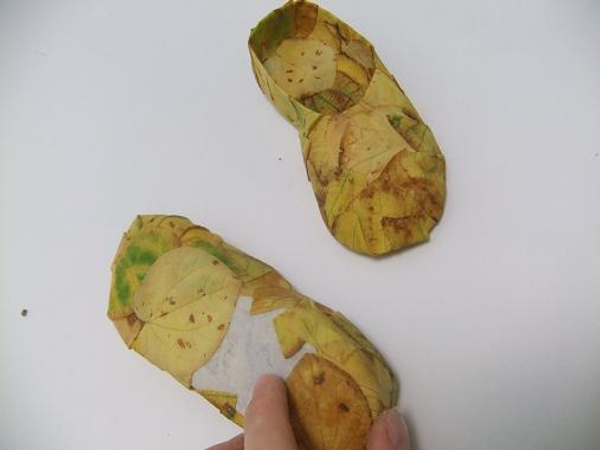
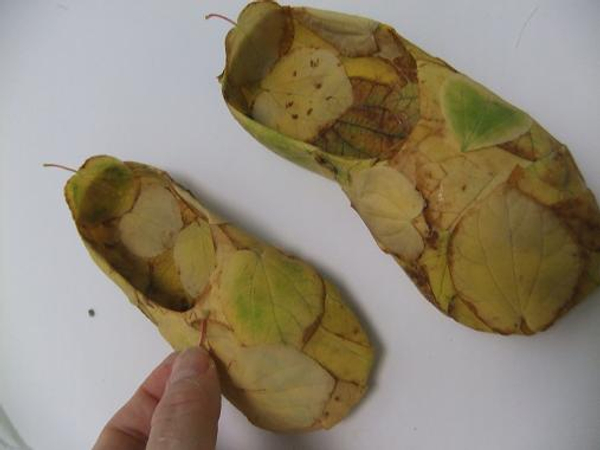
Flip the slipper over and cover the sole
Autumn leaf slippers ready to design with
Glue on the leaf stems to add texture
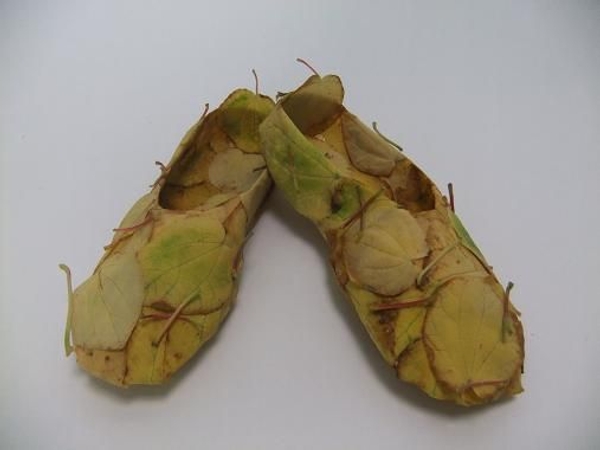
Set aside for the glue to bond before adding any fresh floral details
Sign up for my weekly newsletter
Every week I add a new design with related tutorials. Be sure to subscribe to receive an email notification with design inspiration.


