Christine de Beer - effortless floral craftsman
Adding flowers to those pretty hand coiled flip flops I made for my book
- 22 July 2020
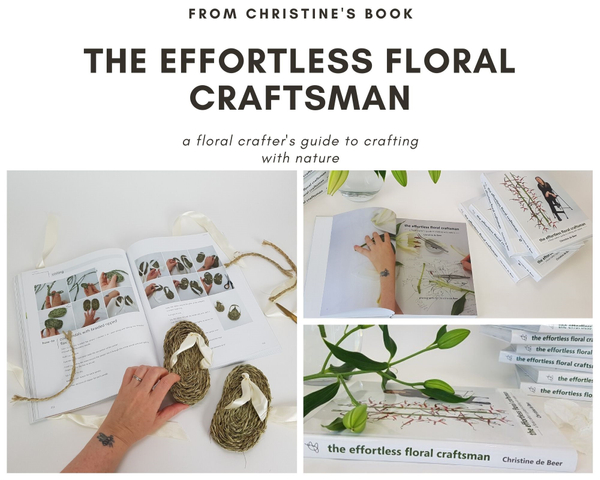
... remember these coiled sandals I showed you from page 252 in my book? Well... this week they are getting dressed up.
I have also shared the Tutorial here for you to follow along ... see the Tutorial below... or in my book from page 250 to 253.
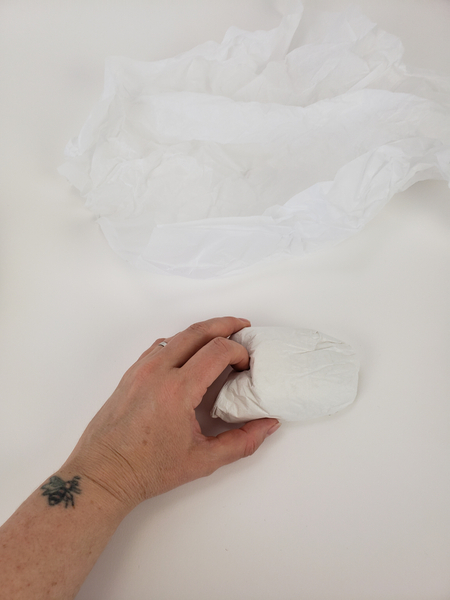
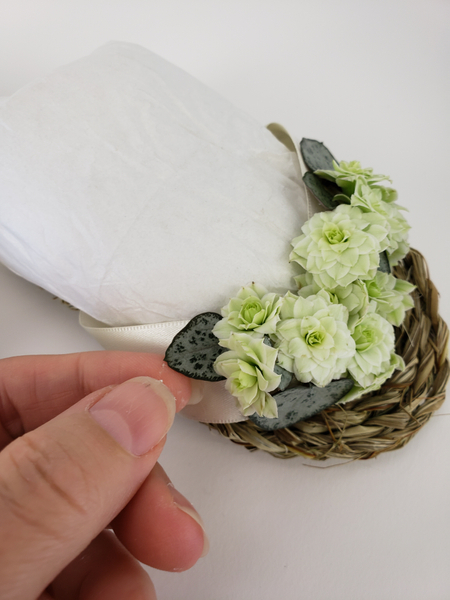
Fold over some tissue paper to prop up the flip flop ribbon while designing.
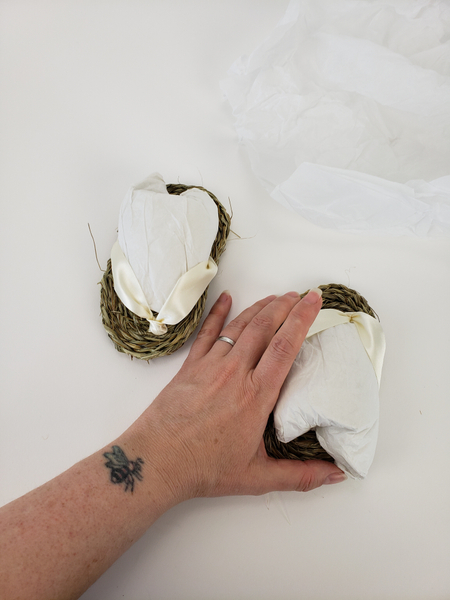
Slip the tissue paper into the sandal to keep it's shape.
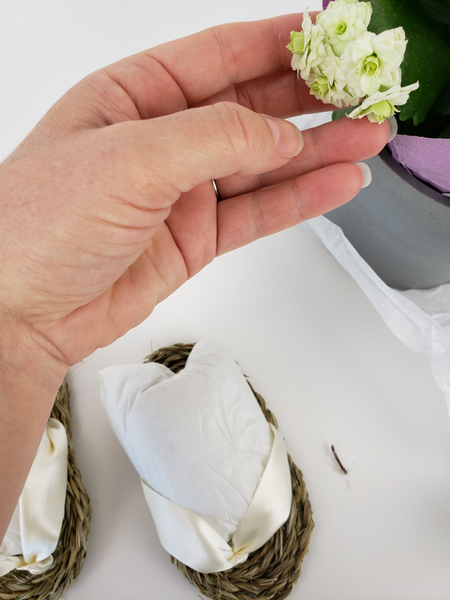
Cut Kalanchoe flowers from the plant just before designing so that it lasts for as long as possible. It is a succulent so it will remain pretty for at least a week without any water source. I know... right!?! Perfect for this kind of design.
Design note: Cut so that there is no stem left on the flower. And place the floral glue on the entire cut area. Not only will the flower have a bigger surface to adhere to but the glue will also seal in the moisture in the flower to help it remain hydrated for longer.
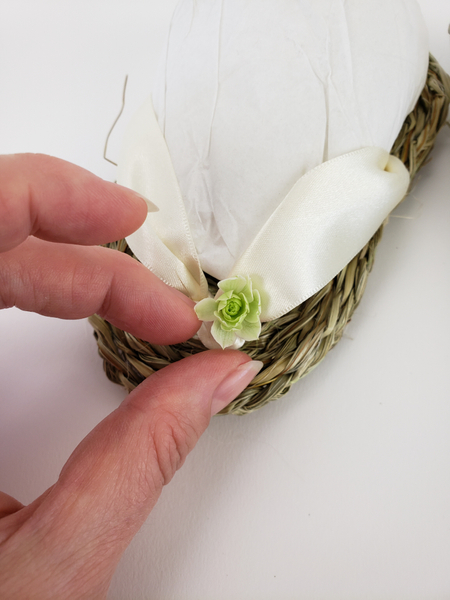
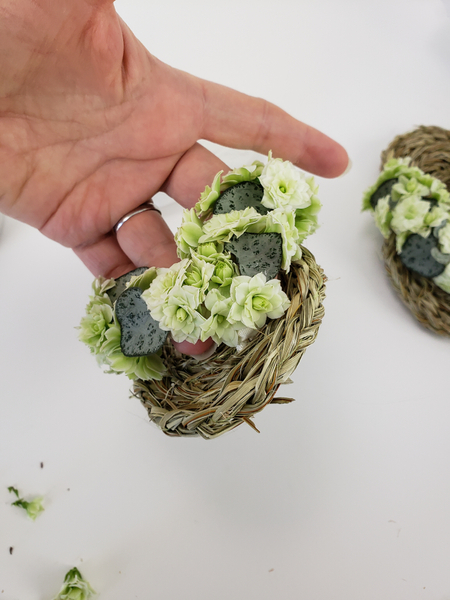
Cut away the stem and glue the flower directly to the ribbon with floral glue.
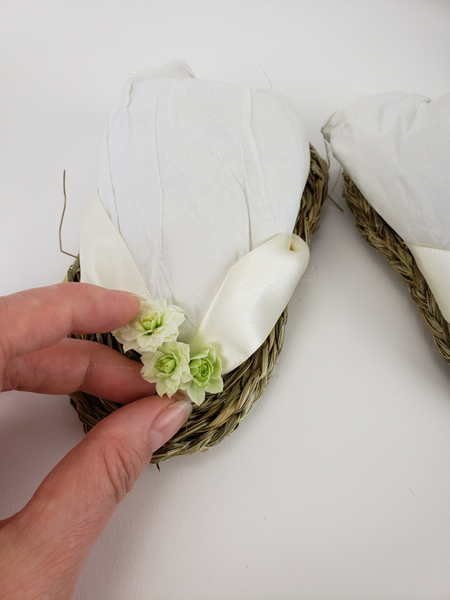
Add the next flower next to it... and the next, next to that.
Start with the larger fully opened flowers to cover the surface. Then later go in and fill the gaps with the smaller flowers and buds to create a bit of dimension.

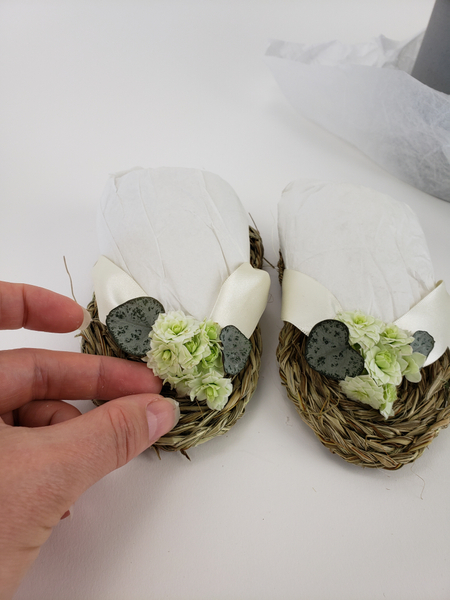
Do the same on the other sandal. No need to match them exactly. Just similar enough to go together.
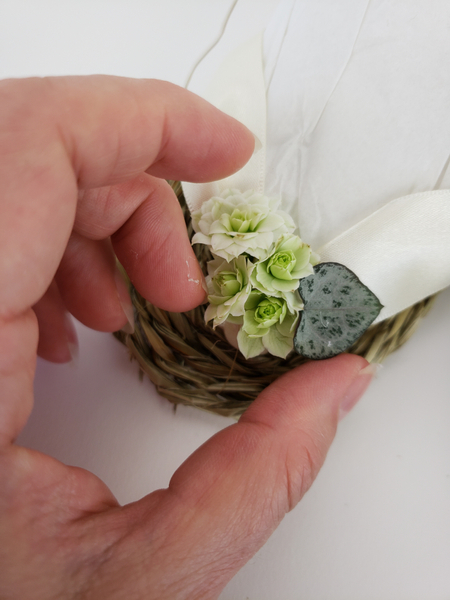
Every so often add in a rosary vine heart.
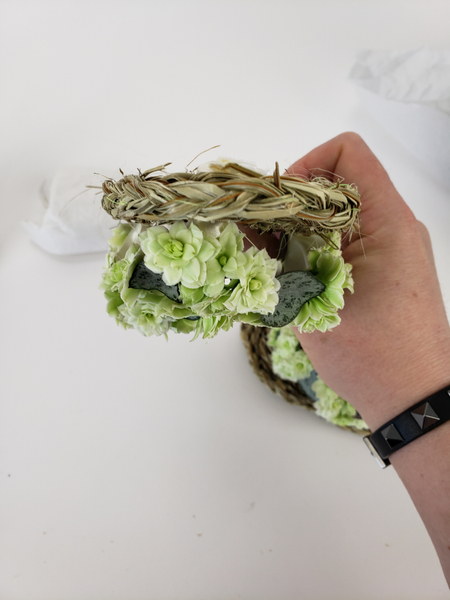
Cover only the front side of the ribbon though so that the sandal remains comfortable to wear. If it is just for display you can go ahead and cover both the front and back.
Move around to the sides and build up the design.
Newsletter subscribers: this week I have a special tip for you on how to position the flowers on a surface like this so that it looks pretty (and natural!) as you change angles in a design. Make sure to sign up to receive the design specific weekly tips. They are only available on there in the newsletter.
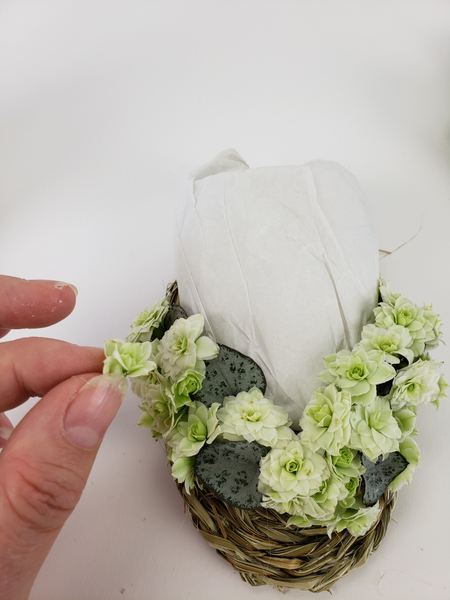
Look at the design from all the angles and fill in any gaps with smaller buds...
That neatly slips in between the open flowers.
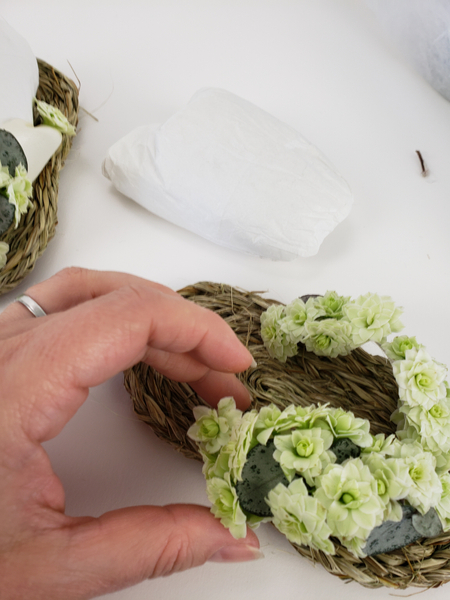
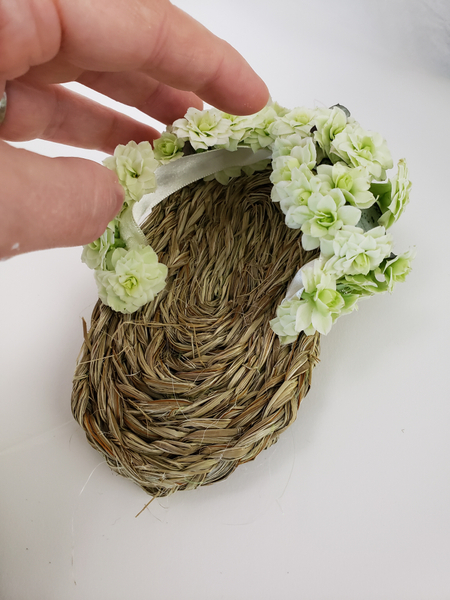
Remove the tissue paper to finish the sides.
Once it is fully covered test the design to make sure all the flowers are secure.
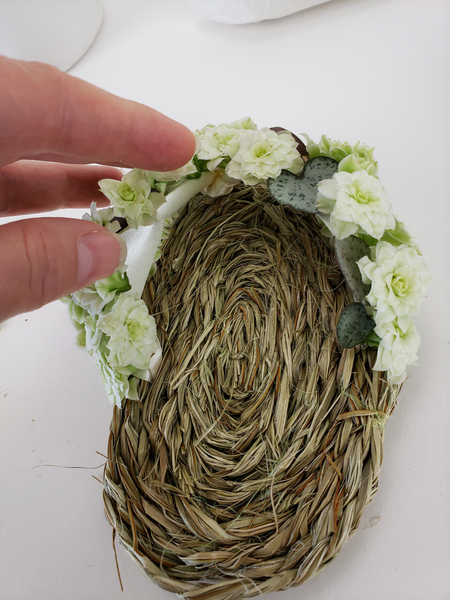
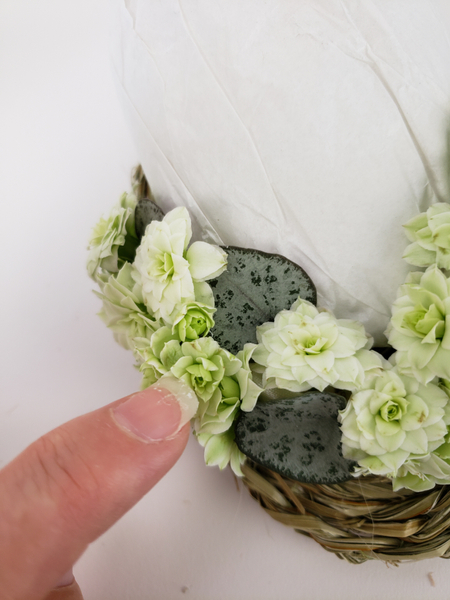
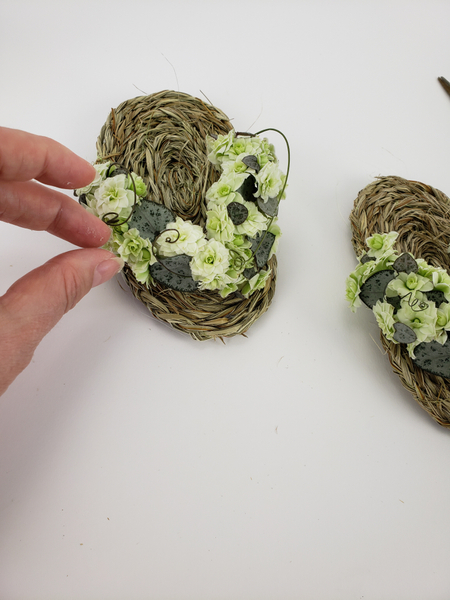
Make sure all the flowers are on the outside of the ribbon. See the flower right next to my thumb? This one needs to be re positioned so that it is fully secured to the outside of the ribbon. This prevents the flowers from getting damaged but it also looks more professional and neatly constructed.
... simply lift the flower away... add more glue and reposition the flower. If you have sticky glue on the inside remove it by rolling the glue away. See the Tutorial below for detailed instructions on how I remove floral glue from ribbon ( and plant material and skin)
Inspect the flower all round so that each flower is perfectly placed...
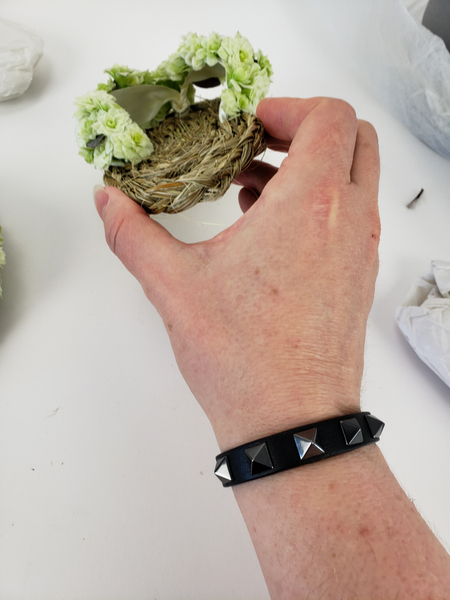
Flip the design over and give it a good shake. It is much easier to go in and reposition a flower now than to have to try to fix it later once the finishing touches are curved over it.
Add in a few passion fruit tendrils to curve over and around the flowers.
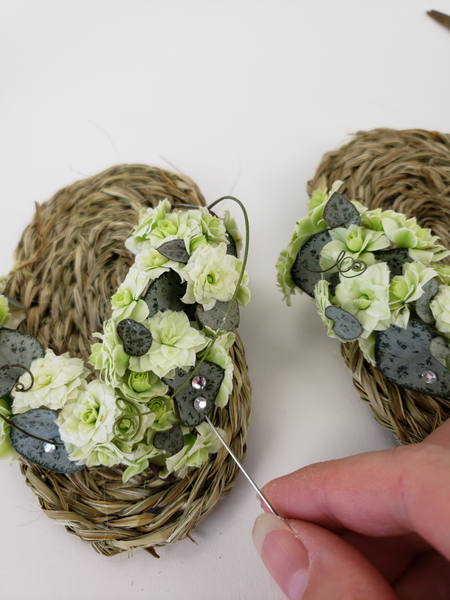
And place a few dew drop crystals for sparkle.
I use a pin to place the crystals so that I do not damage the design. See the Tutorial in the section below for detailed instructions on exactly how i do that. And there's also more details in my book... of course.
Sign up for my weekly newsletter
Every week I add a new design with related tutorials. Be sure to subscribe to receive an email notification with design inspiration.


