Christine de Beer - effortless floral craftsman
Knot a delicate hammock from ripped foliage
- 21 July 2021
For this design you will need ripped grass or foliage. To get you started I have linked a Tutorial below to show you how to rip foliage and grass. If you want to learn more about this technique you can find information in my book The Effortless Floral Craftsman
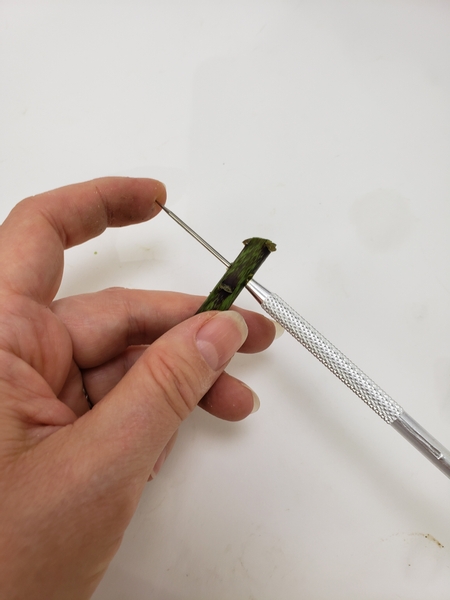
Cut a sturdy stem. Any stem that can hold up having holes drilled (or pinned) into it would do. I used the stem ends that I cut from the lilies.
Cut the stems as long as you want the hammock to be wide.
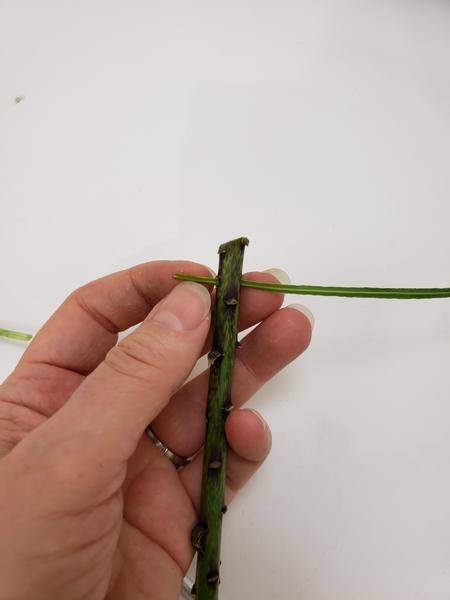
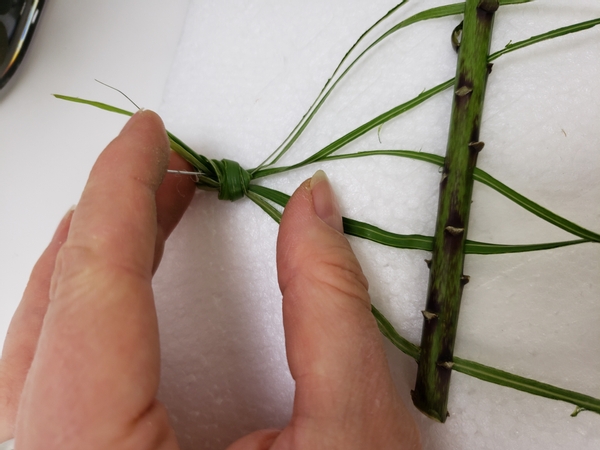
Skewer or drill small holes through the stem to fit the ripped grass.
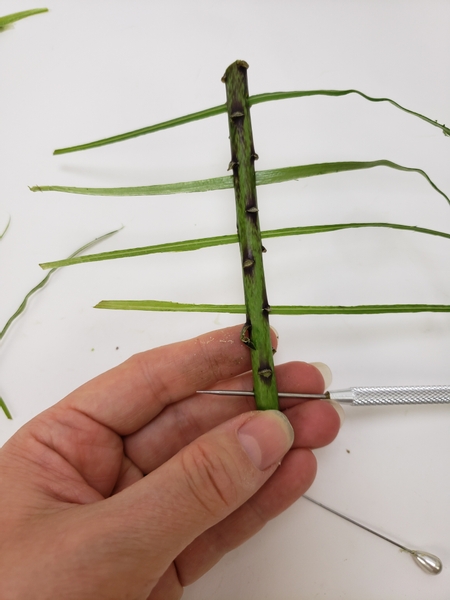
Move down the twig and skewer and thread six strands of ripped grass.

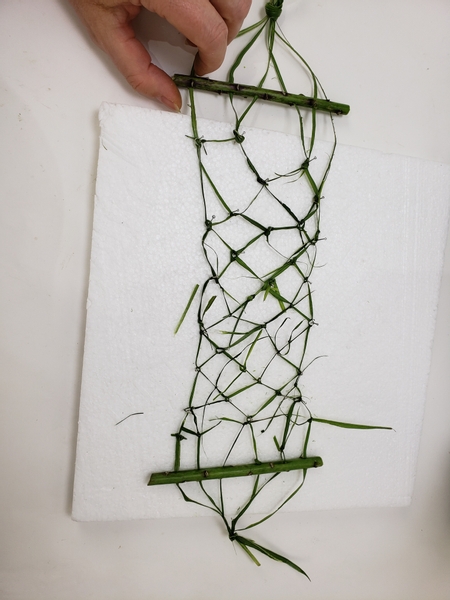
Gather the grass ends and knot it at the top end.
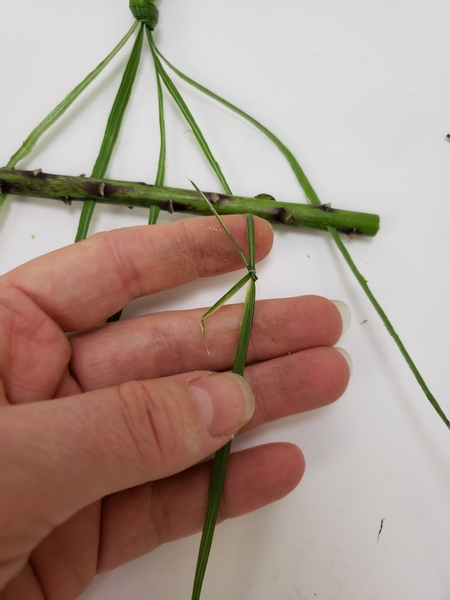
Knot in extra ripped grass to create long strands.
The quickest... and by far the easiest way to knot the hammock is to simply pin the strands onto foam. If you struggle to knot strands so delicate a basic double knot will do.
Book readers turn to page 55 for a few more knot alternatives, this time making a fishing net. It's a great way to level up on your knot making skills especially if you want to make a larger, more functional hammock or net.
Also if you want to learn how to twist your own rope from ripped grass turn to page 46 where I show you basic cordage.
Pin the knot to the foam.
This week in our email I tell you a bit more about measuring and pinning the strands to the foam- for my design I wanted a dreamlike delicate hammock that is as fragile as I possible could make it and when you are crafting something that is whisper delicate it is best to get it right from the first knot so that you can avoid getting frustrated. Make sure you are signed up to receive the weekly notification email with the exclusive tip where I discuss something I found interesting making the design in a bit more detail. The sign up is below this post.
Skip the first strands and knot the next two strands. Knot the next two strands and skip the last strand.
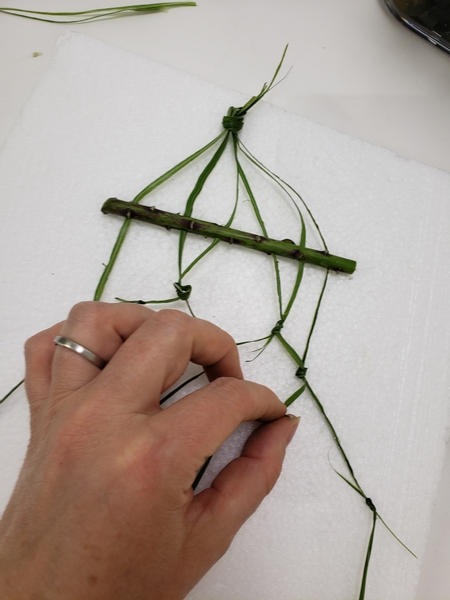
Split the knotted strands and knot the one leg to the dangling last strand.
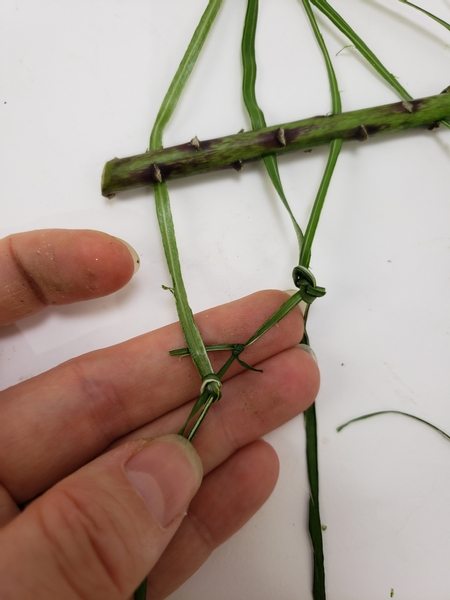
Do the same with the first dangling strand, split the knot next to it open and knot one leg to that first strand.
Split the middle knot and knot the leftover strands. This is the basic knotting pattern. Start pinning the position to make it easier for you to knot the strands.
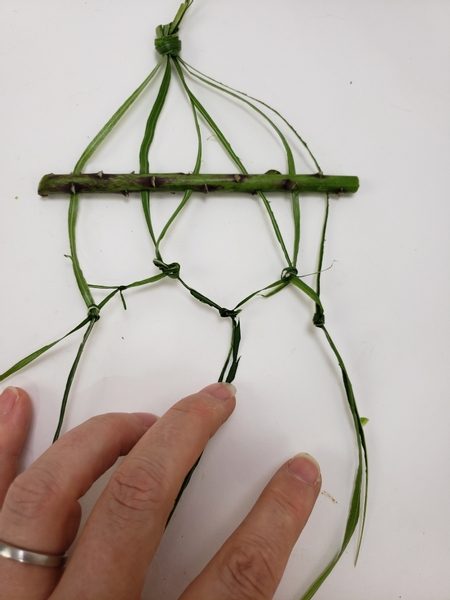
Simply place a pin where the next knot should be...
And carefully knot the strands around the pin.
Knot and pin the strands to craft the hammock.
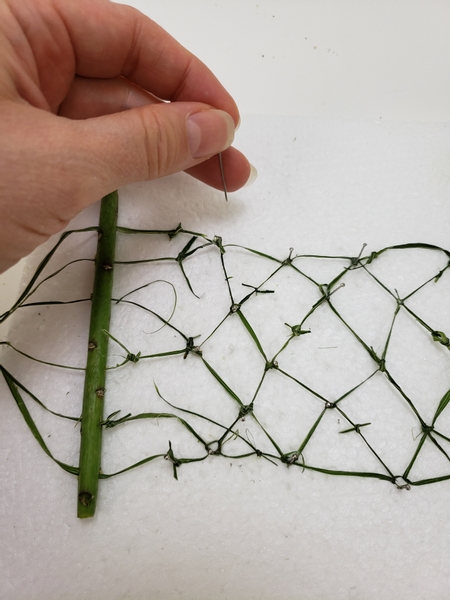
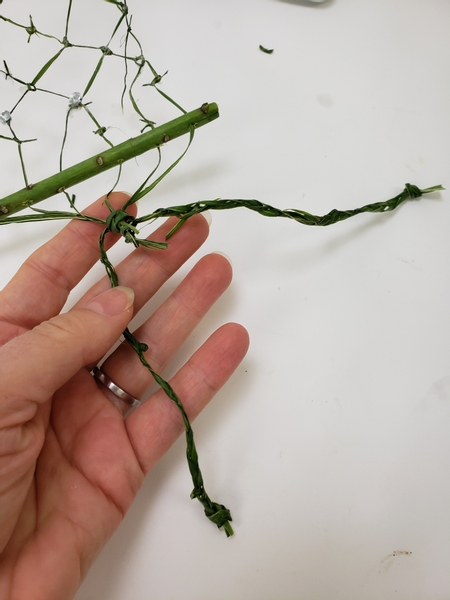
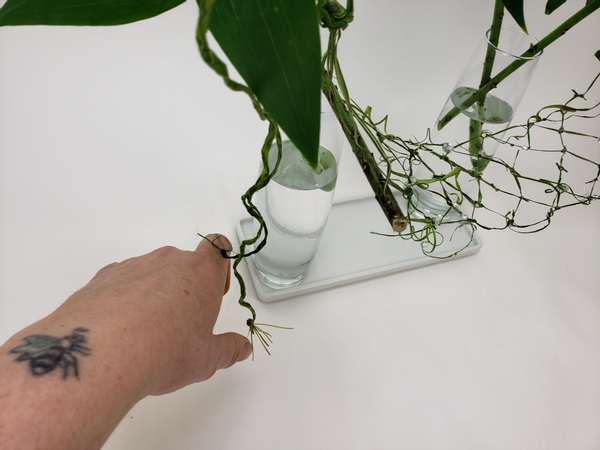
When you have a net as long as required for the design skewer holes into another stem and thread the strands through
Knot the strands together.
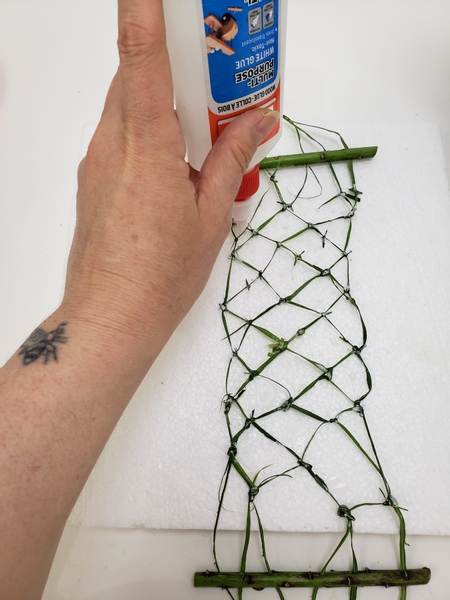
Add the tinniest drop of wood glue on all the knots just to make extra sure it is secure
Design tip: the wood glue also adds to the shape of the hammock once hanged in the design so do not skip this step. Once the glue dries it is clear but it adds a stiffness to the delicate strands that makes it look like a full size hammock.
Once dry remove the pins. Be careful- the hammock is quite delicate.
Again see this week's email.
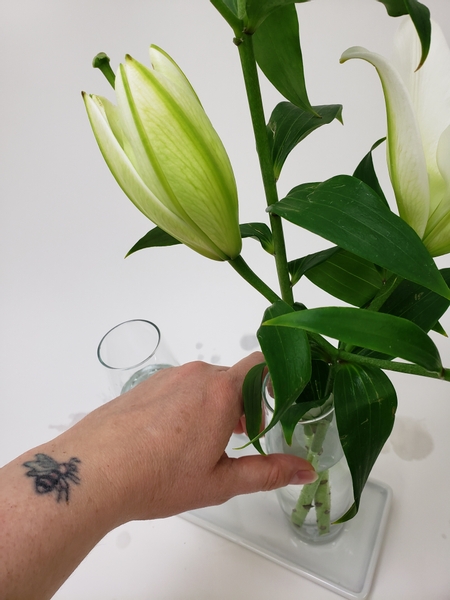
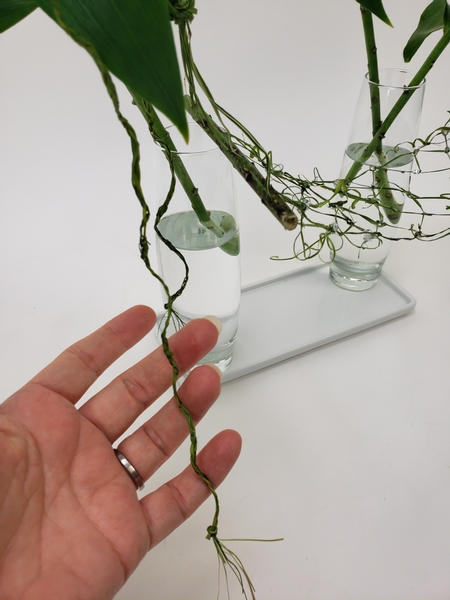
To hang the hammock place lily stems into bud vases.
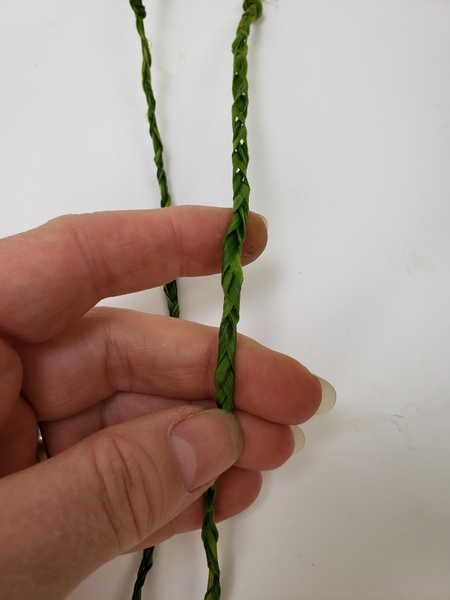
Plait or braid two a strands as ropes to hang the hammock up into the design.
Knot the braid to the top knot of the hammock.
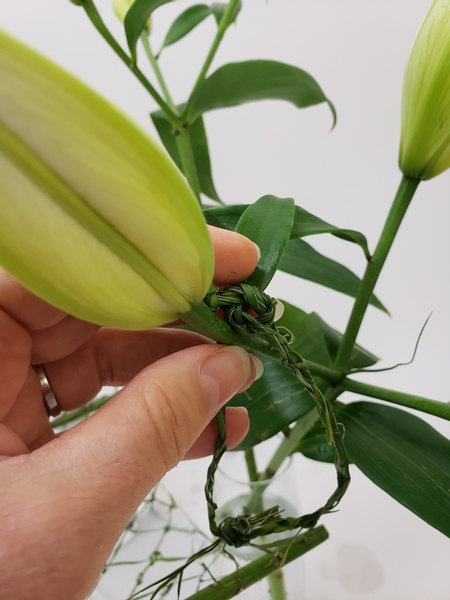
And string it up in the design. Do the same on the other side.
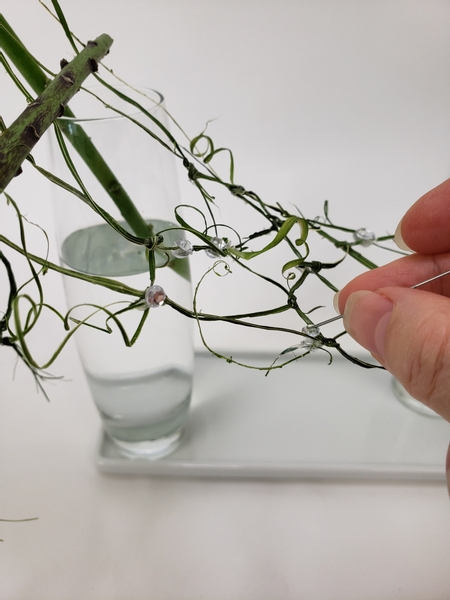
To finish off the hammock curl all the knotted strand ends and add in a few dew drop crystals.
To get you started I have links to Tutorials for both the dew drop crystals and how to curl the strands... with an alternative technique in my book.
And if possible curl the leftover braids to dangle down one side of the hammock.
Make sure the design is secure on a display surface.
Sign up for my weekly newsletter
Every week I add a new design with related tutorials. Be sure to subscribe to receive an email notification with design inspiration.


