Christine de Beer - effortless floral craftsman
Weaving a bird
- 21 July 2011
- and more
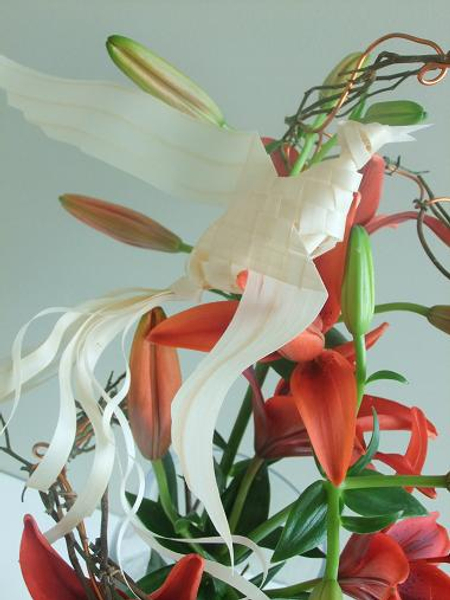
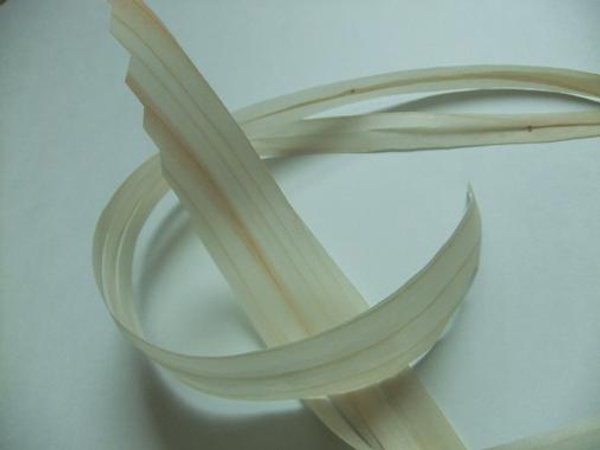
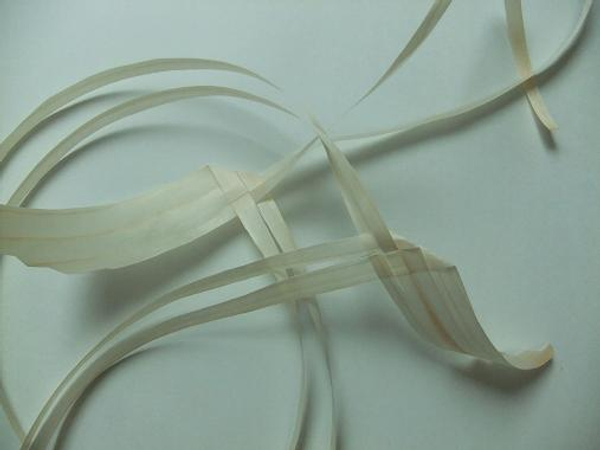
I wove my bird from Kyogi (shaved wood) paper
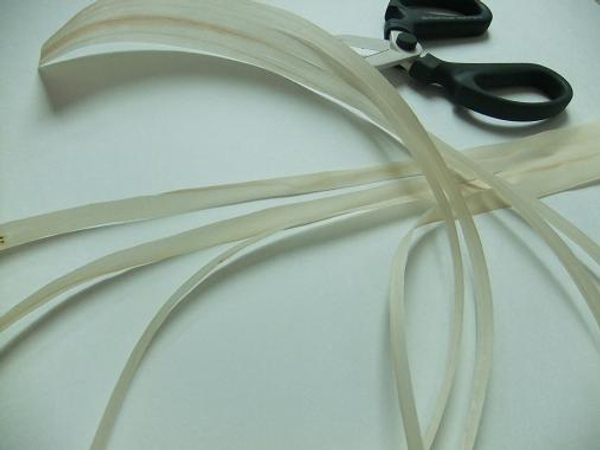
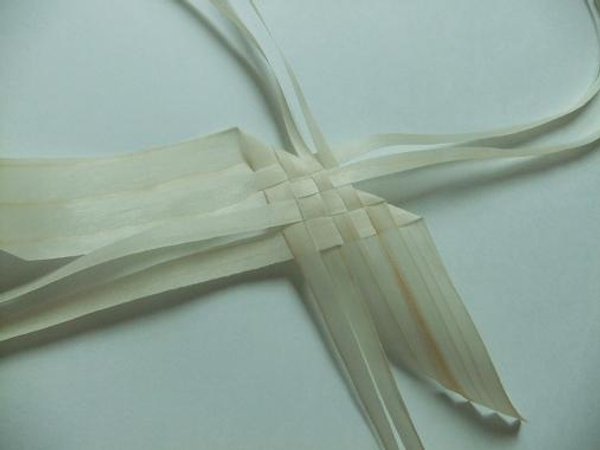
Cut two wood strips of equal size. Split each strip into 4 strips leaving the last 10cm uncut.
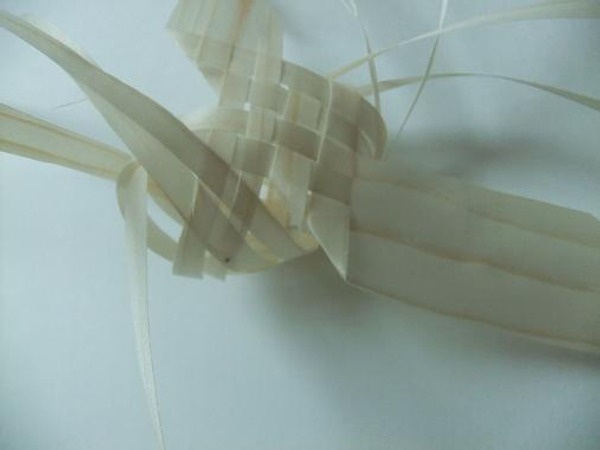
Cut a tiered pattern into the uncut strips for the wings
Start weaving the wing. Fold the first strip down at a 90 degree angle. Weave over and under the rest of the strips. Take the second strip and bend it again at a 90 degree angle and weave it under and over the strips starting a weaving pattern. Do the same with the other side of the wing, only in mirror image.
Continue the weaving pattern and tighten the weave.
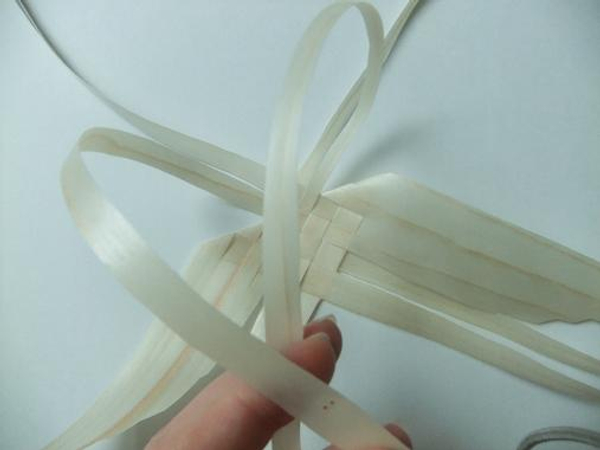
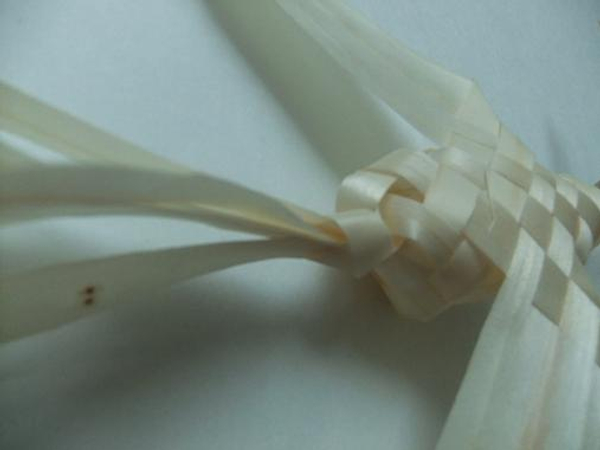
Flip the wings over (fold side facing up) to start weaving the body. Take the top two strips (closest to the folds) and place the left strip over the right strip.
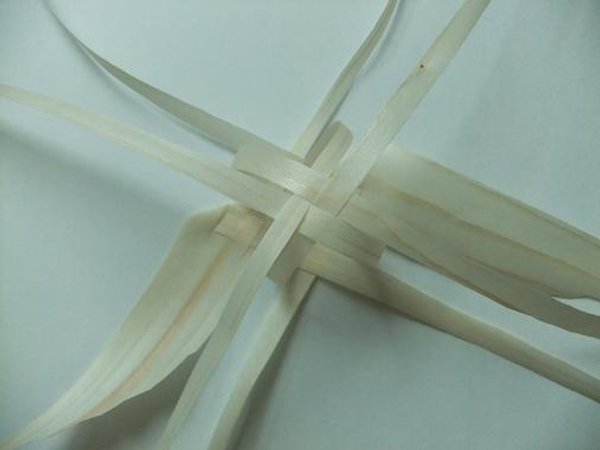
Take the bottom inside strips and start the weaving pattern.
Add the two strips that is left on the top and the two strips at the bottom and continue weaving.
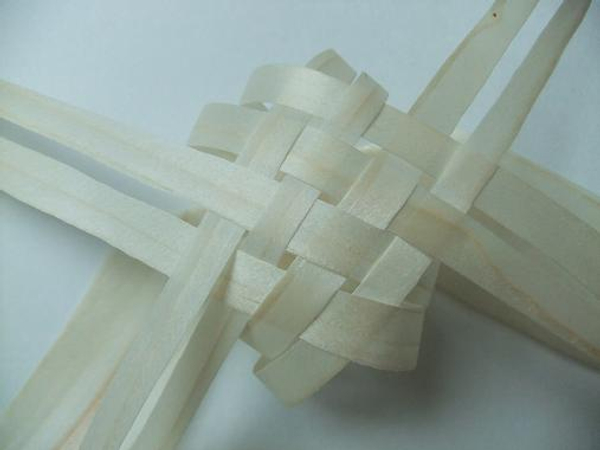
This is the hardest part for me because I seem to do it differently every time I make one of these. Basically you want to close up the sections under the wing. The 4 strips pointing up gets woven to the top to create the head and the 4 strips pointing down becomes the tail.
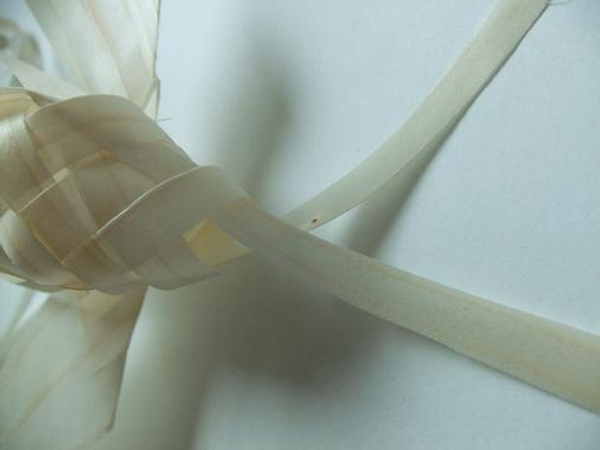
Continue the weave pattern. Two strips on each side will neatly tuck through the hole and two strips will remain over the last weave.
Knot the 4 strips at the tail end.
You can cut the ends short, into a v or for a more dramatic bird curl it.
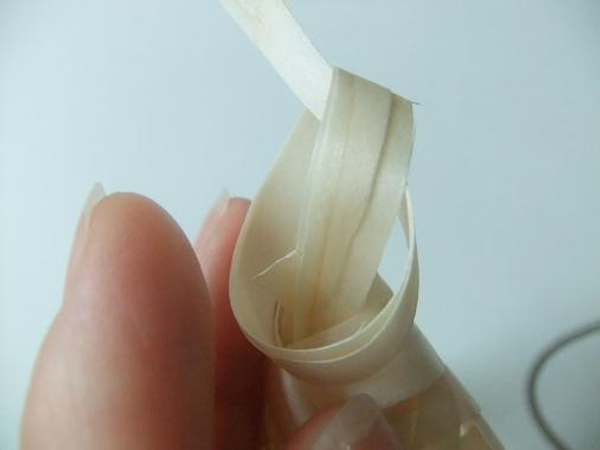
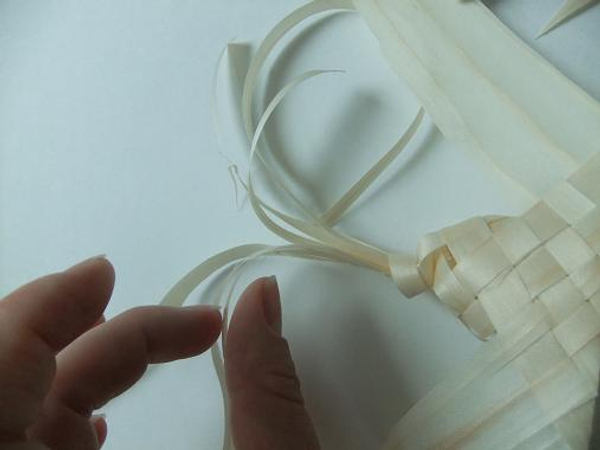
Knot the top 4 strips to create the head.
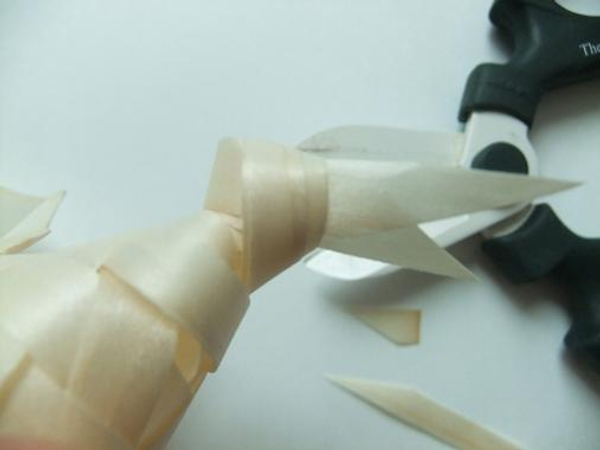
Cut a v into the strips to create a beak.
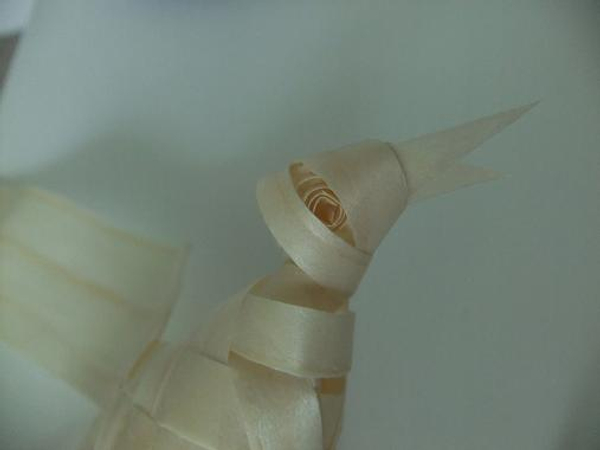
I like to add an eye by opening the strip and placing a rolled strip of paper into the cavity. I cut a flatter strip for the other side and glue it on.
Sign up for my weekly newsletter
Every week I add a new design with related tutorials. Be sure to subscribe to receive an email notification with design inspiration.


")


