Christine de Beer - effortless floral craftsman
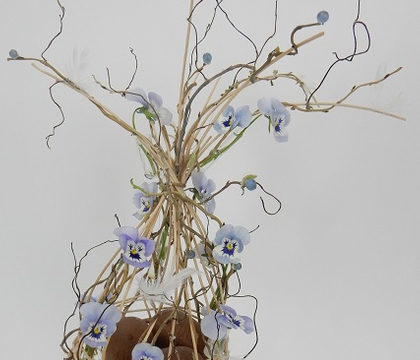
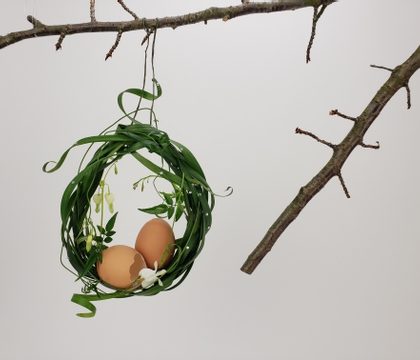
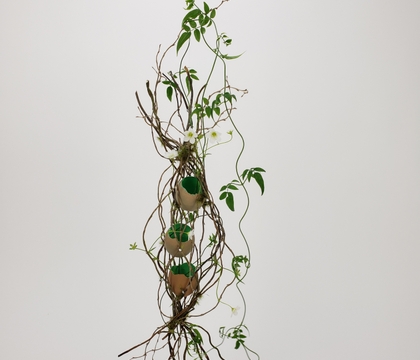
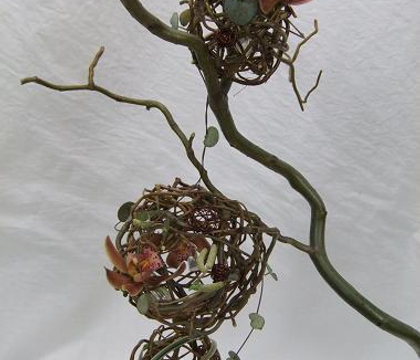
High Rise Twiner Jasmine and Twirling willow Easter mobile
- 27 March 2024
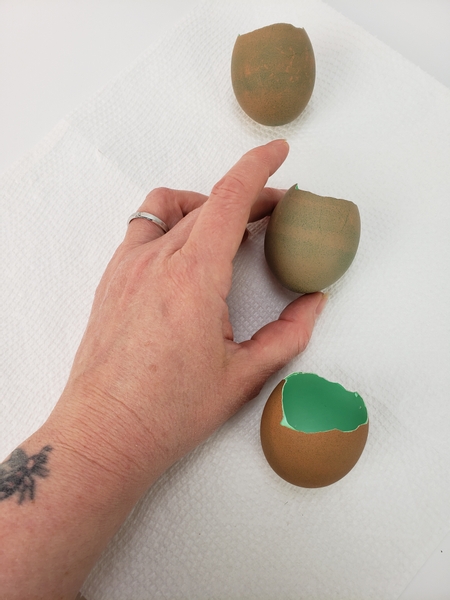
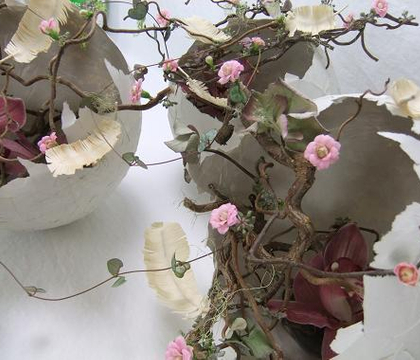
For my design I started by soaking the egg shells in green food colouring.
There are so many ways you can dye eggs. All of them fun. And you will absolutely find a way to dye your floral details (or decide not to... ever) that suits your design personality perfectly.
Book readers turn to page 373 for the bit where we discuss doing a bit more than you have to, to make your work extraordinary. You will find a whole section on natural dyes.
For more information about my book: The Effortless Floral Craftsman
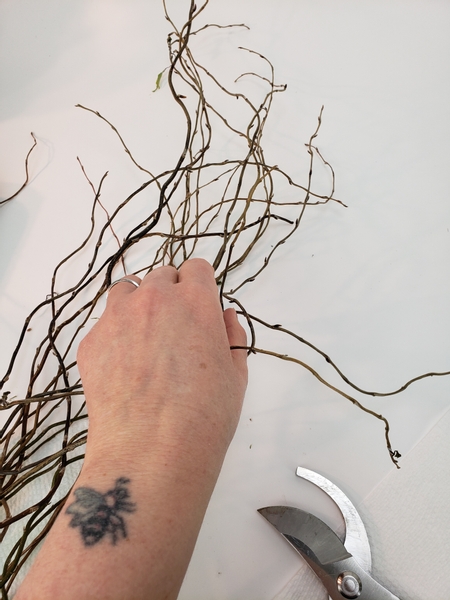
Gather a bundle of willow tips.
Design note: it is so easy to find ways to use fresh tips. You can weave baskets and trays and... and... and... And then some times you purchase a bundle of willow and by the time you get home you find the tips are already too brittle to manipulate. Well, this is an ideal design for those tips!
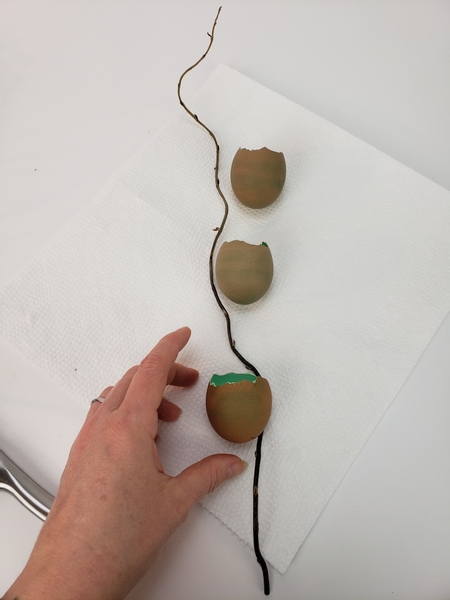
Line up the eggs so that you can glue them into place.
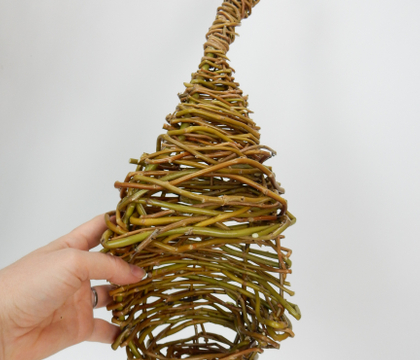
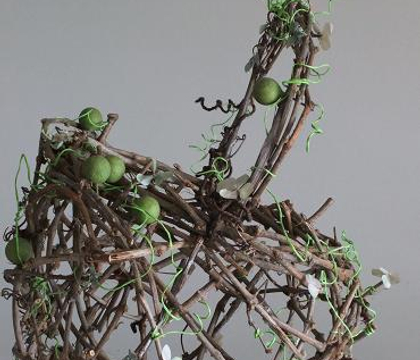
What makes the vertical nest design look rather cute when done is also what makes it rather tricky to get going. The curly willow is all over the place!
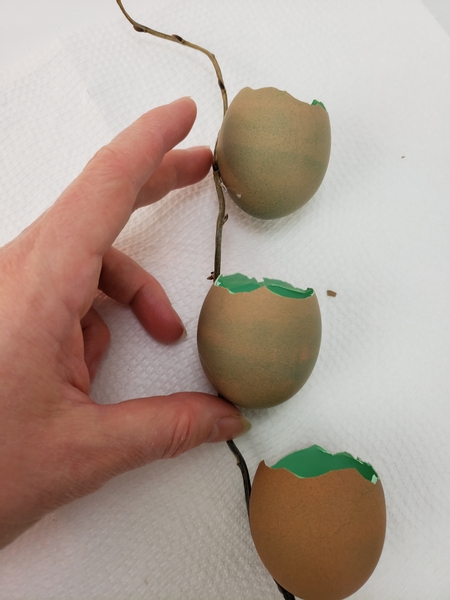
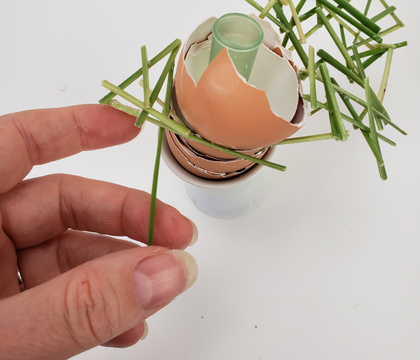
Adjust the egg shells so that it is stacks up in a straight-ish line. Glue the eggs to the willow with a small drop of hot glue.
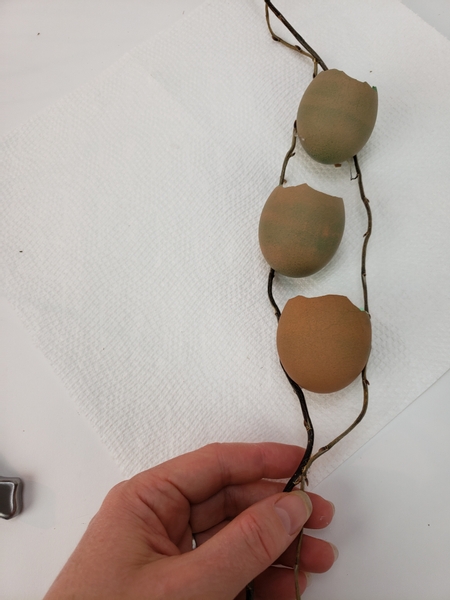
Add in the next willow twig.
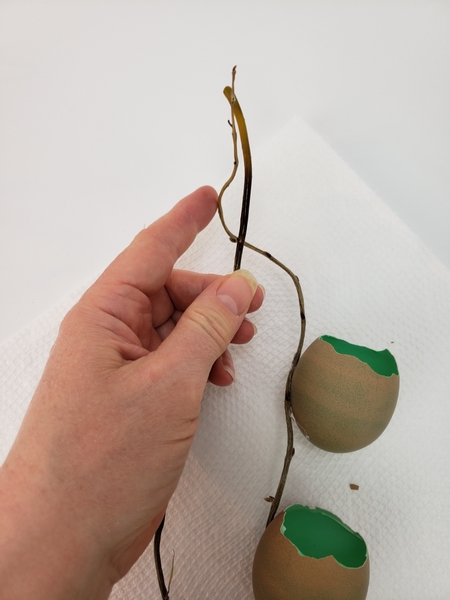
Do not force the brittle twig into position. Simply see where it naturally falls and glue the twigs together closer to the top...
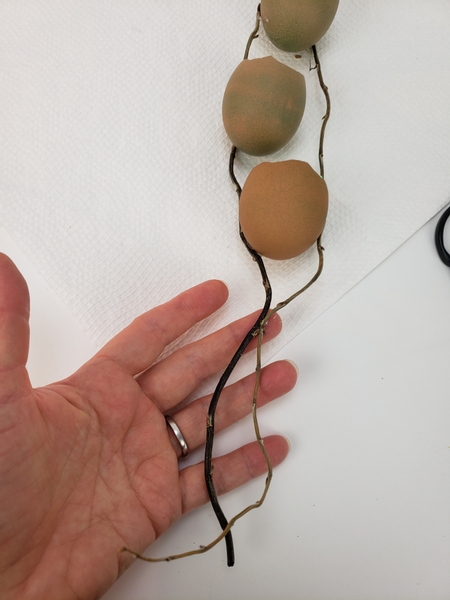
And closer to the bottom leaving the twig to just naturally curve around the egg shells.
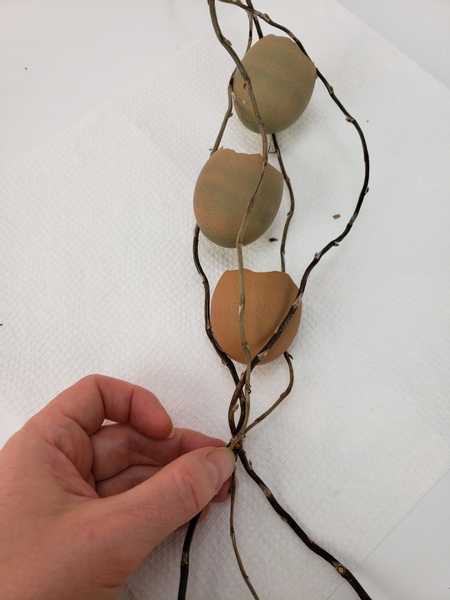
Keep adding willow twigs one by one.
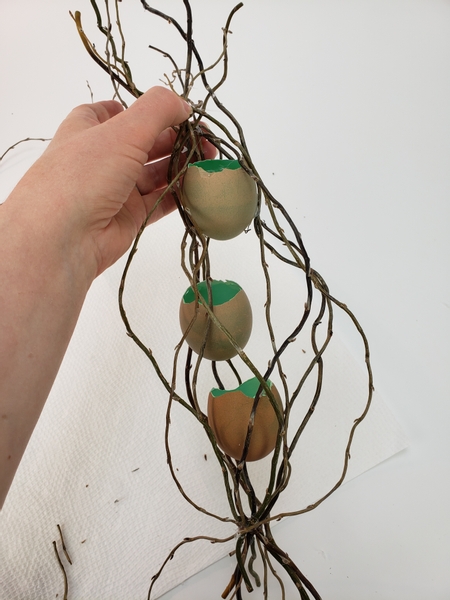
Add twigs all around the egg shells by securing them somewhere where they naturally connect at the top, twirl down past the egg shells and again connect somewhere close to the bottom.
Vary the stems by sometimes placing the tips to the top, and then to the bottom.
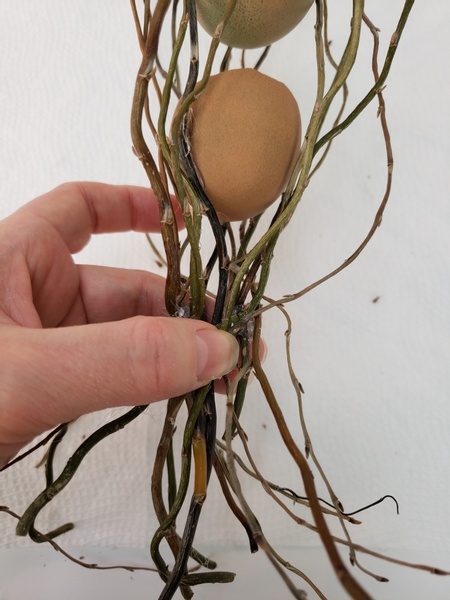
Create a strong connection to secure all the twigs into a bundle
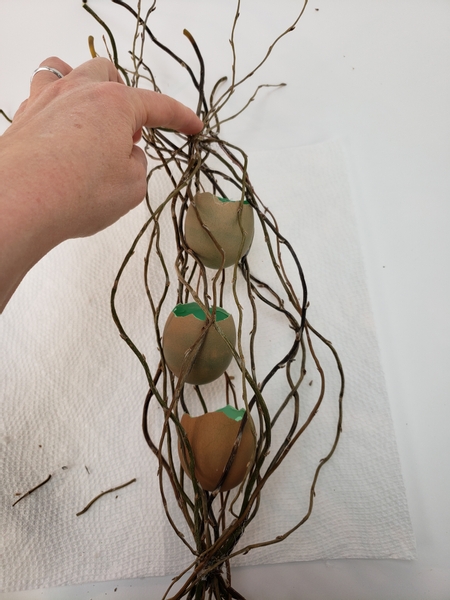
And without putting any force on the willow tips glue the twigs to the egg shells where they naturally touch to make a robust armature that can spin and twirl without coming ondone.
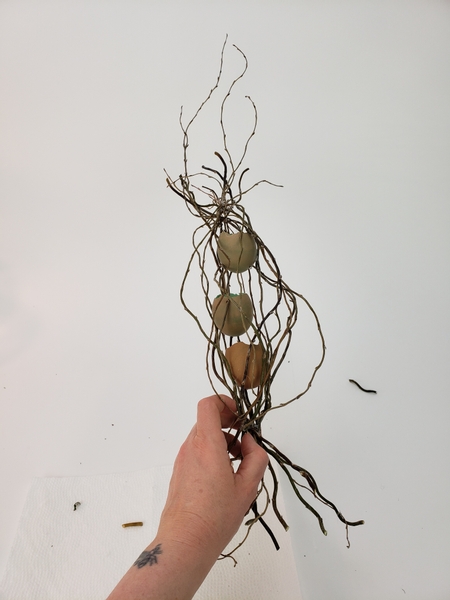
Have a look at the armature from all angles and make sure it is secure... and pretty. Add in more willow twigs where needed.
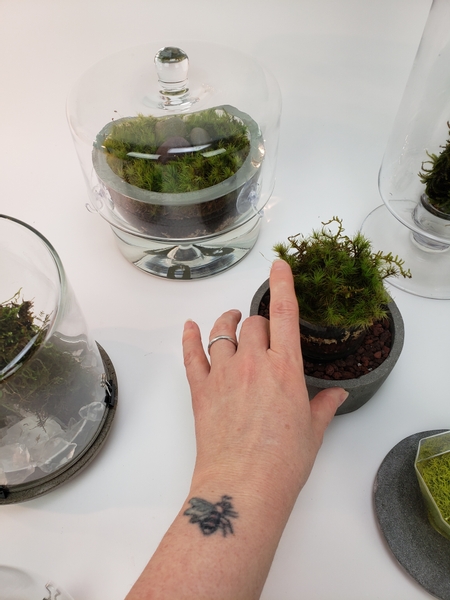
For my design I am covering the glue bits with moss.
This is the part of our design personalities that I am most curious about. What is your relationship with your design material? How much consideration do you give what you use and how important is sustainability to you? Do you buy everything you need? And from where? How do you feel about foraging for moss, for example?
See below for the link to my Grow Your Own floral pantry post on how I grow moss.
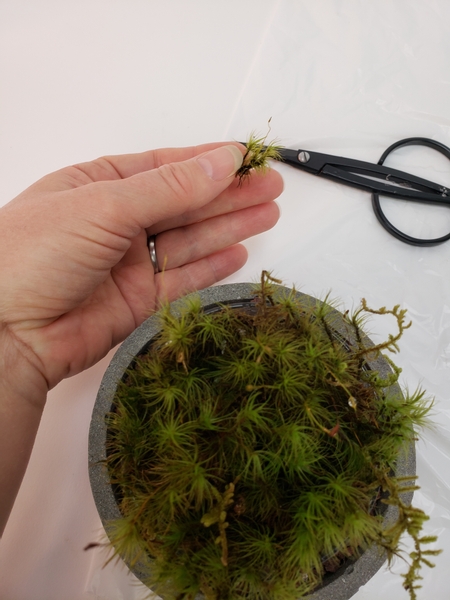
Simply snip the moss...
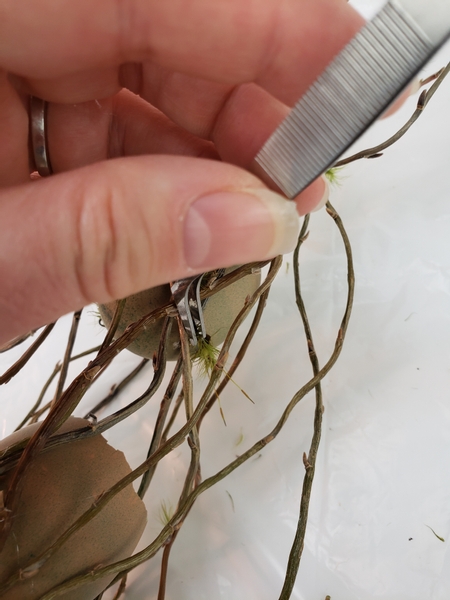
... and glue the moss to the design to conceal the glue on the willow twigs. Use a tweezer to get into the bits between the willow twigs.
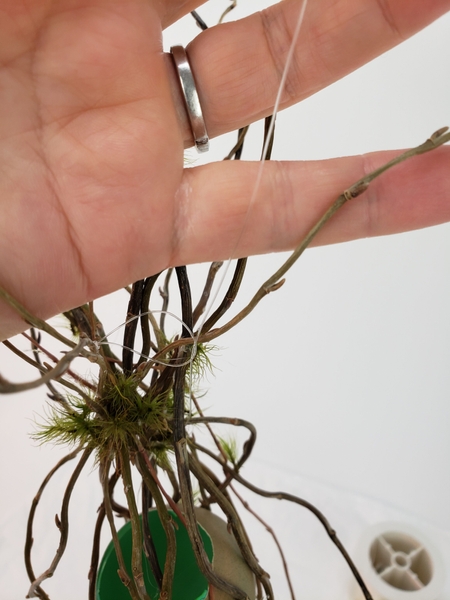
Hang the willow nest mobile using fishing line before adding the floral details.
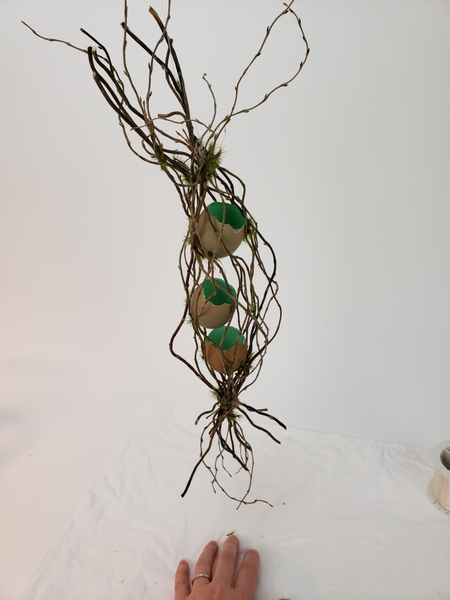
I do this because it is so much harder to hang the mobile so that it settles with the side you want to be the front... to the front. I rather let it settle first so that you can see if there is a front to the design.
It will mostly spin. But there will be moments when the design hangs perfectly still... make that side extra special.
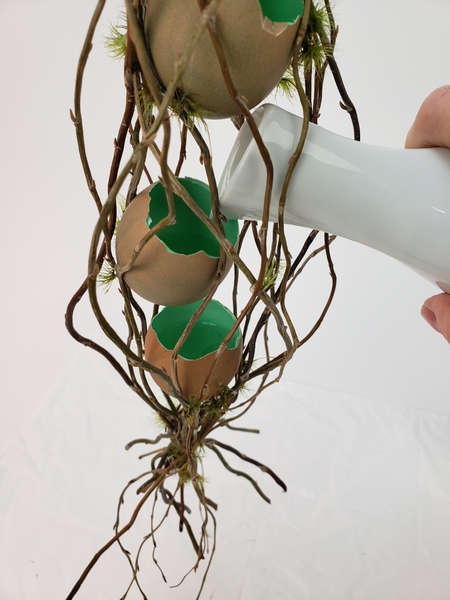
Fill the egg shells with a bit of water.
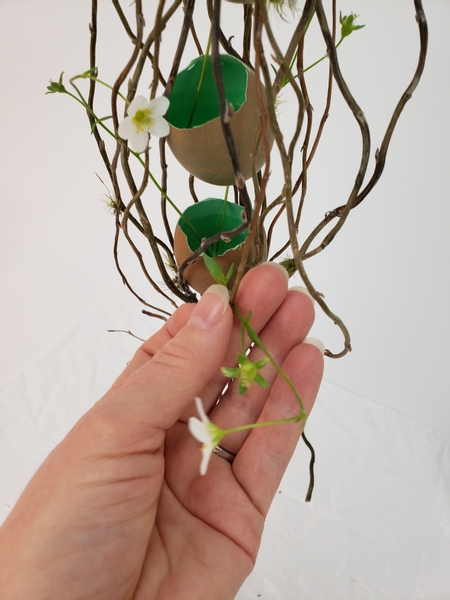
And add in the saxifraga flowers stems so that it remains hydrated.
This week in our notification email I tell you a bit more about using an armature to keep your floral details in place. Make sure you are signed up to receive the email on Wednesday mornings (Vancouver time) so that you can make the most of this weeks design inspiration... and reply to the email if you have questions or comments. Or say Hi. I would love to hear from you. The sign up is below this post.
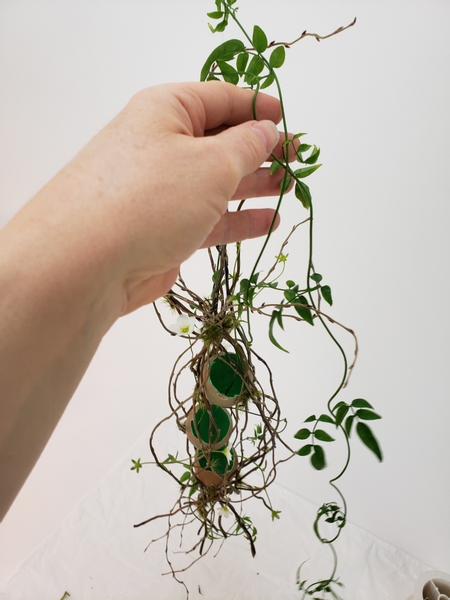
Add in a few fresh jasmine vines to twine over and around the willow armature.
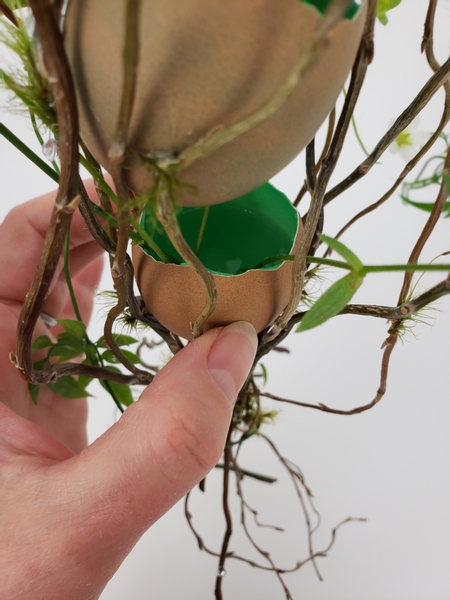
Make sure all the stems are below the water line so that they remain hydrated.
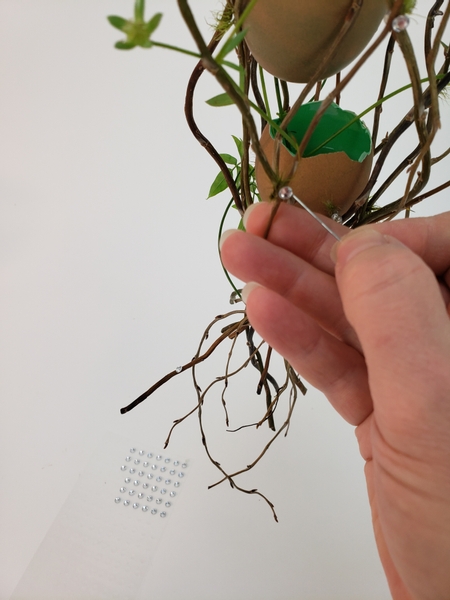
Finish the design with a few sparkling dew drop crystals.
See the Tutorial below for more detailed instructions on how to add the crystals to your designs.
Sign up for my weekly newsletter
Every week I add a new design with related tutorials. Be sure to subscribe to receive an email notification with design inspiration.


