Christine de Beer - effortless floral craftsman
The prettiest stick to stick up, out and over to support clematis vines up, under and in to its fullest and drapy-est potential.
- 25 February 2026
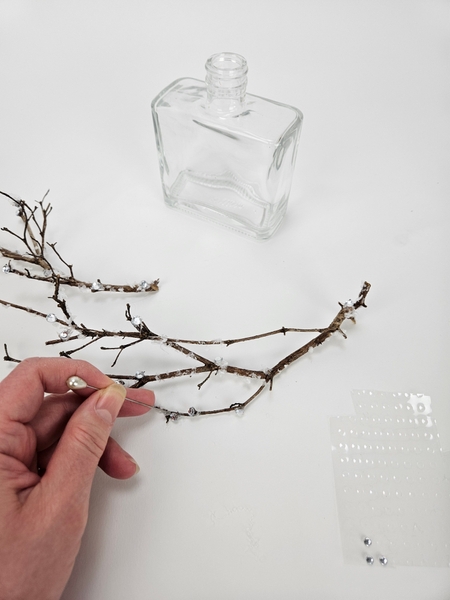
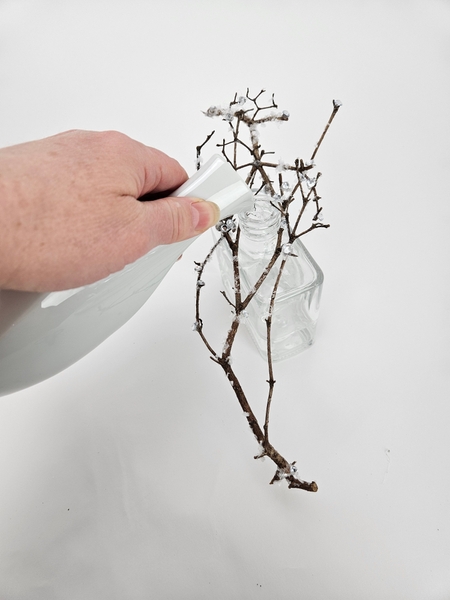
We start the design by crafting a few snow covered twigs and adding a few large dew drop crystals for extra late winter sparkle.
You can find detailed instructions on how to make the snow covered twigs and how to add the crystals below this post.
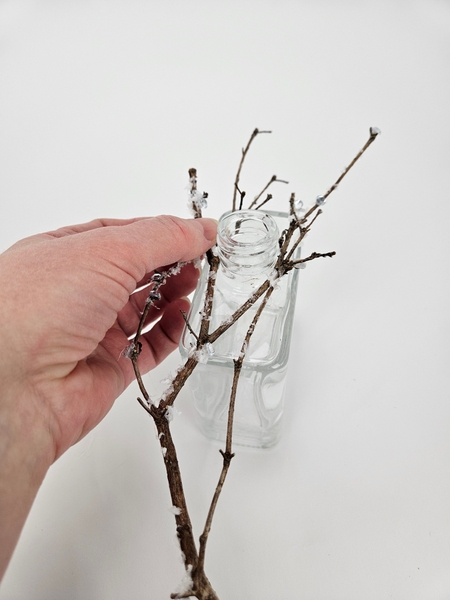
Split the twig open at a fork and slip this around the opening of a small container.
Slip the other twig from the other side over the bottle neck...
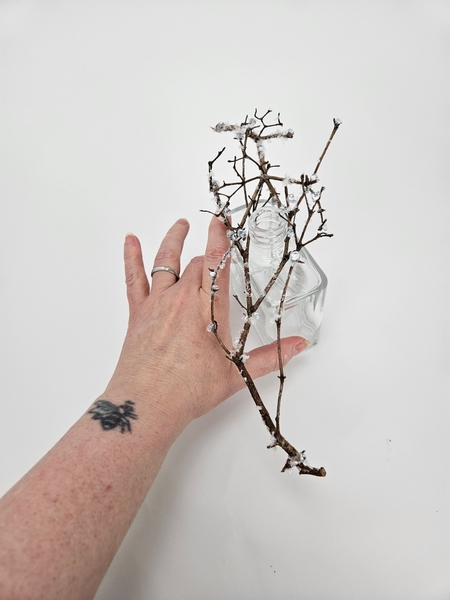
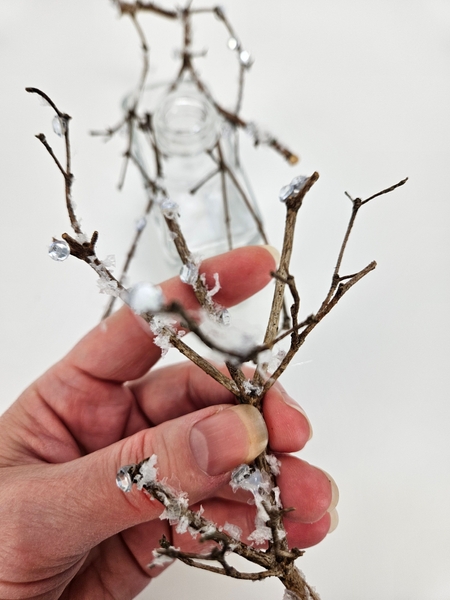
Position the twigs carefully to add a bit of personality to the design and secure it to the glass with small drops of hot glue when you are happy with the angles.
Every Wednesday morning (Vancouver time), I send out a design note as an early glimpse at the newest Design and a few notes that I picked up creating the Tutorial that might be useful to you. This week, I show you how you can add personality to a design simply by tilting the sticks in a certain way.
If you’re new here, you can sign up below this post. And if you’ve been receiving these notes for some time, I hope they feel like a welcome break in your busy week.
Fill the container with water so that the dried material remains dry and the vines will be hydrated.
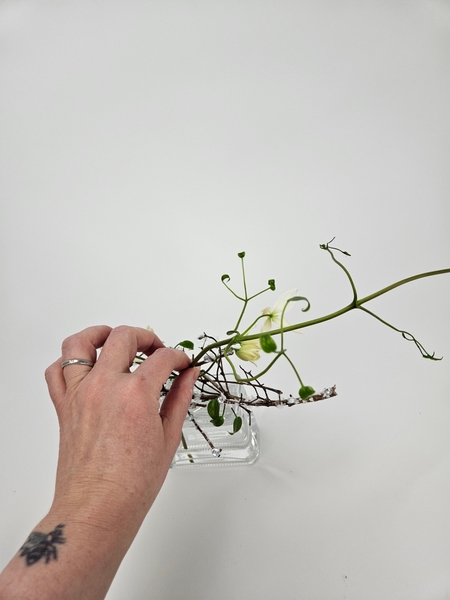
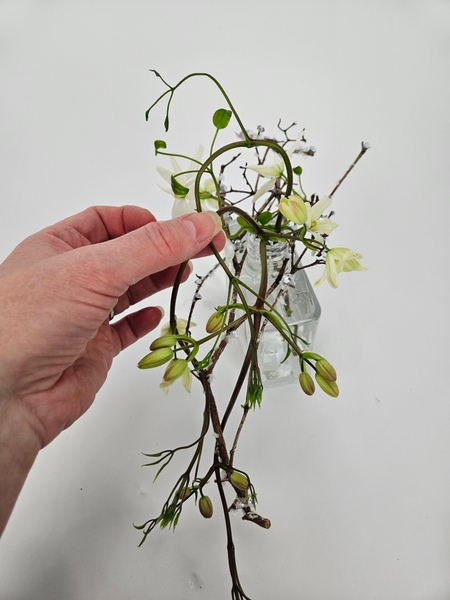
Slip a clematis vine into the water filled container.
And twirl it through the twig armature in an elegant drape.
Be gentle though you want the vine to look unforced. Keep the curves natural and allow the vine to flow.
Book readers turn to page 273 where I discuss crafting floral illusions by manipulating stems. For more information about my book: The Effortless Floral Craftsman
But to get you started I have a Tutorial below this post that shows you how to manipulate stems to curve naturally.
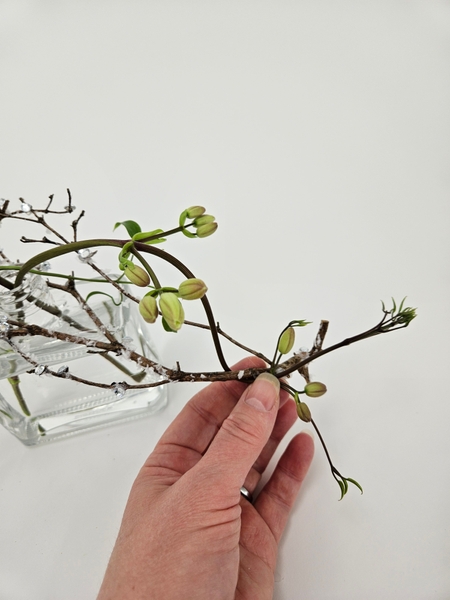
I am twirling three vines to flow forward through the stick armature...
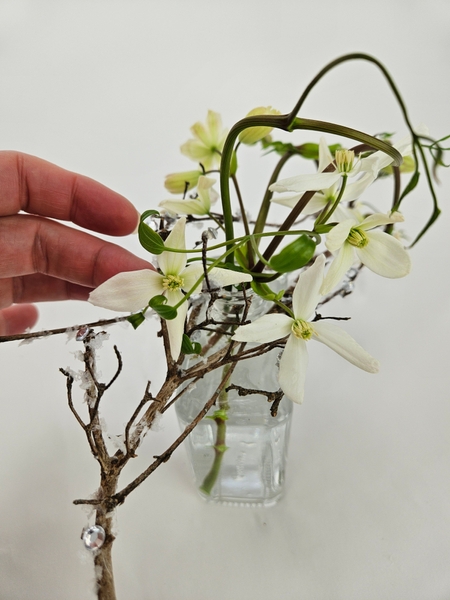
Gently tease out and reposition the petals of the flowers so that they are displayed like you want them and can open unrestrained.
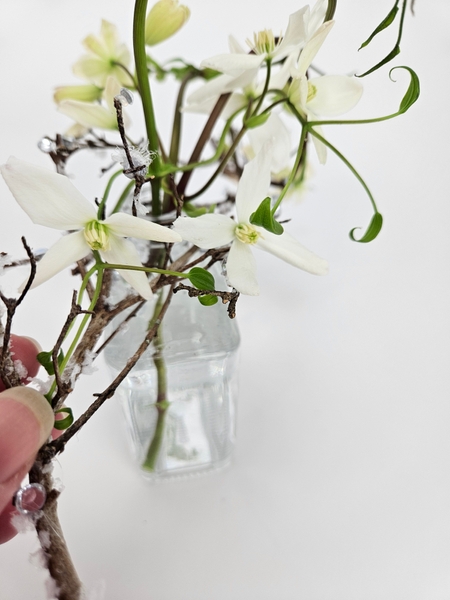
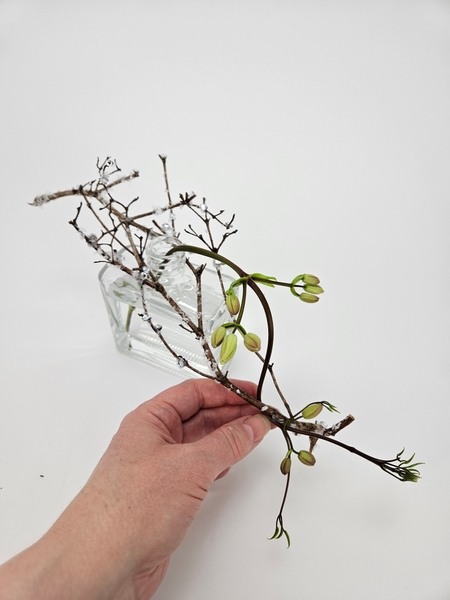
My vines are mostly spilling towards the front of the container so I stretching out the vine foliage towards the back...
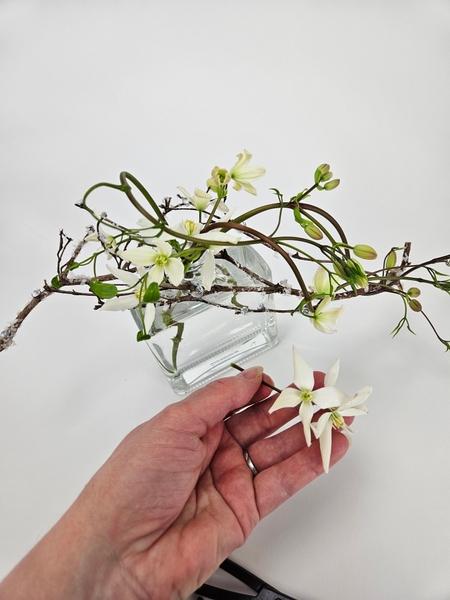
And snipping out any open flowers so that the only open flowers flow here to the back of the design to finish the design with an elegant and balanced flow to the front that is still pretty when viewed from the back.
Sign up for my weekly newsletter
Every week I add a new design with related tutorials. Be sure to subscribe to receive an email notification with design inspiration.


 Twig Season")


 frosted twig frog to balance your anthurium stems just so")


