Christine de Beer - effortless floral craftsman
Just sparkly enough (for January) frosted twig frog to balance your anthurium stems just so
- 7 January 2026
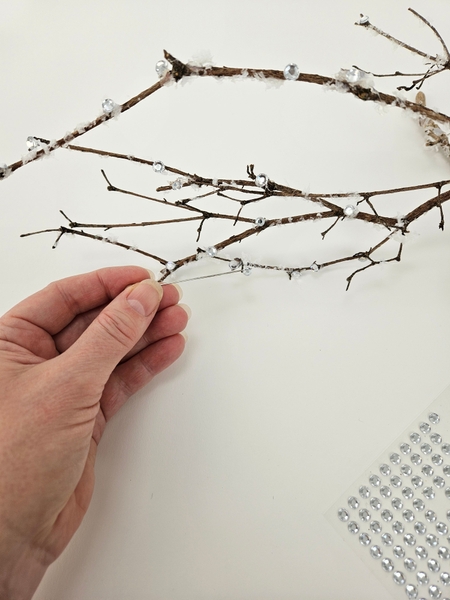
Perfect reason to get outside is: to search for the most beautiful dried twig to use as a flower frog. I adored this one. It looks like it was frozen in a blizzard. Add a bit of artificial snow (see the Tutorial below for detailed instructions) and add a few extra large dew drop crystals (see the Tutorial linked below). It should be extra dramatic to replace all the Christmas sparkle now that the Festive Season is behind us.
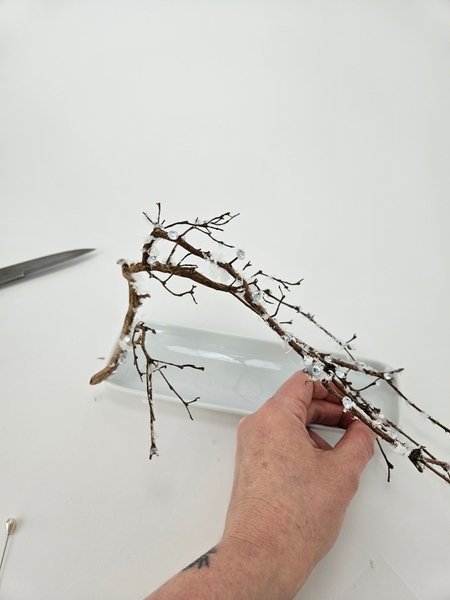
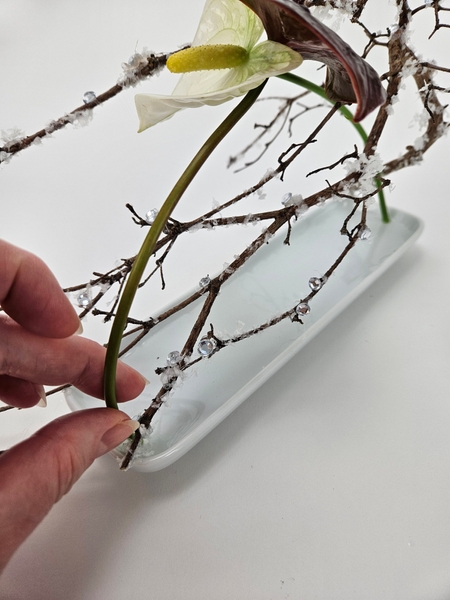
Secure the twig with hot glue to a shallow display container. I use hot glue because it keeps the twig perfectly in place as long as it remains dry. And then when I am ready to remove it I simply soak the glue in warm water and it pops off with no effort. I can then scoop up the glue and melt it again in a glue pan. No waste!
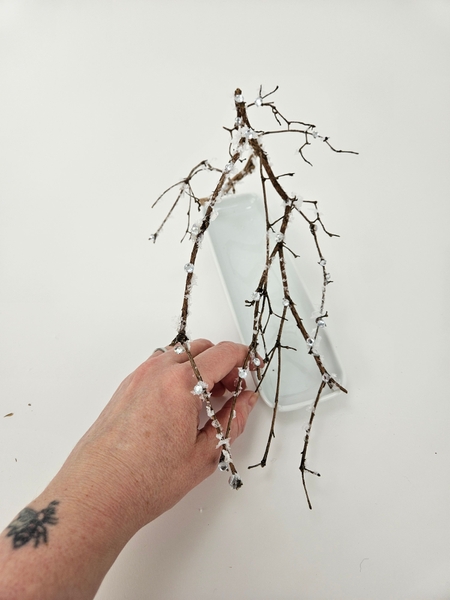
Glue the twig to the outside of the container on both sides.
Apart from the fact that the glue will let go if it gets wet you also want the dried twig to be out of water. Dried material rots and will shorten the vase life of your flowers if soaked in the water. Always keep the water sparkling clean.
And I glue it at both ends because the flowers will kick against the twigs.
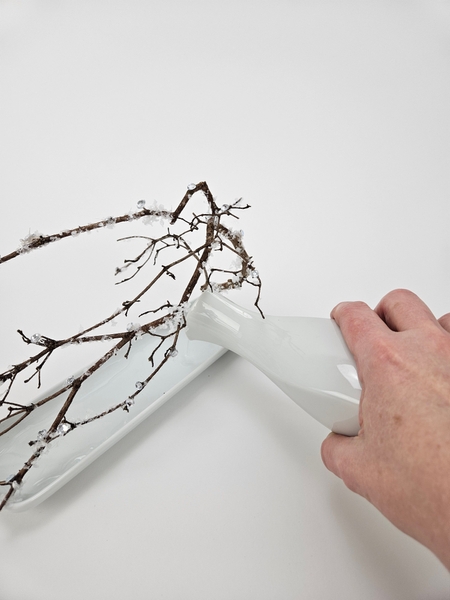
Fill the shallow container with fresh water making sure there is water for the fresh stems but the dried twig is above the water line.
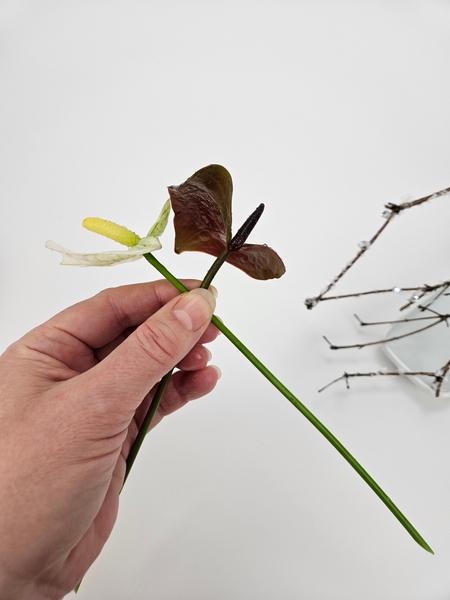
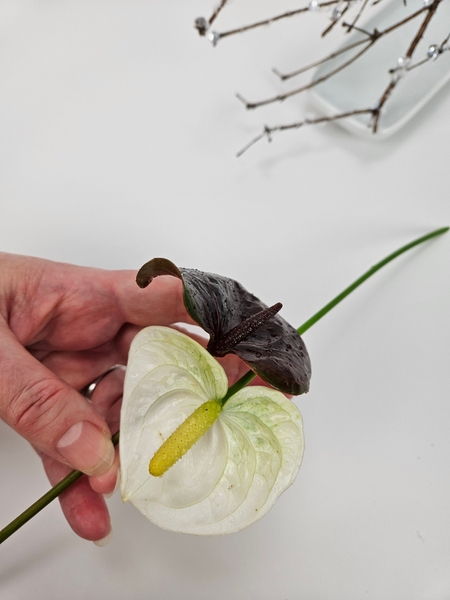
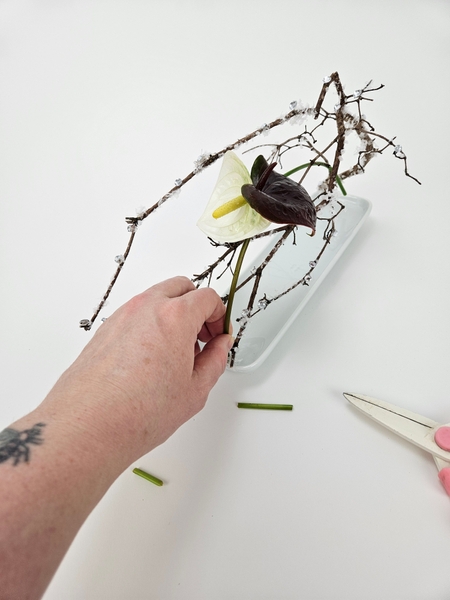
Slip two anthurium flowers to slot in together.
Notice the sharp cut in the stem ends? We are often told that this is what we need to do by default. "Cut all stems at a sharp angle"
Do you know why though?
Book readers turn to page 68 where I explain how I look at conditioning our plant material. Cutting the stems is a huge part of our First aid for our design elements to make our flowers look as beautiful as possible for as long as possible. For more information about my book: The Effortless Floral Craftsman
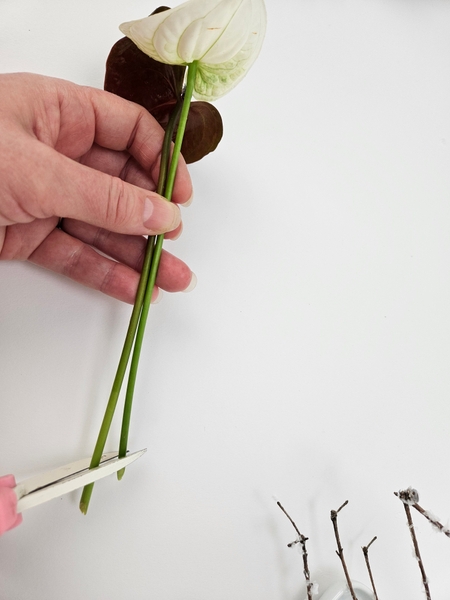
which would explain why in this design I cut the stems flat before standing them upright in the shallow container.
To insert the anthuriums into the twig frog make sure the flower heads are hooked in together with the stems pointing away.
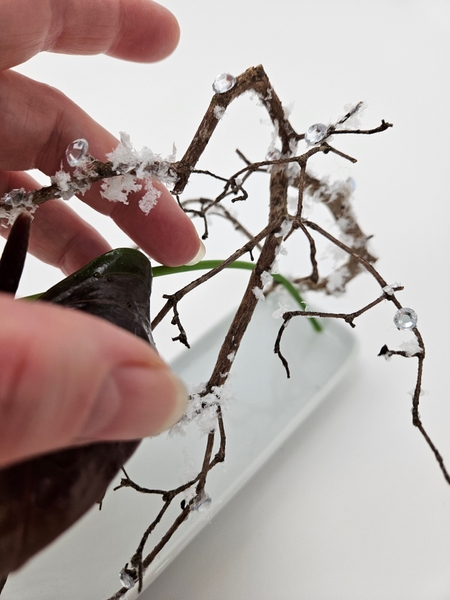
In a see-saw motion hook the stem on one end of the twig and...
... loop it over and hook in the other stem on the opposite end.
The stems should kick against the twig frog and will curve into place. You can always trim the ends slightly to create a better position once the flowers are in place but first position it with the stems slightly too long to make it easier for yourself the get that curve right.

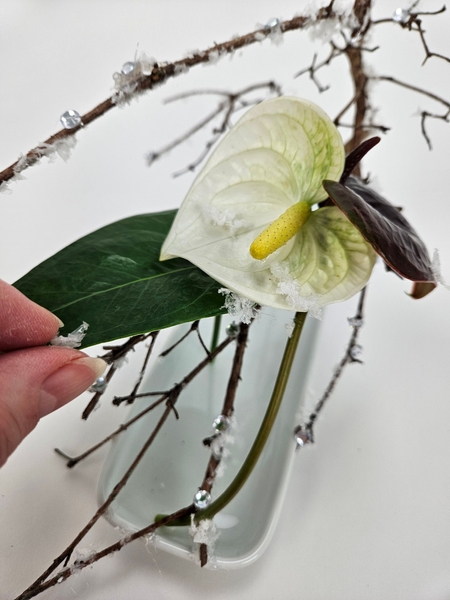
I am also adding a single green anthurium leaf to create the windblown and asymmetric look I want for the design.
Finish the design with a few flakes of artificial snow...
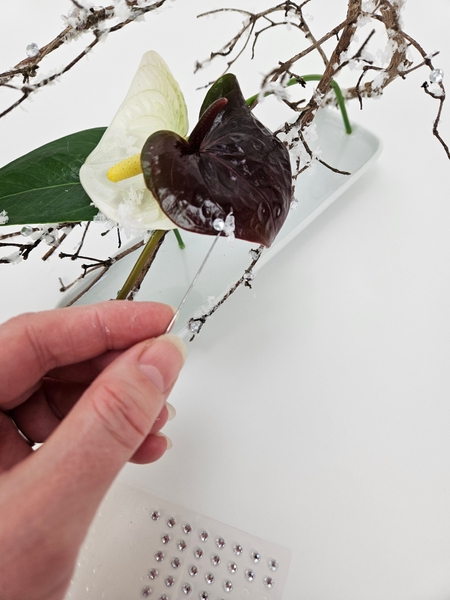
Add a few dew drop crystals to the anthuriums and leaf for sparkle...
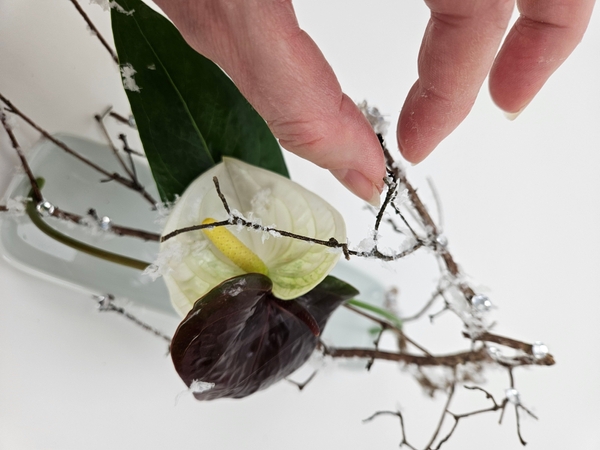
And to complete my twig-in-a-blizzard look of the design I am adding a final few snow covered twigs to hover over the anthuriums.
These twigs are impossibly delicate but absolutely make the entire design! Every Wednesday morning (Vancouver time), I send out a design note as an early glimpse at the newest Design and a few notes that I picked up creating the Tutorial that might be useful to you. This week, I show you why I add impossibly delicate twigs to my design to finish it off. If you’re new here, you can sign up below this post. And if you’ve been receiving these notes for some time, I hope they feel like a welcome break in your busy week.
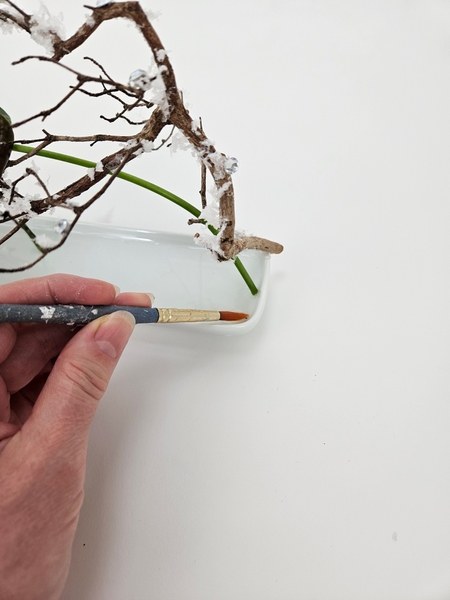
And as a final step use a soft paint brush to scoop up any debris to make sure the water is clean and the minimal design is tidy.
Top up the water to the highest level possible so that the anthuriums can remain hydrated but the dried twigs remain dry.
Sign up for my weekly newsletter
Every week I add a new design with related tutorials. Be sure to subscribe to receive an email notification with design inspiration.


 cap!")


