Christine de Beer - effortless floral craftsman
Grass tunnel that stays just so
- 12 March 2014
- and more
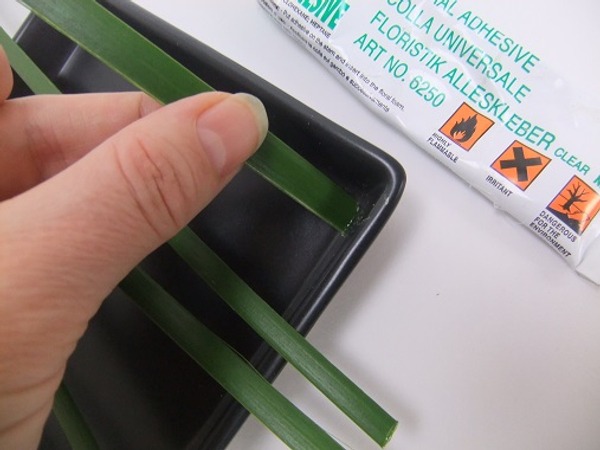
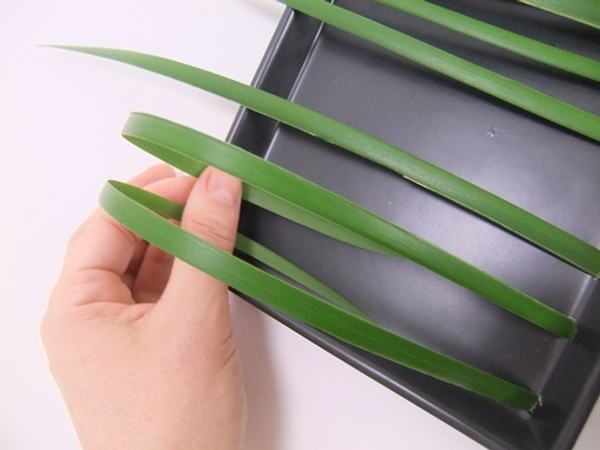
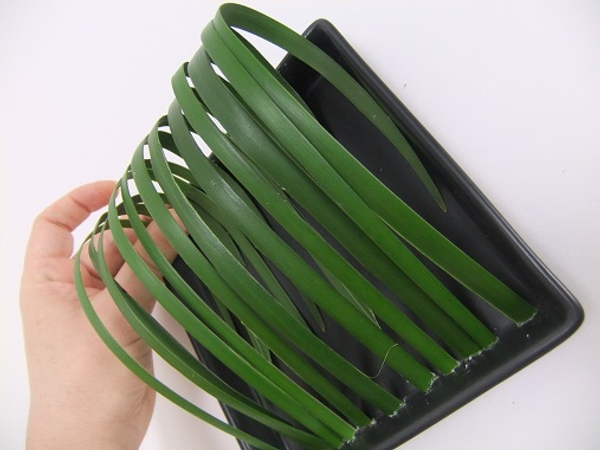
Snip a few blades of grass and glue the flat side to the side of a shallow container.
Make sure you glue the grass to the side and not the bottom, so that you can add water without the glue loosening
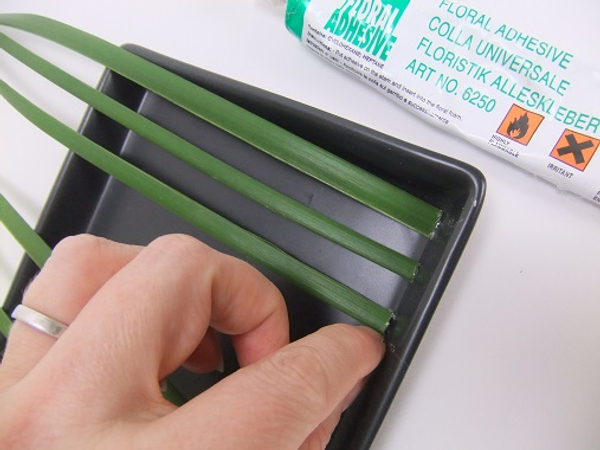
Continue to glue blades of grass leaving a gap to make it easier to work
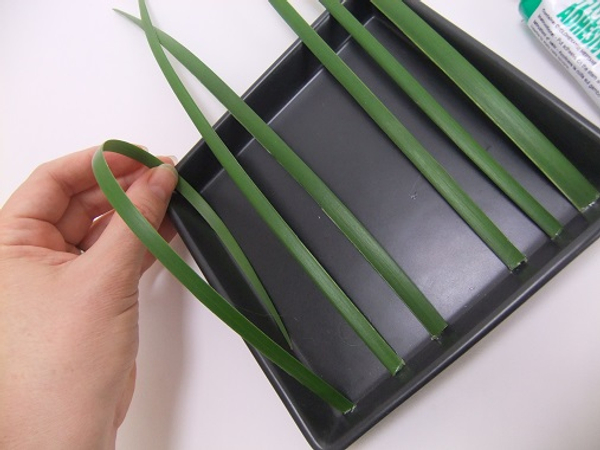
Fold over the first blade to create a loop. Secure with a drop of glue. Again glue the grass to the side and not the base
Loop the next blade of grass...
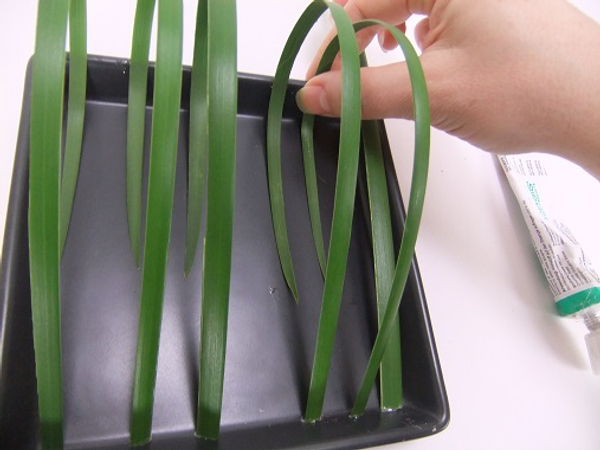
And the next... and the next... Loop and secure the last blade of grass
Set the grass aside for just a few minutes to make the bond secure before adding blades to fill in the gaps
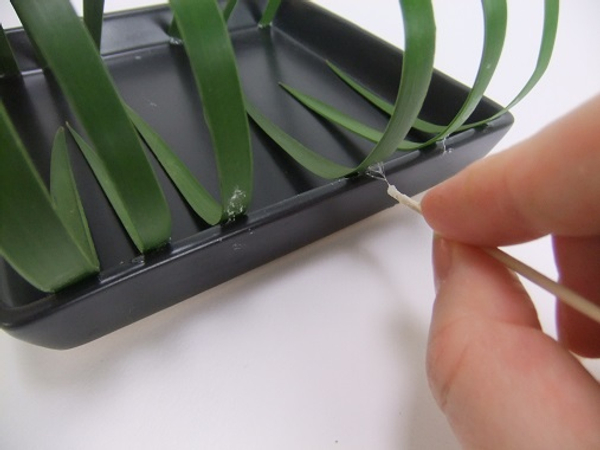
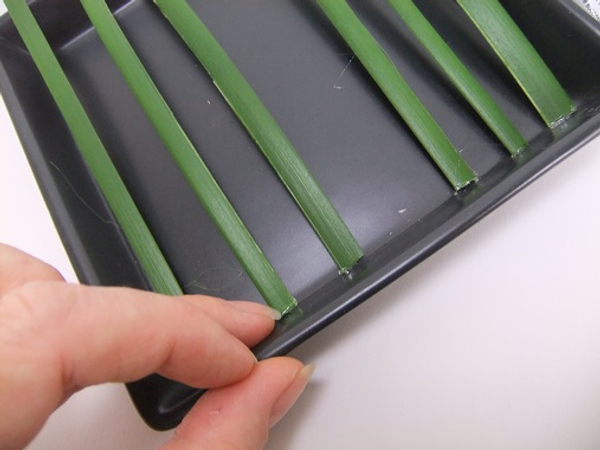
When the glue is set clean up any spills and blotches. See the detailed Tutorial below
See Tutorial below for detailed instructions on how to clean up floral glue spills
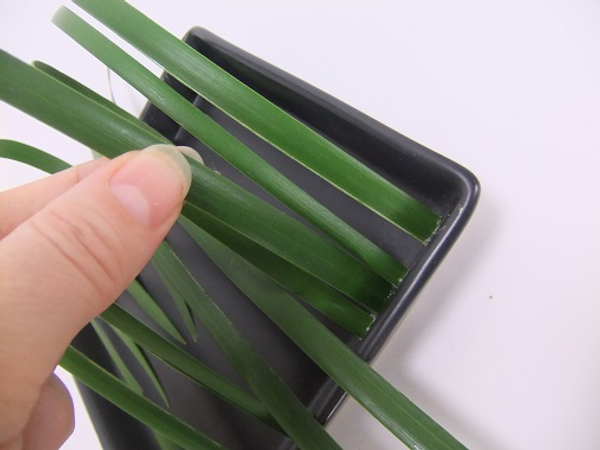
Glue in blades of grass to fill in the gaps
Carefully adjust the blades to follow the same curve

Grass tunnel ready to design with. Fill the shallow container with water to just below the glue line. The curve of the blade of grass will be submerged in water
Sign up for my weekly newsletter
Every week I add a new design with related tutorials. Be sure to subscribe to receive an email notification with design inspiration.


 frosted twig frog to balance your anthurium stems just so")


