Christine de Beer - effortless floral craftsman
Puzzle out a pollinator beacon for a clear and bright summer display
- 3 June 2026
- and more
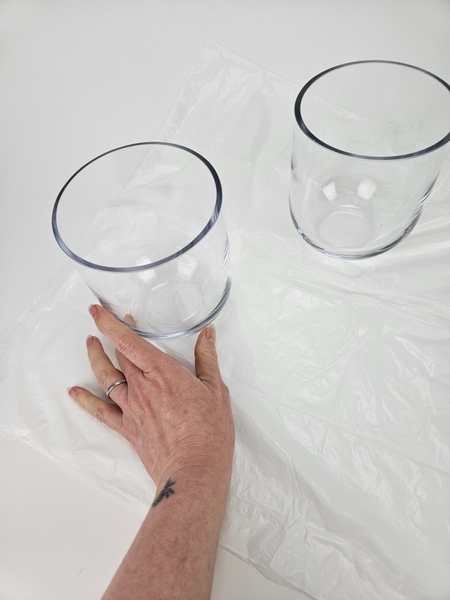
For my design I am using two display containers that are robust enough to be stacked one on top of the other.
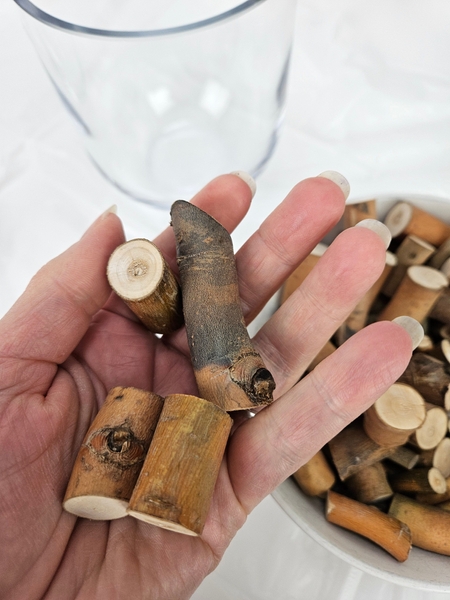
Cut a few branches into snippets and set them aside to dry.
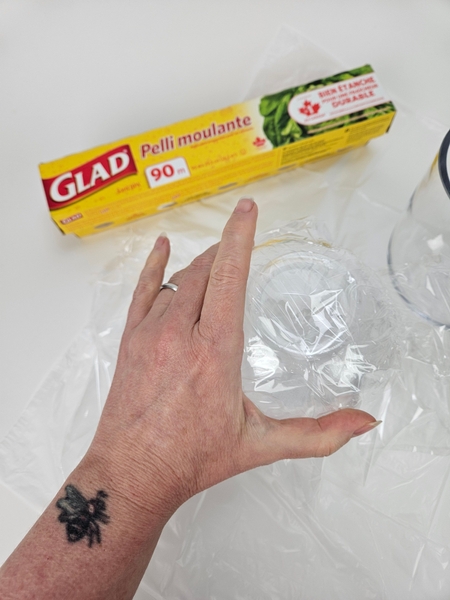
Cover one of the display containers in a layer of plastic to protect it. No need to use new plastic wrap. You can use the same piece over and over and over. This is a great way to reuse plastic wrap that you do not want to simply trash.
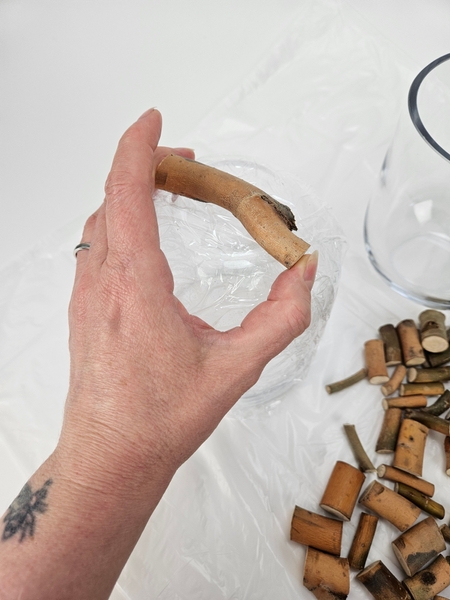
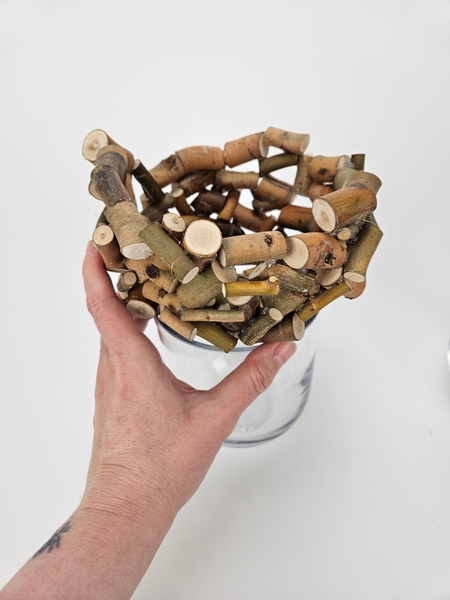
Stack your first twig on the bottom of the container to start the armature design...
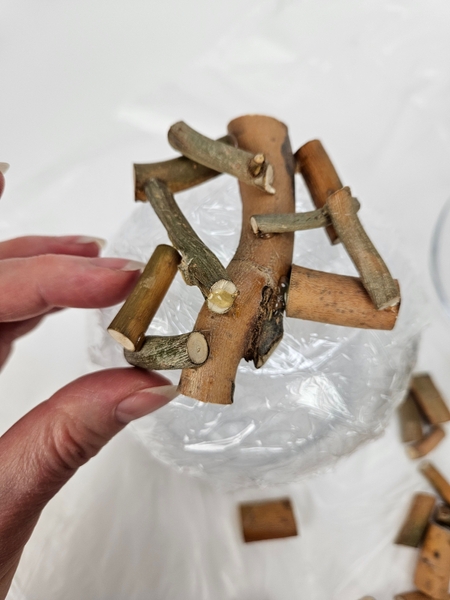
Slowly build up the shape with twig snippets by securing it with hot glue.
If you are good at puzzle building... you will love this technique. Each tiny twig is shaped slightly odd and will slot in just so... into one specific position.
Every Wednesday morning (Vancouver time), I send out a design note as an early glimpse at the newest Design and a few notes that I picked up creating the Tutorial that might be useful to you. This week I tell you my solution to the number one question I get about armatures: how do I keep it from falling apart?
If you’re new here, you can sign up below this post. And if you’ve been receiving these notes for some time, I hope they feel like a welcome break in your busy week.
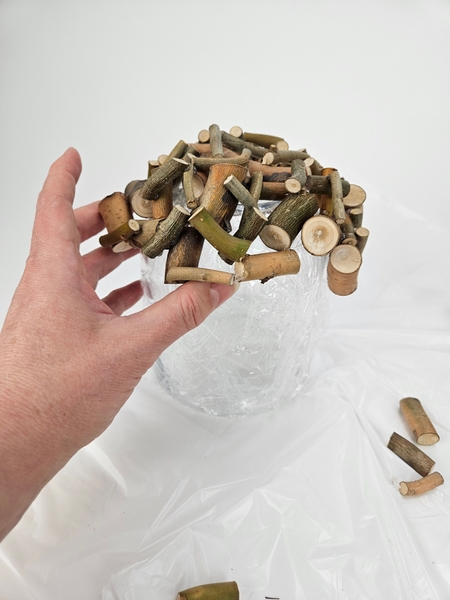
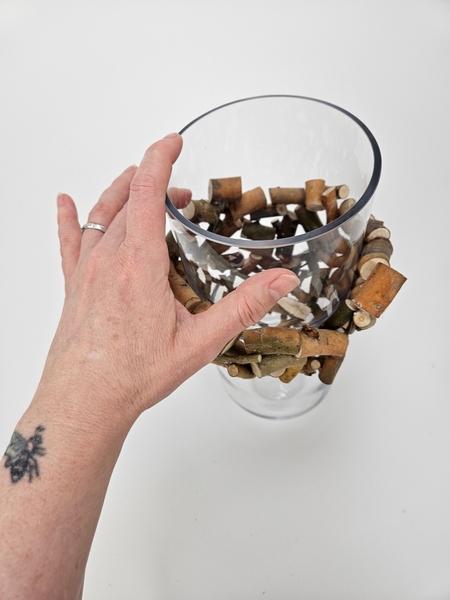
Slowly build up the shape to curve over and around the sides.
Design in some holes so that you can clearly see where the fairy lights will twinkle through the shape.
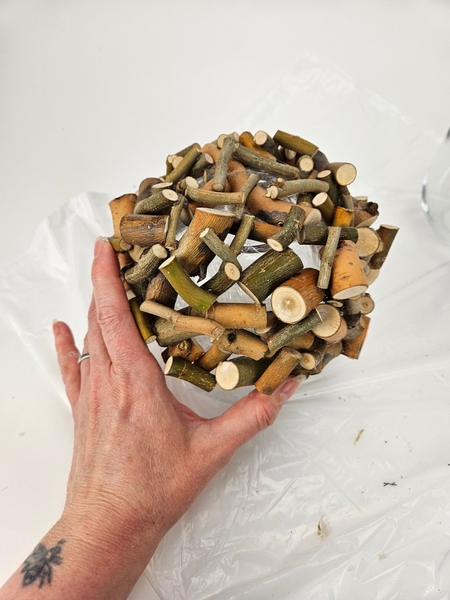
Your bowl shape will give your design personality. Craft a shallow bowl (like I did) so that the flowers extend beyond the bowl... or craft a twig shape that extends beyond the glass. Create an asymmetric shape that looks like it is defying gravity... or let the twigs "spill" to the bottom (... wait... if you do that I want to see! That sounds like a fun version of this design so remember to send me a picture!)
And book readers turn to page 348 where I crafted a cage design from grass snippets using this technique that "spills'. For more information about my book: The Effortless Floral Craftsman
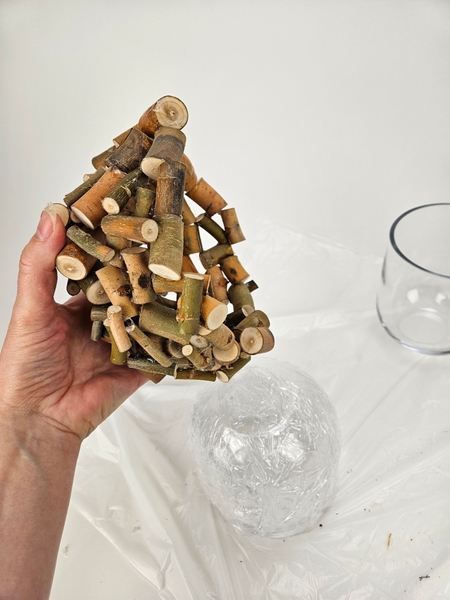
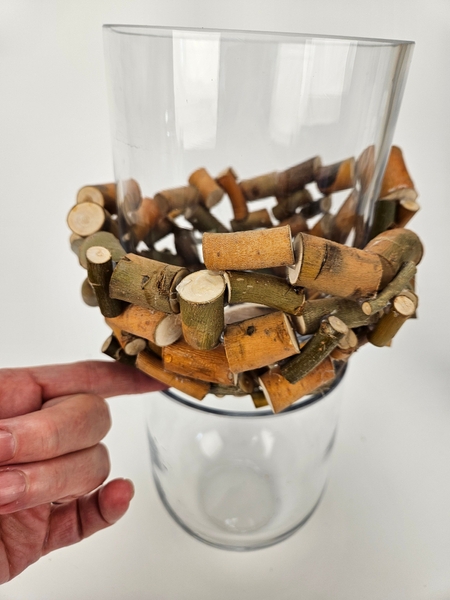
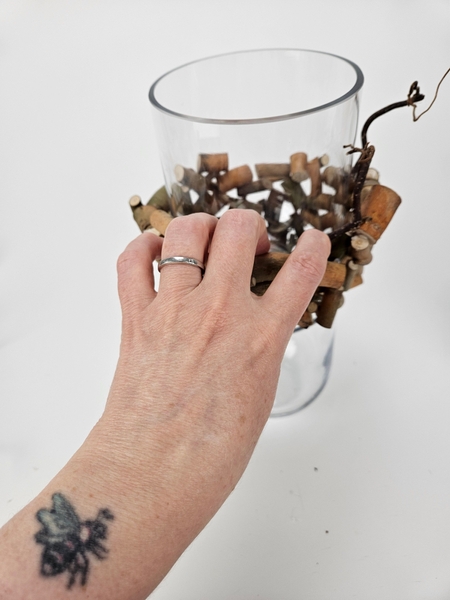
Carefully remove the twig snippet bowl. If you are unsure of how to make sure the twigs do not stick to the plastic see the Tutorials below for more tips.
Turn the twig snippet bowl over and place it on top of the opeing of one of the display containers.
Place the second bowl on top so that the twig armature is in the middle.
Carefully inspect the fit. It should sit snugly together with enough gaps to fit in the fresh flower stems through to bottom container but not so many gaps so that you can continue to build up the design without the armature wobbling dangerously about.
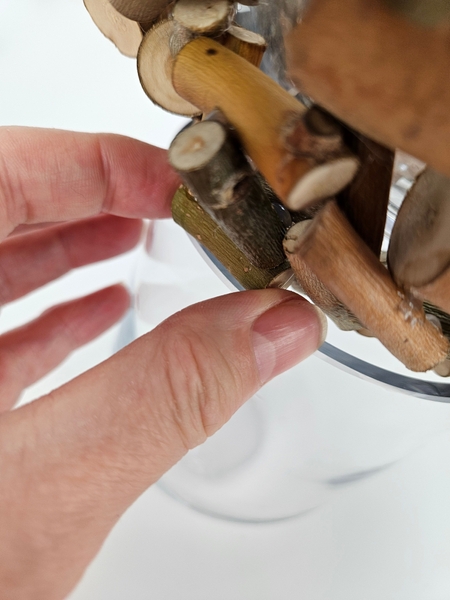
Glue in twigs to adjust the fit.
Fill the bottom vase with water and start to build up the finer twigs that frames the twig armature.
Design note: do not fill the container all the way to the top with water. Your twig armature should sit well above the water line to make sure the dried plant material will not contaminate the water. If you do not mind the effort, wait with the water, I will show you how I filled mine to just below the twig bowl. Or if you want to save time fill it about half way now and top it up once you are ready to add the flowers.
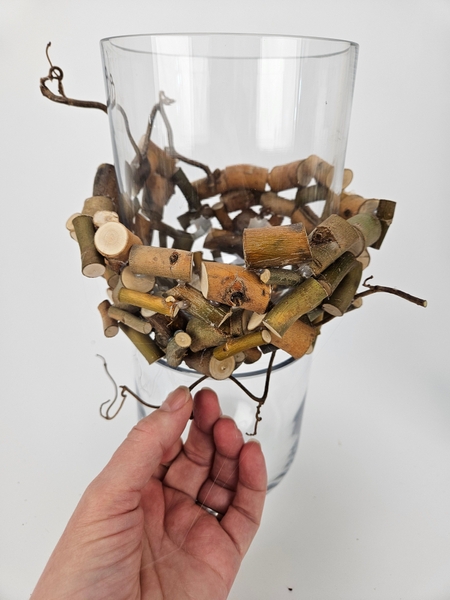
Slot the contorted hazel stems to design in the personality and shape you want your design to take on.
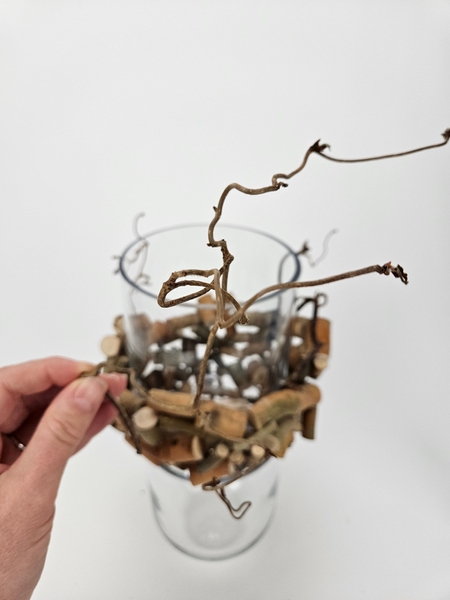
Glue in hazel stems to extend above the glass container...
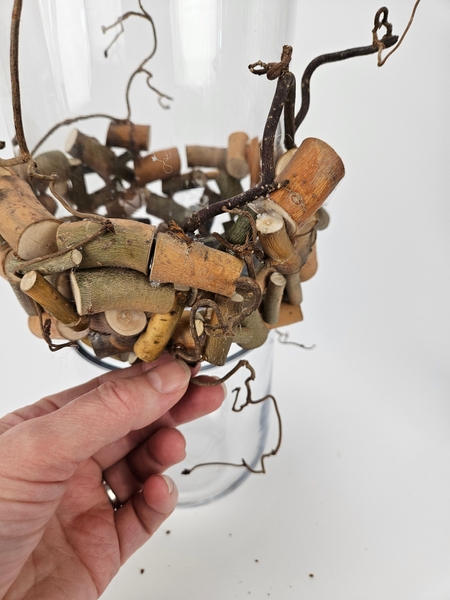
And some twigs down to the bottom of the container, creating a wild "just grew this way" twig halo around the armature.
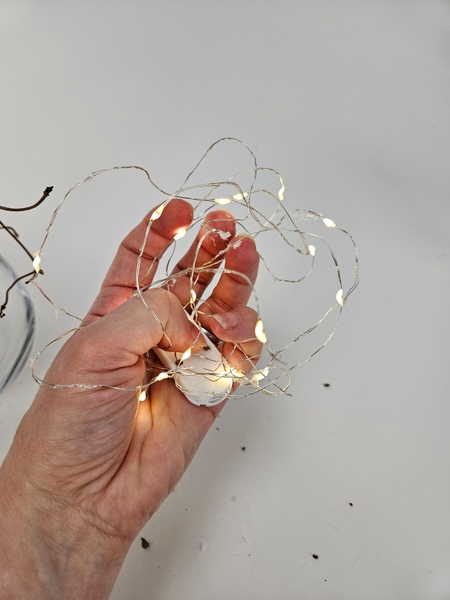
Scrunch up fairy lights into a ball...
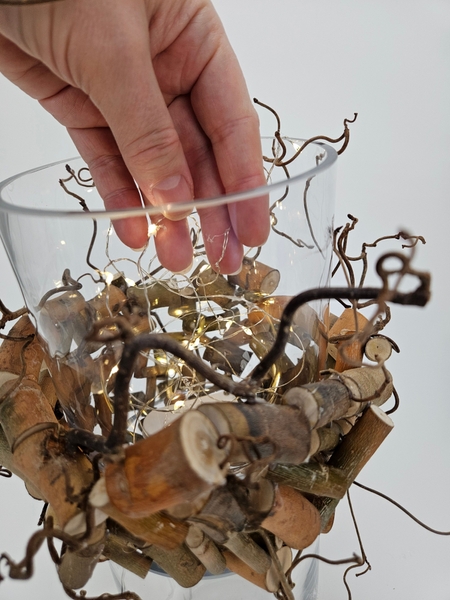
And place the fairy lights into the top glass display container. so that it sparkles and shines through the gaps between the twigs.
Notice the water level?
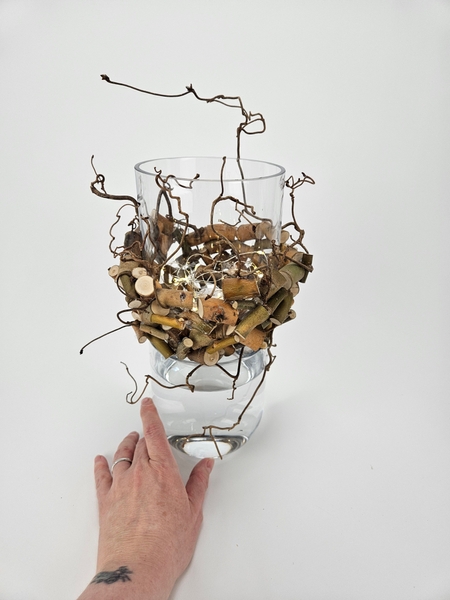
Your twig armature is ready for the flowers the hummingbird was so impressed with... and for you to design with...
This is such a lovely combination!
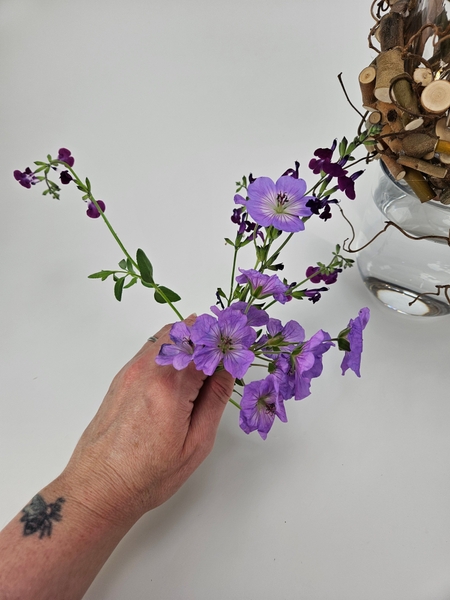
I grow these on my "wisteria" balcony for the hummingbirds. I have two balcony gardens where I grow flowers for my designs. The sliding doors of the bedrooms open into this balcony (where I have managed to grow a wisteria for the past 8 years. My secret to keep it from going wild? Give it a friend. I planted two wisterias in one large pot and apart from a tiny bit of pruning twice a year they are remarkably low maintenance and flower every single year. I also have another balcony in front of the living area which I call the memorial garden because a peregrine snatched a tiny robin right from our sitting room doorstep and its partner searched for it for a heartbreakingly long time!!!) anyway...
Because this is a pollinator beacon design I am removing a few petals from the geraniums for that "already pollinated" touch. I love the texture it adds.
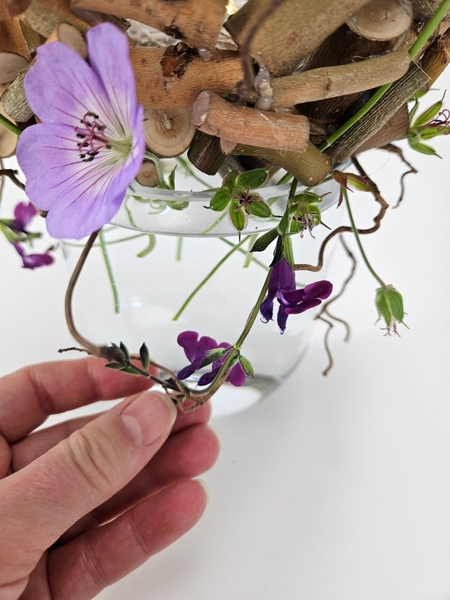
Slip the geraniums and the salvias through the twig armature so that the cut stems are below in the water filled container.
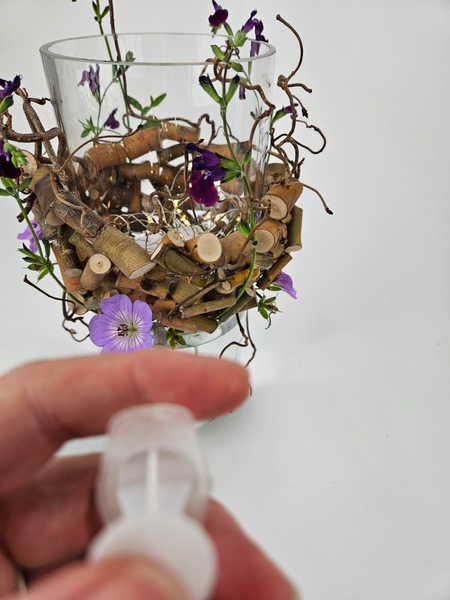
And adjust the water level through the twigs with a syringe. I add a long tube to the end of the syringe so that I can wiggle it into the tightest of spots. See the Tutorial below for detailed instructions on how to make your own. It is well worth it to make a few different sizes. A tiny one for water tubes and a super sized one for designs like this where you have a small opening but want to add a lot of water. The syringe is also handy if you need to adjust the water level to make sure the twig bowl is not sitting in the water. Simply use the syringe with tube to soak up the water again.
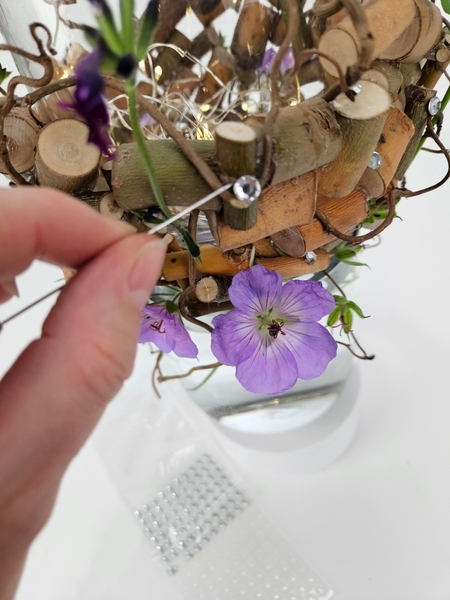
And I finish my design with a few sparkling dew drop crystals placed on the twig armature.
Sign up for my weekly newsletter
Every week I add a new design with related tutorials. Be sure to subscribe to receive an email notification with design inspiration.


