Christine de Beer - effortless floral craftsman
Snow Dipped Twig Christmas Twinkle Wreath
- 26 November 2025
- and more
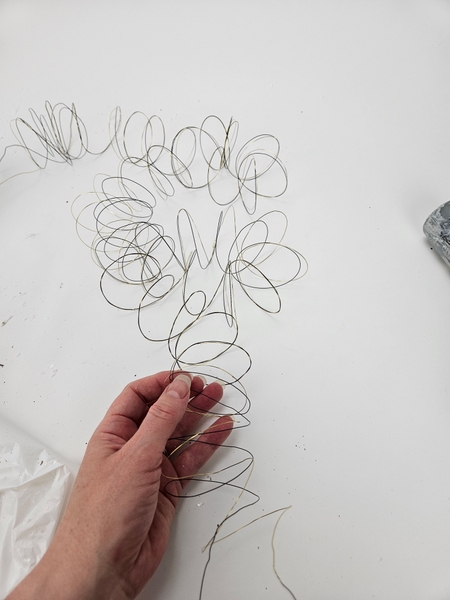
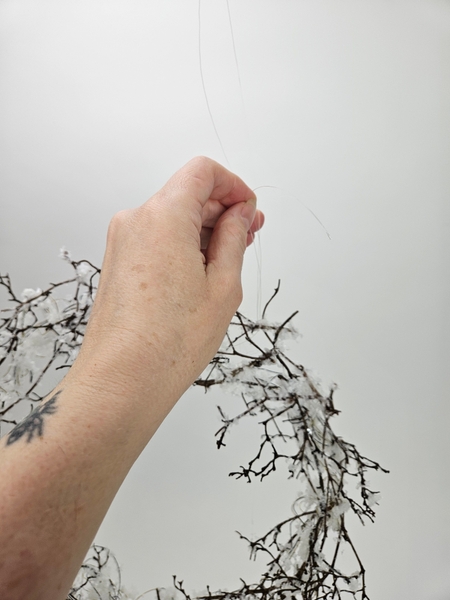
For my wreath I am using two rolls of jewelry wire, one champagne and one dark chocolate brown.
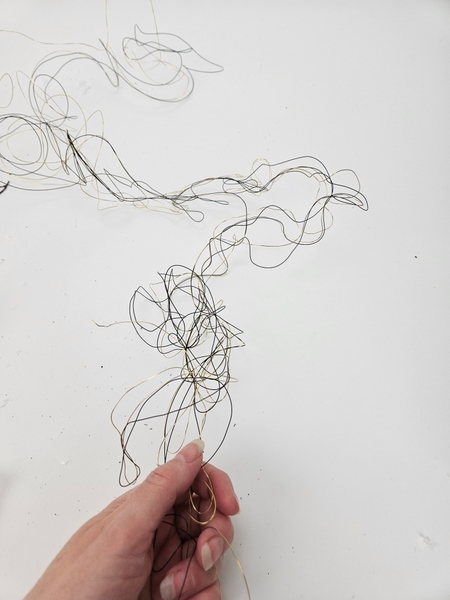
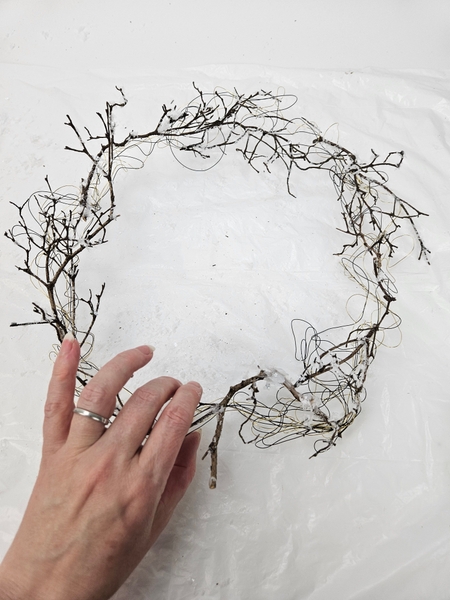
Tangle and twist the wires into a long garland.
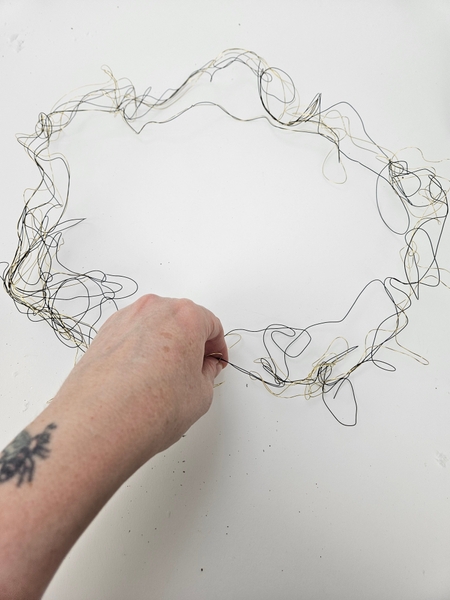
Connect the two ends to create the wreath shape.
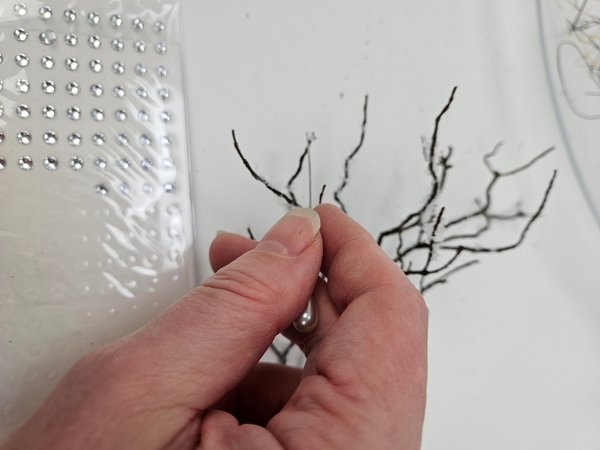
Cut a few delicate twigs into snippets and add snow and a few dew drop crystals. You can find detailed Tutorials for both these steps linked below this post.
I am adding the snow now before gluing them into the wreath because the snow makes it easier to keep the delicate twigs from snapping. And I add the crystals because that way the crystals are added in layers, in places where I wont be able to add it once assembled.
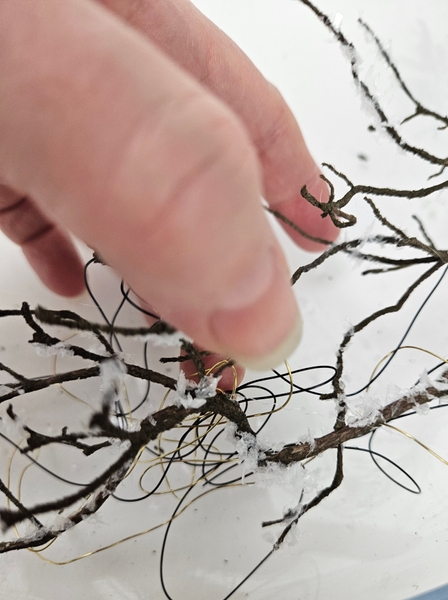
Use hot glue to secure the twigs to the wire wreath shape. Make sure to wiggle the twigs into the wire twists.
Glue the twigs in all around the wire shape. Place the wreath on a plastic lining... things are about to get messy...
I want my wreath to be simply covered in snow.
So... pour out a small heap of artificial snow onto the lined worksurface.

Paint the wire in your wreath shape with thinned wood glue...
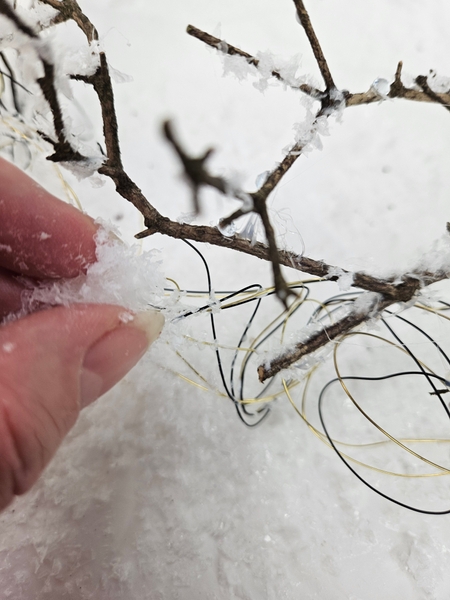
Shift the painted wire part of the wreath into the heap of snow and sprinkle more snow on top...
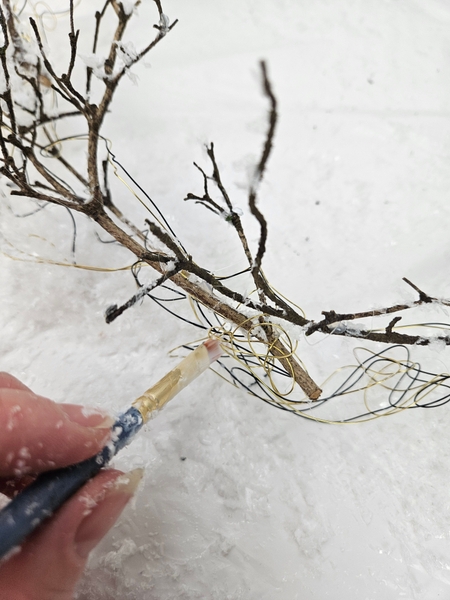
While the glue sets in the snow heap, paint glue on the next section of wire.

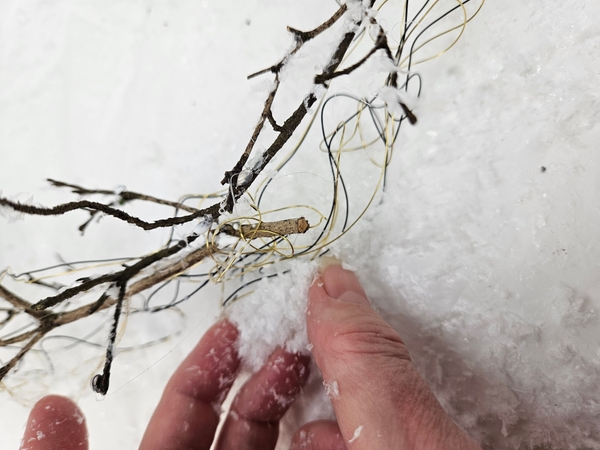
Paint and turn the wreath shape each time letting the wet glue rest in the snow heap to accumulate as much as possible. I turned my wreath 3 times to get it fully covered in snow... just as I wanted it.

See why we lined the surface? Set the wreath aside so that the glue cures. The snow will harden around the wire into clumps giving the wreath enough strength to lift it up without the thin wire loosing its shape.
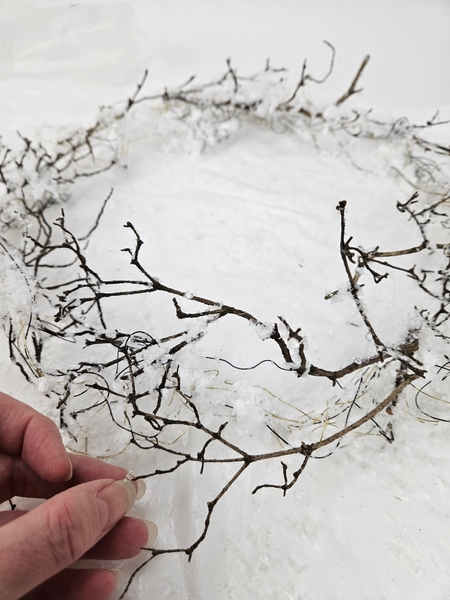
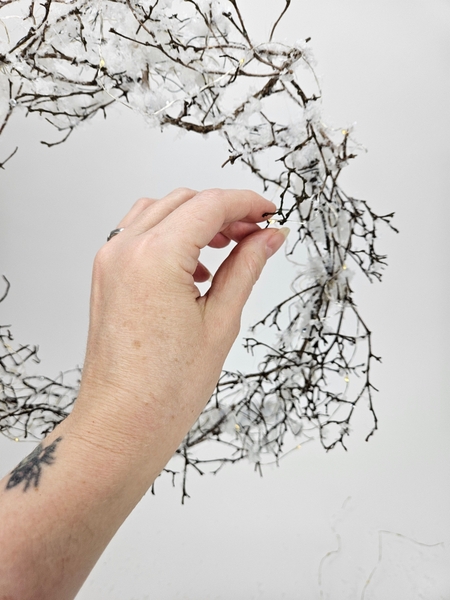
Glue in a few more twigs around the wreath shape to create a more natural "of course it grew this way" look.
Book readers turn to page 273 where I discuss crafting floral illusions. The idea is to study how nature creates things and then to imagine how would nature grow this... if it was possible so that your designs look effortless and natural like you simply wondered into a winter wonderland and harvested the wreath growing in a tangle.
For more information about my book: The Effortless Floral Craftsman
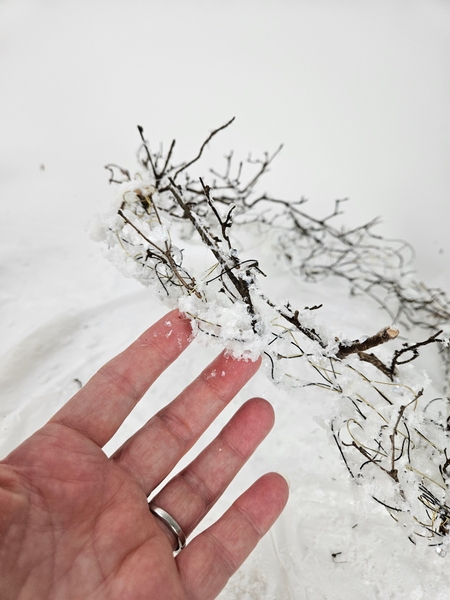
The snow that accumulated on the wire part of the design looks impossibly delicate (mostly because it was not pressed on but dipped and settled more naturally) but it is rather robust making it possible to...
Focus on gluing in the delicate dried twigs to be more decorative rather than structural. They carry almost no weight and you can place them to stick out and look pretty instead.
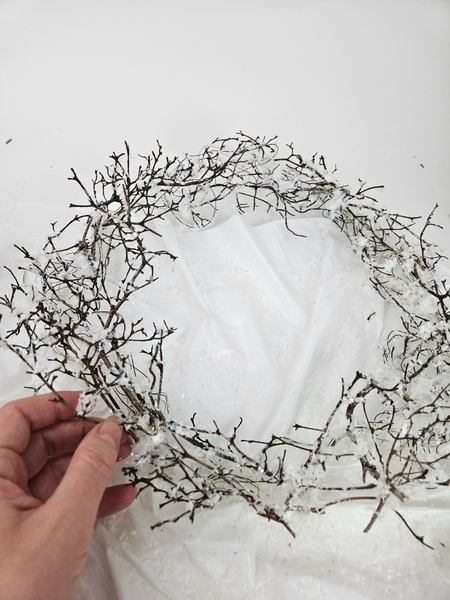
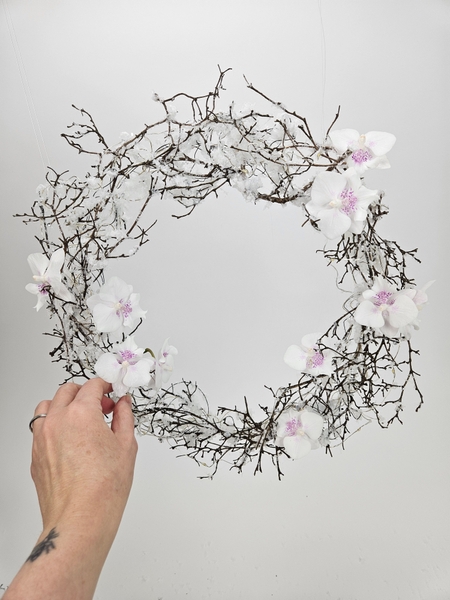
When the glue is fully cured hang the wreath to decorate. I am floating my wreath but the hardened snow backing makes it protects the delicate twigs so that you can also hang it on a wall or door. See the Tutorial below for ideas on how to hang a wreath without using a nail.
Step one for me is carefully weaving in fairy lights.
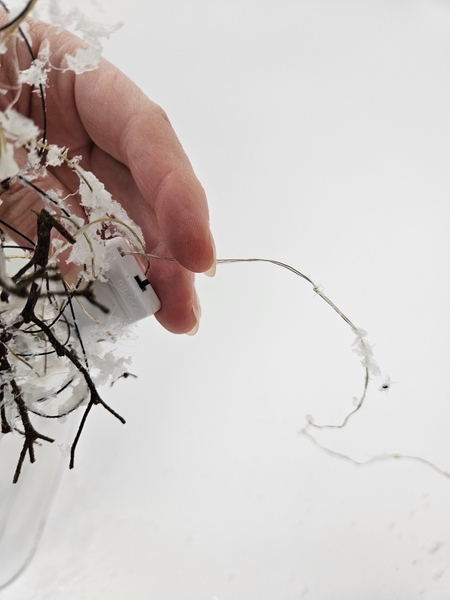
Glue the battery pack to the back of the wreath so that you can easily access the on and off switch.
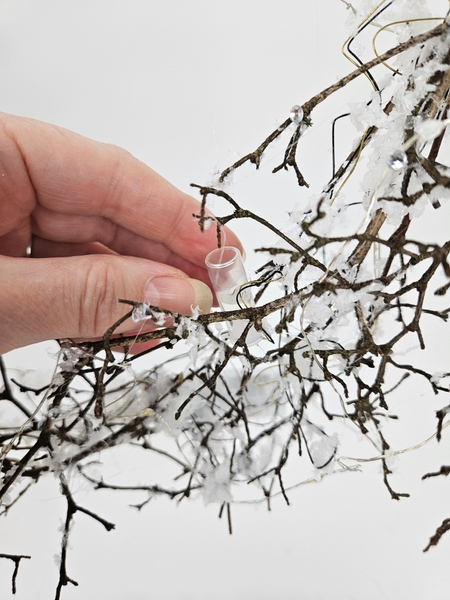
Use hot glue to add in tiny water tubes for fresh flowers.
I am using my tiny drinking straw water tubes. See the Tutorial below for detailed instructions.
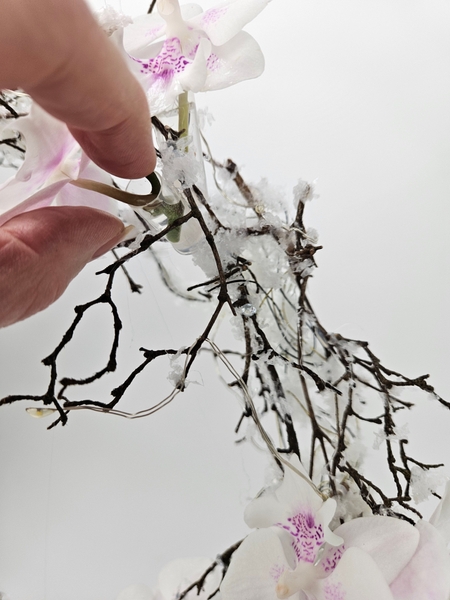
Insert the orchids carefully...
Every Wednesday morning (Vancouver time), I send out a design note as an early glimpse at the newest Design and a few notes that I picked up creating the Tutorial that might be useful to you. This week, I discovered a really useful way to get your orchids to stay firmly in the water tubes even in a design that moves like this wreath. Urgh! This would have been so useful to know for my Canada Blooms competition design years ago! (see the link below for that design).
If you’re new here, you can sign up below this post. And if you’ve been receiving these notes for some time, I hope they feel like a welcome break in your busy week.
To look light as butterflies fluttering into the snow covered design. Make sure nothing looks forced, you want it to be impossibly light.
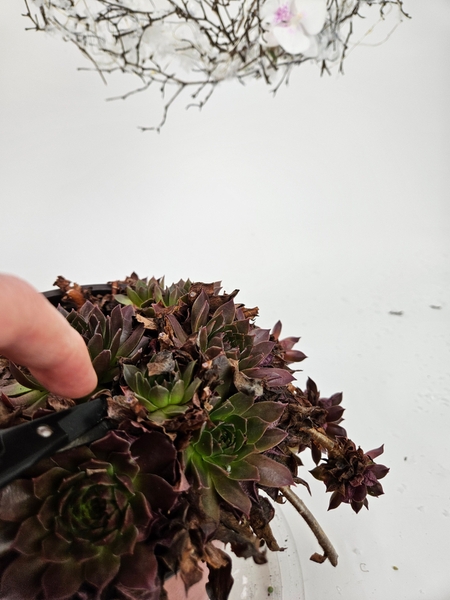
Snip a few succulents from the plant.
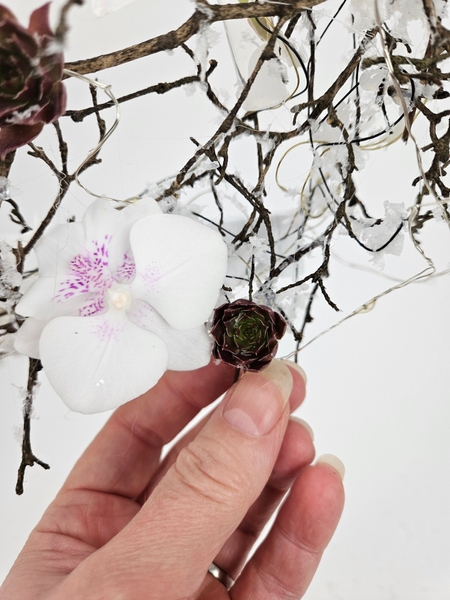
Glue the "chocolate kisses" succulent onto the wreath shape with floral glue.
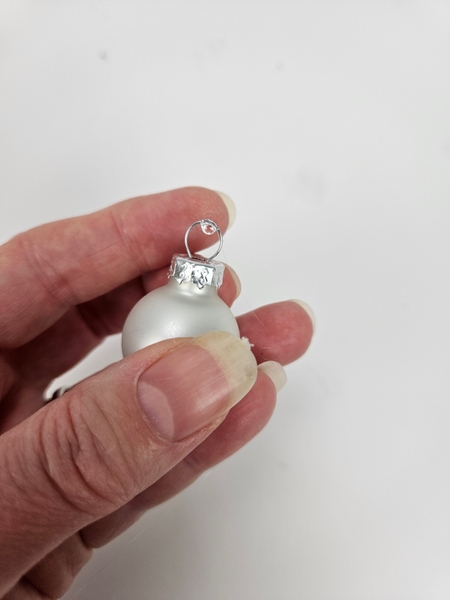
I add the smallest possible drop of hot glue onto the bauble wire because I am displaying my wreath so that it floats and moves when touched... and because the twigs are so delicate and I do not want to force them in any way ...
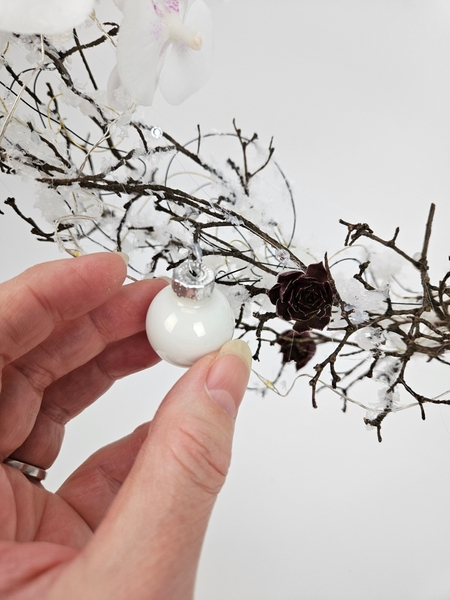
... so that I can slip the bauble over the twig (without touching it) and it will stay in position without swinging and possibly breaking any other twigs.
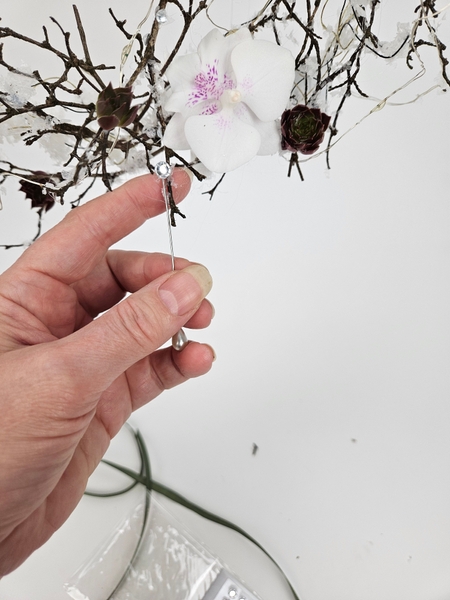
Add in a few dew drop crystals for extra Christmas sparkle. See the Tutorial below for detailed instructions.
And finish the design with a bow... or three...
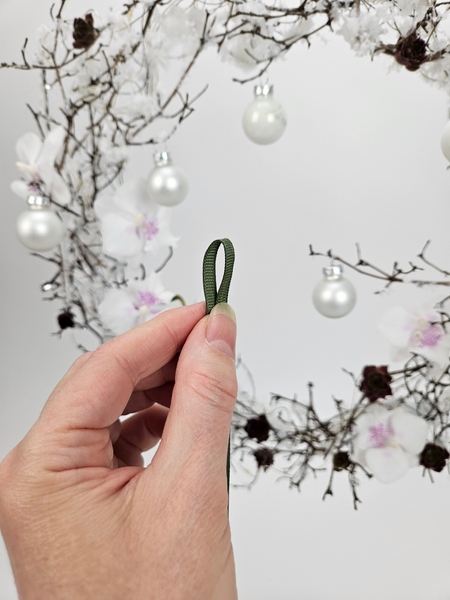
Because the twigs are so delicate I am inserting the ribbon super extra carefully. These dried twigs snap off if they even suspect you are looking at them in a funny way.
Fold the ribbon in two...
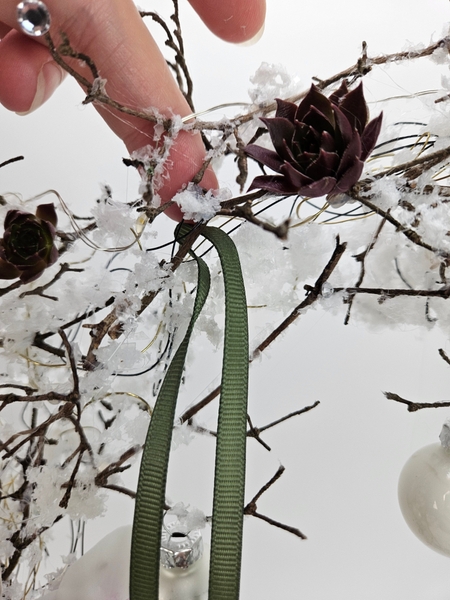
Insert the loop through the twigs where you want to the bow...
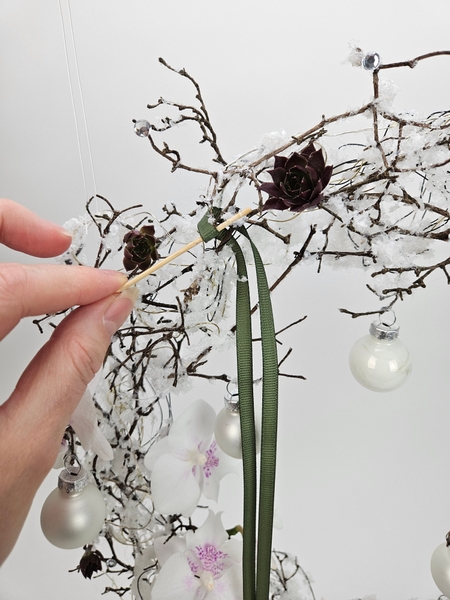
Hook the loop with a bamboo skewer...
And gently tug the one leg of the ribbon over the twig.
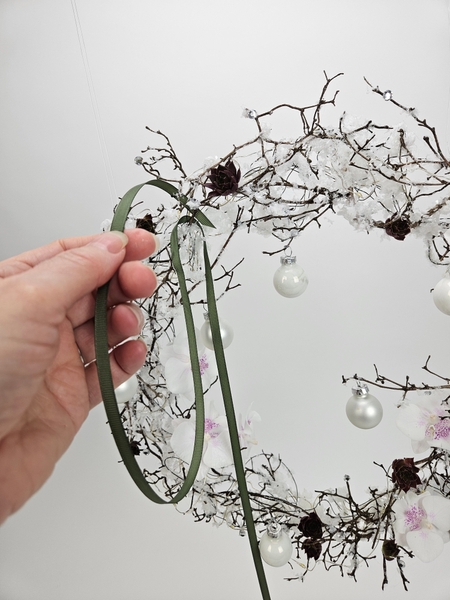
... and take a breath. Next we are making the bow and you are gonna wanna hold your breath for that...
And tie the ribbons onto the twigs.
Also remember: in a design that is so minimal, every single little detail matters. For me this meant I had to concentrate on folding the bow exactly the same way for all three ribbons. If you fold one under and then through the knot you should fold all three that way... or not... this is exactly how we add our own tiniest “this is how I do it” tweak-touches to our designs. I like my ribbons minimal so that my flowers grabs all the attention. You might like a ribbon that adds whimsy and personality and colour. Make it your own.
Sign up for my weekly newsletter
Every week I add a new design with related tutorials. Be sure to subscribe to receive an email notification with design inspiration.


