Christine de Beer - effortless floral craftsman
Snowy Twig Christmas Twinkle Swag
- 19 November 2025
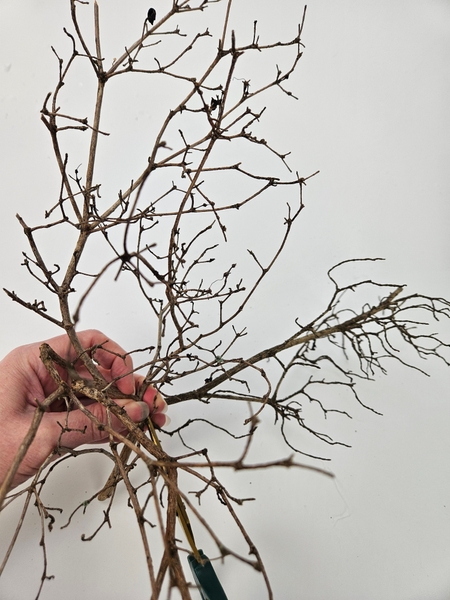
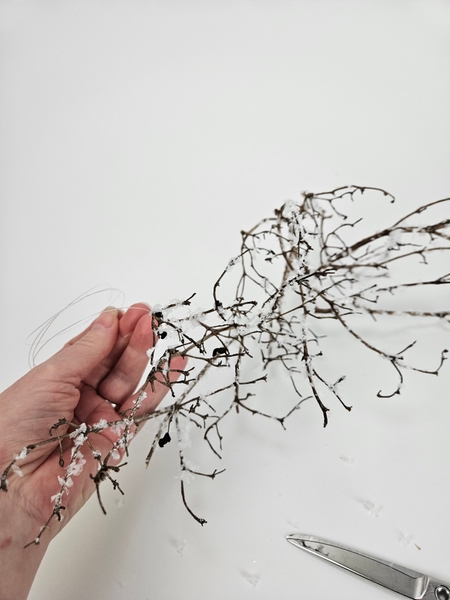
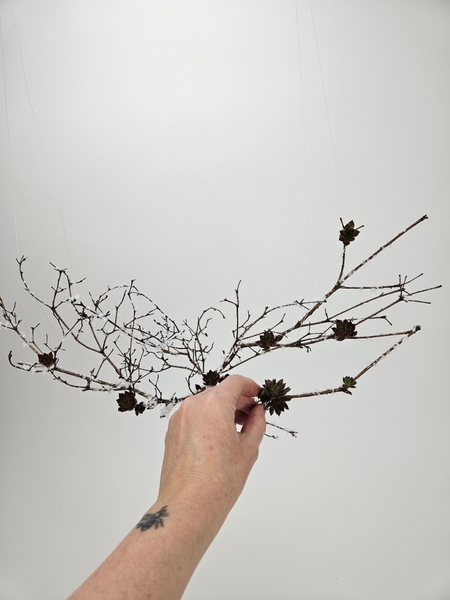
For my swag design I am carefully pruning a dried rhododendron twig
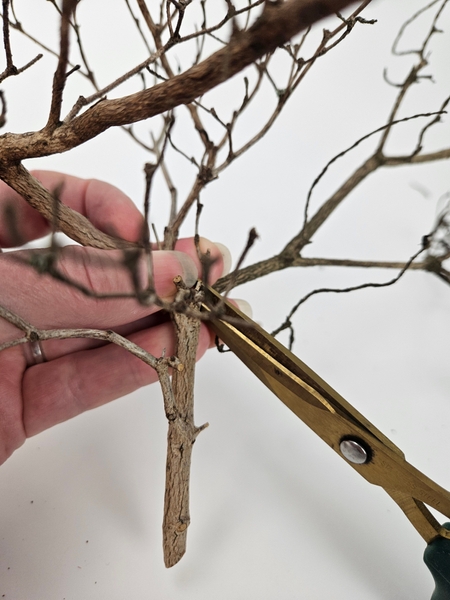
... and with carefully pruning I mean I am simply snipping out the middle bit over here.

So that I have an open structure to design with.
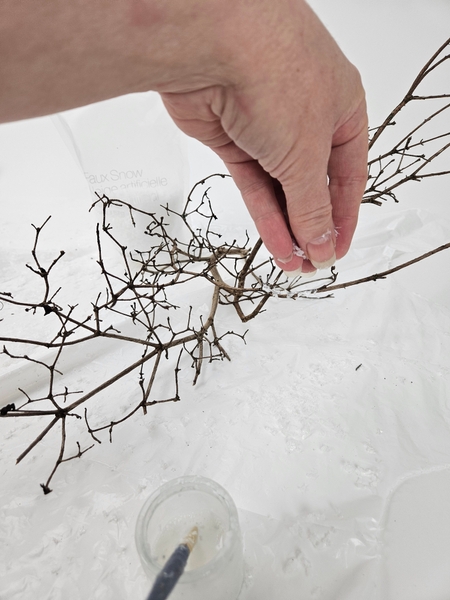
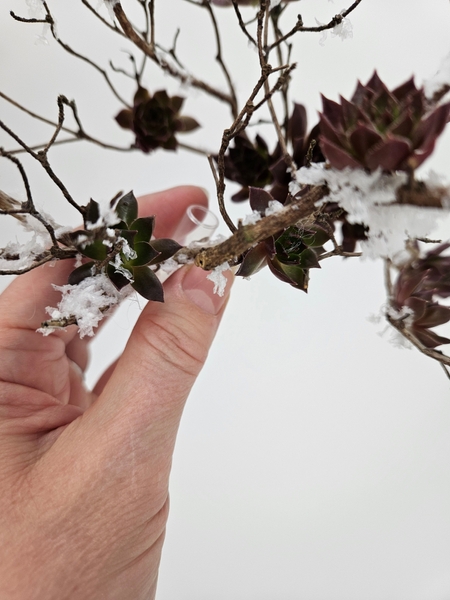
Sprinkle on some artificial snow so that the twigs are frosted and white.
See the Tutorial below for more detailed instructions on how I add snow to twigs. Also this entire Christmas season I will be showing you additional techniques on how to create special effects with the snow. And how to remove (and reuse it) for a waste free Christmas.
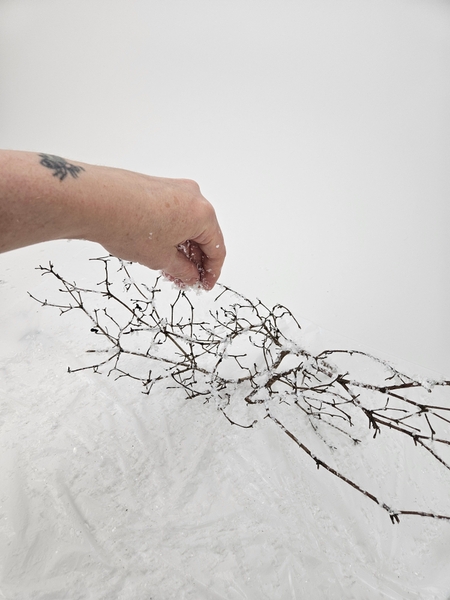
When your swag twig is fully covered with a fresh dusting of snow set it aside to dry completely.
I am hanging my swag with almost invisible fishing line so that it dangles. You can also use ribbon or string, whatever suit your personal style better.
Book readers turn to page 49 where I show you some good to know knots that might come in handy as a designer. You can find the How To for this lark's head knot on page 55.
For more information about my book: The Effortless Floral Craftsman
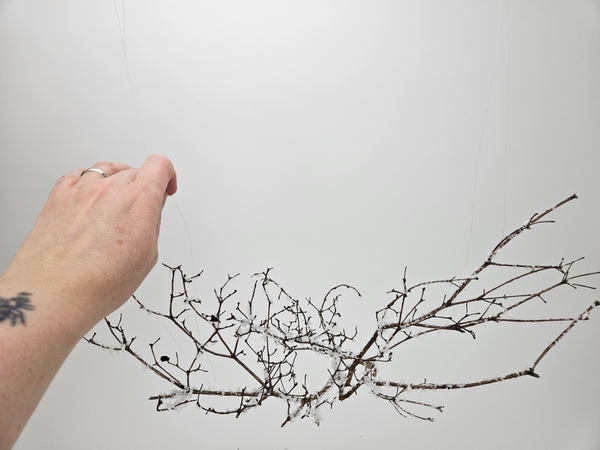
Carefully string up the swag to hang straight before adding the flowers.
Every Wednesday morning (Vancouver time), I send out a design note as an early glimpse at the newest Design and a few notes that I picked up creating the Tutorial that might be useful to you. This week, I tell you a bit about why I first string up the swag and then add my flowers. If you’re new here, you can sign up below this post. And if you’ve been receiving these notes for some time, I hope they feel like a welcome break in your busy week.
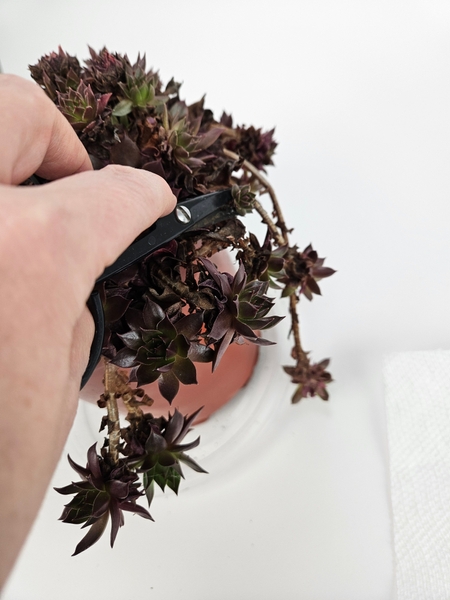
Snip your succulents from the plant. I am using Sempervivum "Chocolate kisses". See the Tutorial below for more tips on how to cut succulents so that you can root them again. And how to groom them to design with.
Here is how I harvest succulents: https://christinedebeer.ca/tutorials/harvesting-succulents
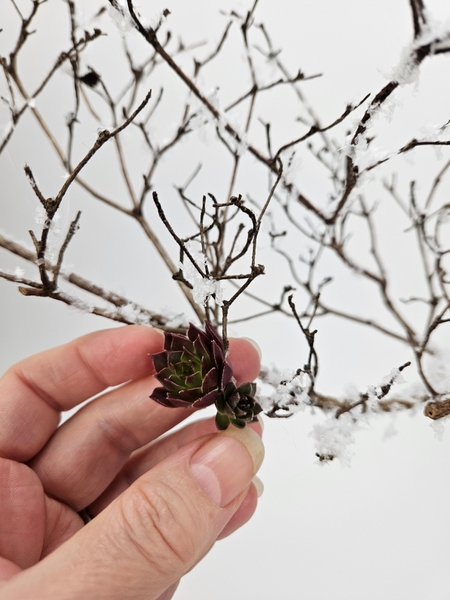
Use you floral glue to secure the succulents into the twig swag.
How I use floral glue to secure them: https://christinedebeer.ca/tutorials/using-floral-glue-to-secure-succulents
... and if you would prefer to wire the succulents in instead: https://christinedebeer.ca/tutorials/wiring-succulents-with-a-double-leg-mount
I am using both tiny succulents and larger ones to create chocolate kisses clusters on the twigs.
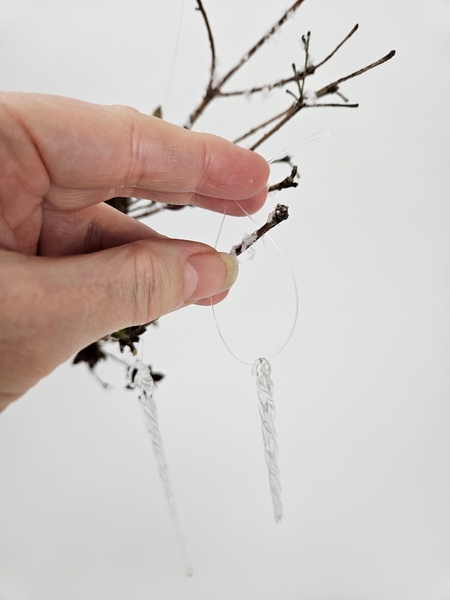
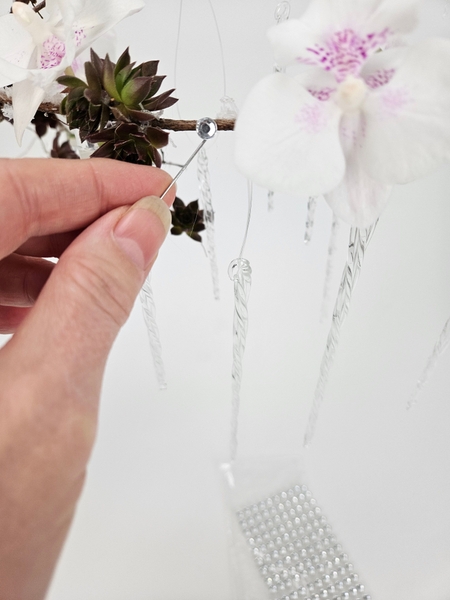
String up a few Christmas ornaments (I am using glass icicles) with ribbon or line...

Make sure the line loop is generously big so that you can position it over the design details without causing damage.
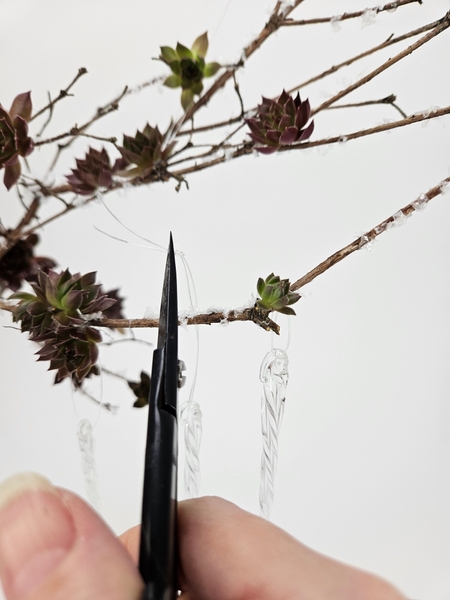
I find it is easier to adjust the knot and cut away any visible left over line once in position rather that trying to knot the line between all those delicate twigs.
Glue a few water tubes for the orchids to the twig swag.
See the Tutorial below for detailed instructions on how I make these tiny water tubes to keep my flowers hydrated.
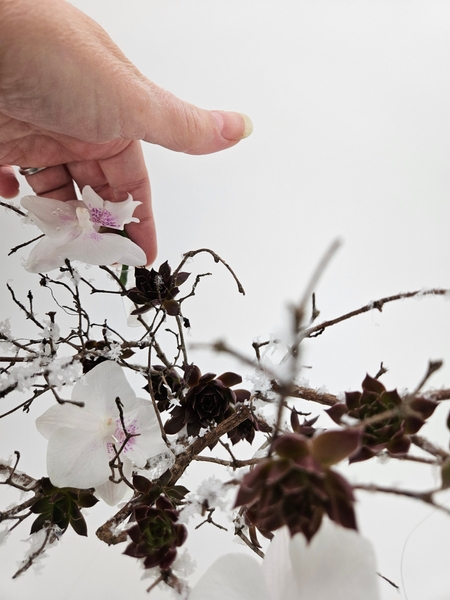
Fill the water tubes with water and slip the Phalaenopsis orchids into position.
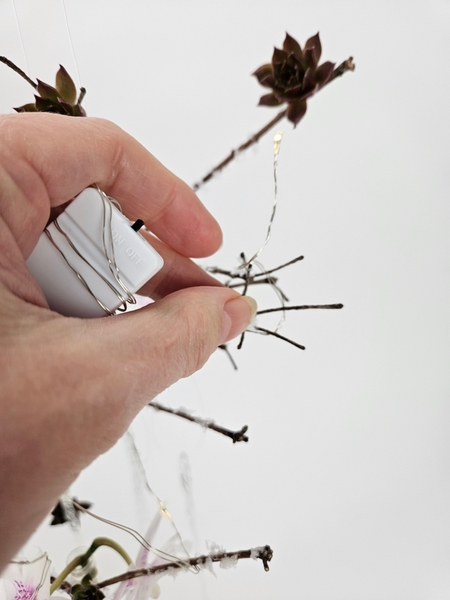
Wire a string of fairy lights to drape around the swag design...
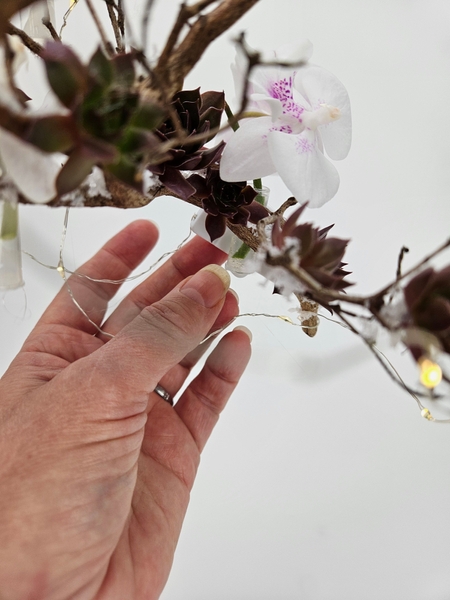
Glue the battery pack to the back of the design where it will be concealed but still within reach for you to use the on and off switch.
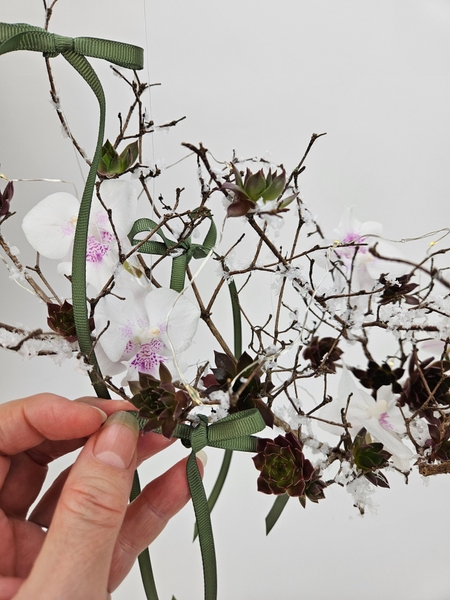
Because I am designing with the icicles on the one end I am balancing it out with a few delicate bows on the other.
And to finish off my winter twig swag design I am adding extra large dew drop crystals... it's Christmas time!
The Tutorial is below the post for detailed instructions.
Sign up for my weekly newsletter
Every week I add a new design with related tutorials. Be sure to subscribe to receive an email notification with design inspiration.


 Cotton Christmas")


