Christine de Beer - effortless floral craftsman
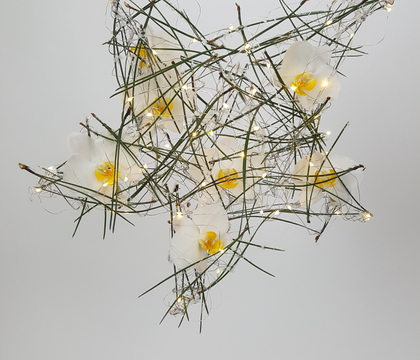
Fairy light grid with a hover like glow from below
- 1 July 2026
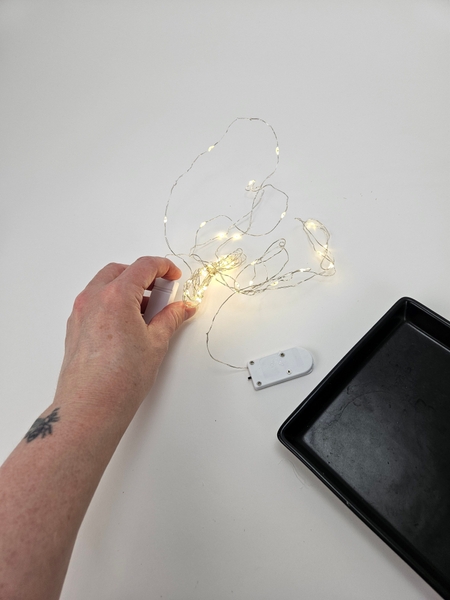
Before we start to wrap the grid, test the lights. It would be such a disappointment to finish the design and the lights are not working.
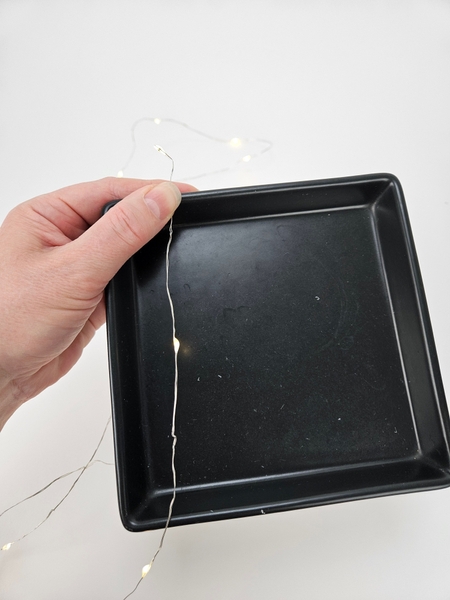
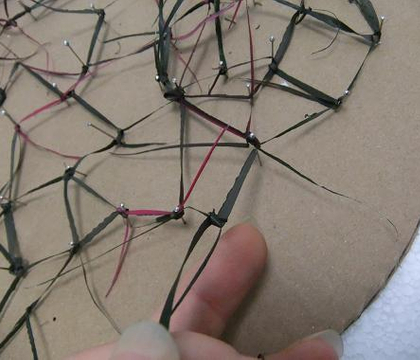
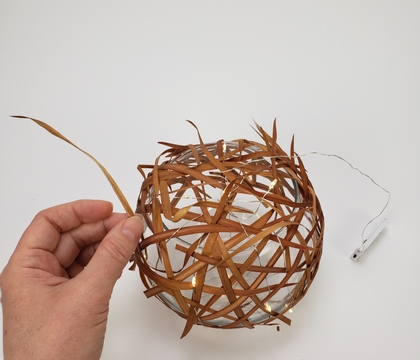
Hold the end part of the fairy light and start to wrap the wire around the container to shape the grid.
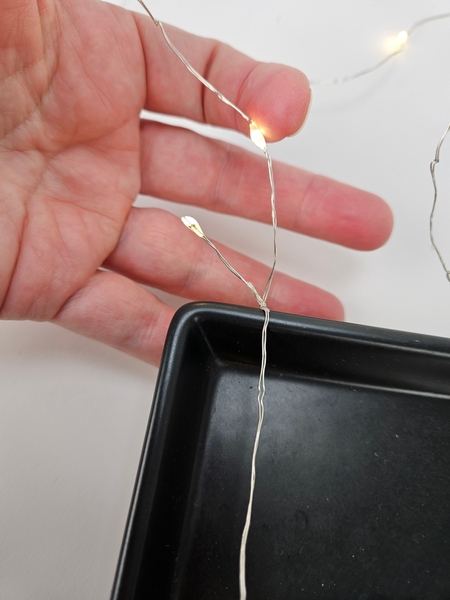
Secure the end of the wire by twisting it.
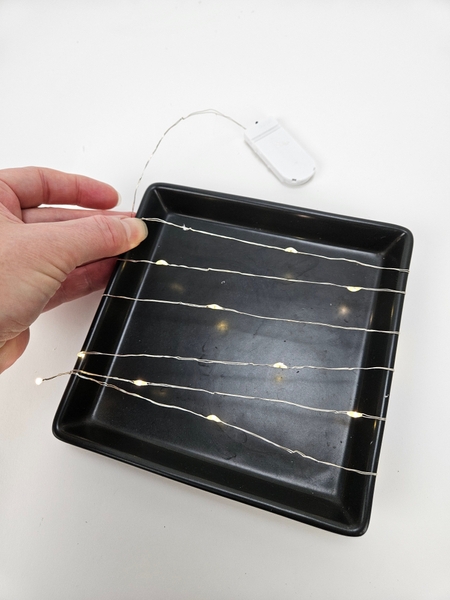
Wrap the rest of the wire string around the shallow container.
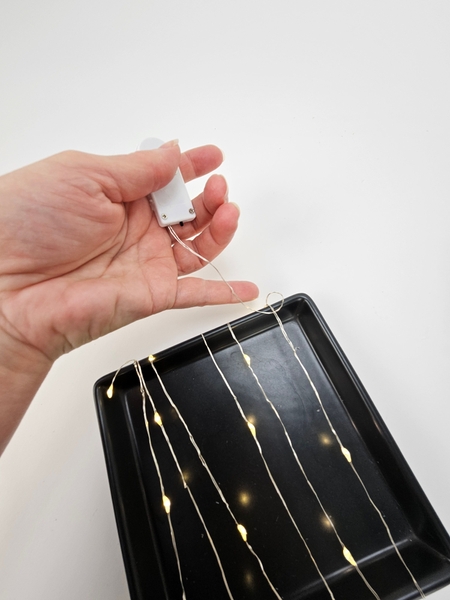
Slip the battery pack through the wire...
and pull tight to secure it in a twist
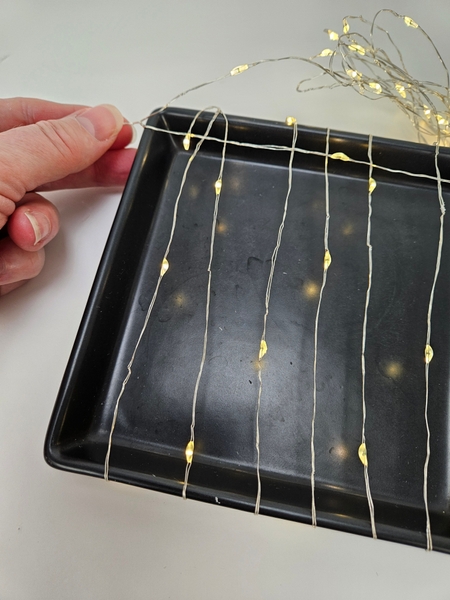
Start the second fairy light by securing the end on itself with a twist.
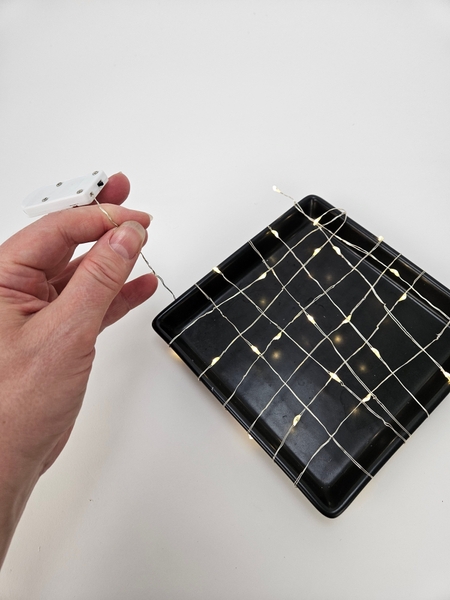
Wrap the wire lights around the container to shape the grid.
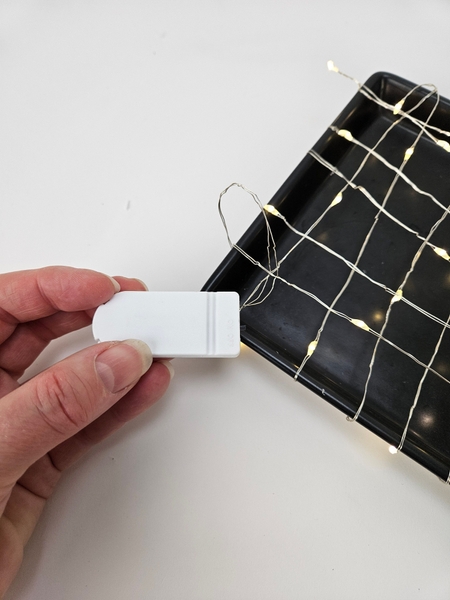
Pull the battery pack through the wire to keep it secure with a twist.
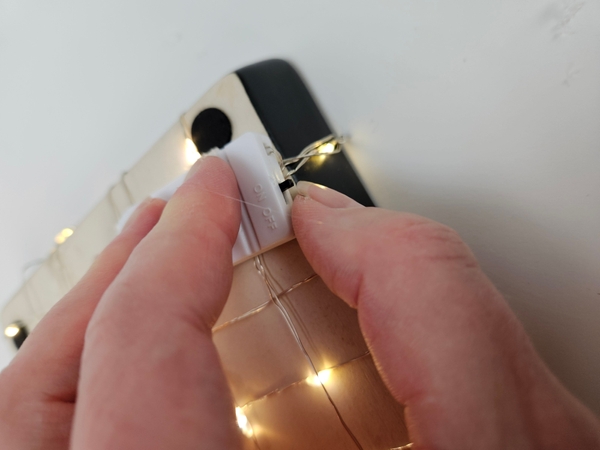
Glue the battery pack to the bottom of the container with hot glue and make sure the on off switch extends out so that you can still adjust it.
Every Wednesday morning (Vancouver time), I send out a design note as an early glimpse at the newest Design and a few notes that I picked up creating the Tutorial that might be useful to you.
This week I show you the real reason why I chose to use two strings of fairy lights instead of one longer one.
If you’re new here, you can sign up below this post. And if you’ve been receiving these notes for some time, I hope they feel like a welcome break in your busy week.
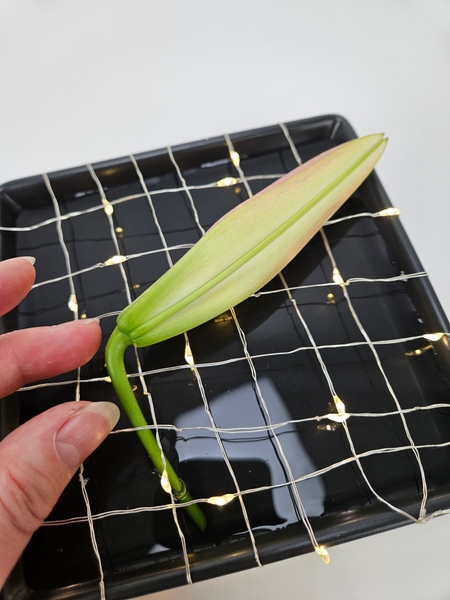
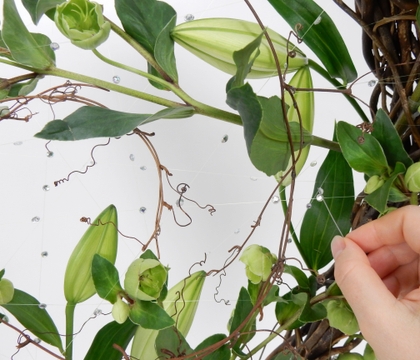
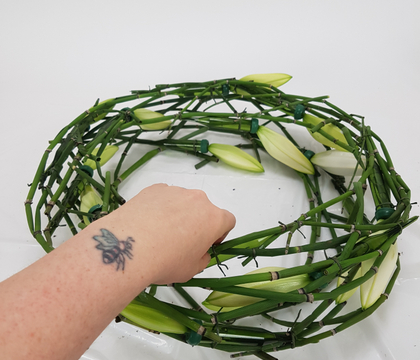
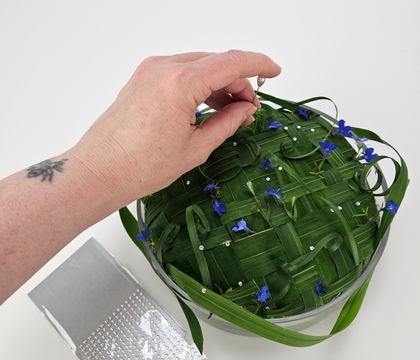
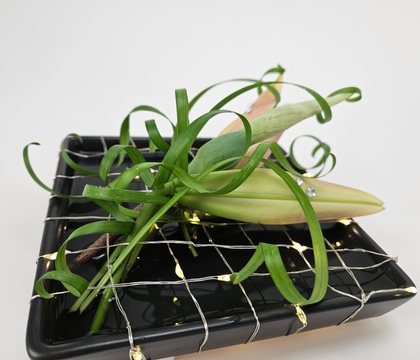
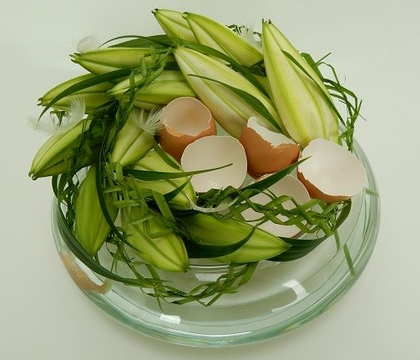
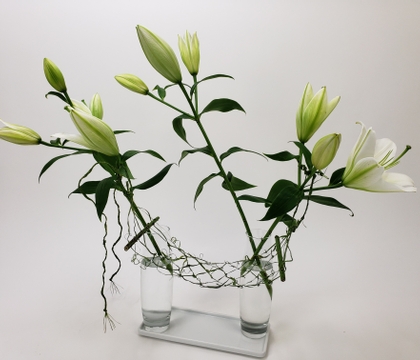
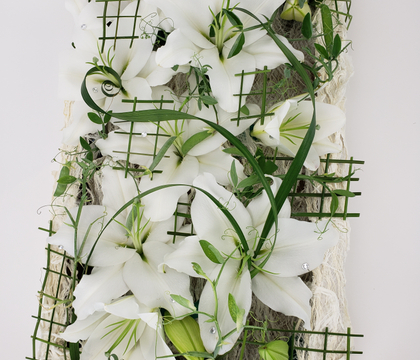
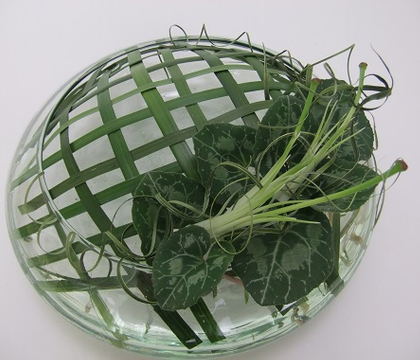
Arrange the lily buds to rest on the grids so that they are supported and remain hydrated in the water below.
... ever seen a caladium flower bud? They are exquisite... have a closer look...
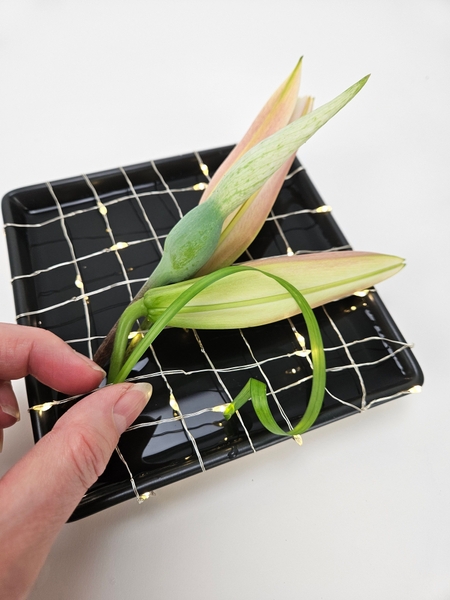
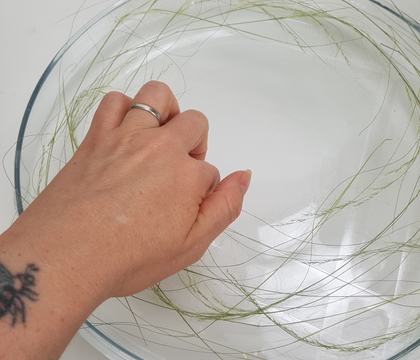
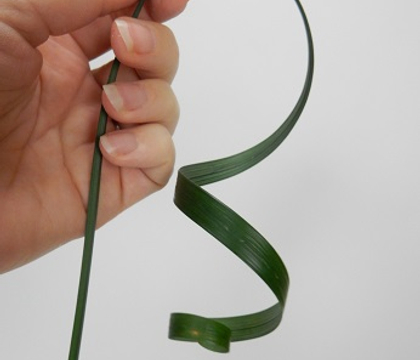
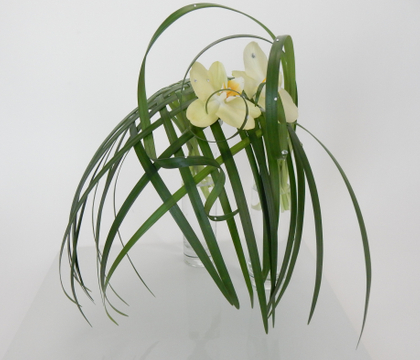
Curl a few lily grasses and add that to drape over the design.
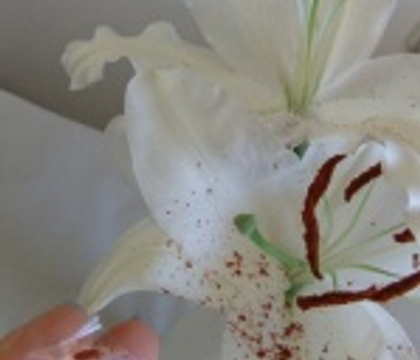
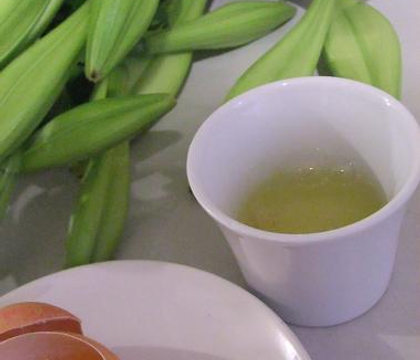
You can find detailed instructions on how to curl the lily grass into ringlets in the Tutorial section below. Also if you want to make sure the lilies remain in close bud to look like pods, I have a tip for you in the Tutorials below to achieve that.
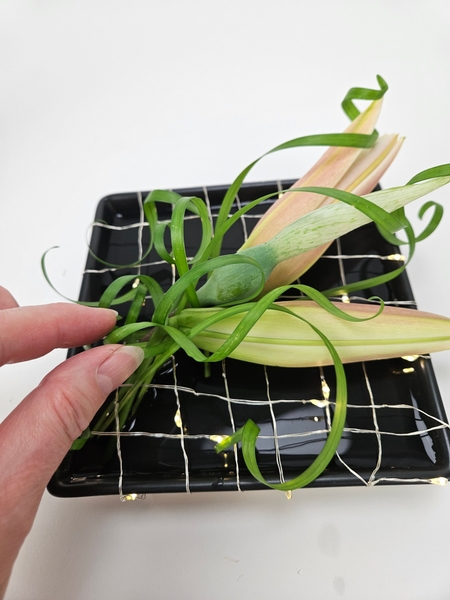
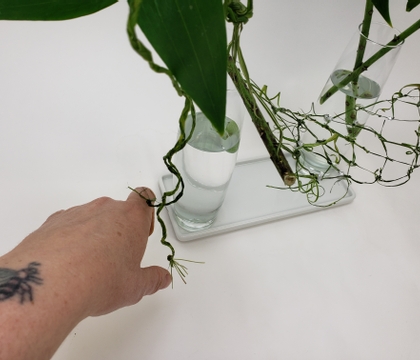
Add in a few tighter ringlet curls for drama.
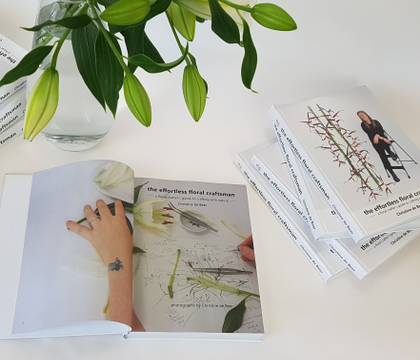
Book readers turn to page 288 where I show you exactly how I create curls of different sizes. I used both tight ringlets here and the larger ones that is at the top of the picture on page 289.
For more information about my book: The Effortless Floral Craftsman
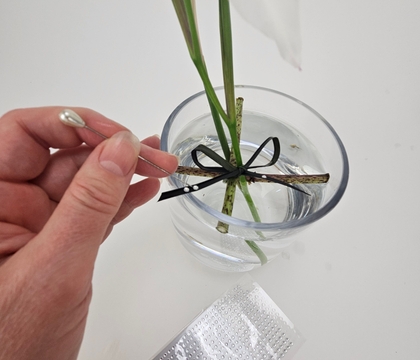
And I finished my design with a few over sized dew drop crystals. For more detailed instructions on how I add those see the Tutorials below.
Design note: Well worth the effort, right... and my unexpected favourite part? How the fairy lights glow reflected in the water! Such a cooling summery touch.
Sign up for my weekly newsletter
Every week I add a new design with related tutorials. Be sure to subscribe to receive an email notification with design inspiration.
This section contains affiliate links. If you choose to explore any of these tools, I may earn a small commission at no extra cost to you.