Christine de Beer - effortless floral craftsman
Sprouting sphere armature to show off curvy burgundy arum lilies
- 18 March 2026
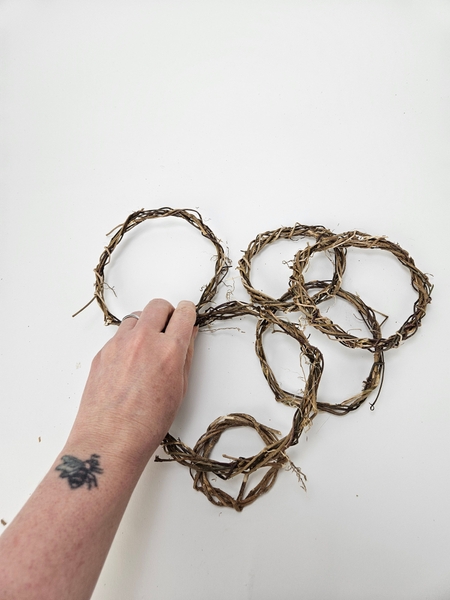
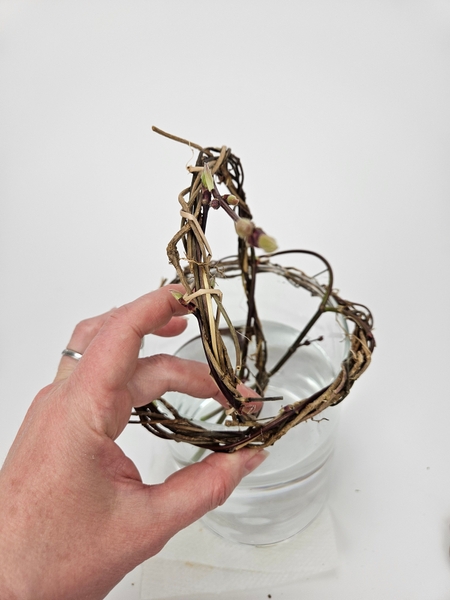
This design is going to take a bit of preparation. First we weave the wreaths and set them aside to dry.
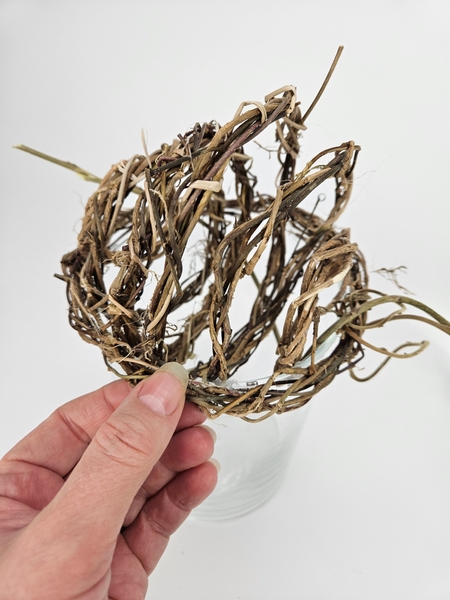
You will need: One larger wreath that fits around the opening of your container. One larger wreath that wedges snugly into the middle of the container...
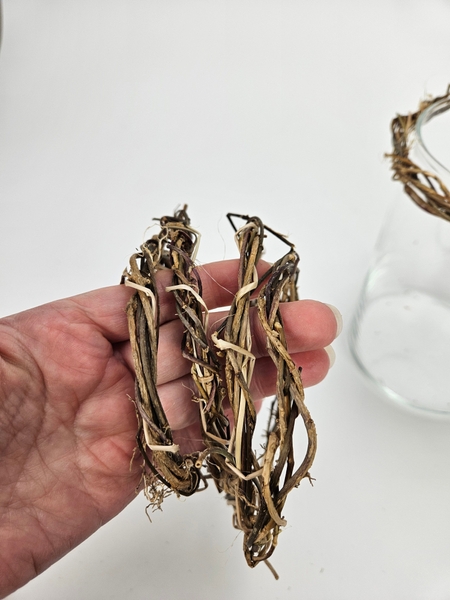
And then weave wreaths that will go on either end of that... a slightly smaller wreath for either side and a slightly smaller wreath than that at each end.
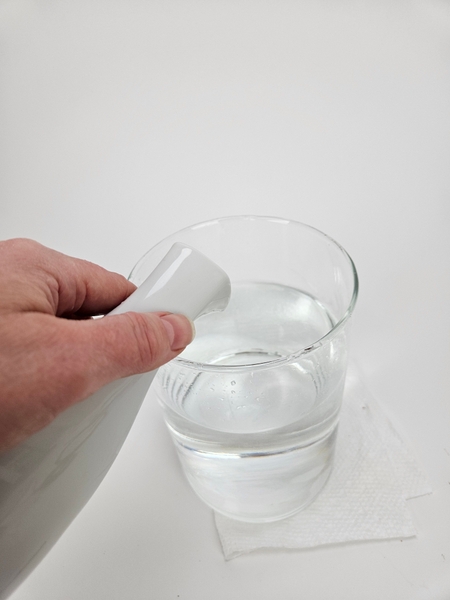
Pour water into the display container at a level just below where the wreaths will wedge into place.
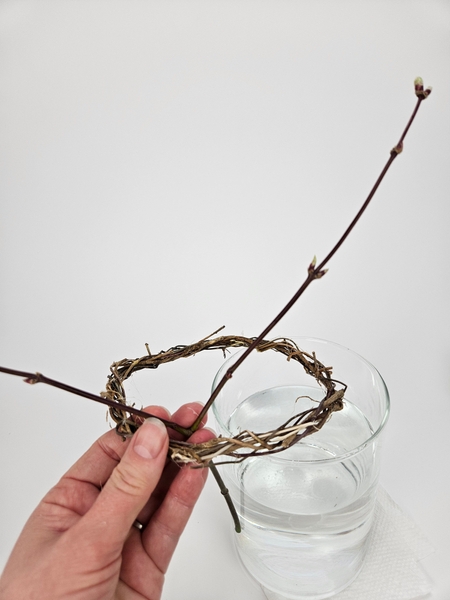
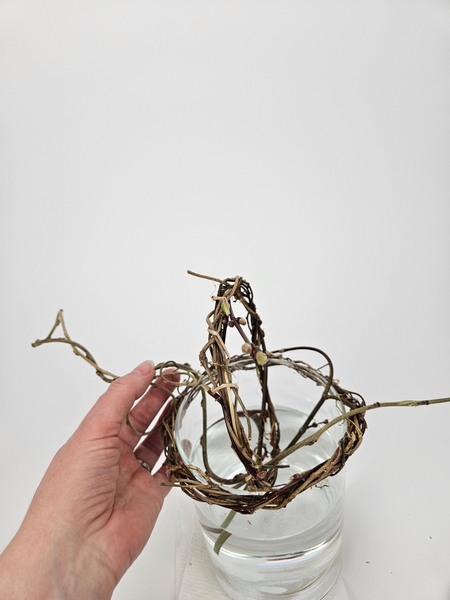
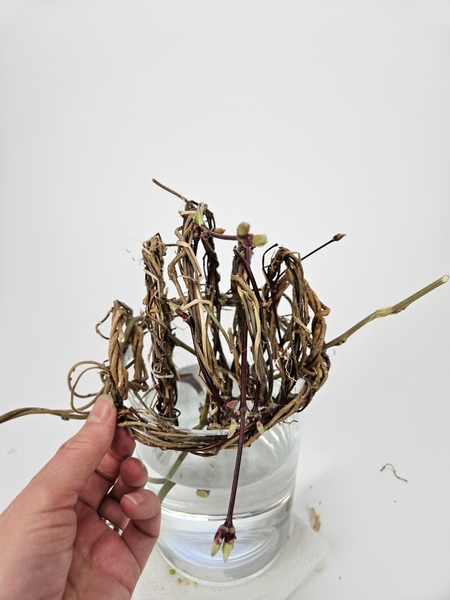
Weave a few sprouting twigs through the dried wreaths.
Every Wednesday morning (Vancouver time), I send out a design note as an early glimpse at the newest Design and a few notes that I picked up creating the Tutorial that might be useful to you. This week, I share my notes on designing with new growth to make sure they last for as long as possible in your design.
If you’re new here, you can sign up below this post. And if you’ve been receiving these notes for some time, I hope they feel like a welcome break in your busy week.
Weave the fresh twig into the wreath and make sure the cut end of the stem extends so that you can place it in the water in the display container.
Slip the wreath around the opening of the display container and set the fresh twig into the water inside the container to continue to hydrate.
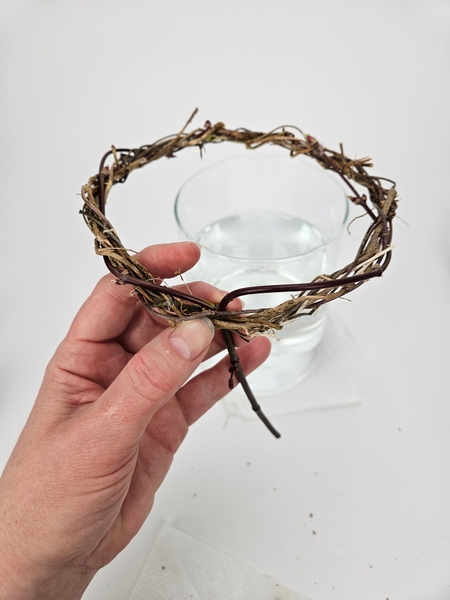
Weave sprouting twigs into the second largest wreath...
Wedge the wreath into the opening of the container and set the cut ends of the twigs into the water.
Design note: make sure the twigs are secure. You can always use a small drop of hot glue if you want to make extra sure.
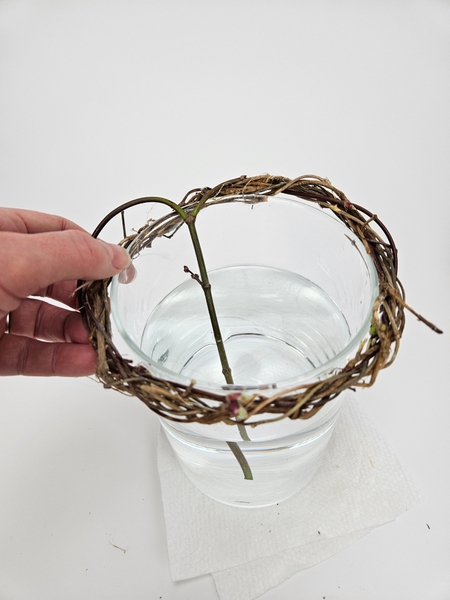
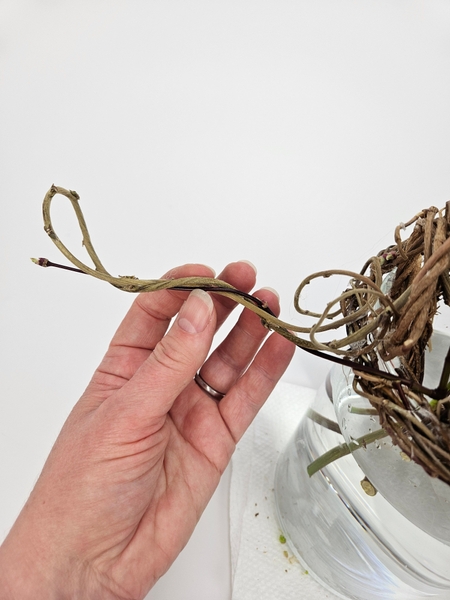
Slip a twig or tendril through the wreath to rest horizontally over the opening of the container.
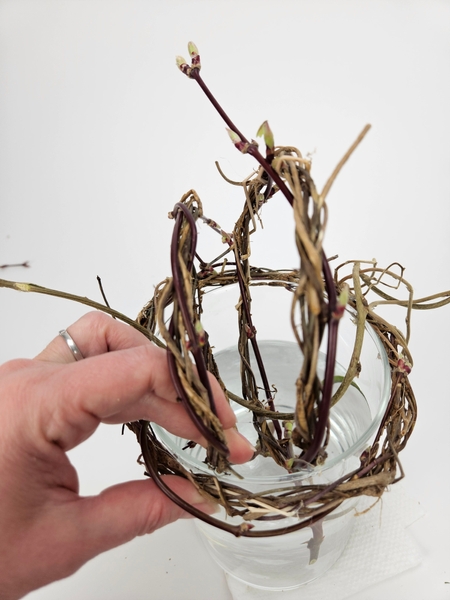
Weave in more fresh twigs into the wreath and add in the next size smaller wreath on either side of the upright wreath.
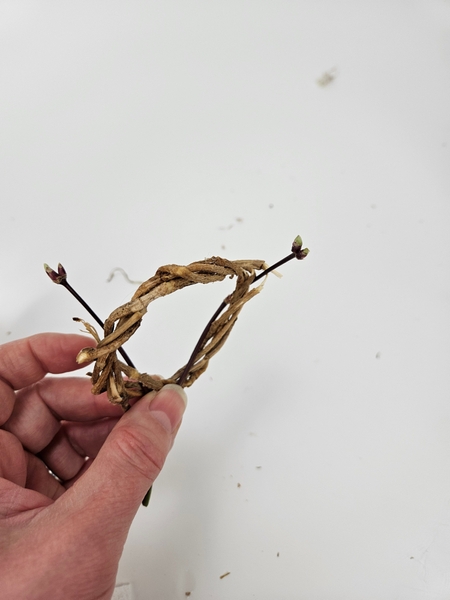
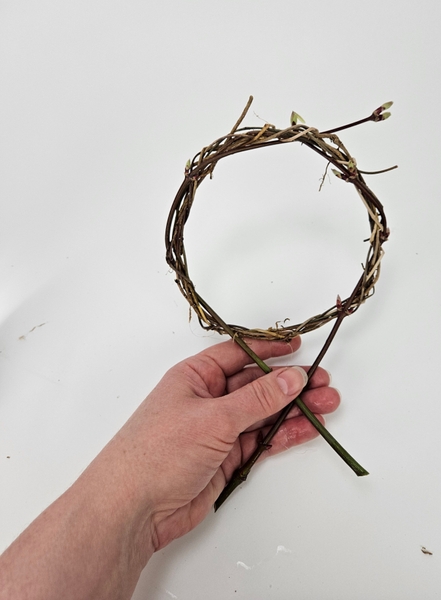
Weave in freshly budding twigs into the smallest wreaths...
And wedge in the smallest wreaths on either end to complete the sphere.

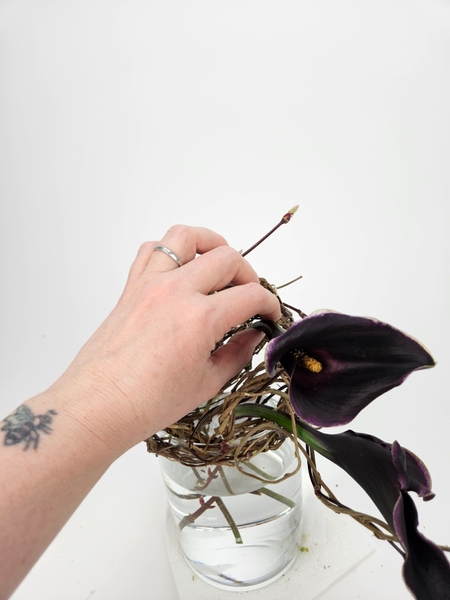
Insert a few fresh budding twigs into the armature...
And weave the fresh twigs around and through the dried armature.
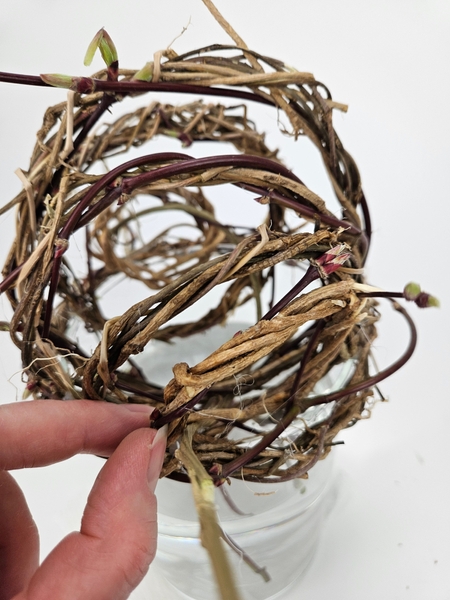
So that you have deep burgundy twigs that will sprout all over the armature.
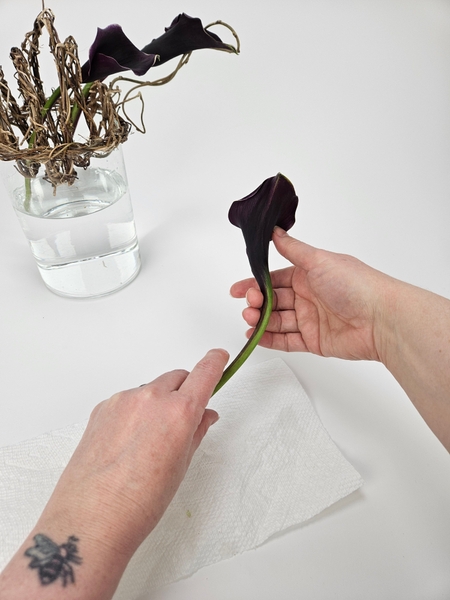
Gently message deep burgundy arum lilies to curve them so that they drape over the twig sphere.
Book readers turn to page 299 where I show you how to follow the flower's natural curve to manipulate without snapping.
For more information about my book: The Effortless Floral Craftsman
But to get you started I have added a Tutorial below for you if you are unsure of how to curve calla lilies.
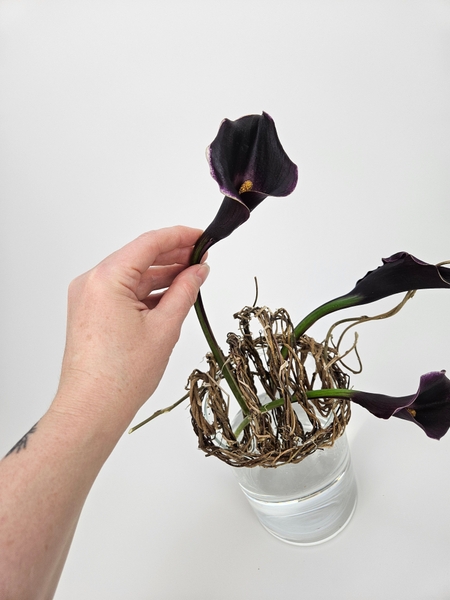
Drape the flowers to follow the curves of the round sphere.
Design note:
I do find that the more "permanent' your armature the more lifeless it looks. Dried armatures need careful consideration to perk them up enough to be successful as design structures. I love how the burgundy and the bright green of the maple twigs and the calla lilies simply lifts this dried wreath armature. It is perfect... for now. Once the buds open up I will be ready to replace the calla lilies with something a bit more... what do you think? What flower will perfectly follow up the calla lilies once the armature is filled with budding new growth?

Add in a few more fresh twigs... if that is your style...
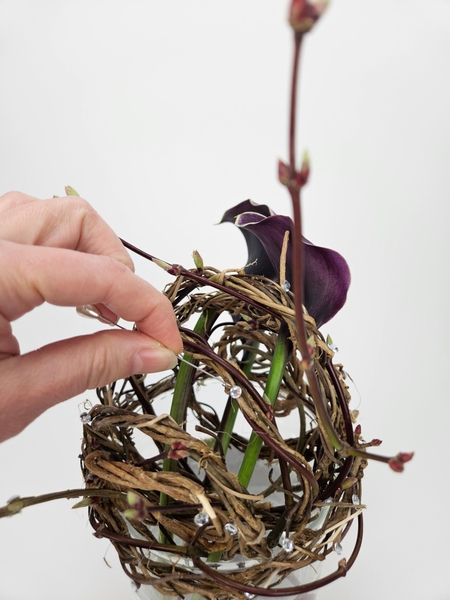
And I like to add a few sparkling dew drop crystals to add sparkle to my design. See the Tutorial below for more detailed instructions.
Sign up for my weekly newsletter
Every week I add a new design with related tutorials. Be sure to subscribe to receive an email notification with design inspiration.


 be mistaken for Spring sprouts\"")


