Christine de Beer - effortless floral craftsman
Sparkle web for a wreath display
- 25 March 2026
Book readers turn to page 378 where I show you this week's design. For more information about my book: The Effortless Floral Craftsman
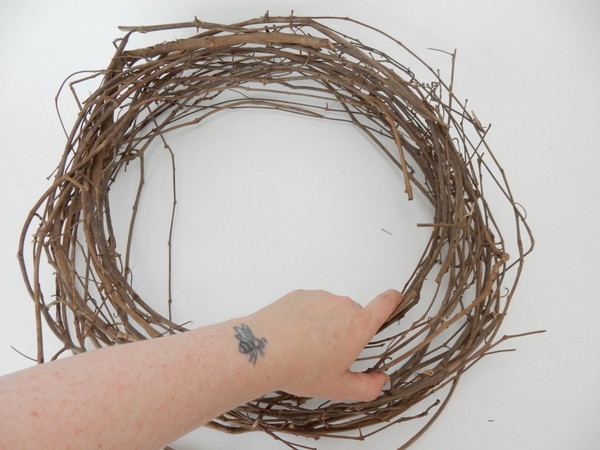
Weave a large wreath to use as the base of your sparkle net...
See the Tutorial below for detailed instructions on how to weave a wreath.
Set aside to dry.
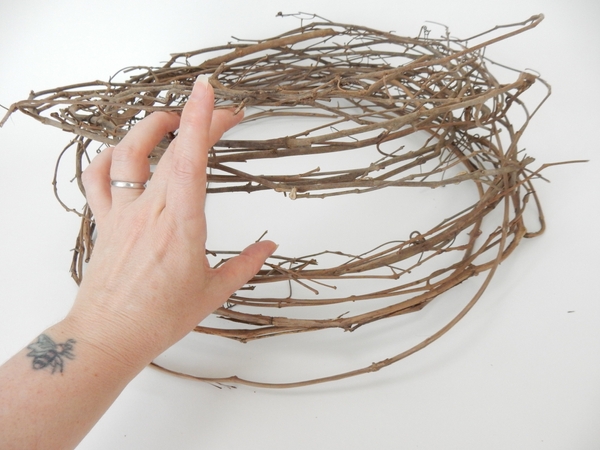
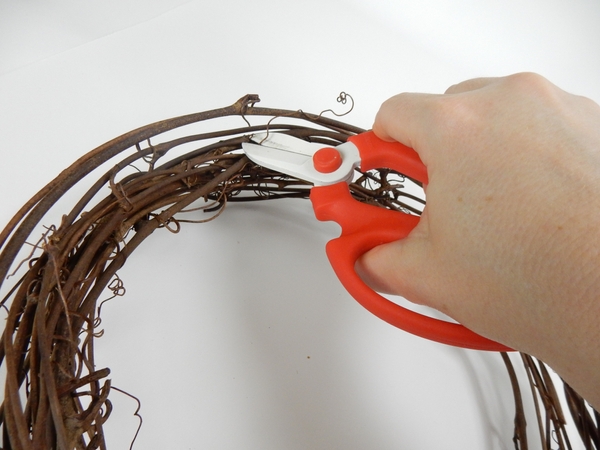
Split the wreath and remove the nicest vine pieces with dramatic tendrils so that you have thinner vine pieces to curl towards the middle.
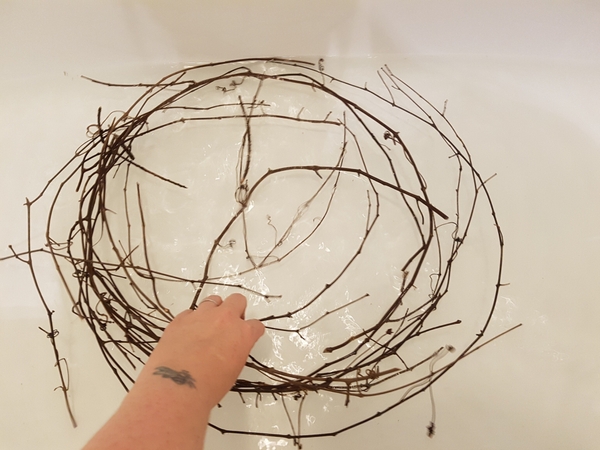
Soak those dried vines that you've cut out and kept aside in warm water for a few hours... or...
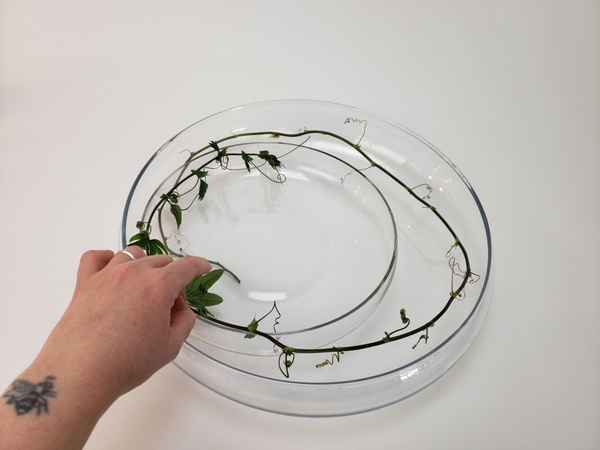
... cut fresh vines. Set the vines (soaked or fresh) into a pretty curl using shallow containers to guide and hold the curls while the vines dry.
Meanwhile get the grid part of the design ready.
We want to weave a grid inside the wreath by weaving in and out and around the wreath to create a meshed structure.
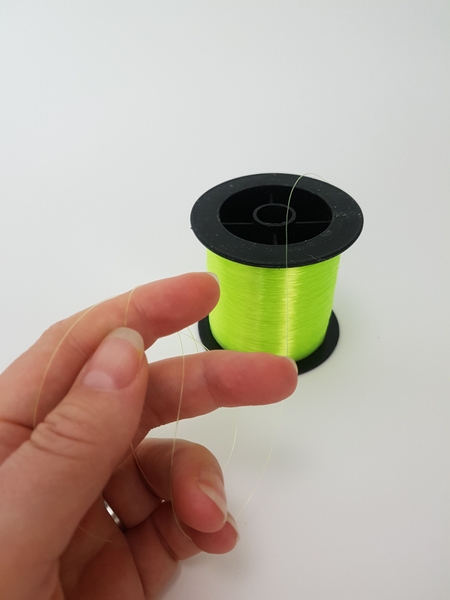
You can use coloured fishing line if you want to add a sheen to the grid...
... or clear line (like I did) if you want it to disappear in the design so that the crystals simply hover...
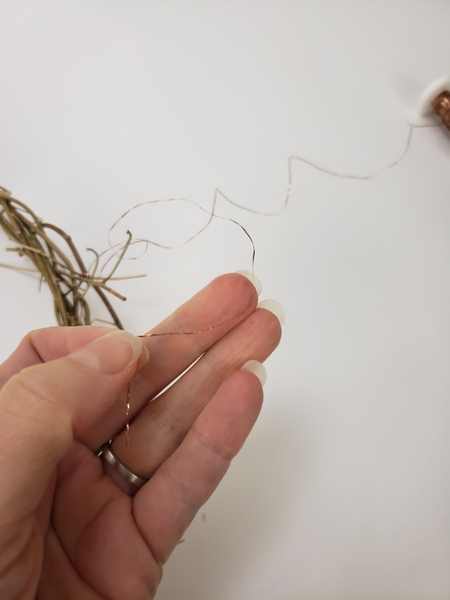
... or copper wire for an extra festive sparkle...
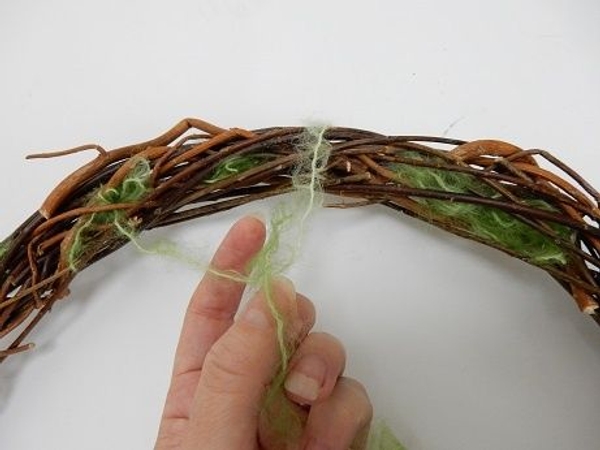
... or even wool to weave a "mossy" web.

You can simply tie the one end to the wreath and cross it over to the other side, wrap it and cross it over again to the other side to build up a grid that covers the opening or if you want weave it into a spider web (see the Tutorial below) or a dream catcher (see the Tutorial below) or a more wispy grid (see the Tutorial below) or use twigs to shape a grid, whatever suits your style better.
Add in small water tubes (see the Tutorials below for more detailed instructions)...
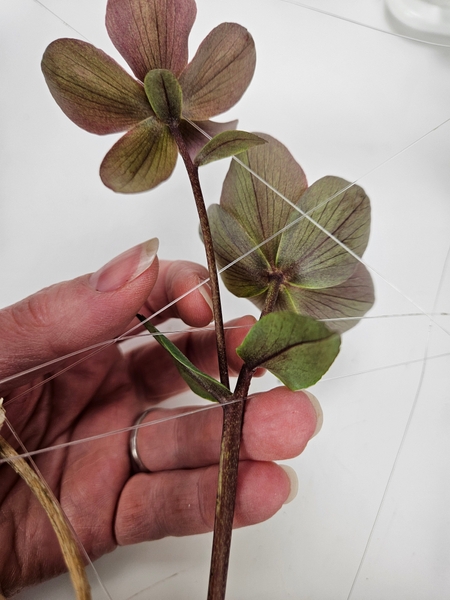
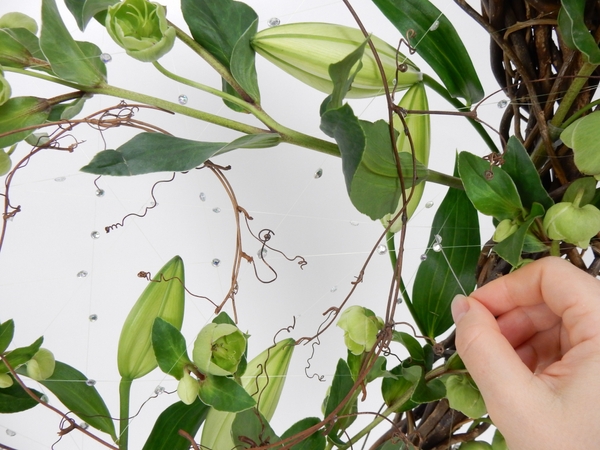
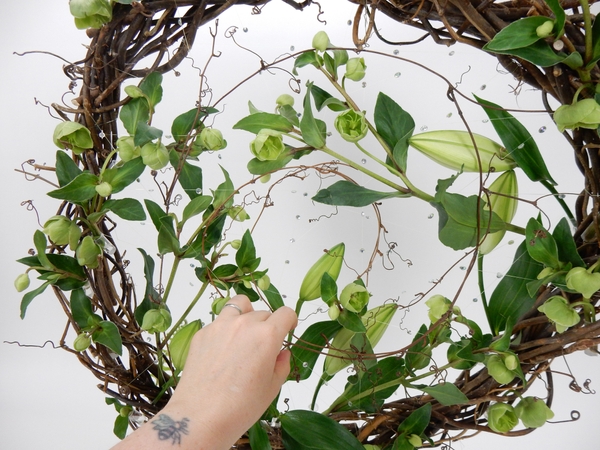
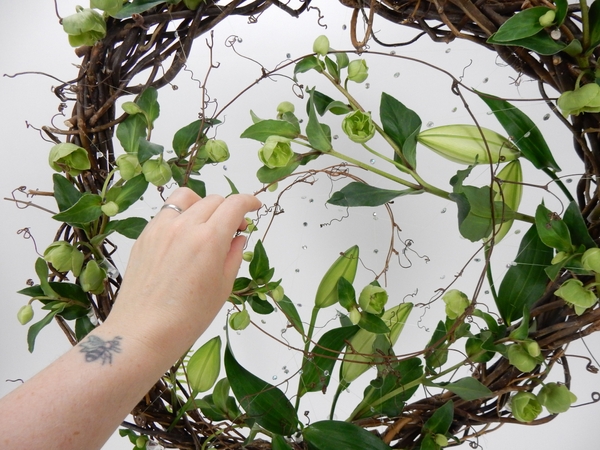
... and weave in the flower stems so that it is supported by the woven grid. Incorporate the vine with the tendrils, dried to a curl, inside the wreath grid. The flowers and plant material should stand upright to become part of the robust "net" in the middle of the wreath.
Make sure the flowers remain hydrated and weave them in so that "net" supports even the heaviest flower stems exactly where you want it. See the design examples below for more detailed instructions on how to design in the plant material.
And then we “camouflage” the robustness of the web… with the daintiest dusting of hovering dew drop crystals!
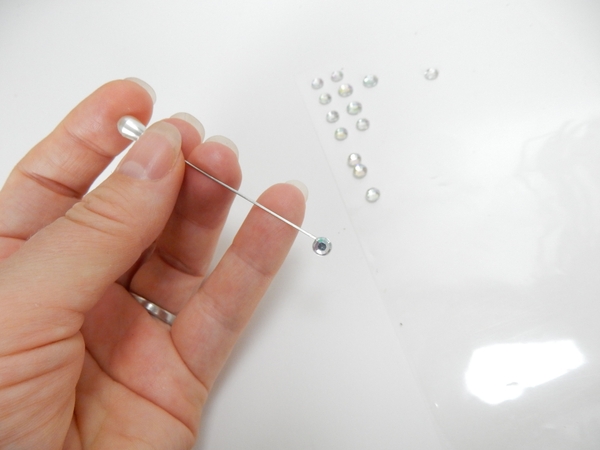
Pick up the dew drop crystal with a pin...
... so that the glue on the back is exposed...

And touch the sticky back of the crystal to the line and swipe the needle so that the crystal is left behind.
To finish the design cut a few more tendrils from a vine wreath...
Every Wednesday morning (Vancouver time), I send out a design note as an early glimpse at the newest Design and a few notes that I picked up creating the Tutorial that might be useful to you. This week, I share my notes on making sure the crystals look great (and stay where you add them) from both sides in your design.
If you’re new here, you can sign up below this post. And if you’ve been receiving these notes for some time, I hope they feel like a welcome break in your busy week.
... and glue the tendrils into the design so that it clings around the wires to make it look like it simply grew this way...
... with these wild and wonderful tendrils to complete the design.
Design note: Notice how the line keeps the plant material in position? The entire design looks like it is suspended in a moment.
Sign up for my weekly newsletter
Every week I add a new design with related tutorials. Be sure to subscribe to receive an email notification with design inspiration.


