Christine de Beer - effortless floral craftsman
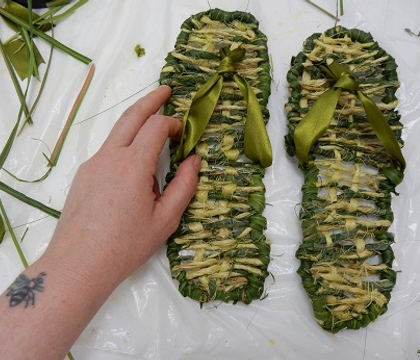
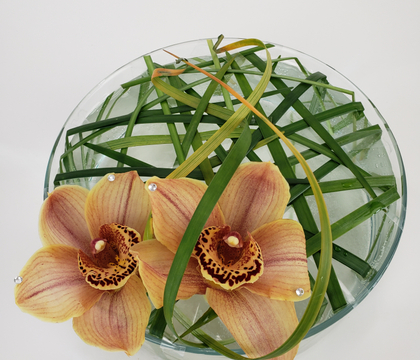
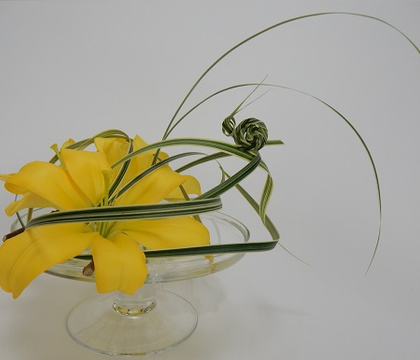
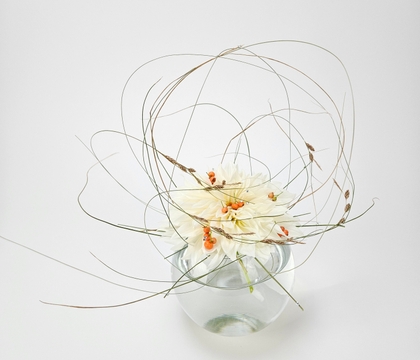
Knot some knots to elevate a traditional knotted butterfly to slip into a messy grass sheath frame
- 26 August 2026
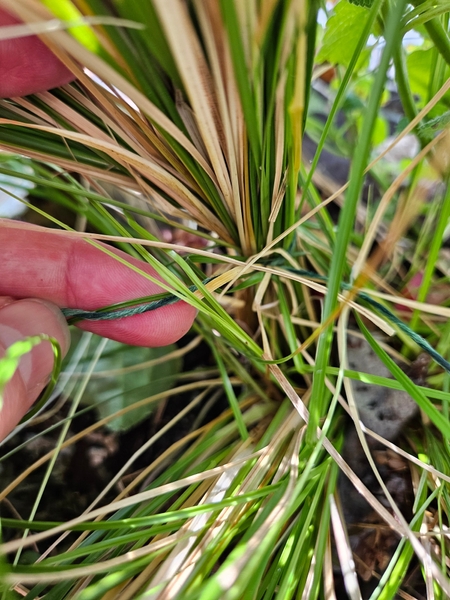
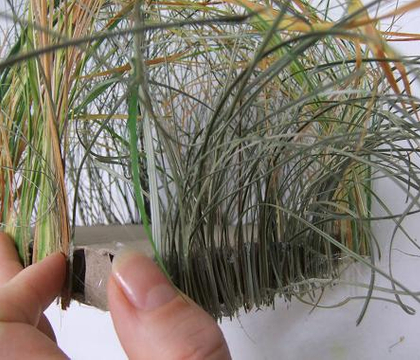
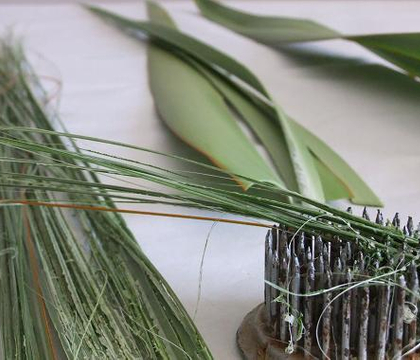
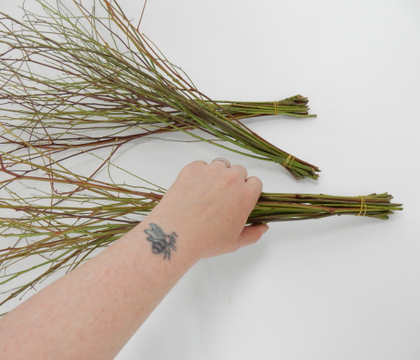
Tie two bundles of grass tightly to cut it neatly from the plant.
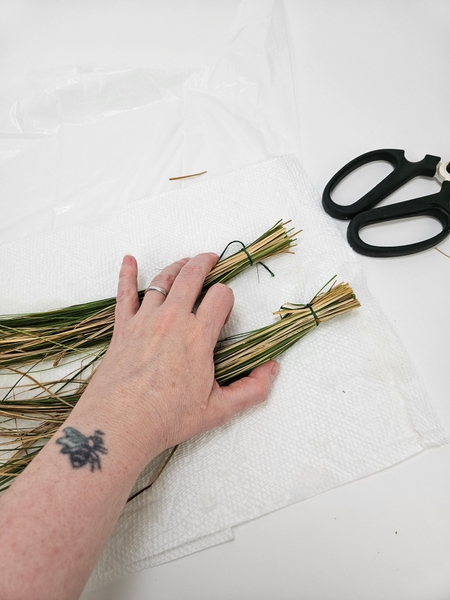
Rinse the two sheaths of grass to remove the dust and dirt.
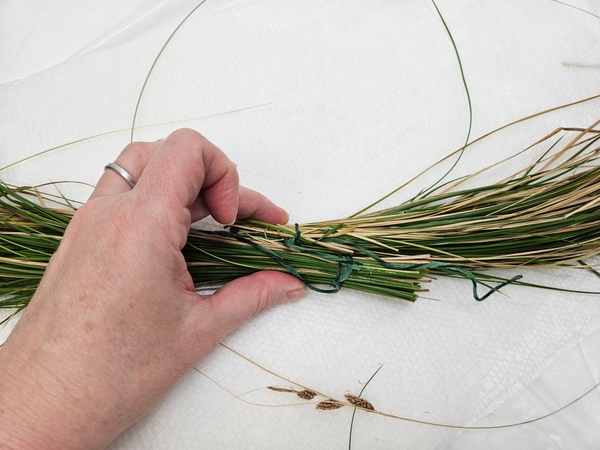
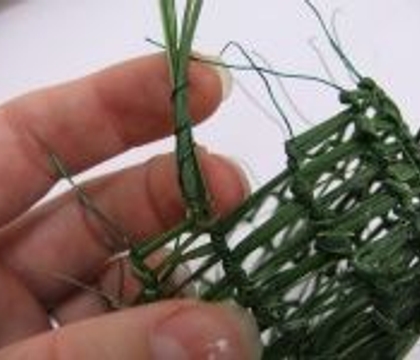
Overlap the two tied cut ends to secure them together.
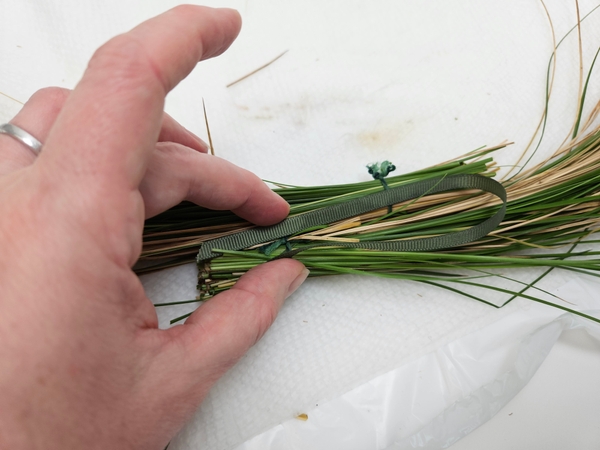
Tie the cut ends together by wrapping them with a gathering knot.
A gathering knot is one of our foundation skill knots. It is amazing for securing bridal bouquets and stems. And of course grasses into a neat sheath for autumn displays.
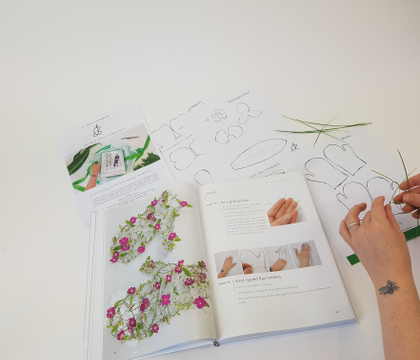
Book readers turn to page 58 where I show you how to knot a gathering knot with grass.
For more information about my book: The Effortless Floral Craftsman
In this design though, the gathering knot is what helps us create a neat curved wreath shape from the two sheaths. This week in our design note email I explain a bit more.
Every Wednesday morning (Vancouver time), I send out a design note as an early glimpse at the newest Design and a few notes that I picked up creating the Tutorial that might be useful to you.
If you’re new here, you can sign up below this post. And if you’ve been receiving these notes for some time, I hope they feel like a welcome break in your busy week.
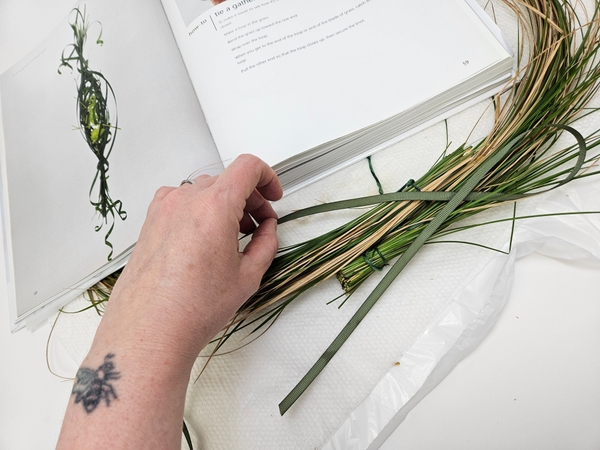
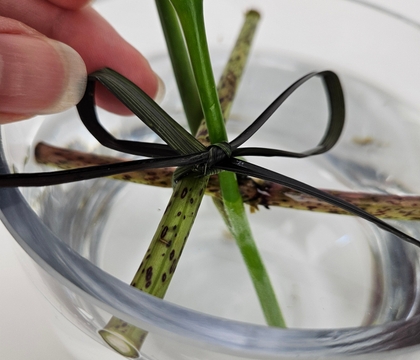
But to get you started: Loop the ribbon on one end...
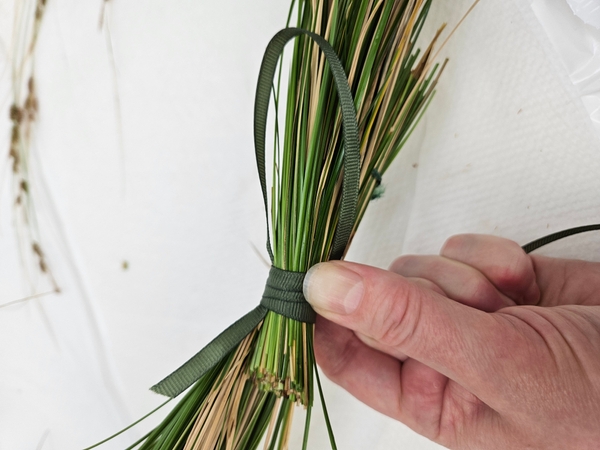
Wrap the grass bundles with the ribbon starting at the dangling ribbon end and working your way to the loop....
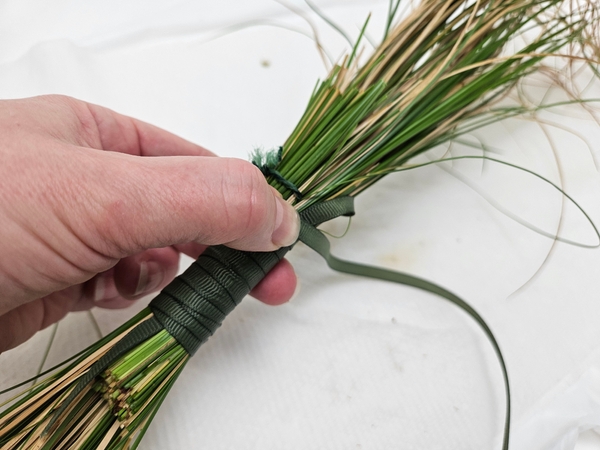
Wrap the bundles tightly with the ribbon to conceal both of the bundle ties at the top and bottom.
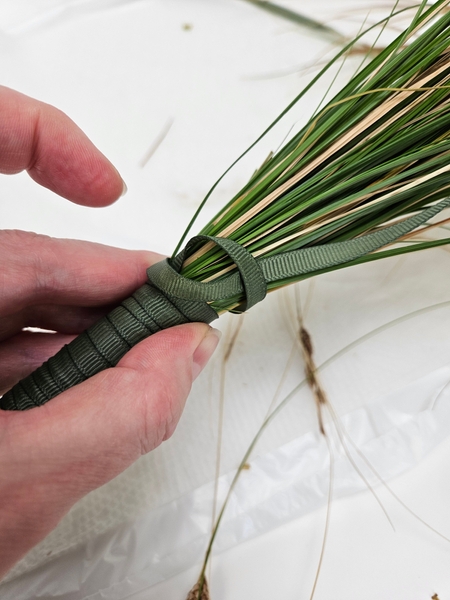
Slip the ribbon end through the loop...
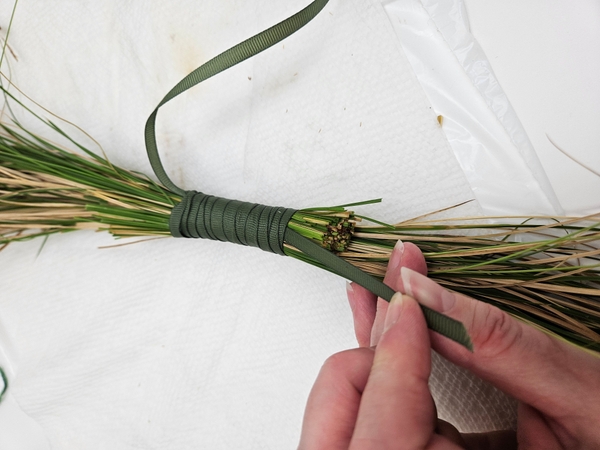
And pull the dangling end so that the top ribbon end slips below the wrapped ribbon to secure it. For this design I am leaving the ribbon ends long so that I can drape them along the grass wreath once It is on the container.
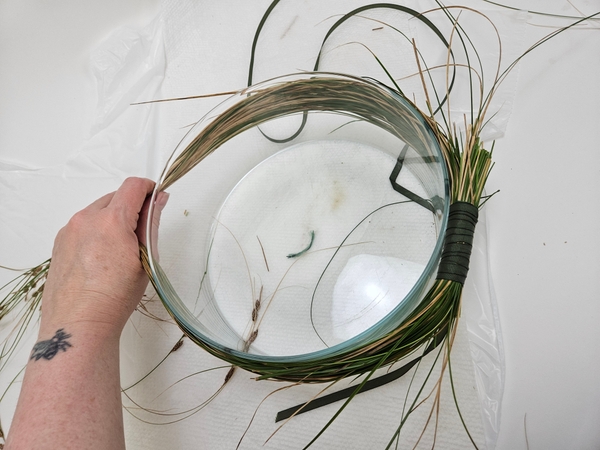
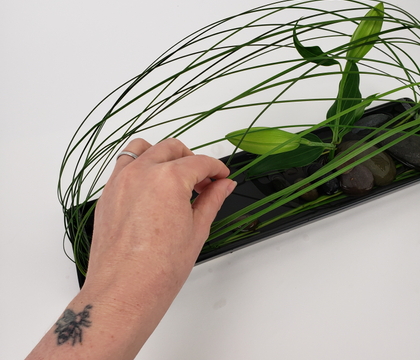
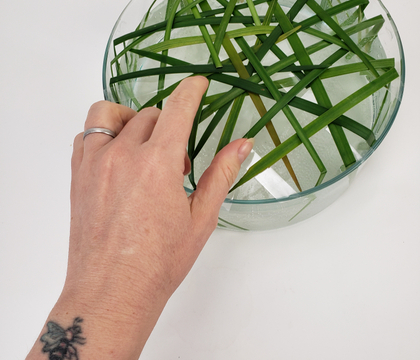
Wrap the grass around a large round display container...
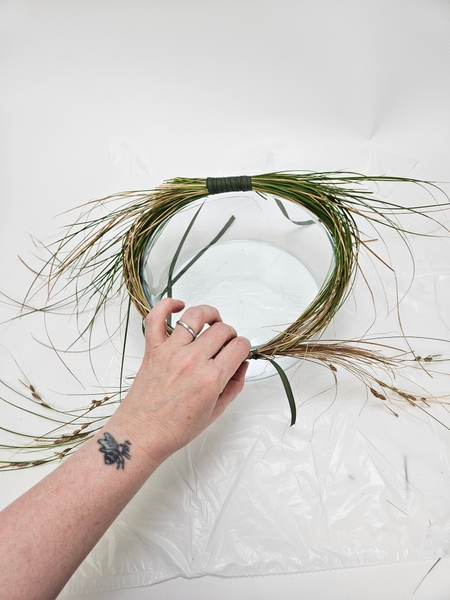
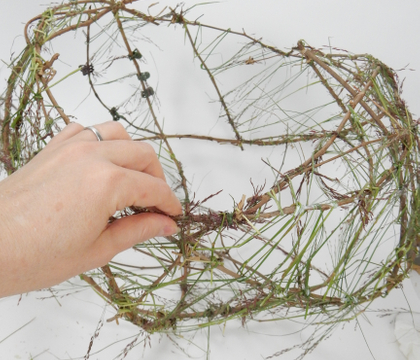
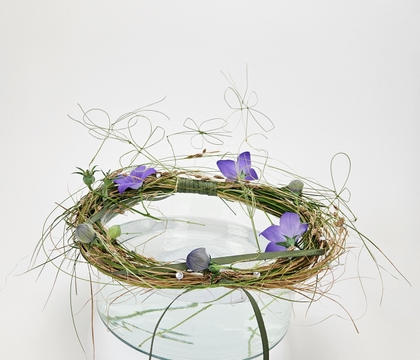
Secure the other end of the grass with a granny knot and start your design by draping the dangling seeds back around and over the grasses to shape a looser wreath around the container.
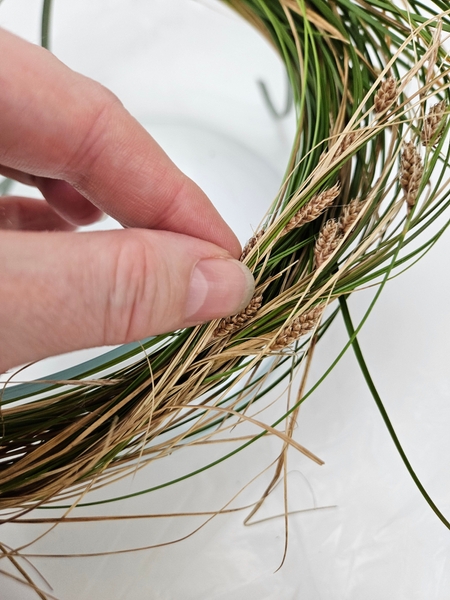
Weave the dangling strands in to somewhat tame the grass design. How much taming you do is up to you. I wanted my grass to look loosely draped, deliberate but not untidy.
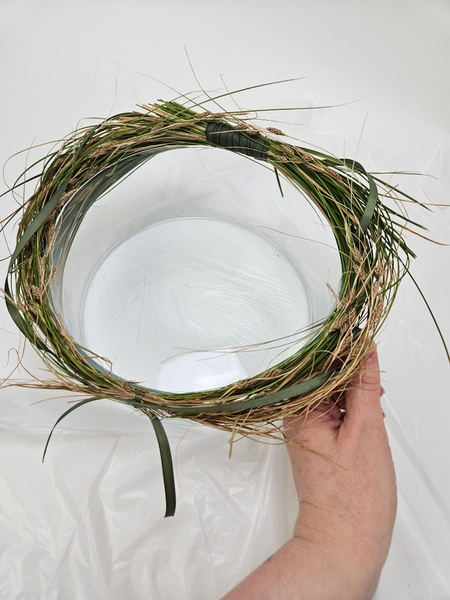
Drape in the ribbon to look wind blown rather than styled... or... whatever you want. Tie a bow, cut them away.
But a short note on this ribbon. What a find! They are exactly, exactly the colour of "healthy plant material". This is a great design staple to have in your tool box for securing floral details that you might need a visible tie that should not distract from the plant material. I am adding the affiliate link below to the exact green ribbon that I keep in my toolbox.
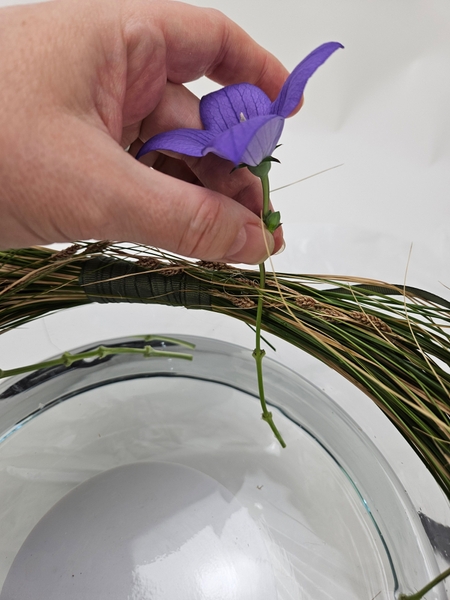
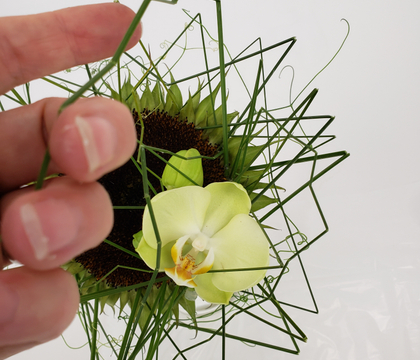
Slip your flowers through the grass to position it around the grass wreath...
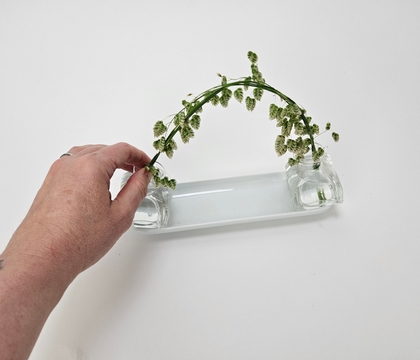
Design note: cut balloon flowers in different stages of opening. Flowers in your display that are popping open will last longer than flowers that are fully open. I wanted mine to show the full lifecycle so I am adding seedpods, newly opened and buds.
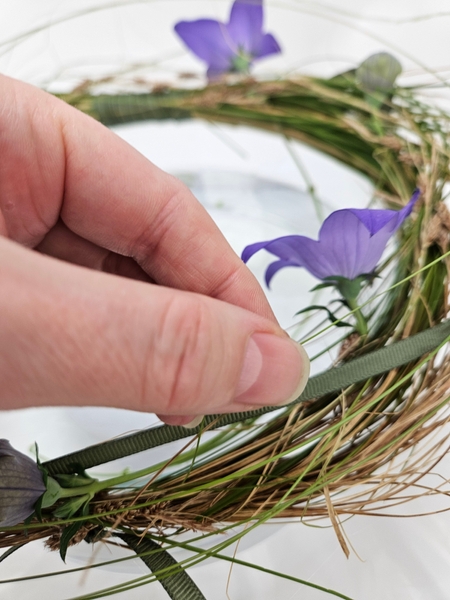
Add in a few strands of grasses to drape around and over the flowers to connect the display as a unit.
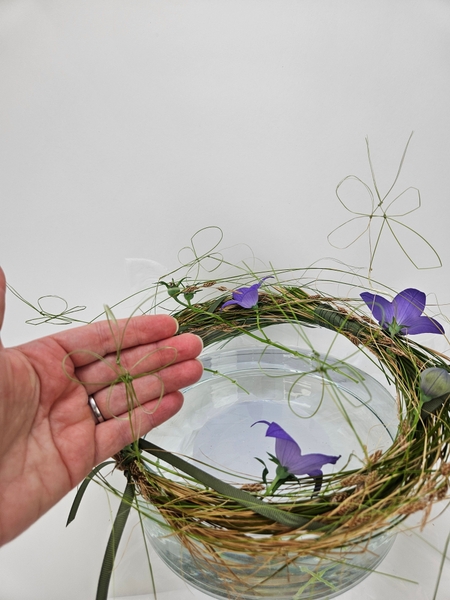
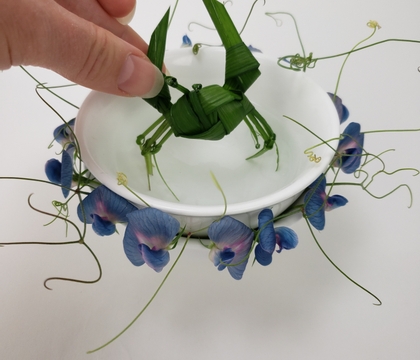
And I am finishing my display with a few knotted grass butterflies (species: LooksJustLikeASquiggle) flutter lightly over the grass....
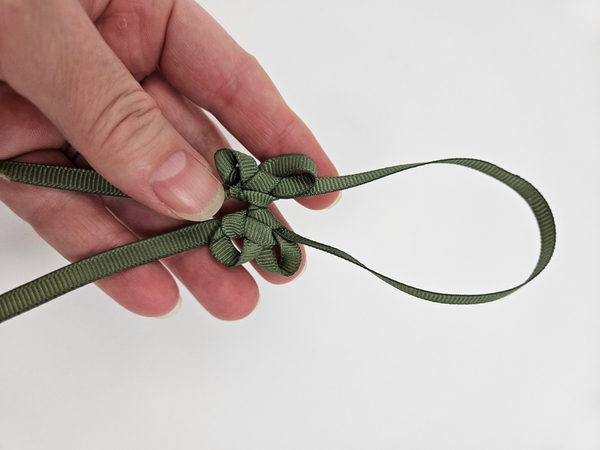
Design note: It is much, much, much harder to knot the butterfly using grass. The basic knot is roughly based on a traditional Chinese butterfly knot pattern so it might be easier to practice using ribbon first...
And I will show you how I changed it into a "line drawing" of a butterfly in the Tutorial below and completely changed it from the original in the last stages of the Tutorial.
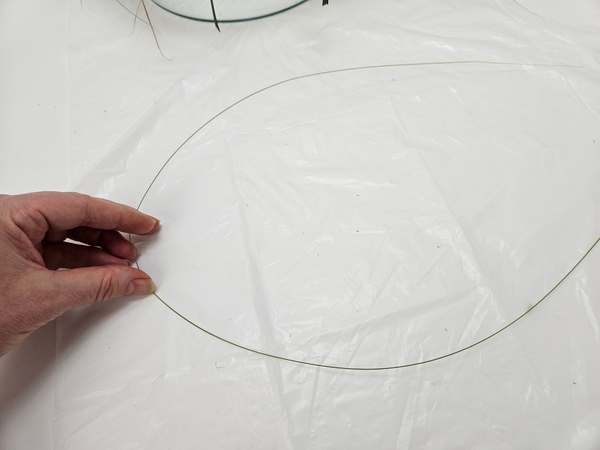
We knot the butterfly from one single strand of grass. Or if you practicing... one length of ribbon.
Find the middle point...
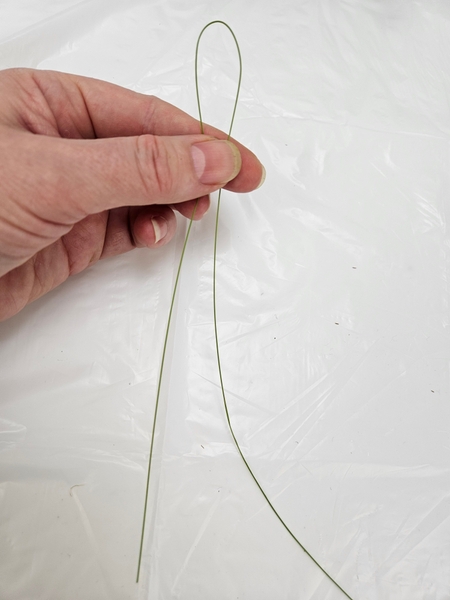
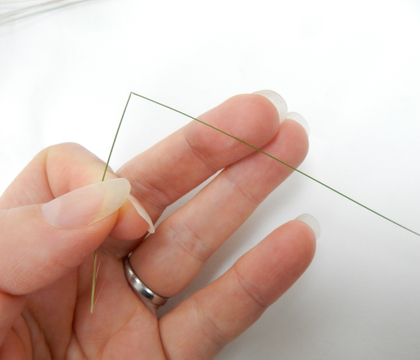
Give the grass a generous dangling end and curve the first loop.
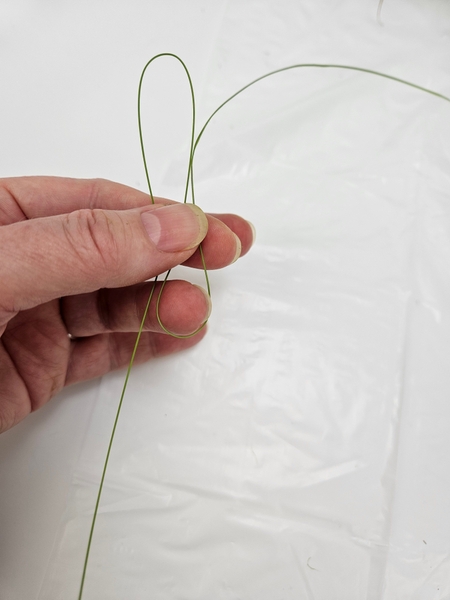
Curve the second loop at the bottom.
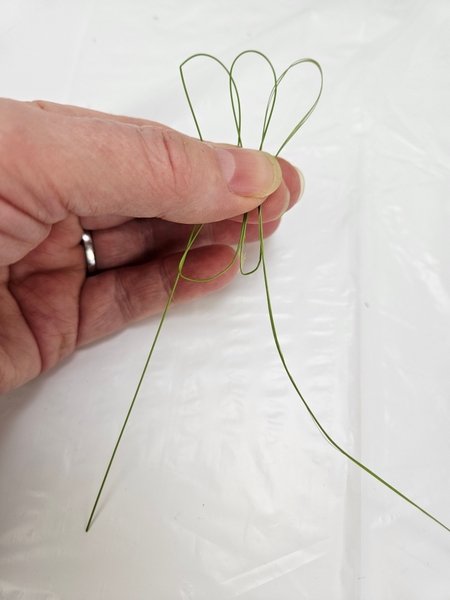
Curve the grass in a zig zag pattern so that you have three loops at the top and two at the bottom...
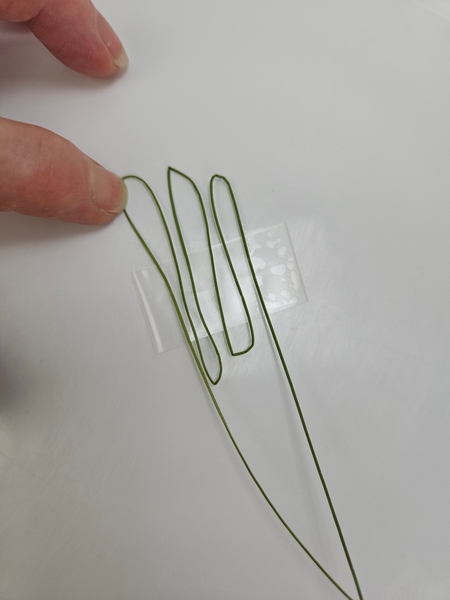
Design note: Let me remove my fingers... see? You want the grasses between your fingers to curve parallel to each other.
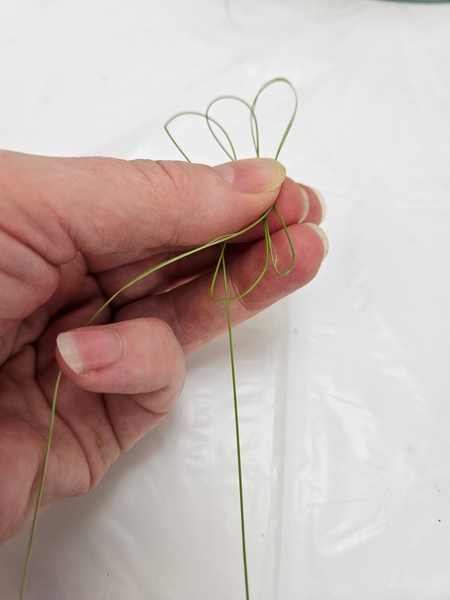
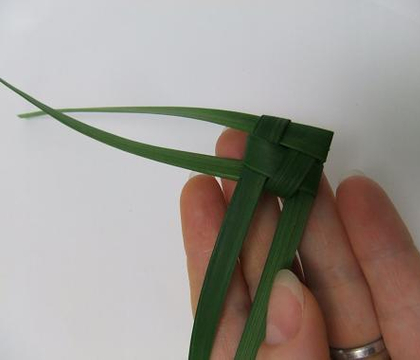
Move the right dangling leg to the left...
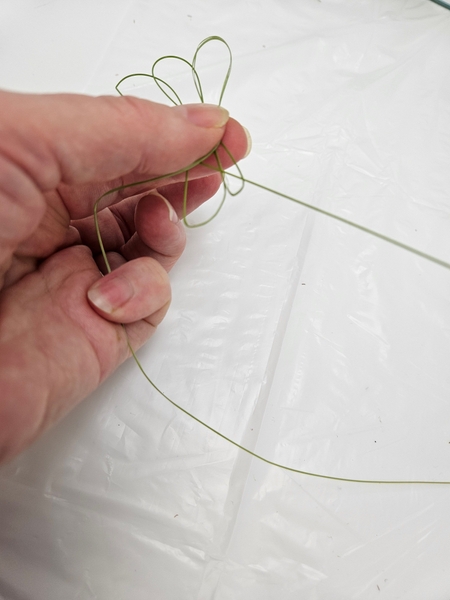
And the left dangling leg over to the right.
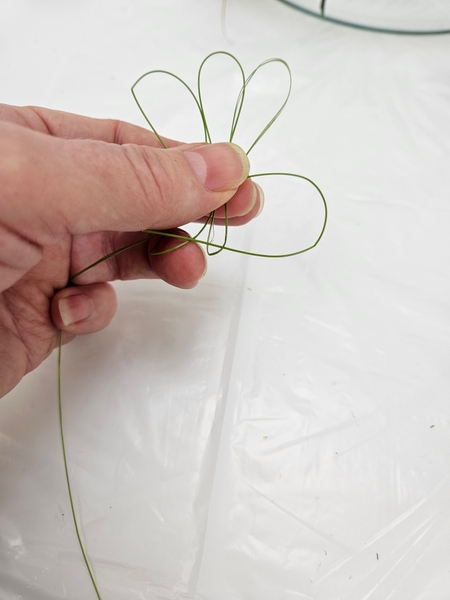
Catch the loop by threading this leg around the back and through the loop...
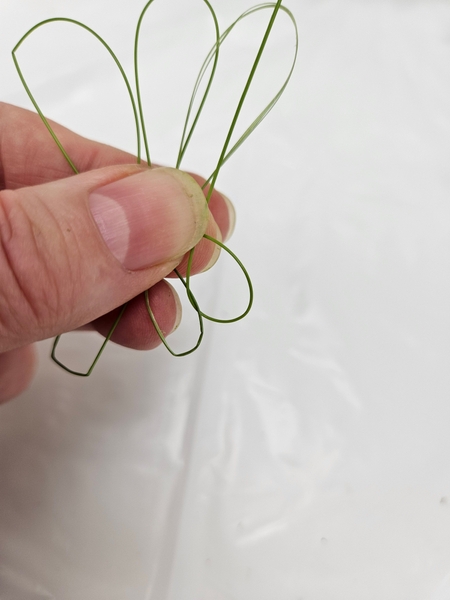
Point the leg up to the top loops...
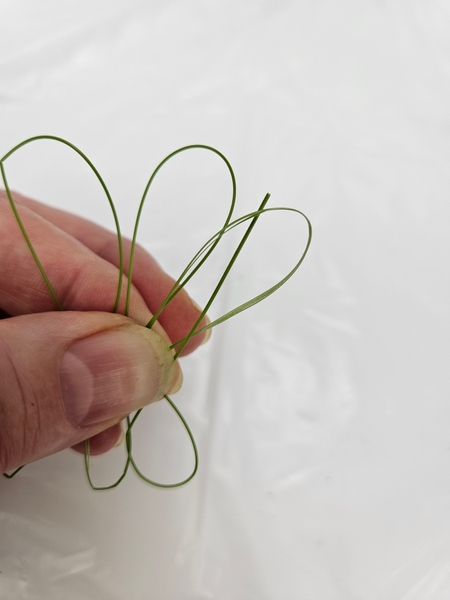
Thread the leg from the front through the first loop...
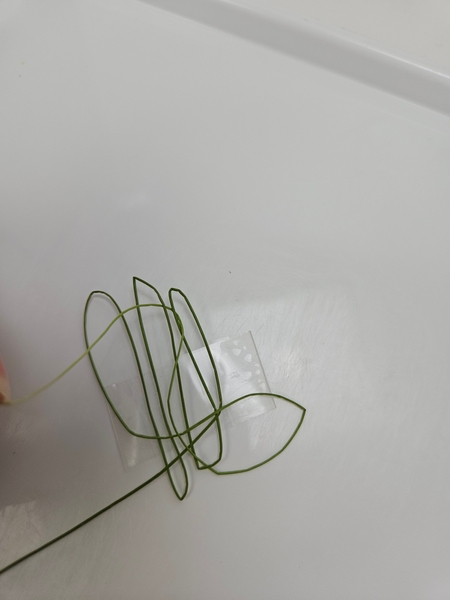
Again let me remove my fingers (the tape is where my fingers would have held it) so that you can see clearly... it should now go under the next two strands so the it comes out in the middle hoop.
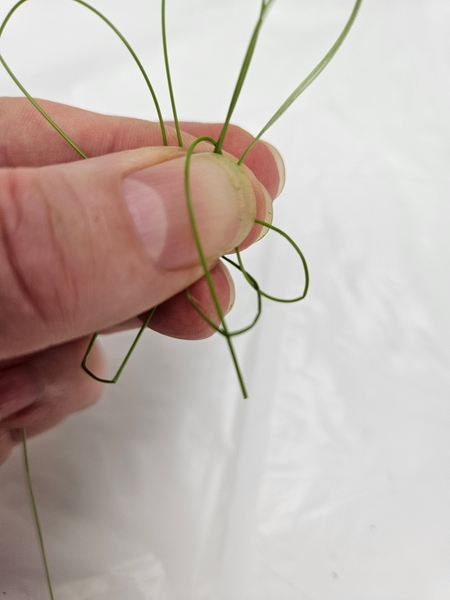
Fold the grass forward and through the bottom loop.
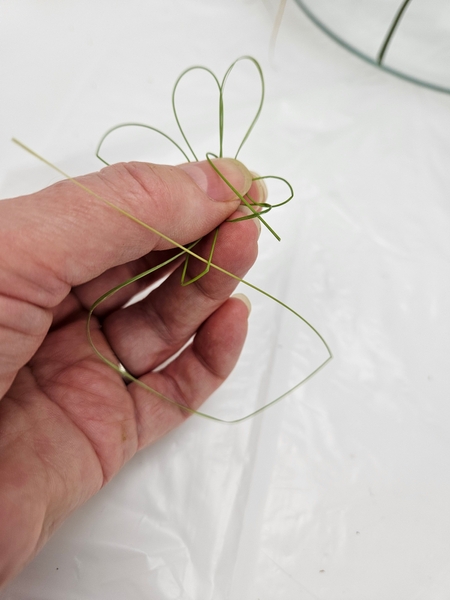
Now we repeat the weaving pattern on the other side...
Curve the grass around and through the bottom loop from the back forward
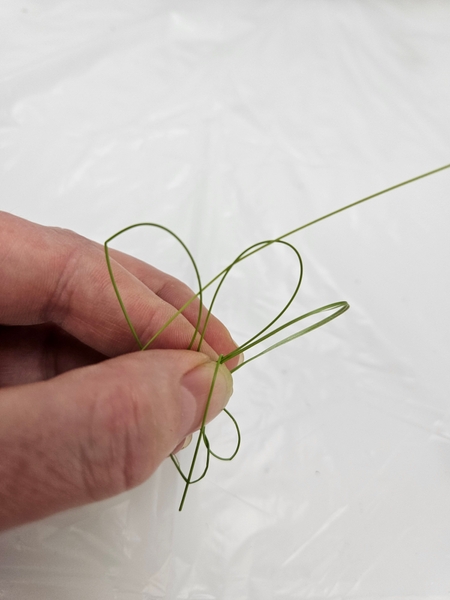
Thread the grass under your thumb to go over the first grass into the loop and then under both grass strands to come out in the middle of the middle loop.
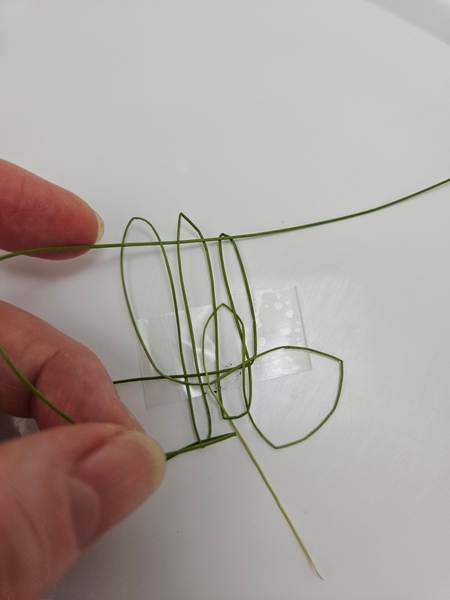
Design note I am repeating the stem for you but removing my thumb so that you can see...
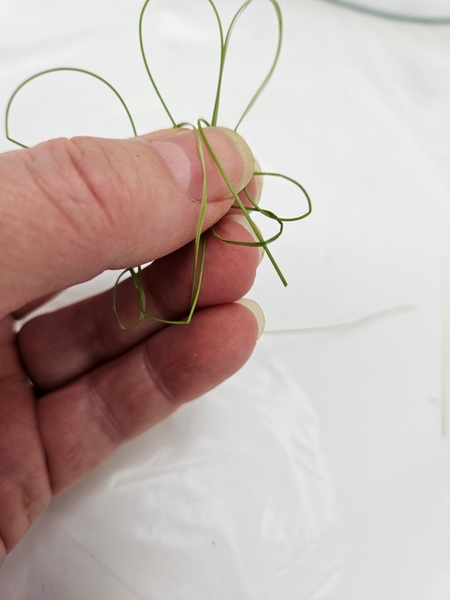
Fold the strand forward from the middle top loop and through that first bottom loop.
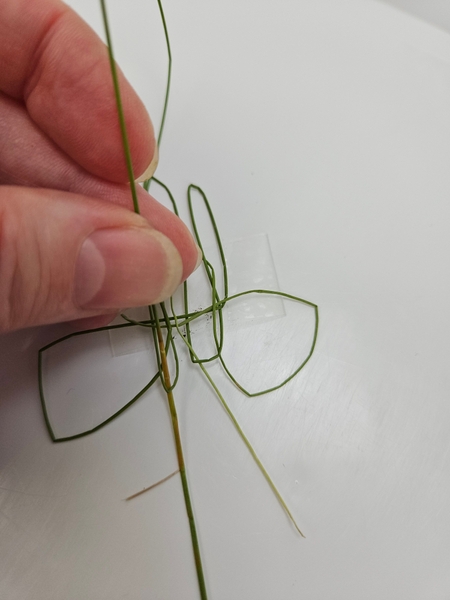
If I remove my thumb for you to see better...
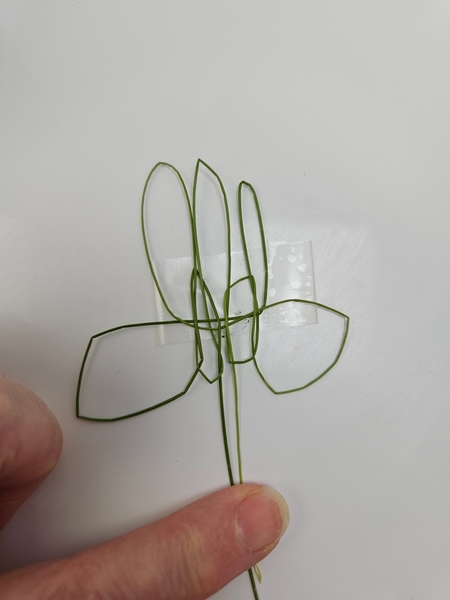
This is the basic butterfly knot... now to pull it the knots tight...
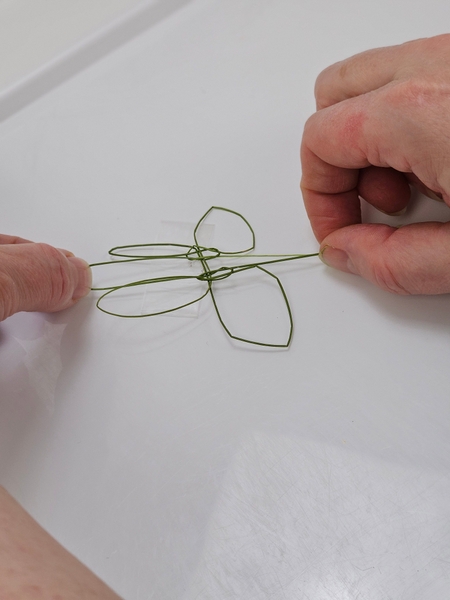
Pull the middle loop upwards and the two dangling legs downwards.
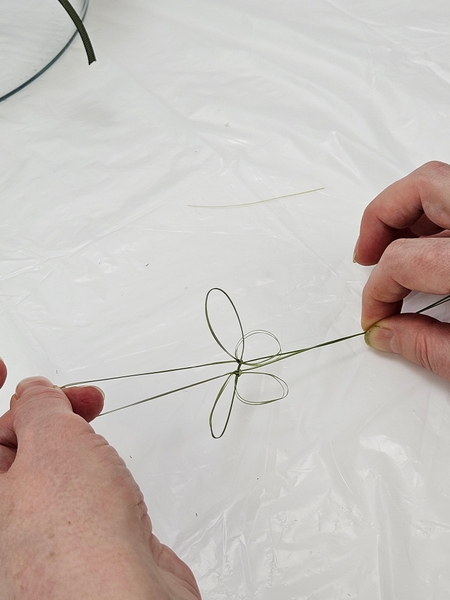
To secure the knots that makes up the butterfly.
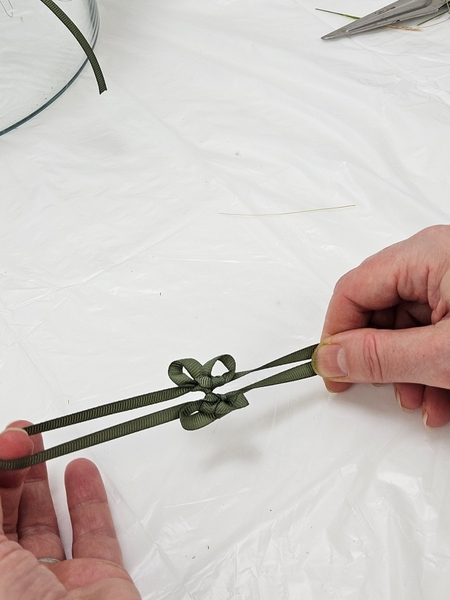
If you are practicing with a ribbon it looks something like this...
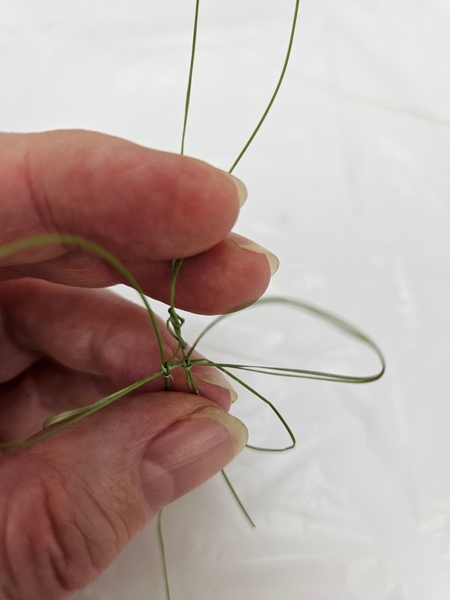
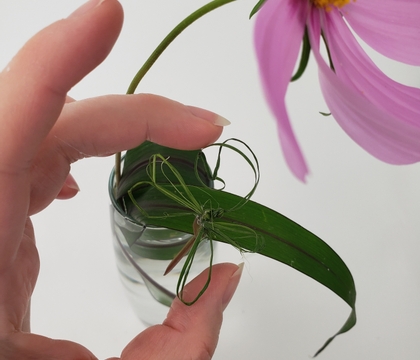
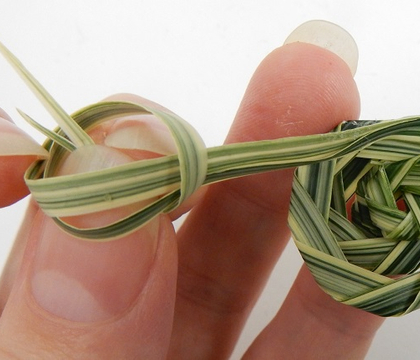
But I wanted my butterfly to be more detailed so I am knotting in a head at the top loop...
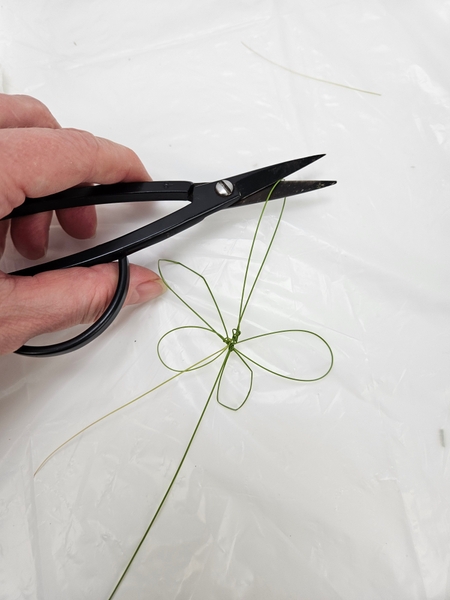
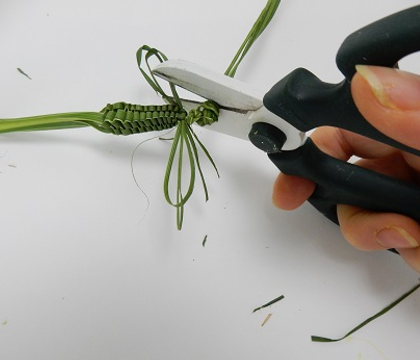
And cutting the top loop open for the feelers.
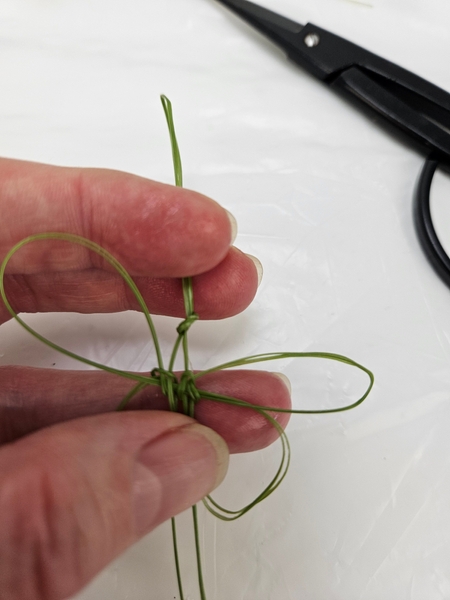
Adjust the head knot to give the butterfly a bit of attitude and personality...
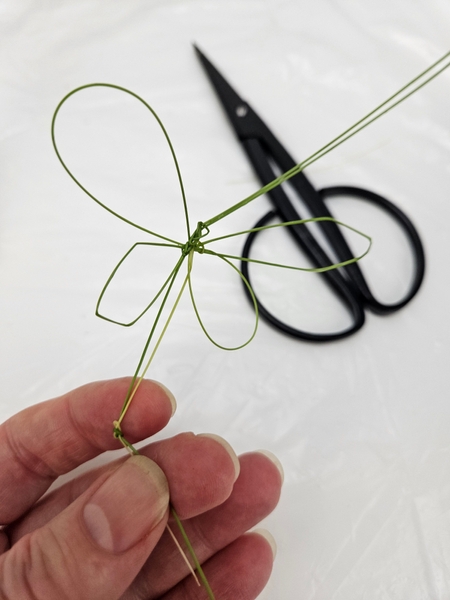
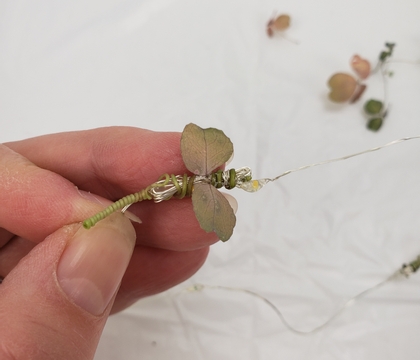
Knot the dangling leg ends together to give the buttefly an abdomen.
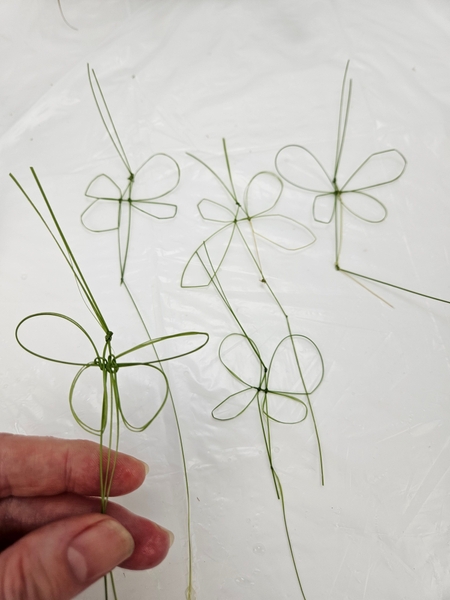
I wanted my butterflies to look like line drawings or squiggles so I left them imperfect.. each one unique and a little lopsided and a little... well... perfectly handmade, really.
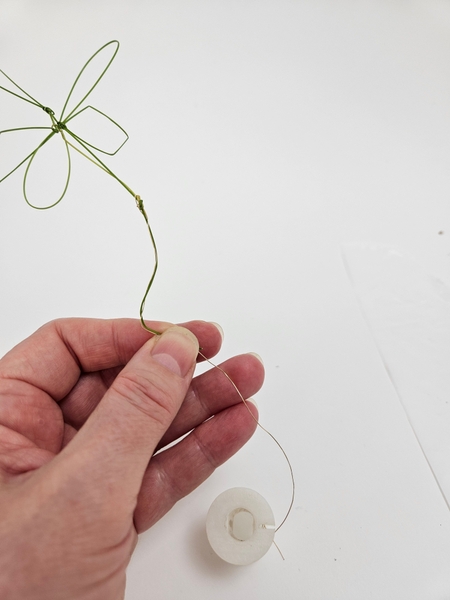
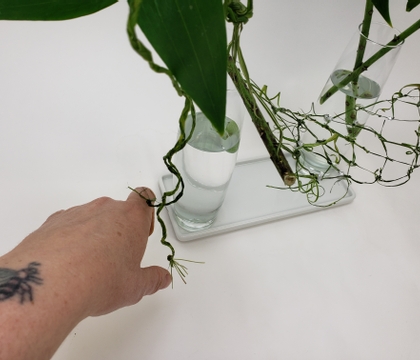
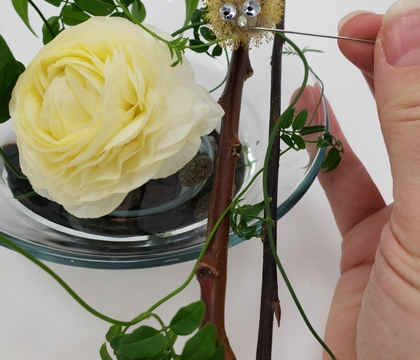
Support the leftover dangling legs with the thinnest jewelry wire leg...
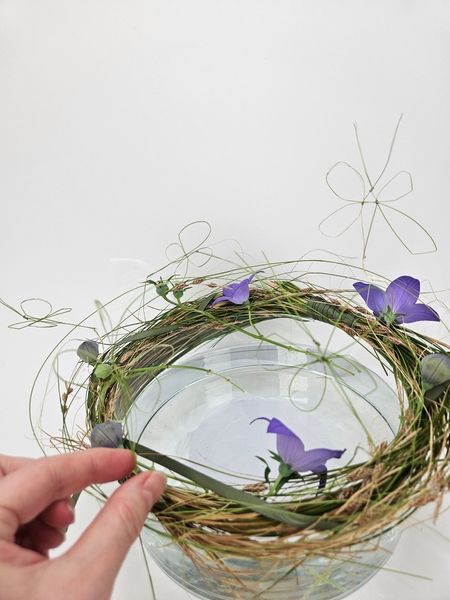
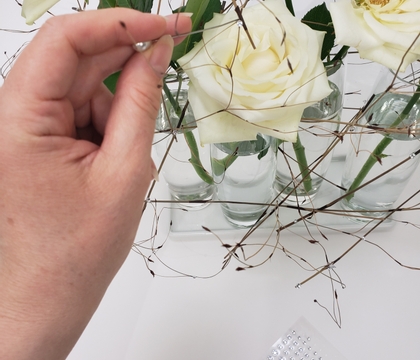
So that you can insert the wire pin into the grass wreath so that the grass butterflies can hover and dance over the design.
But I know, this is as complicated as it looks! If you want an easier (not quite as delicate) version have a look at the knotted dragonflies in the links. But give this a try. It absolutely elevates your craftsmanship... because it is not easy.
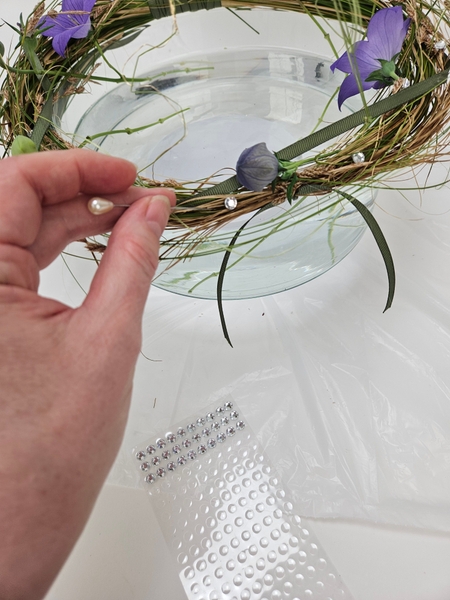
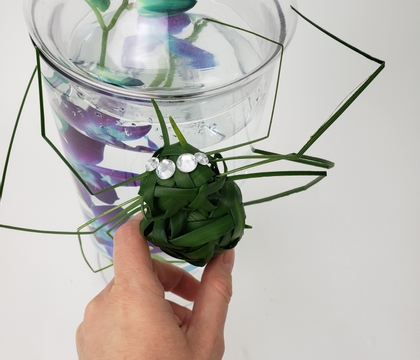
And dew drop crystals to add signature sparkle to the rustic grasses.
See below for the Tutorial and the link to the crystals.
Sign up for my weekly newsletter
Every week I add a new design with related tutorials. Be sure to subscribe to receive an email notification with design inspiration.
This section contains affiliate links. If you choose to explore any of these tools, I may earn a small commission at no extra cost to you.