Christine de Beer - effortless floral craftsman
Cross and knot forked stems to support them in a minimal summer display
- 8 July 2026
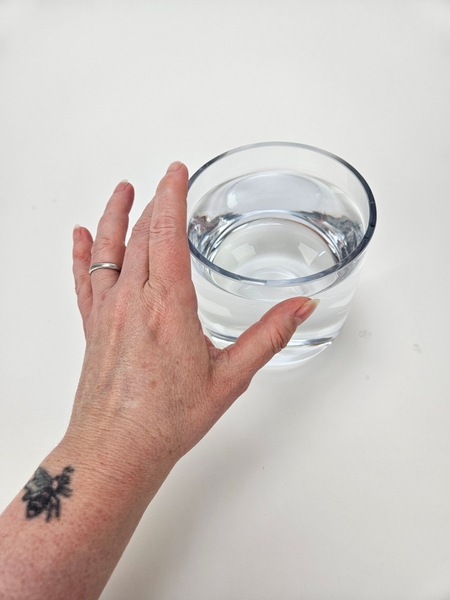
On a warm summer's day fill a deep display container (that is sturdy so that it won't crack when you wedge in stems) with cooling water...
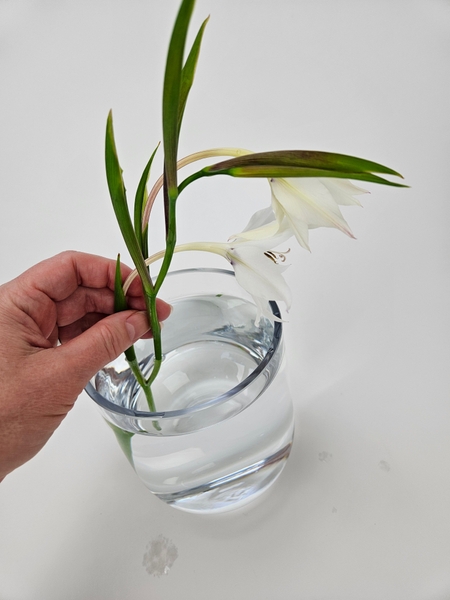
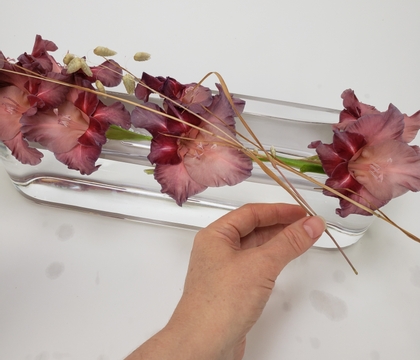
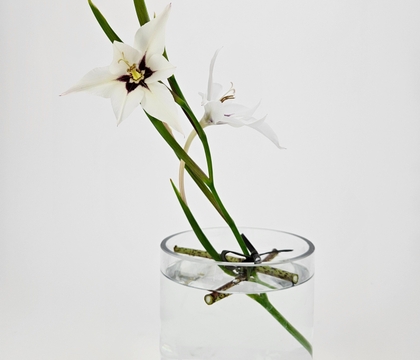
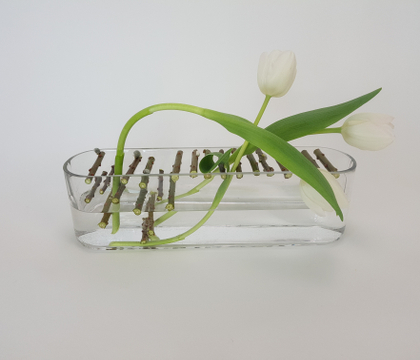
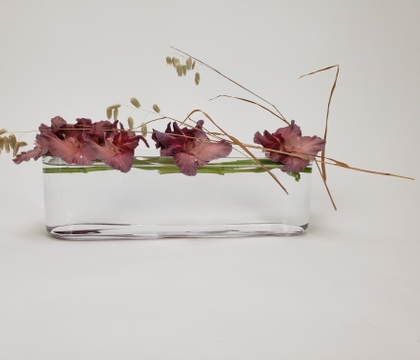
Measure out where you would like a gladiolus murielae stem to drape in your display.
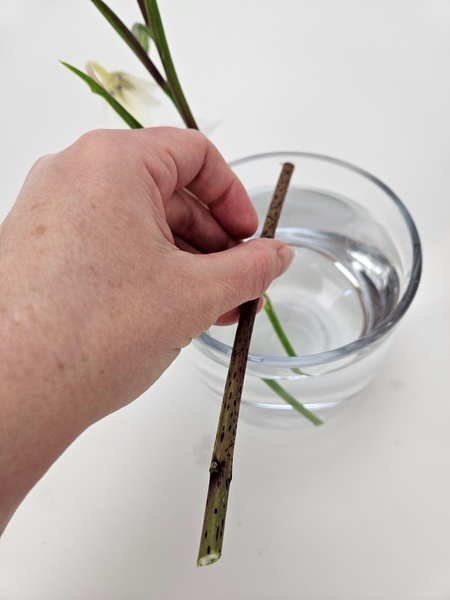
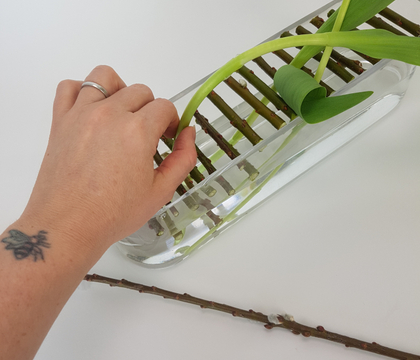
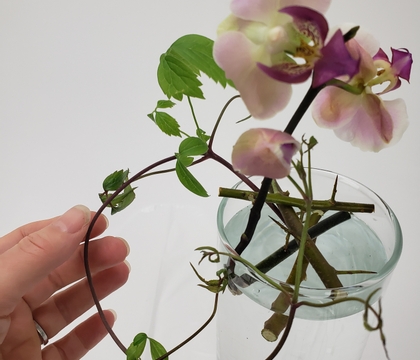
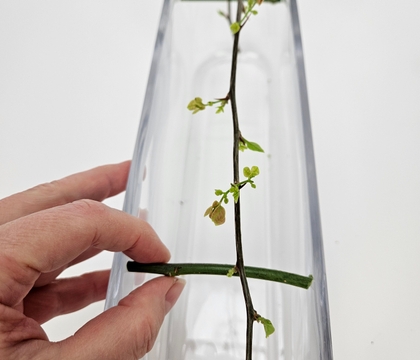
Measure out a support twig that fits snugly from side to side of the container.
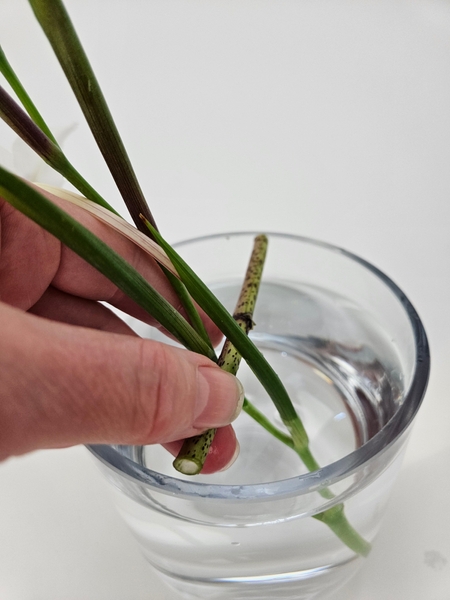
Slip the support stem through the gladiolus stem...
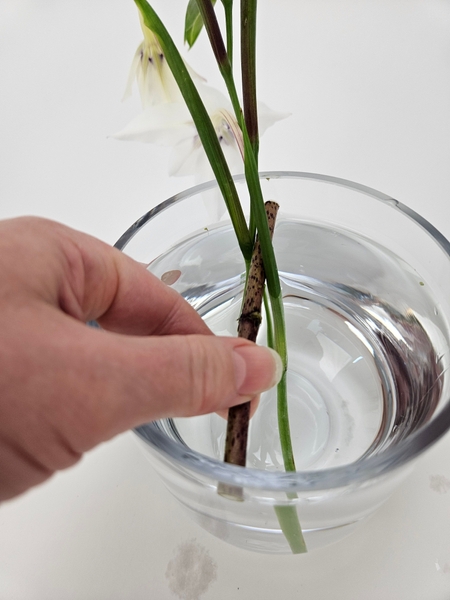
... and wedge it firmly in place.
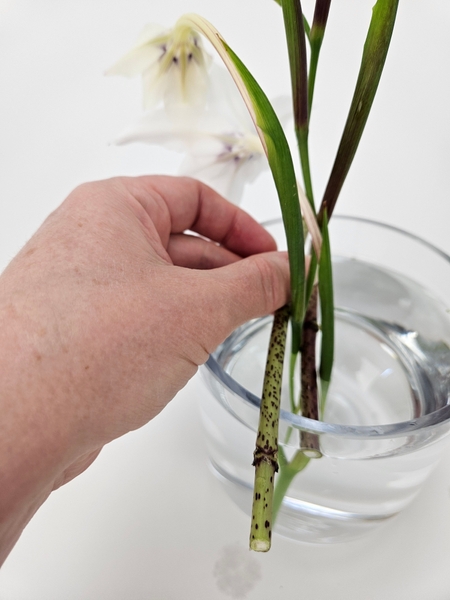
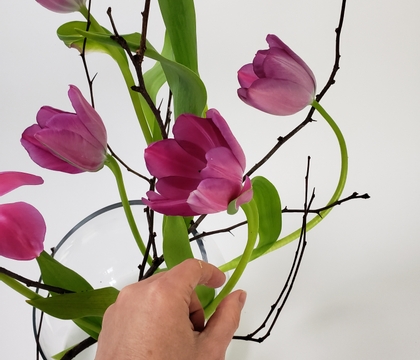
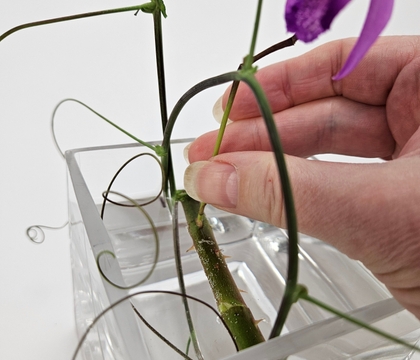
Measure out the second support stem...
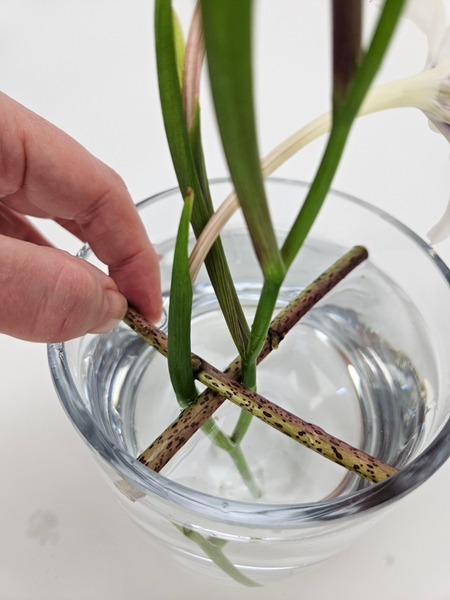
Cross the stems and wedge it into position.
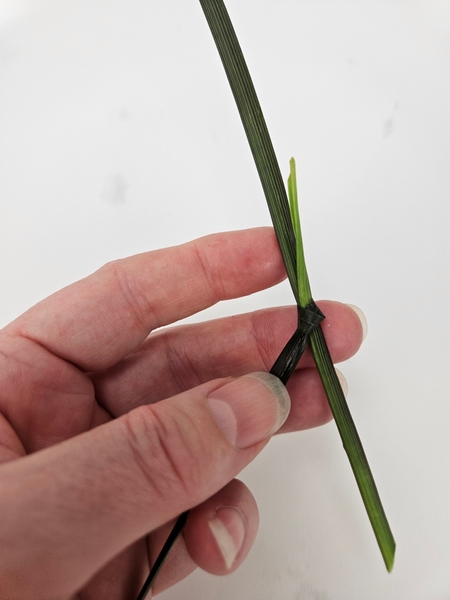
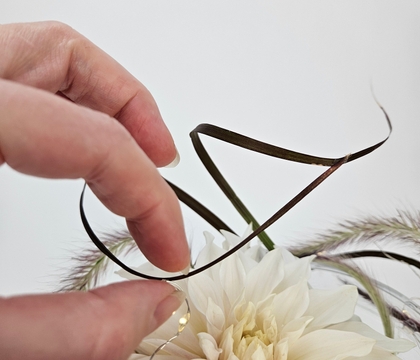
Overlap two blades of grass so that the cut ends point to the tips. Make a granny knot (also called a shoelace knot) with the first cut end.
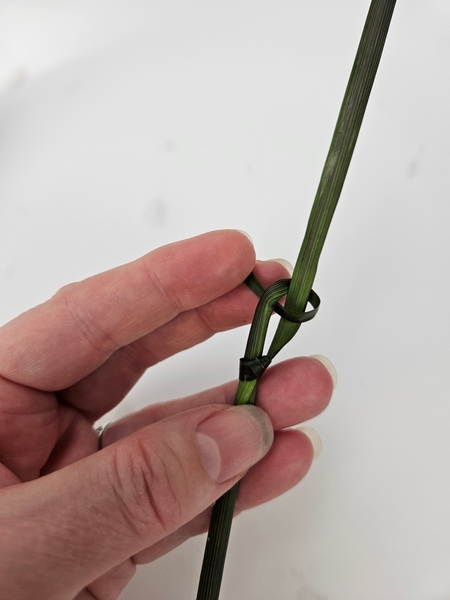
Make another shoelace knot with the other cut end.
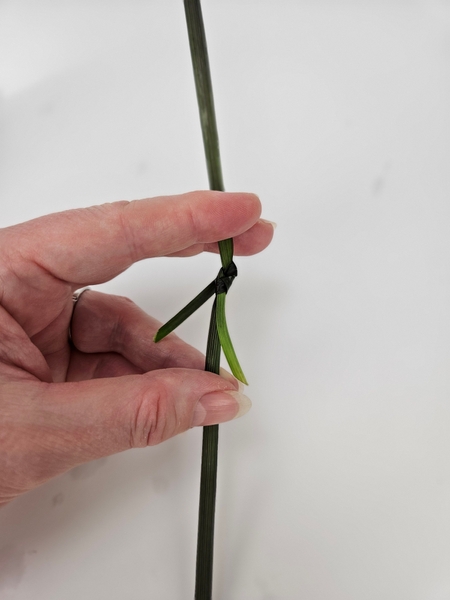
Pull both knots tight so that the grasses are extending tip out. And cut any dangling bits away.
Book readers turn to page 48 to learn the finer details of knotting with grasses. The shoelace knot is on page 49.
For more information about my book: The Effortless Floral Craftsman
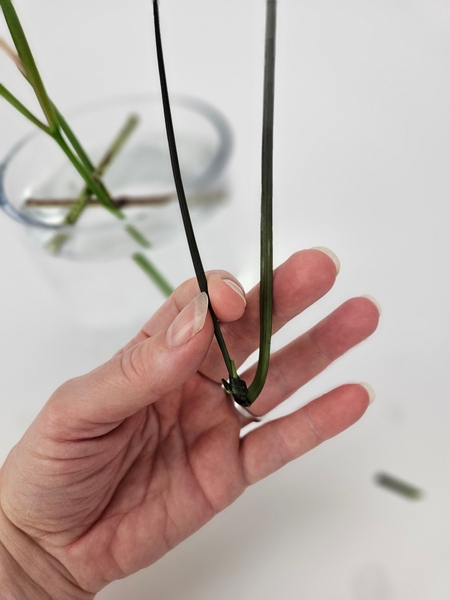
This knot not only extends the grass but it also gives you a hook in the grass to fit it into tiny spaces.
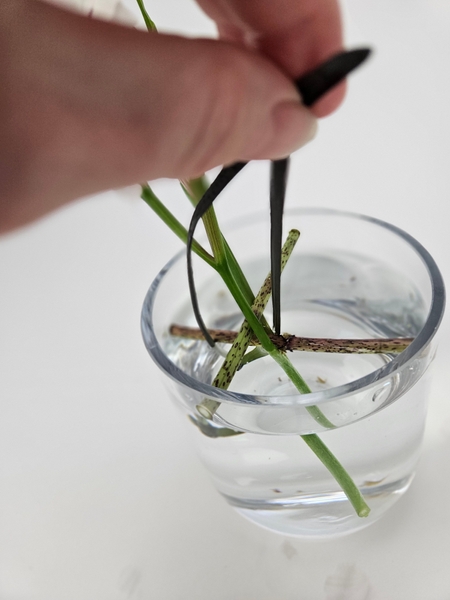
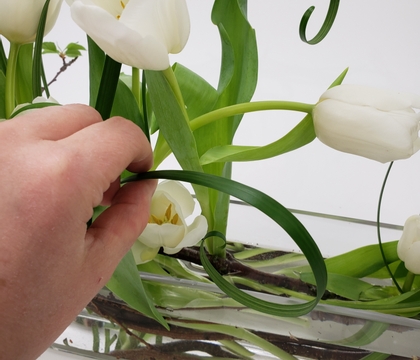
Dip the grass into the water inside the container and hook it under and through the stems and up on the other side.
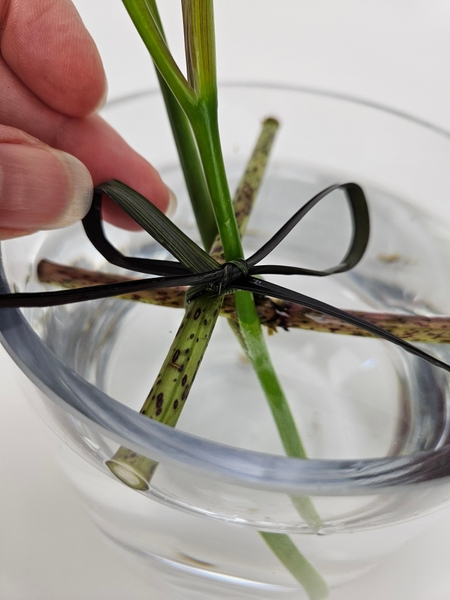
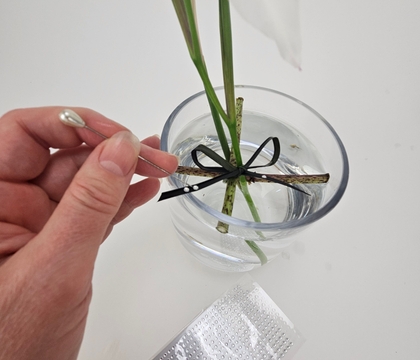
Carefully tie the grass into a neat bow.
Design note: the curve of the bow suits the friendliness of the Gladiolus murielae perfectly. It needs to be a happy bow. And for me... a happy bow is a curved bow (do you agree?) but of course making a bow with grass is not as easy as making a bow with ribbon.
Every Wednesday morning (Vancouver time), I send out a design note as an early glimpse at the newest Design and a few notes that I picked up creating the Tutorial that might be useful to you.
This week I show you how to remove a fold in grasses when you want them perfectly curved instead.
If you’re new here, you can sign up below this post. And if you’ve been receiving these notes for some time, I hope they feel like a welcome break in your busy week.
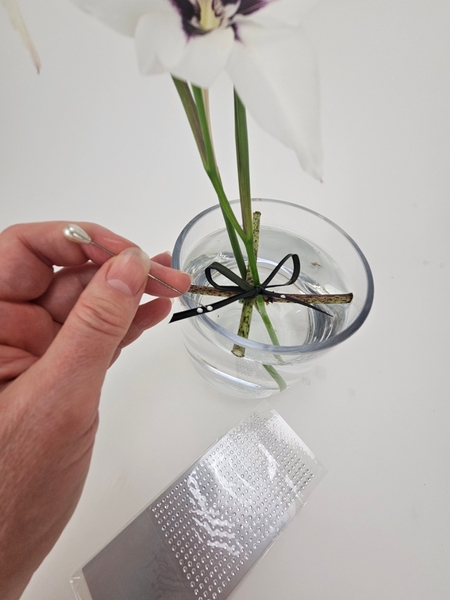
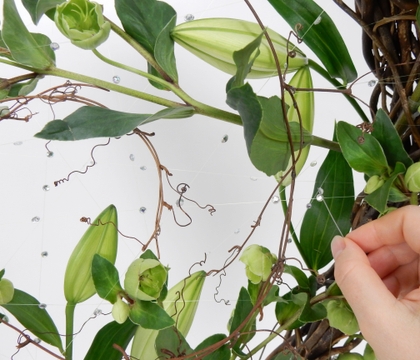
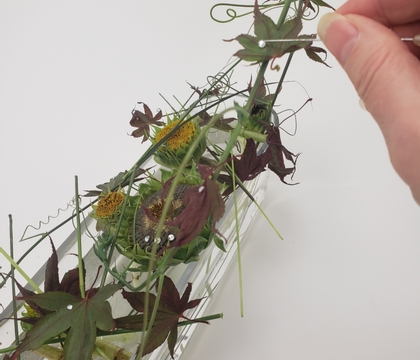
I finish my design with a few dew drop crystals on the perfect grass bow. See the Tutorial below for detailed instructions on how I do this without damaging delicate plant material.
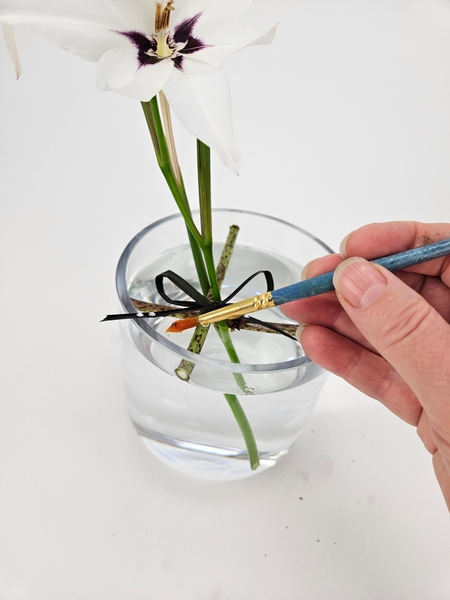
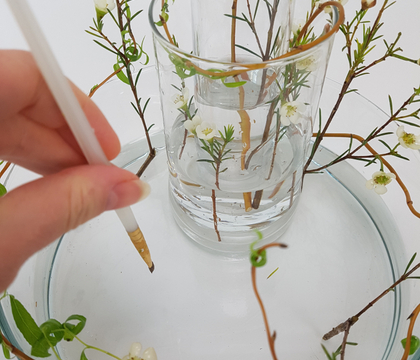
... and because the clean water is just as much part of my design as the flowers I make sure to remove any tiny bit of debris that might have fallen into the design with a brush. See the Tutorial below for more detailed instructions on how to use a brush to clean your design water for a clear display.
Sign up for my weekly newsletter
Every week I add a new design with related tutorials. Be sure to subscribe to receive an email notification with design inspiration.
This section contains affiliate links. If you choose to explore any of these tools, I may earn a small commission at no extra cost to you.