Christine de Beer - effortless floral craftsman
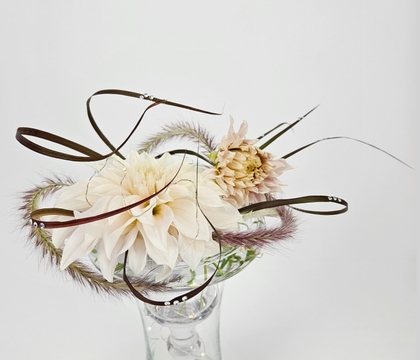
Café au Lait Summer Swirl-Twirl
- 12 August 2026
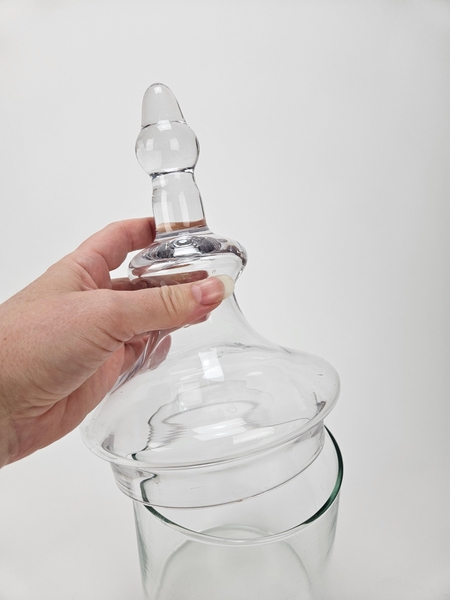
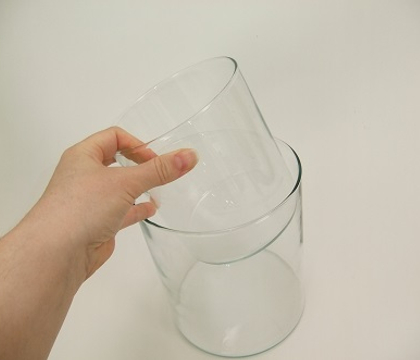
The best part of having great vintage apothecary jars in your design pantry? You can mix and match the "parts". For this design we are using the lid from one vase...
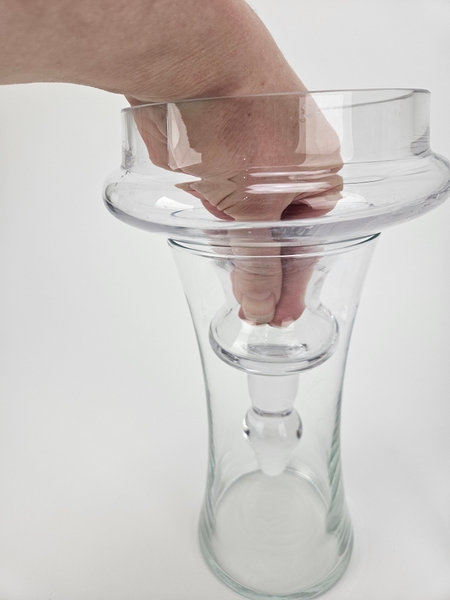
And turning it upside down to nestle into another vase.
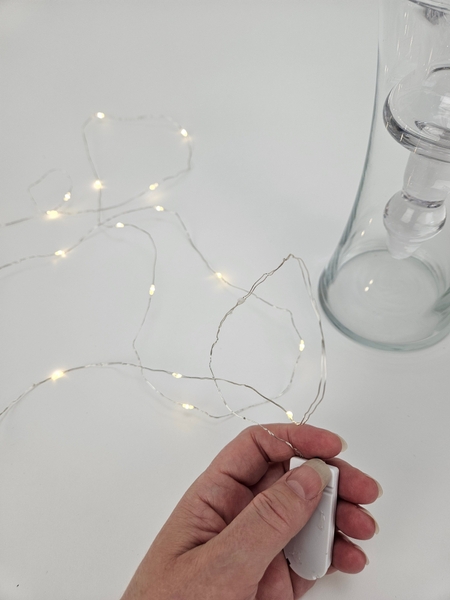
Before starting the hard work test your fairy lights. You do not want to go through all the trouble to create the display to discover the lights are not working. Easy to replace the batteries now or if you find the wires are broken to Remove It From Your Design Pantry now, immediately, without delay, do not put it back... to save you from reaching for the same broken light again and again.
I added an affiliate link to the lights I use below this post if you are looking for lights that have a small and flat battery pack that is easy to conceal.
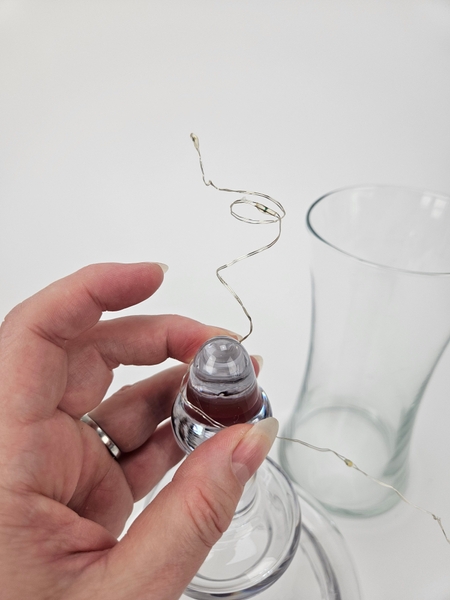
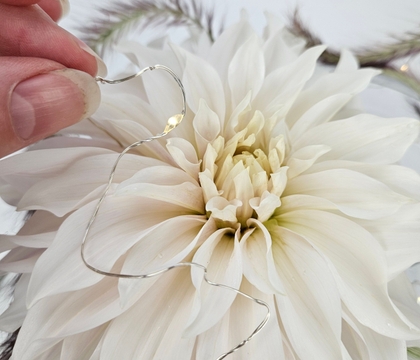
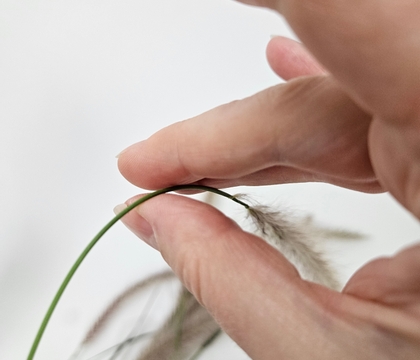
Wrap the end of the wire around your finger or a pencil to give it a nice twirl...
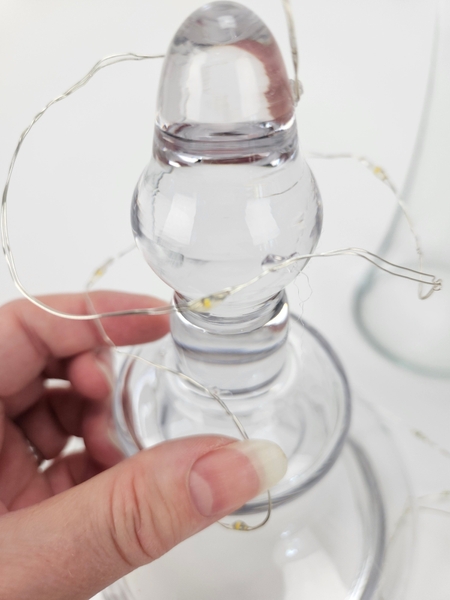
And secure the wire to your glass lid in a swirl.
I reuse my lights often. My first tip is to use hot glue to secure the lights to the glass. The glue stays where you want it to and when you are ready it pulls off without much pulling.
Of course the "without much pulling" part of the removal in vital. If you pull or break the wire and sever the connection the light will no longer work.
This week in our design note email I show you where to glue the fairy light to make sure you can use the light again and again.
Every Wednesday morning (Vancouver time), I send out a design note as an early glimpse at the newest Design and a few notes that I picked up creating the Tutorial that might be useful to you.
If you’re new here, you can sign up below this post. And if you’ve been receiving these notes for some time, I hope they feel like a welcome break in your busy week.
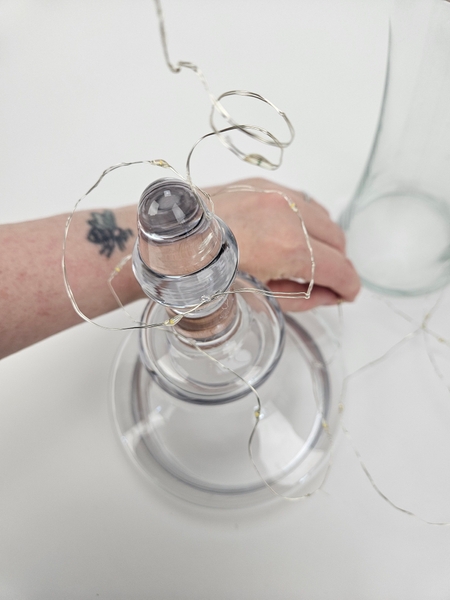
Glue in sections of the wire and so that it spirals around the lid all the way to the bottom... that becomes the top...
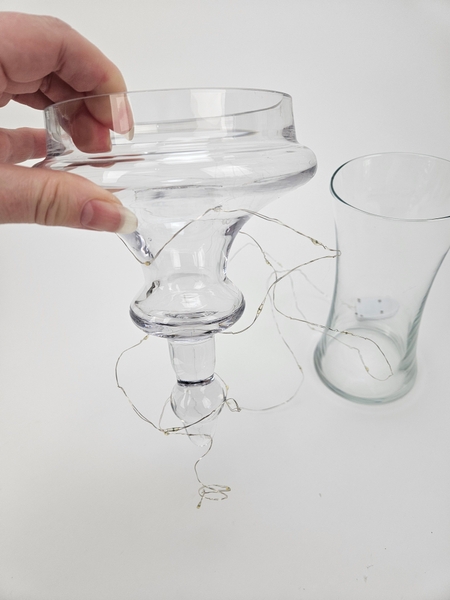
Turn the lid upside down to adjust the spiral by bending the wire into shape.
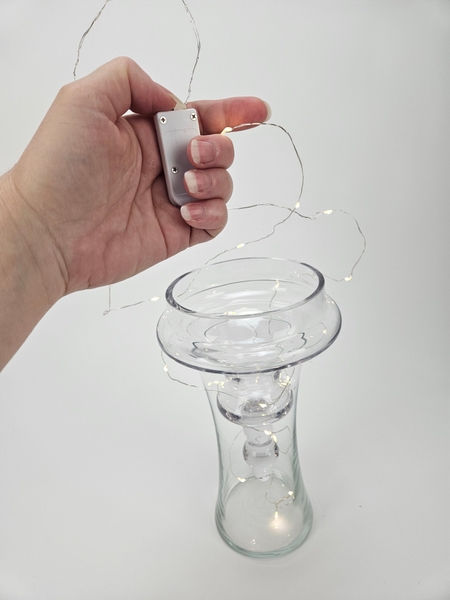
When you are happy with the spiral lower it into the display container so that you have a sparkle twirl all the way to the bottom of the display container... with some fairy light wire left over to design with.
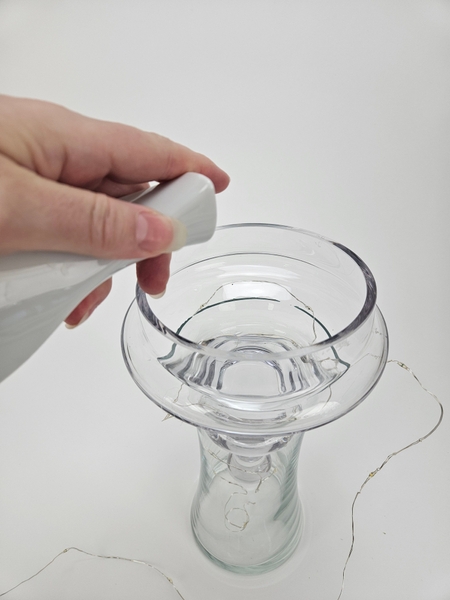
Fill the apothecary jar lid with water.
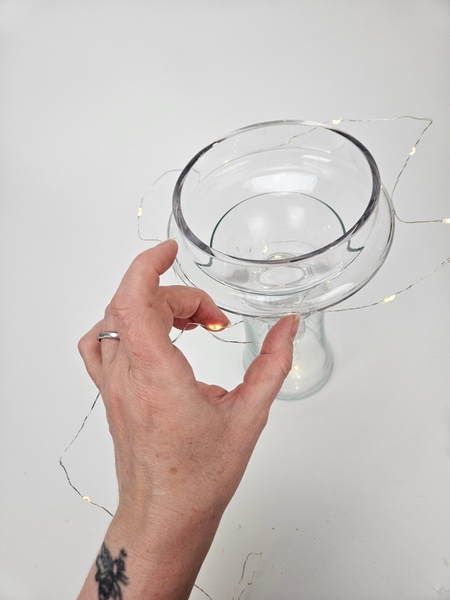
Glue the wire around the lid in a wide spiral about at the water level seen through the glass.
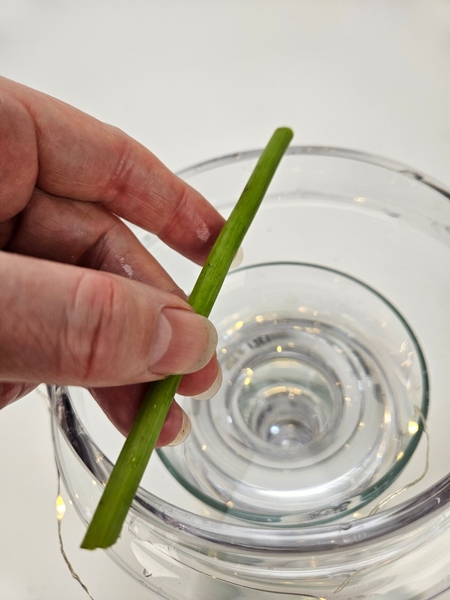
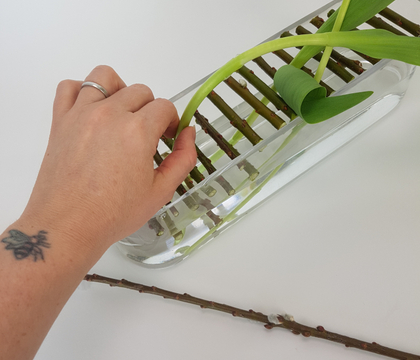
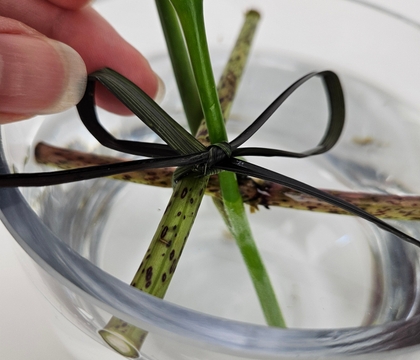
Measure out a stem to wedge into the container for support.
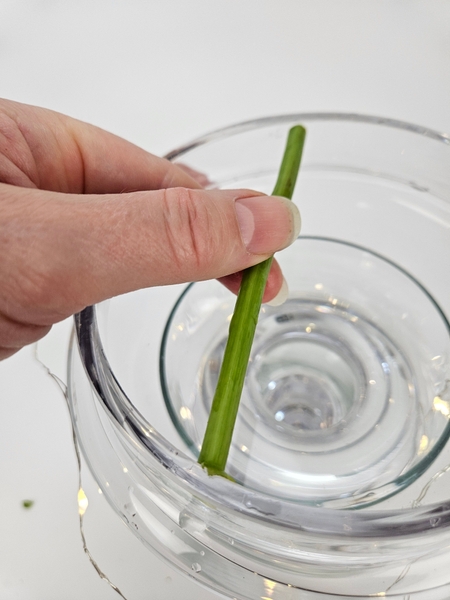
Cut the stem to fit and wedge it into place. If you are new to this technique have a look at the Tutorial below for more detailed instructions. It works really well when you need a bit of extra support to keep your flower heads in place in a minimal design.
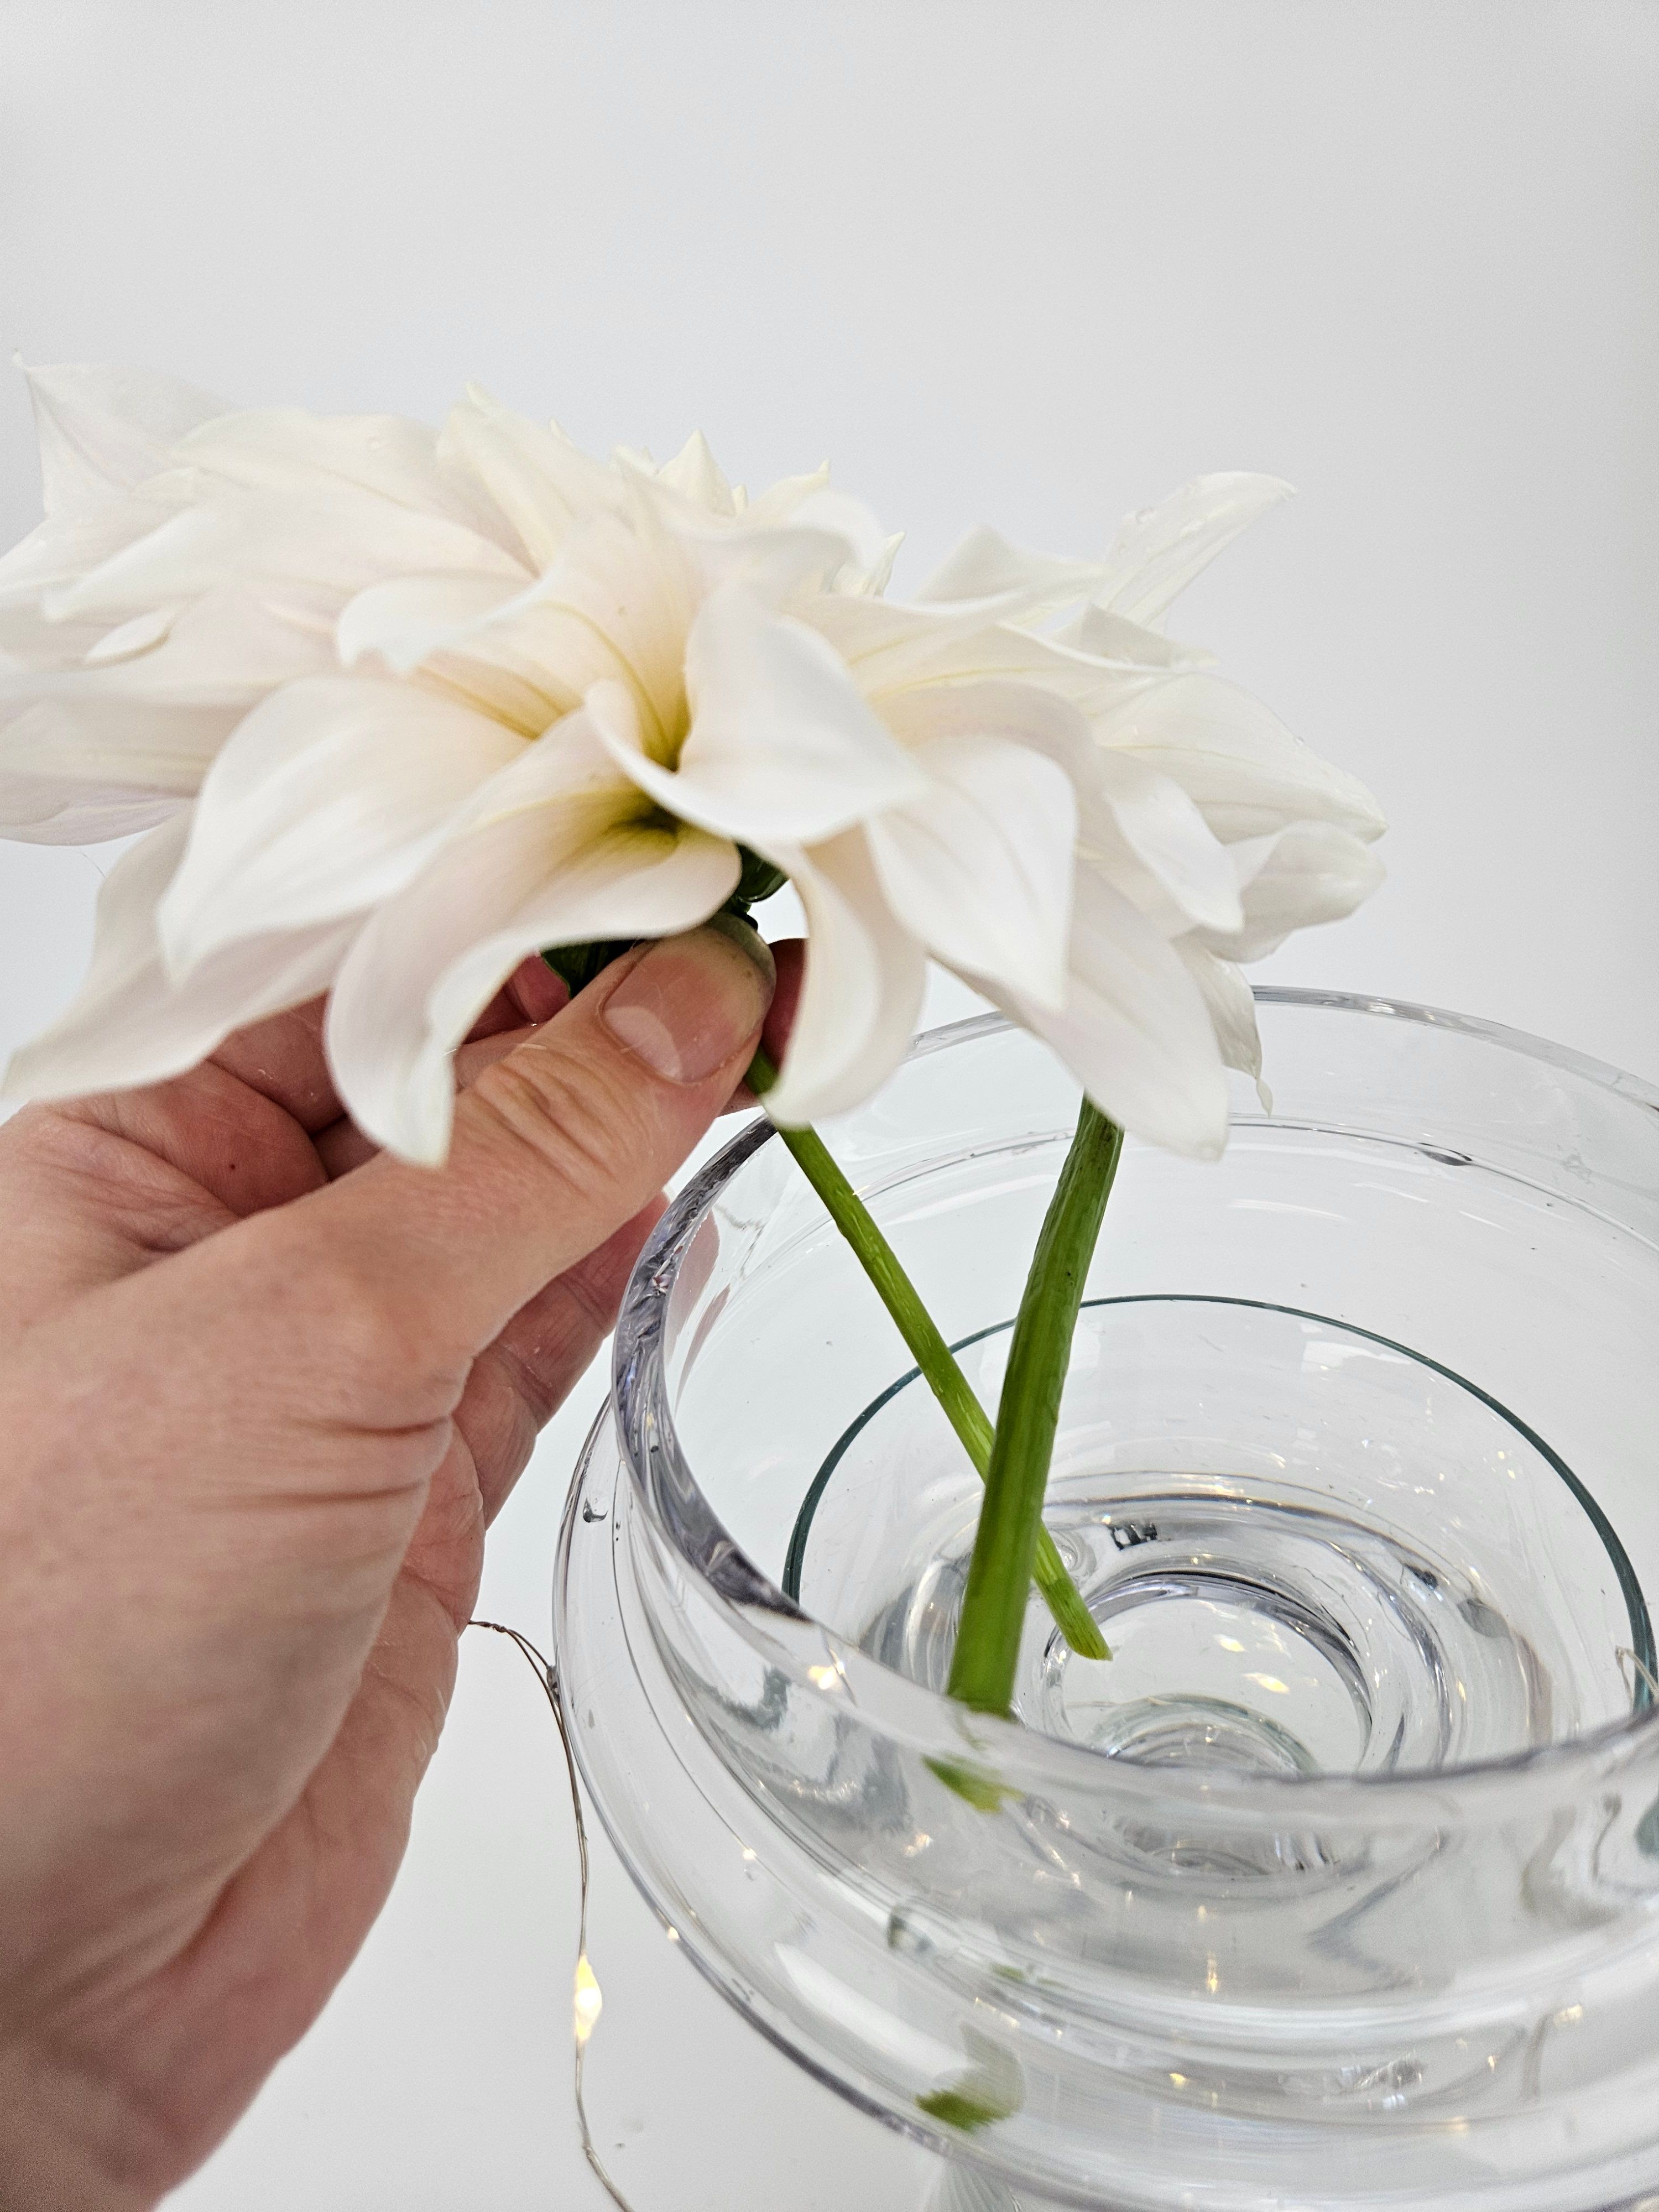
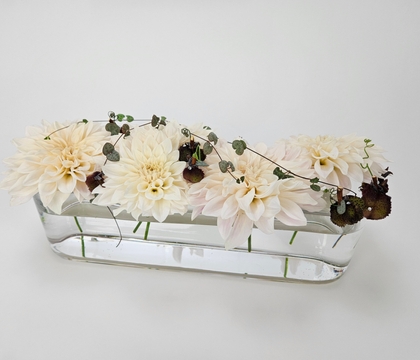
Slip the Café au Lait dahlia into place so that the heavy flower head is supported by the wedged stem.
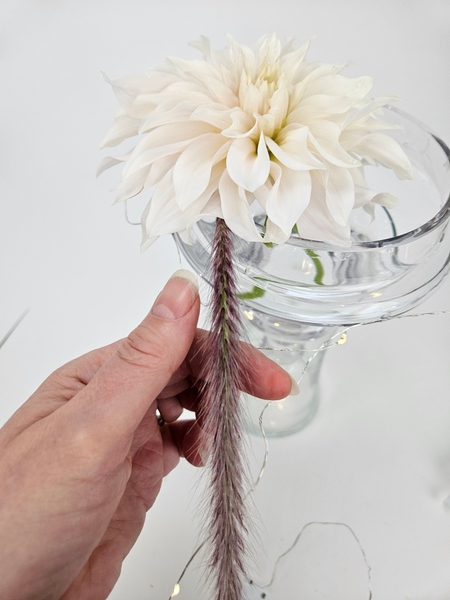
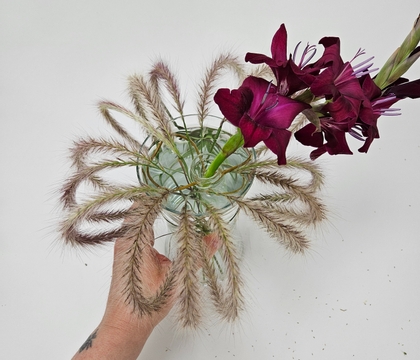
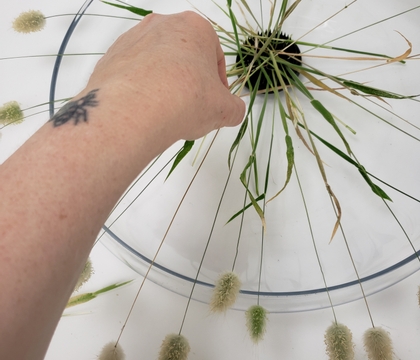
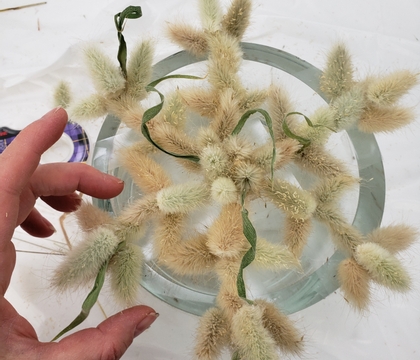
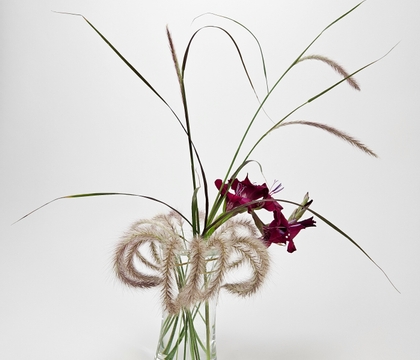
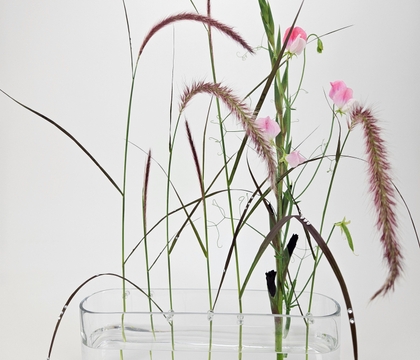
Add in the fountain grasses to radiate out.
Can we just take a moment to appreciate this colour combination. Perfection!!!
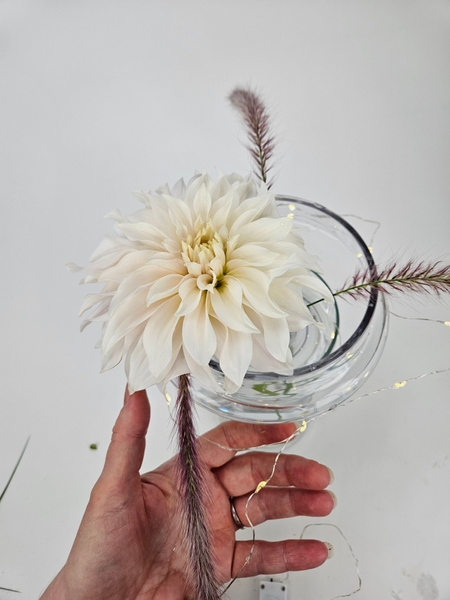
Gently sweep the grass to the side with the palm of your hand...
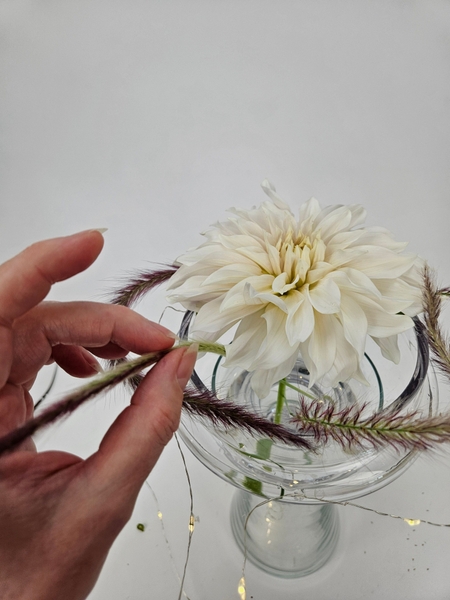
... so that it drapes elegantly (without looking forced) and secure it with hot glue.
Next I am adding in a second curve of fountain grass but this time I wanted to bring in a tiny bit of lime on the grass...
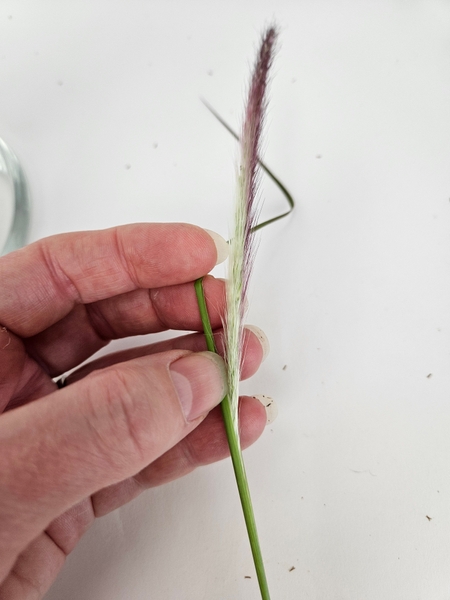
To bring out the lime of a fountain grass peel it from the sheath by hand.
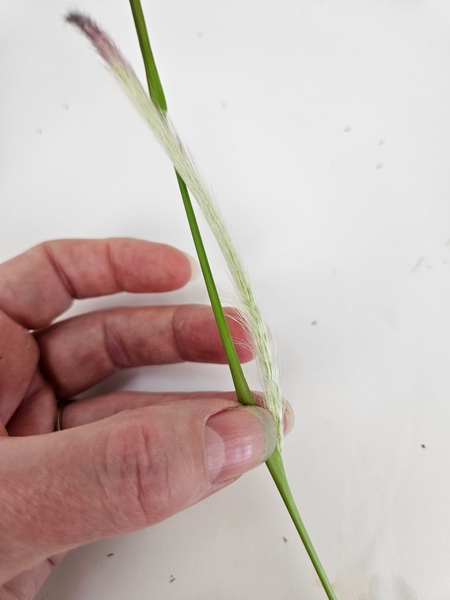
Simply slip your nail between the sheath and the grass and release the grass.
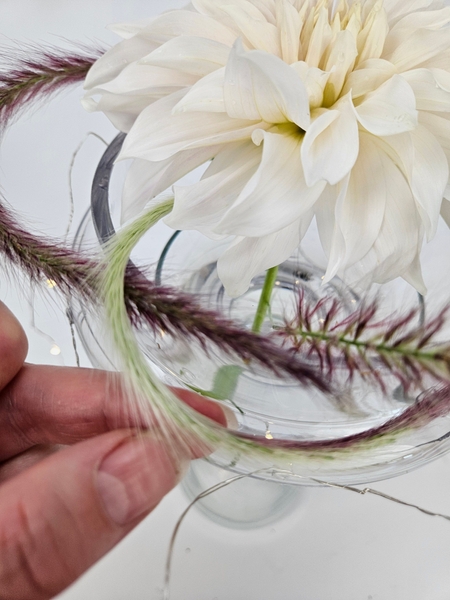
The grass is not quite mature yet so give it a shake to fluff it out and secure it into the design spiral.
See the lovely lime green that it brings into the design without introducing more elements?
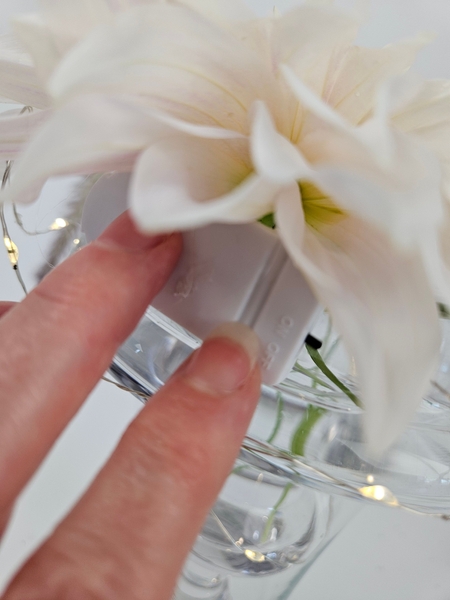
When the grass is secured all the way around you can glue in the battery pack of the fairy lights.
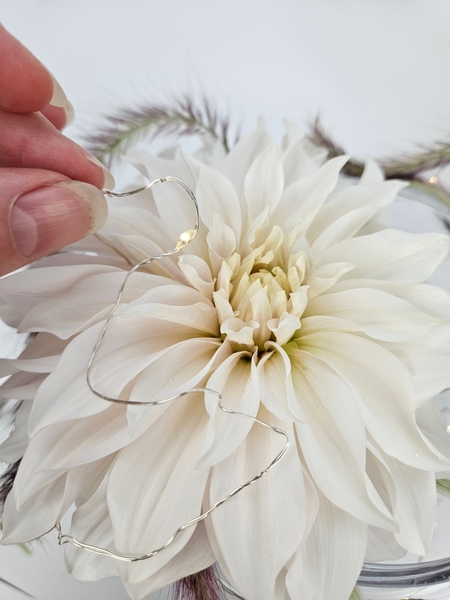
And drape the left over wire over the dahlia.
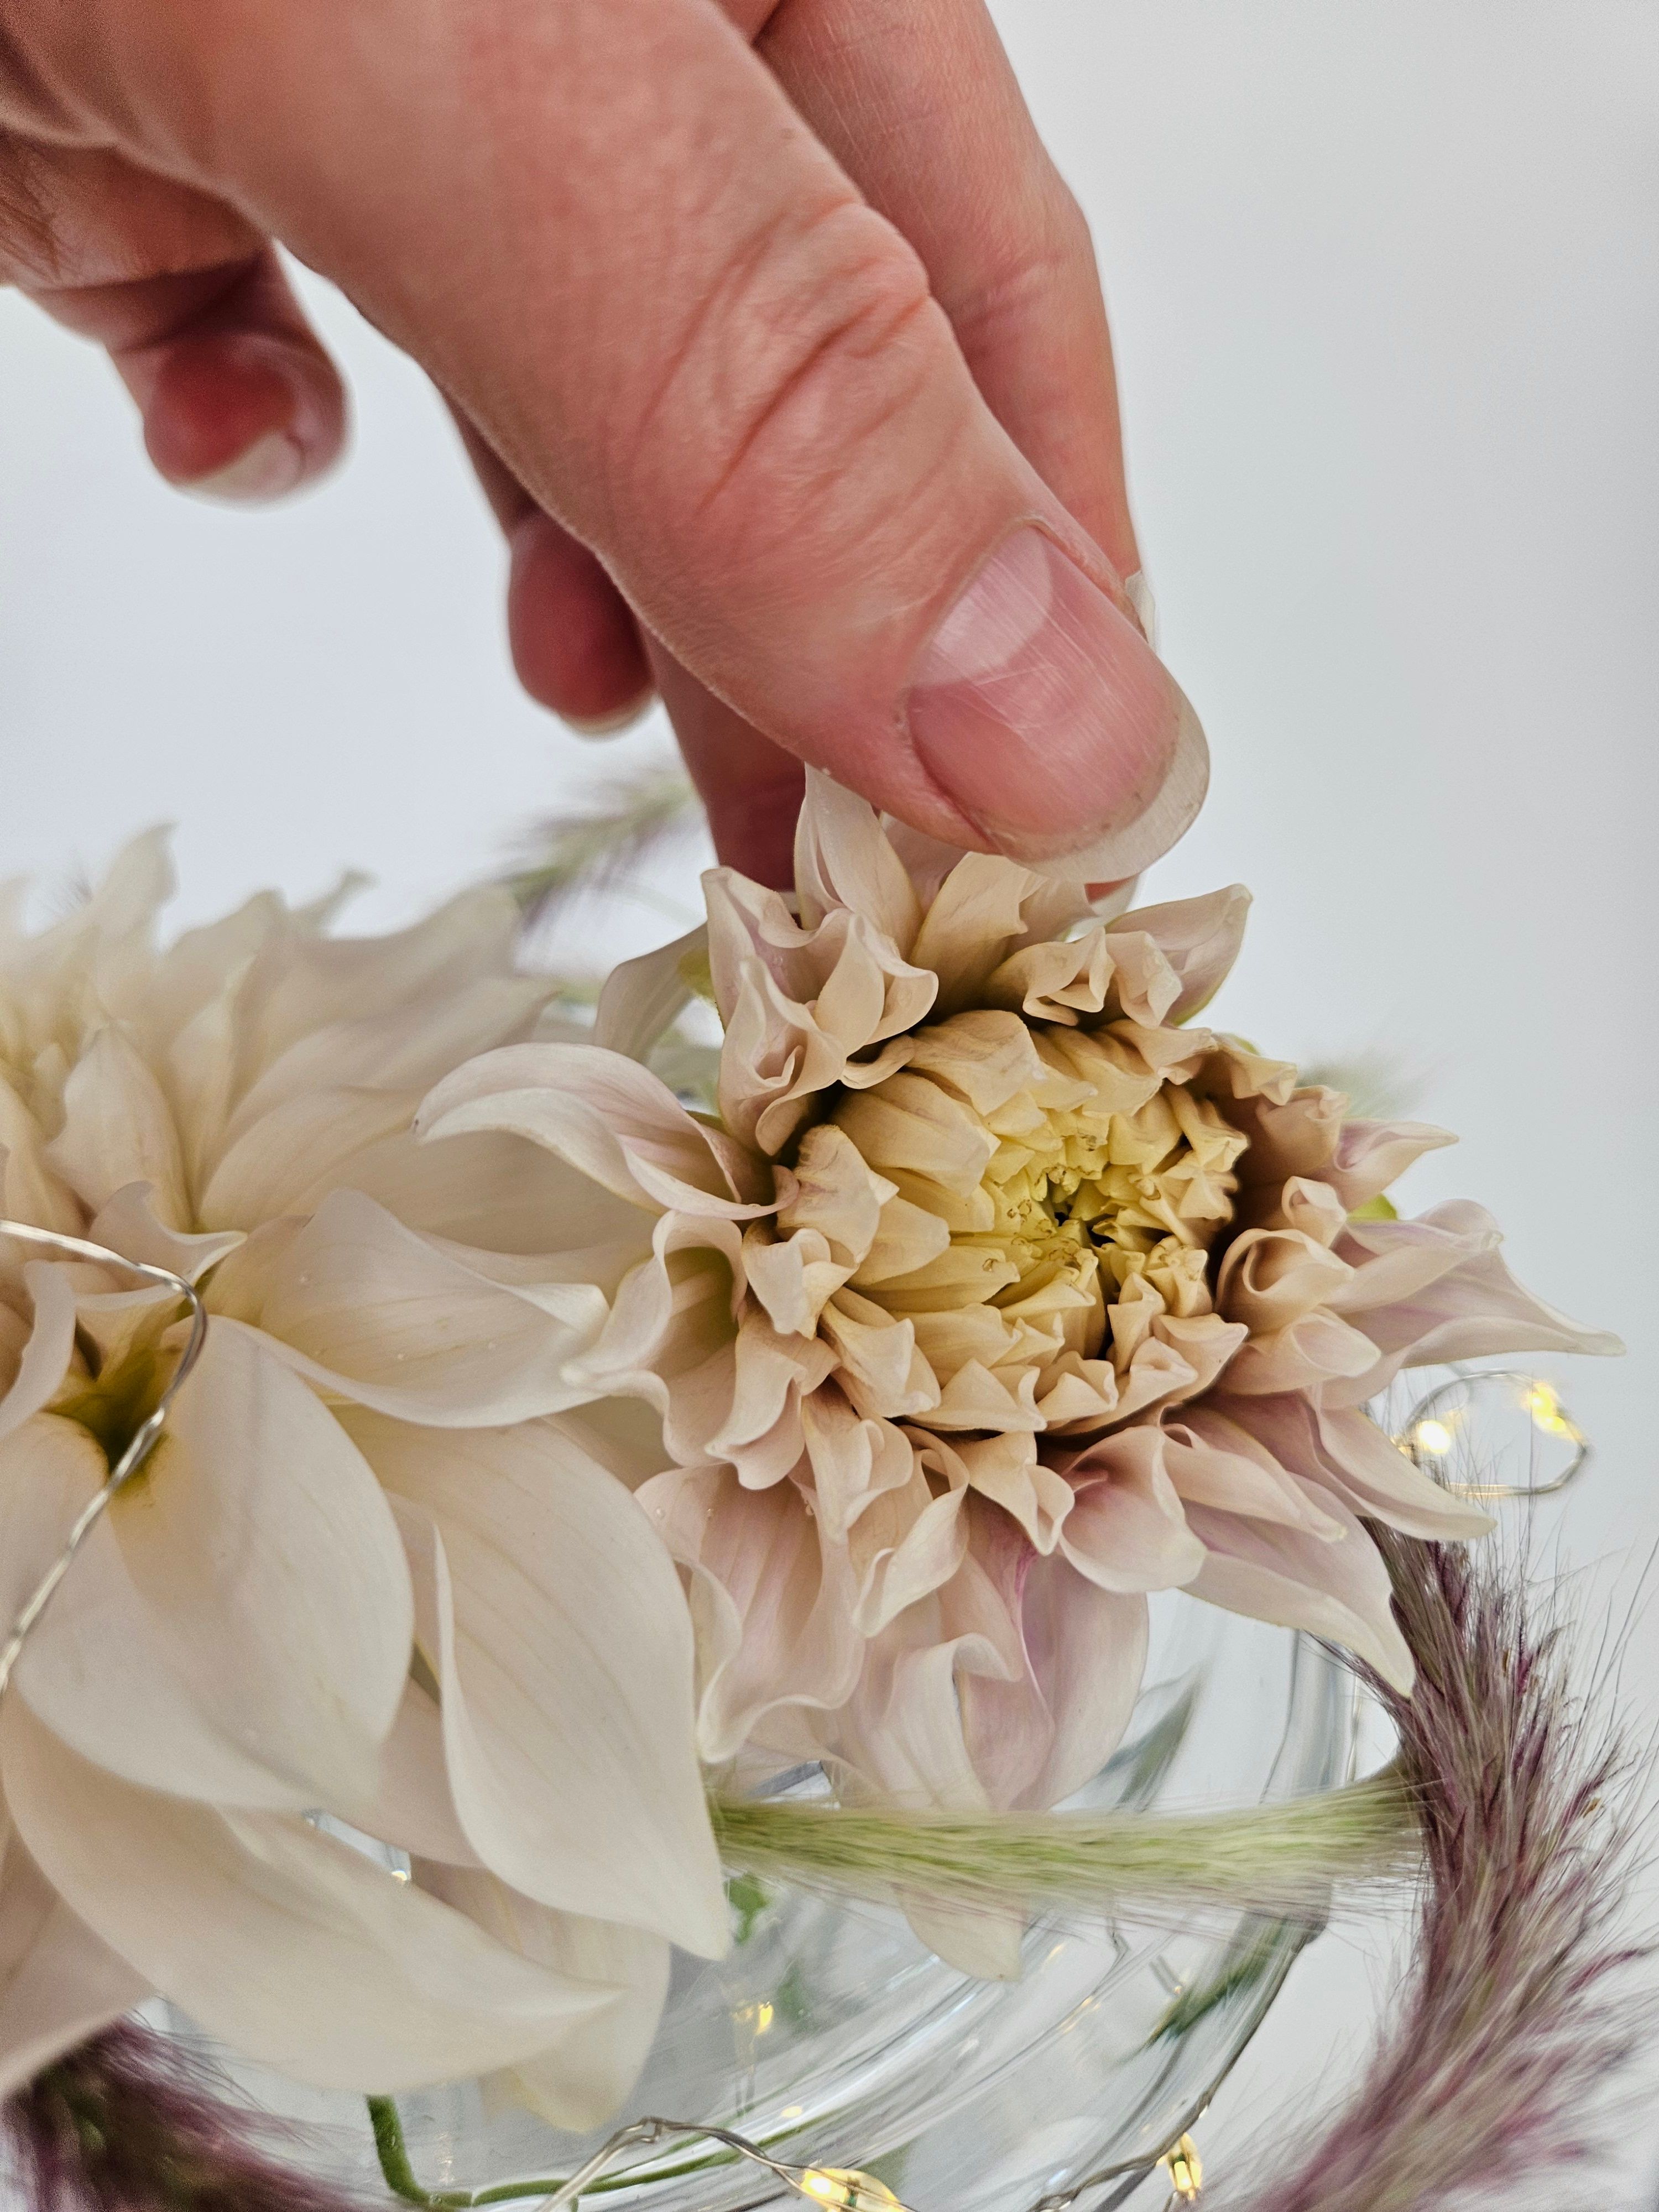
Add in a Café au Lait dahlia flower bud to lean to one side so that you can see the pretty way the flower stems are positioned when you look at the "back' of the design.
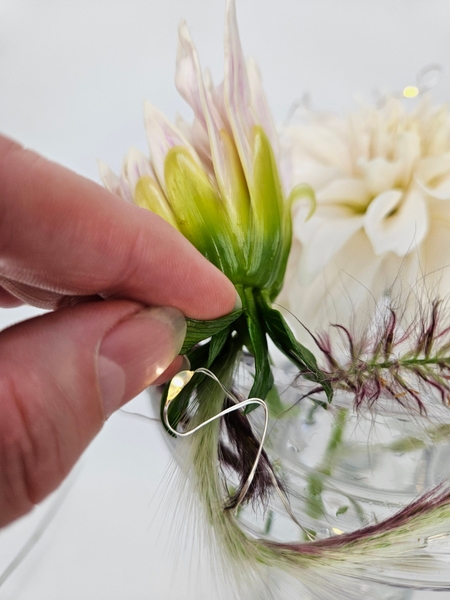
There is a fairy dress quality in the dahlia sepals... how can we not show this off?
And again it ties in with the surprise lime (an extra touch of floral craftsmanship) of the fountain grass.
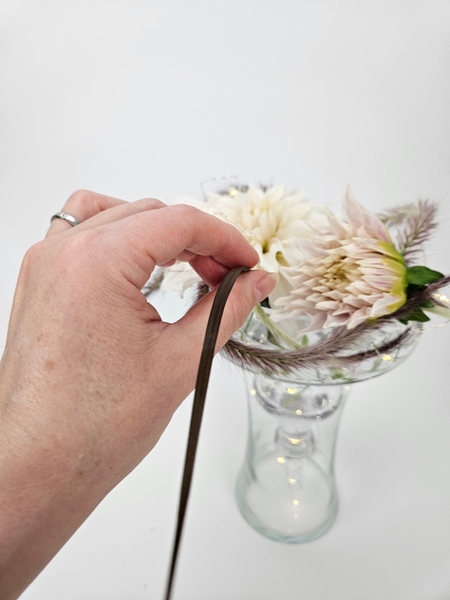
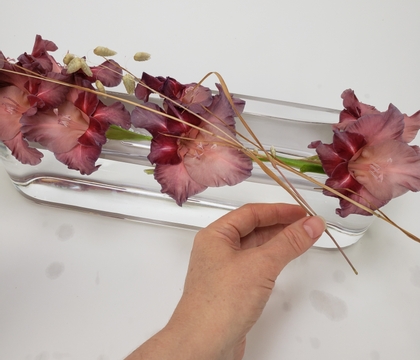
Add in fountain grass blades...
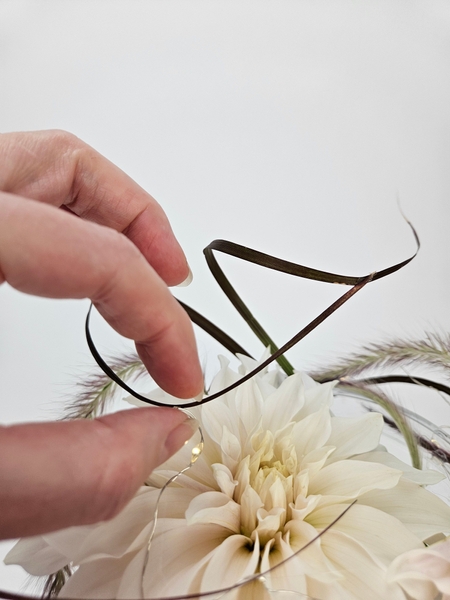
And this is where you add your personality by draping the grasses "your" way.
Book readers turn to page 288 where we talk about manipulating grasses in great detail.
For more information about my book: The Effortless Floral Craftsman
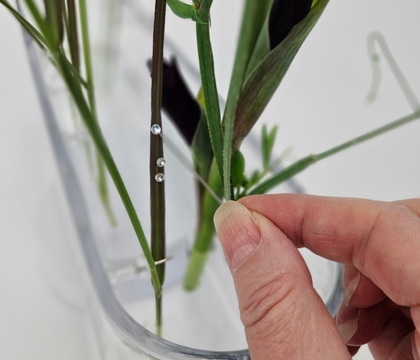
And finish of the design with a few dew drop crystals right on the burgundy blades of fountain grass.
Sign up for my weekly newsletter
Every week I add a new design with related tutorials. Be sure to subscribe to receive an email notification with design inspiration.
This section contains affiliate links. If you choose to explore any of these tools, I may earn a small commission at no extra cost to you.