Christine de Beer - effortless floral craftsman
Hop over, skip one and a long jump to the other side twig suspension (with a craftsmanship magic trick in between, of course)
- 15 April 2026
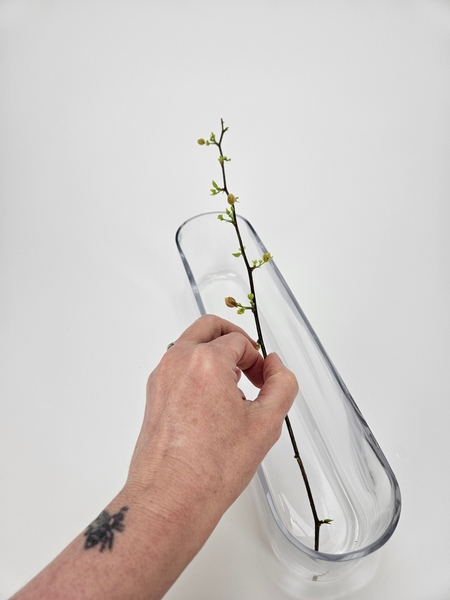
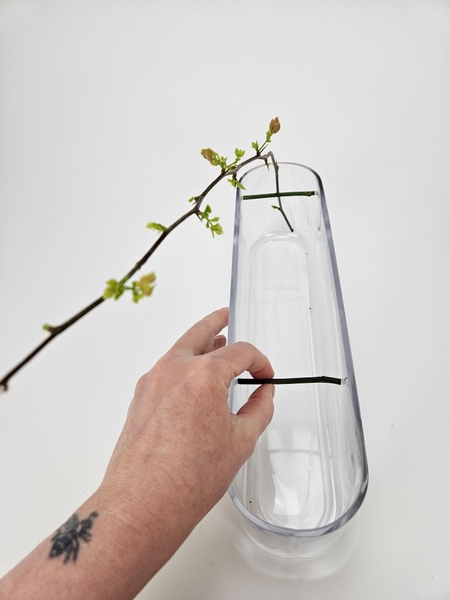
Measure out a fresh spring branch that is just sprouting to curve in on one side and then drape over a long container.
Book readers turn to page 141 where we discuss using glass as a container for your floral designs. I show you how to keep the glass clear and how to make sure the glass container you choose is suitable for the mechanic you want to use it for.
For more information about my book: The Effortless Floral Craftsman
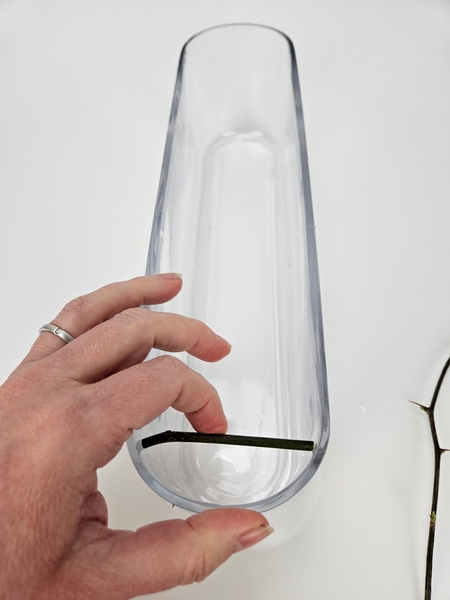
Cut a fresh stem and wedge it to fit snugly into the diameter of your container.
Every Wednesday morning (Vancouver time), I send out a design note as an early glimpse at the newest Design and a few notes that I picked up creating the Tutorial that might be useful to you. This week, I show you why your twig should just "give" but not be crushed when you wedge it into position.
If you’re new here, you can sign up below this post. And if you’ve been receiving these notes for some time, I hope they feel like a welcome break in your busy week.
Slip your bougainvillea flower stem in place so that a thorn is right where the support twig is wedged into place.
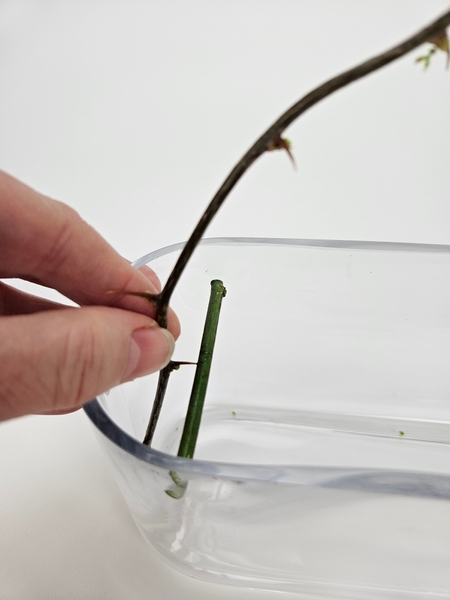
Lift the bougainvillea flower stem, position it at a slight angle (my preference, I wanted it to be at a slight angle to make it a bit more interesting. Design your flower stem, your way. Whichever position you want that looks best in your opinion) and pierce it into the support stem so that it is suspended and firmly held in place.
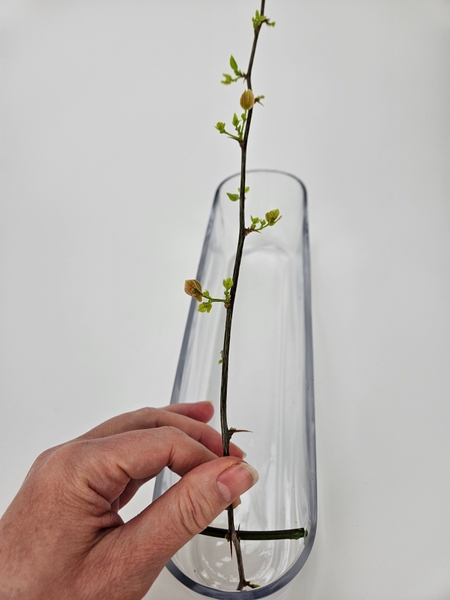
Wedge in a second support stem at the opposite end of the container.
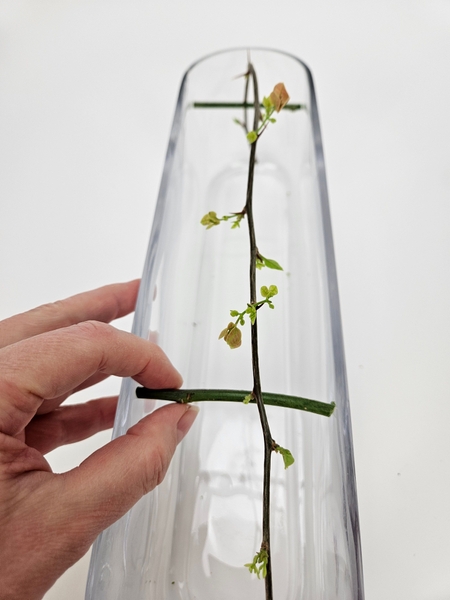
Pierce the bougainvillea thorn into the second twig that is is wedged into container so that it is now firmly in place.
Notice the slight angle? My stem drapes from the middle of the one support twig to the one side of my second support twig to rest the tip of the stem just on the edge of the side of the container of the other.
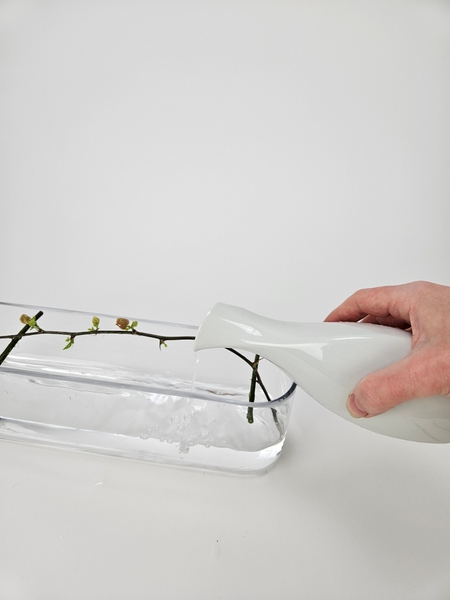
Pour water into the elongated container to keep the flower stem hydrated but take care not to overfill it. Give yourself a bit of design room...
I finished my design with a few more twigs wedged into position. These are decorative but I found the design looked a bit lack lustre without them. Adding more flowers would have distracted though. So I found a happy middle ground. Designed... but not overly so.
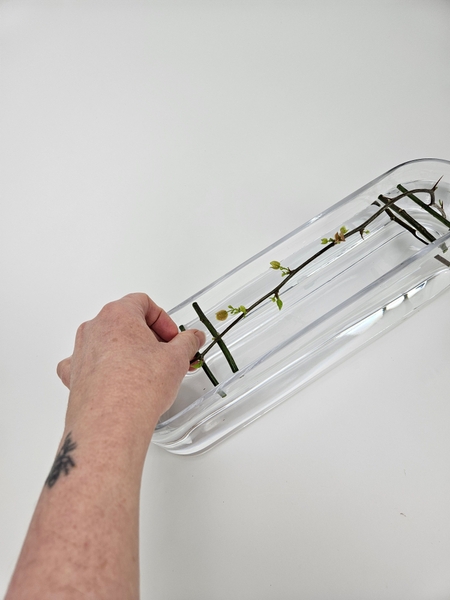
You can now top up the container if you want more water in it. But make sure the twigs are in position or the water will spill over when you work in the container to position the support twigs.

And my two last little design details: making sure the water is sparkling clean by sweeping up any debris with a brush and adding even more sparkle with dew drop crystals scattered here and there.
You can find a Tutorial for both cleaning the water with the bristles of a brush and how I add the dew drop crystals below this post.
Sign up for my weekly newsletter
Every week I add a new design with related tutorials. Be sure to subscribe to receive an email notification with design inspiration.


