Christine de Beer - effortless floral craftsman
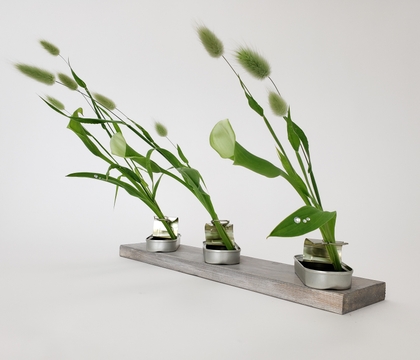
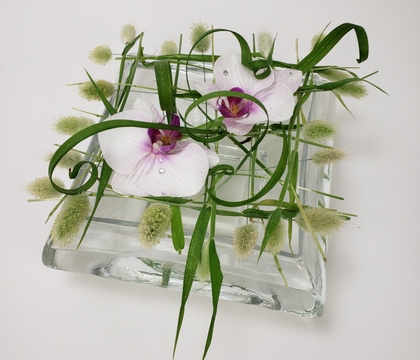
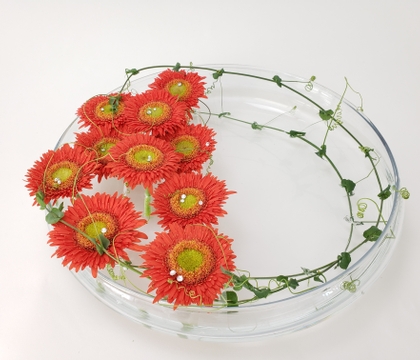
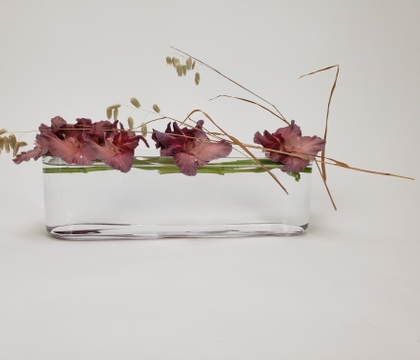
Pin pegs for barely there suspended floral details
- 5 August 2026
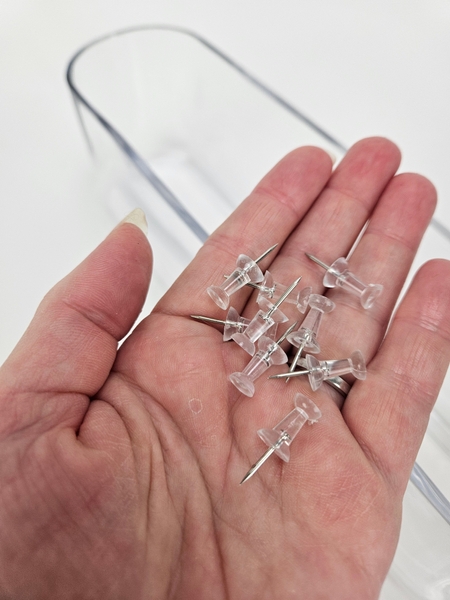
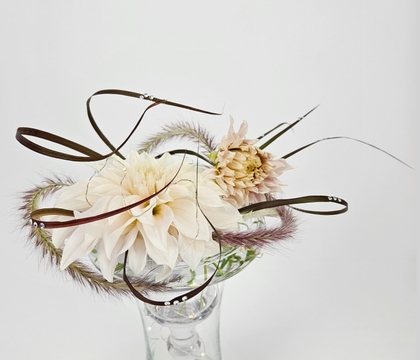
Choose clear push pins that are sharp to keep your floral details into position.
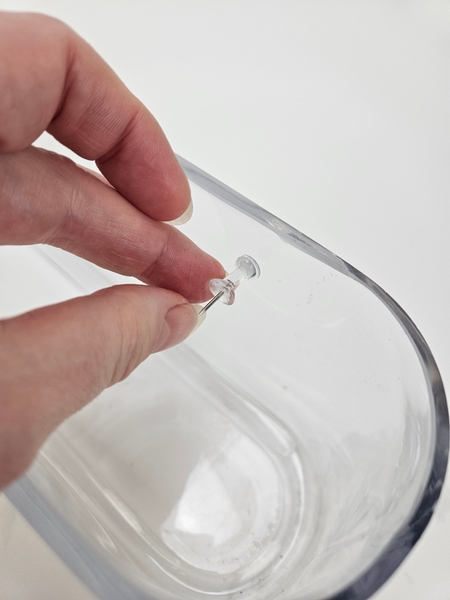
Use hot glue to secure the pins to the side of your container.
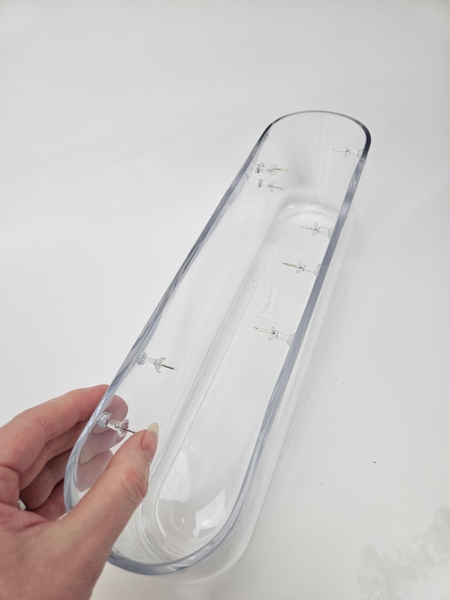
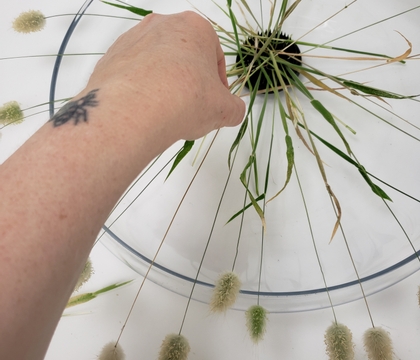
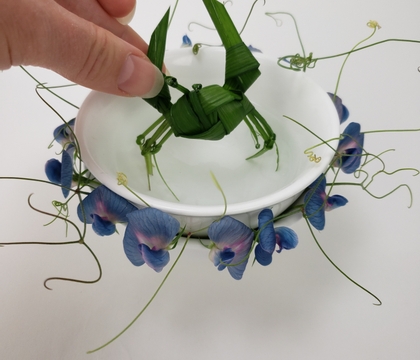
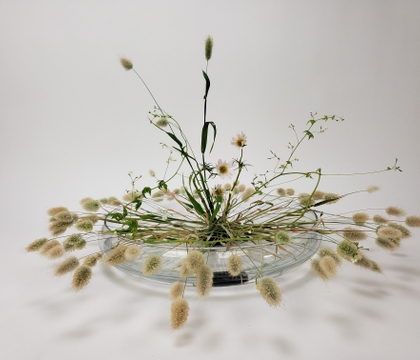
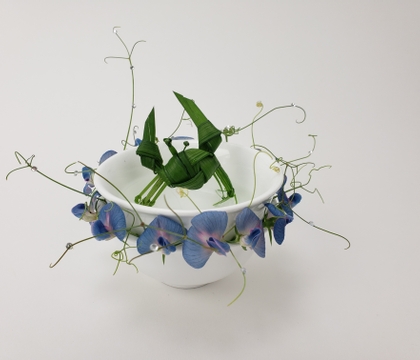
Think up your design and glue in the pins into interesting positions. Use both sides so the you create a airy summer design.
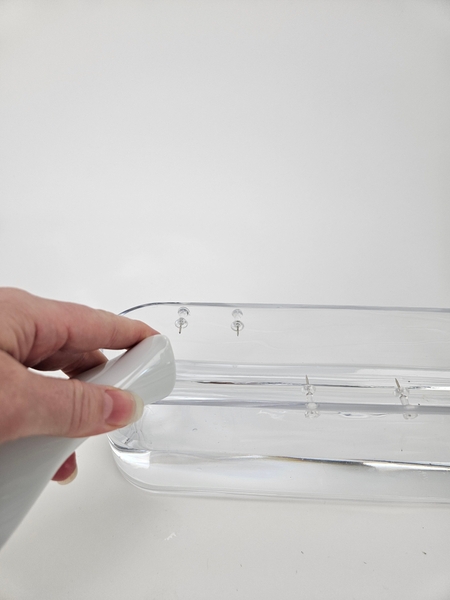
Pour clear water into the container.
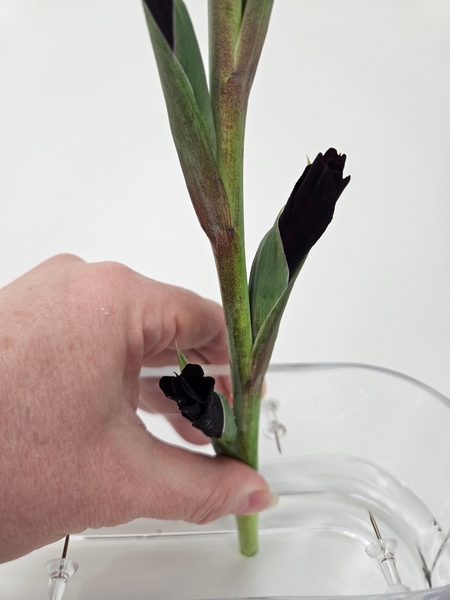
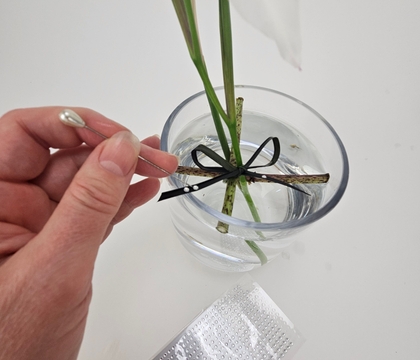
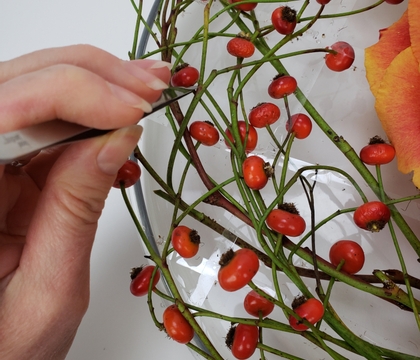
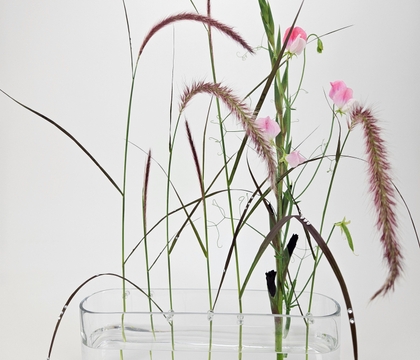
Pin the flower stems into position by piercing the sharp end of the peg into the stem.
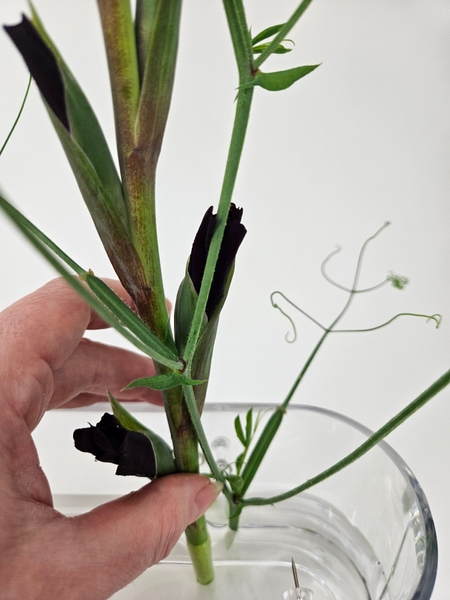
Make sure you pin the stem without breaking it or splitting it. You might have to adjust the thinner stems so that you can pin it into a thicker part of the stem to make sure it is secure.
This week in our email I have a few design notes for you on positioning the stem... just so. And how I prevent the pin from damaging the stem.
Every Wednesday morning (Vancouver time), I send out a design note as an early glimpse at the newest Design and a few notes that I picked up creating the Tutorial that might be useful to you.
If you’re new here, you can sign up below this post. And if you’ve been receiving these notes for some time, I hope they feel like a welcome break in your busy week.
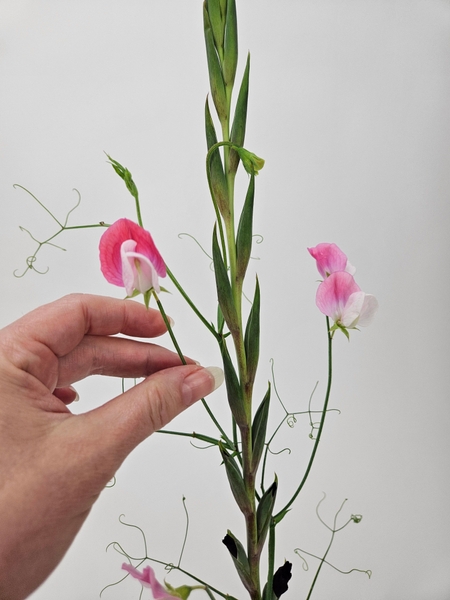
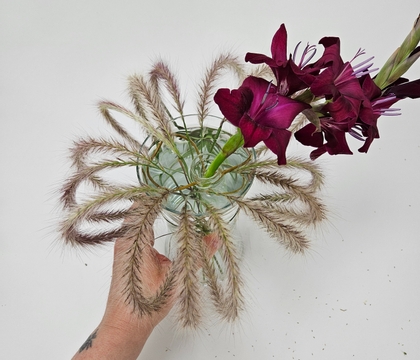
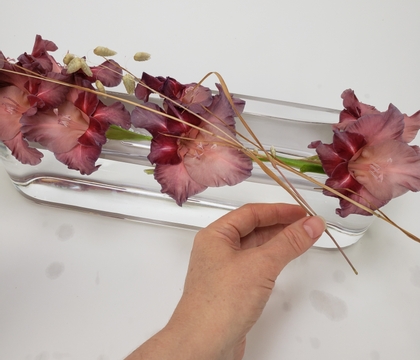
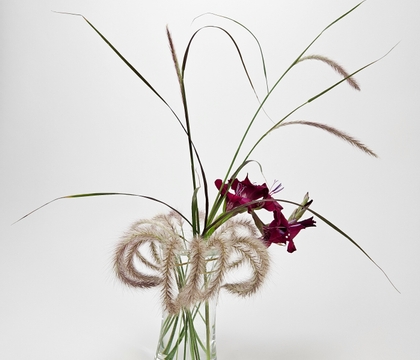
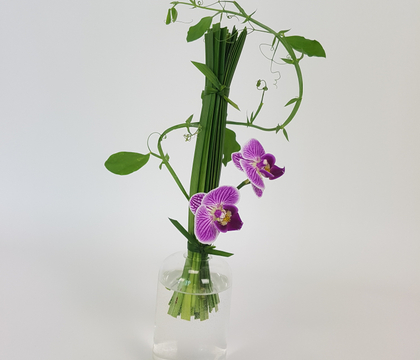
Arrange the sweet pea stem around the gladiolus stem so that it forms a unit.
Nothing in your design should ever look like it is desperate to escape. Instead see how you can create a harmonious design where the elements look like they are having a chat.
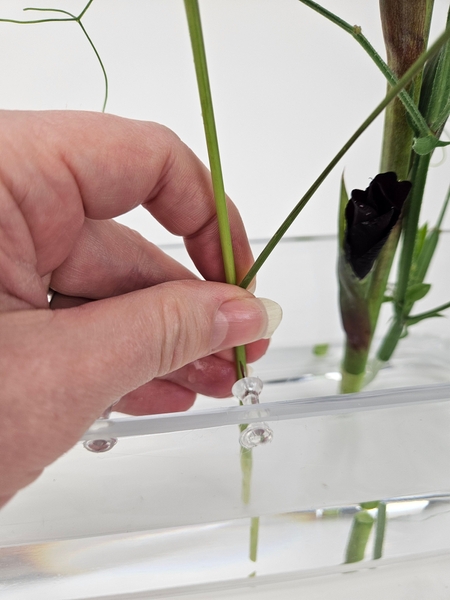
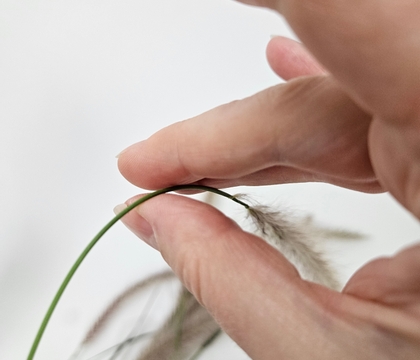
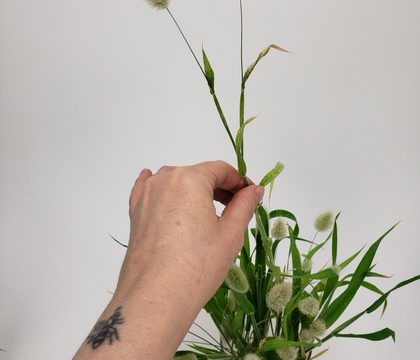
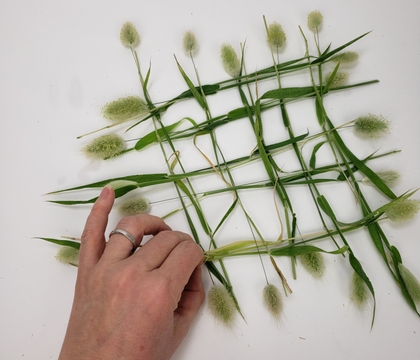
Peg the fountain grass into position...
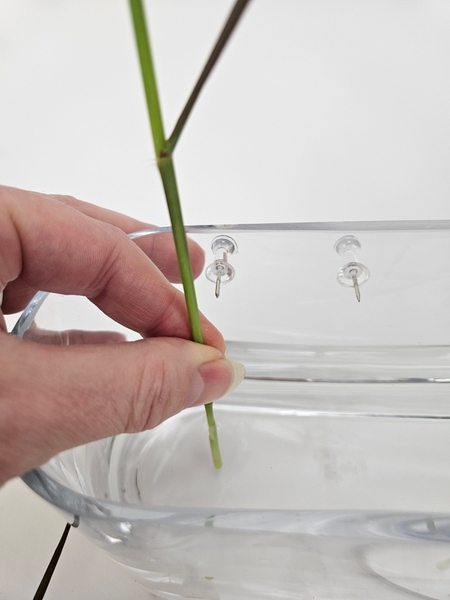
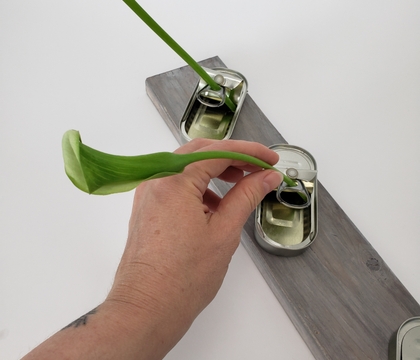
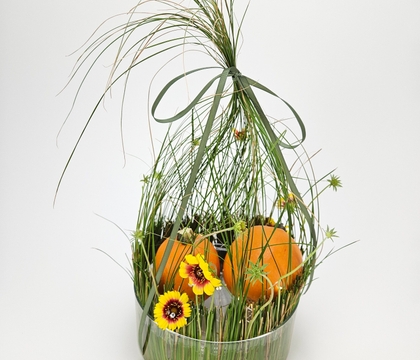
Here's the trick to make sure the tall design elements stay in place without toppling over: Position the stem and press it down into the bottom of the container. Not so much that it crushes the stem just enough so that it stands firmly on the bottom.
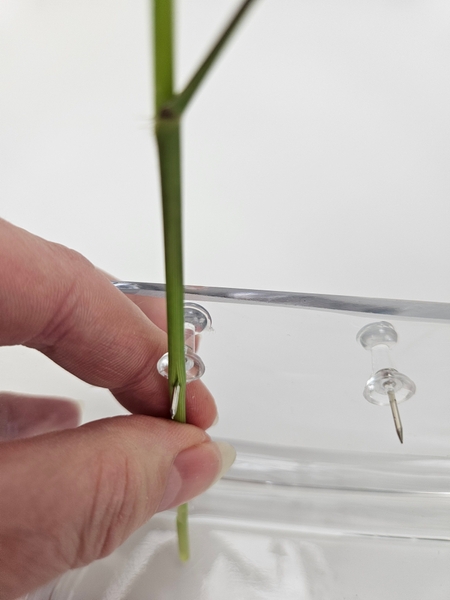
Protect the stem and pierce with the pin into position.
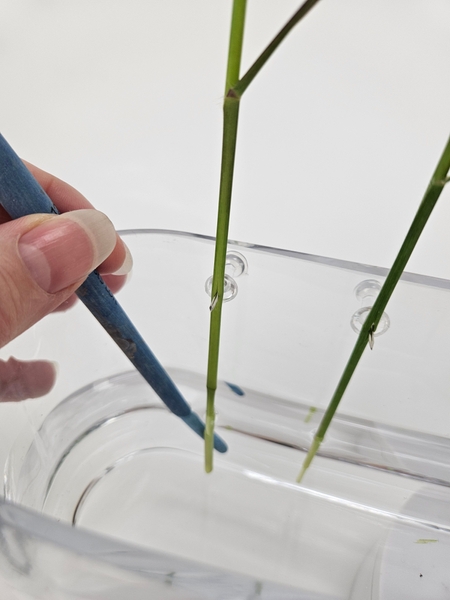
Reach into the water with a skewer or the end of a paint brush and adjust the stem so that it stands perfectly upright. There should be some resistance. The stem will "kick" into place and will not topple over.
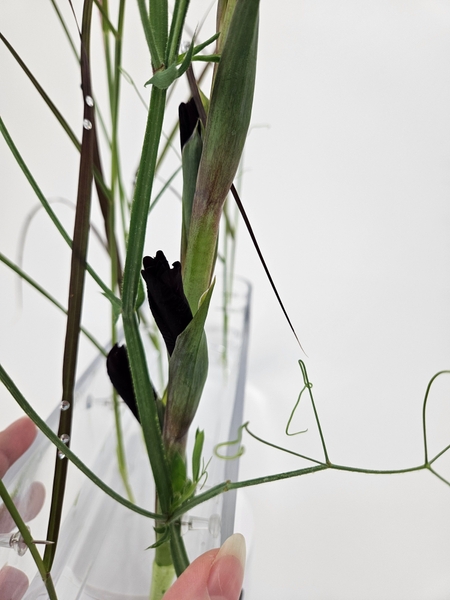
Creating a tidy row of design elements standing perfectly upright.
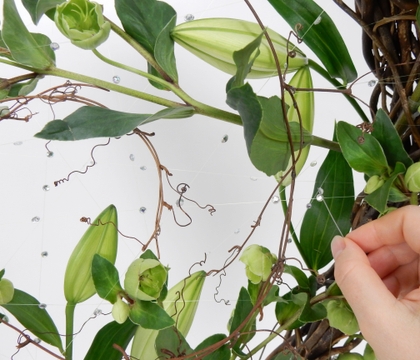
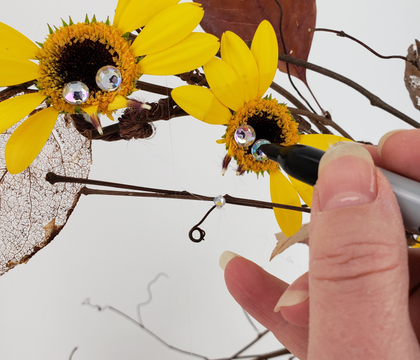
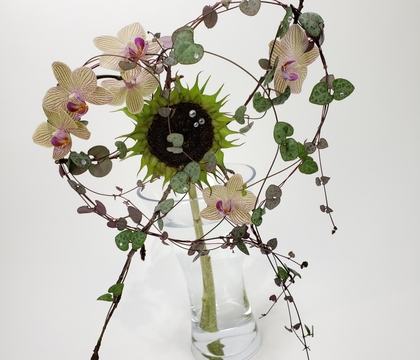
Add of course my signature sparkle next... Book readers turn to page 378 for one of my absolute favourite Dew Drop crystal placement ideas. It worked so, so well!
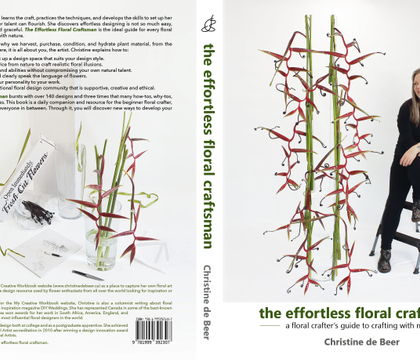
For more information about my book: The Effortless Floral Craftsman
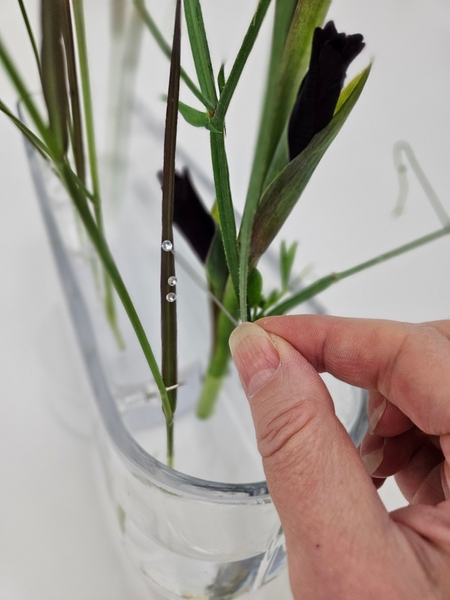
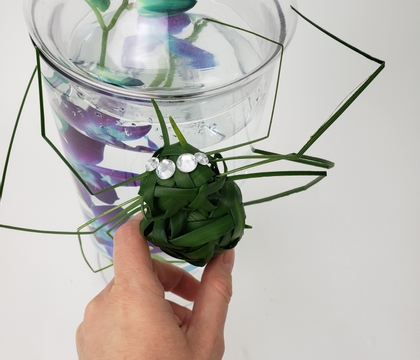
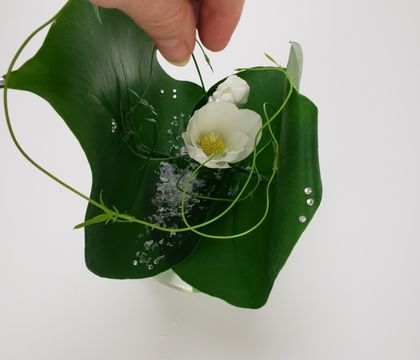
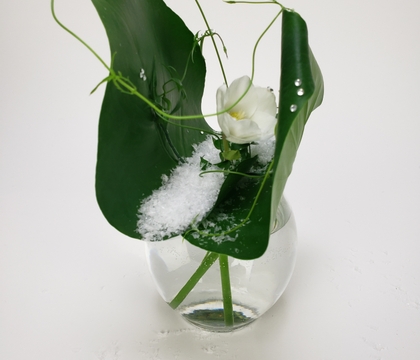
And yes, I always finish my design with a few dew drop crystals.
This week these crystals are causing quite a stir! Apparently it is the "it' trend of this year. And as always viral content gets repackaged into bite size snippets that are easy to share online but lacks the details that makes them meaningful. So... I have updated the original Tutorial (first shared 11 years ago!) to give you a Master Class in Dew Drop Crystals. And below I am sharing the affiliated link to the exact crystals I buy and add into my designs.
Sign up for my weekly newsletter
Every week I add a new design with related tutorials. Be sure to subscribe to receive an email notification with design inspiration.
This section contains affiliate links. If you choose to explore any of these tools, I may earn a small commission at no extra cost to you.